

Mermaid ventura 213, ventura 240 User Manual
User manual
mermaid ventura 213/240

mermaid ventura 213/240 - Users manual Version 3.0
___________________________________________________________________________________
Table of Contents:
Table of Contents: ...........................................................................................................2
1. Preface ........................................................................................................................3
2. Important information.................................................................................................3
3. Content of the Box:......................................................................................................4
4. Unpacking, placement and setup. (PC)........................................................................4
5. OSD Key functions .......................................................................................................5
6. OSD Menu....................................................................................................................6
7. OSD Functions & Adjustments8. Guarantee terms.......................................................6
8. Guarantee terms........................................................................................................10
9. If you need to contact us!..........................................................................................10
10. Troubleshooting ......................................................................................................11
Appendix A: List of tested graphic boards. ....................................................................11
Appendix B: Connector specific at ions............................................................................ 13
Appendix C: Technical specifications .............................................................................15
Appendix D: Video Mode Support ..................................................................................16
Appendix E: Optical Characteristics – ventura 240 T .....................................................17
Appendix F: Optical Characteristics – ventura 213 T .....................................................18
Page 2 of 18

mermaid ventura 213/240 - Users manual Version 3.0
___________________________________________________________________________________
1. Preface
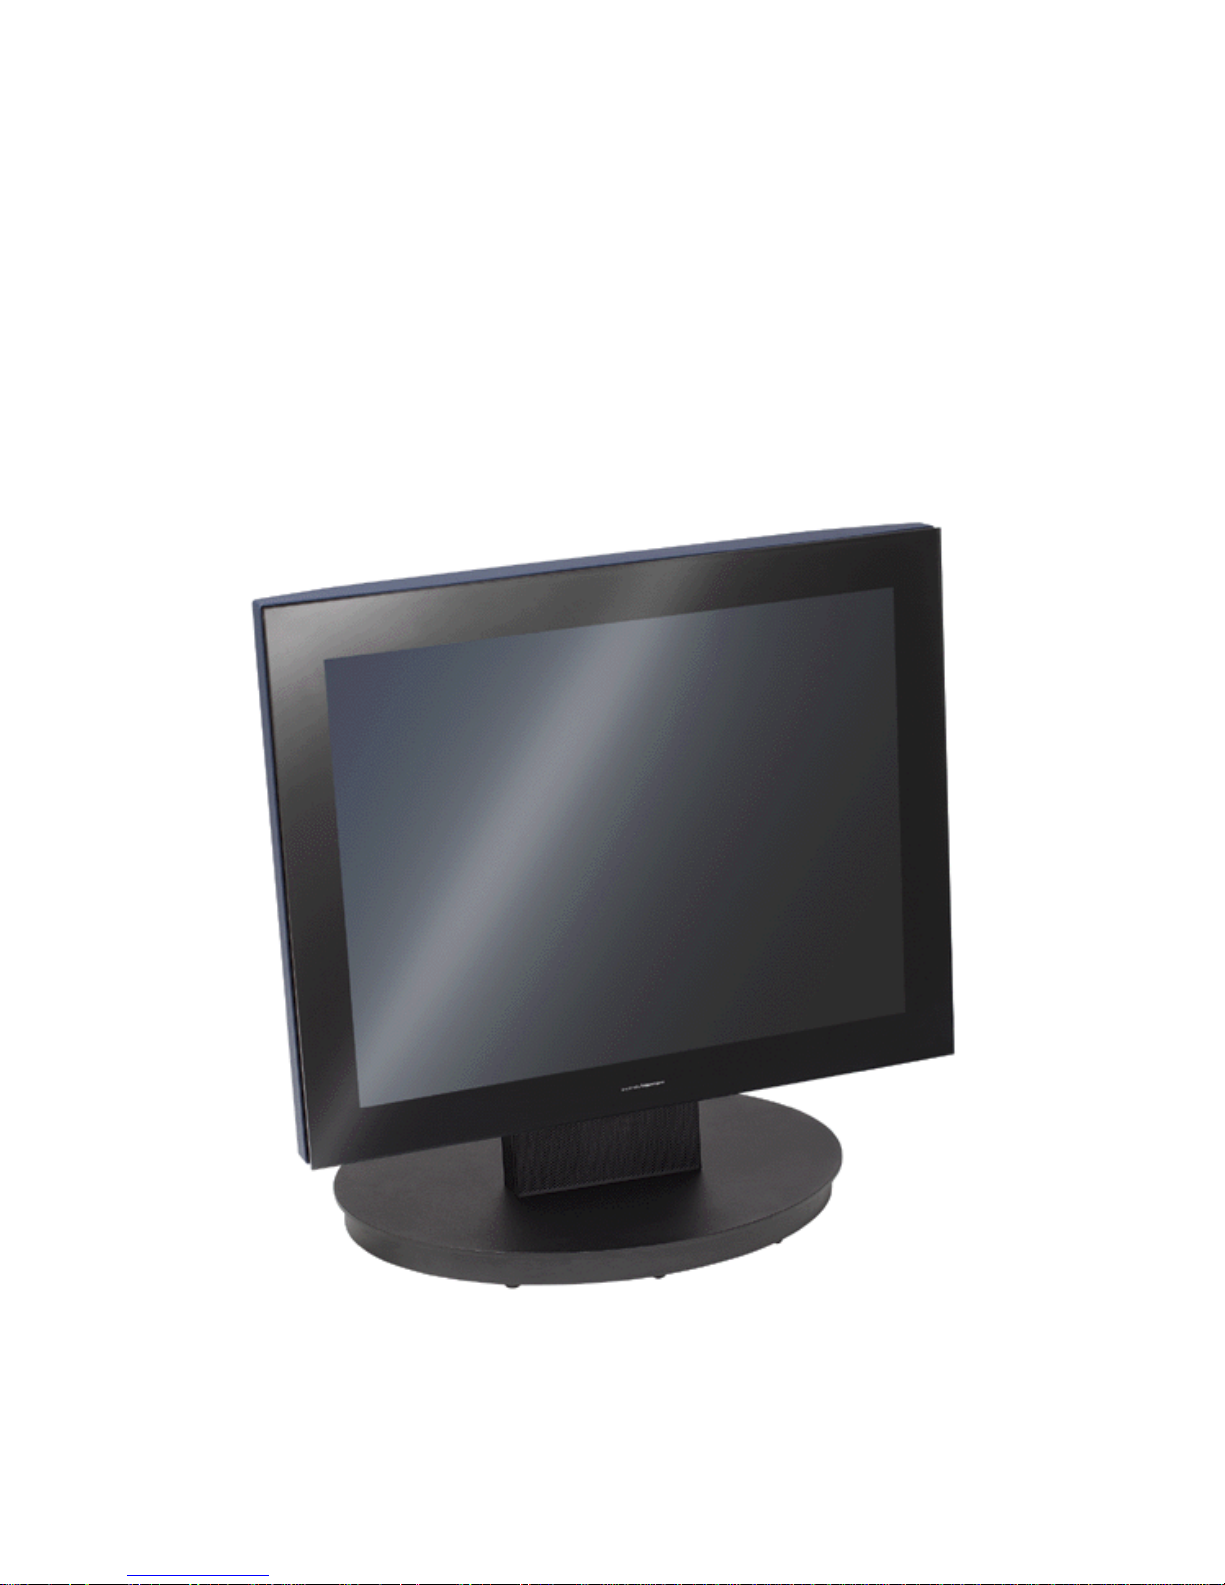
The mermaid ventura 213T and 240T are state of the art high-tech flat panel TFT monitors with resolutions of 1600x1200
and 1920x1200 respectively. They are based on the newest PVA technology, which gives very fast response times and
therefore excellent suitability for video and gaming applications. The monitors are made of steel and hardened glass which
provides excellent stability and strength. The integrated hinge means you are able to adjust the monitor for optimal
viewing angle and comfort.
Connections:
• Analog VGA (D-Sub connector)
• DVI (DVI-I connector)
• S-Video (4-pole Mini-Din)
• CVBS, Composite Video (RCA/Phono connector)
• YUV (YprPb) or Component RGB with Sync on Green (3xRCA/Phono connectors)
Features:
• Graphical icon based OSD menu controlling all the functions of the monitor.
• PIP (Picture In Picture) featuring different placements and sizes.
• Vertical picture split PC/Video with fully configurable content.
• Adjustment of brightness, contrast, hue, sharpness and colour saturation when video input is selected.
• Remote control is optional.
• Accepts refresh rates of between 56 Hz and 75 Hz.
• VESA DPMS power saving compatible.
• 4:3 to 16:9 aspect ratio conversions built in.
2. Important information
Both the 213T and the 240T require a high quality graphics board which incorporates a high bandwidth (the ability to
generate a high quality VGA signal even at high resolutions). In general, older type graphic boards are not suitable to drive
the 213T and 240T. The mermaid ventura 213T is less demanding than the 240T and therefore can be driven by larger
variety of graphics boards. Furthermore, it is important to use cables of good quality and to keep the analog VGA as short
as possible.
If you should decide to drive the monitor by means of DVI, a graphics board with DVI-D or DVI-I output is required. It is
also recommended to use a DVI graphics board which is compatible with the newest DVI 2.XX standard. Older versions
have shown to be incompatible and may provide problems.
When using the monitors with Windows XP, it is recommended that the refresh rate be set to 60 Hz before connecting the
213T or 240T.
Please save the packaging. It has been designed to provide optimal support and protection for the monitor during
transportation.
Page 3 of 18
mermaid ventura 213/240 - Users manual Version 3.0
___________________________________________________________________________________
3. Content of the Box:
• ventura 213T (21”) or ventura 240T (24”) monitor
• PSU (80 Watt)
• Powercord
• HQ VGA cable 1,8 meter
• Users manual
• ”Quickstart” card
• Glass cleaner & screen wiping cloth
4. Unpacking, placement and setup. (PC)
After the box has been opened the monitor and side packing can be lifted out.
21”- First remove the outer two side pieces. Then remove the two inner side pieces from the monitor and carefully lift the
monitor out of box.
24”- It will be necessary to lift the monitor and support material out in one operation.
The monitor needs to be placed on a smooth and stable surface. This surface must be able to safely support 25 kg (213T)
or 30 kg (240T).
Your monitor has been delivered with a standard VGA cable of high quality, intended to be used with standard graphic
boards (analog RGB). If you wish to use DVI, a suitable cable will need to be purchased separately.
Make sure the computer is turned off before connecting the monitor.
• Connect the monitor to the computer, by means of the supplied VGA cable or by means of DVI.
• Connect the PSU to the monitor and AC outlet.
• Turn on the computer and monitor. If nothing happens within approx. 5 seconds, press the OSD button #2 (OSD
counted from the right) until the textbox shown at the upper right corner describes the input of your choice.
• mermaid 213T and 240T monitors are plug & play compatible via VESA DDC1/2B. Windows 98, ME and XP will
recognise this and self configure.
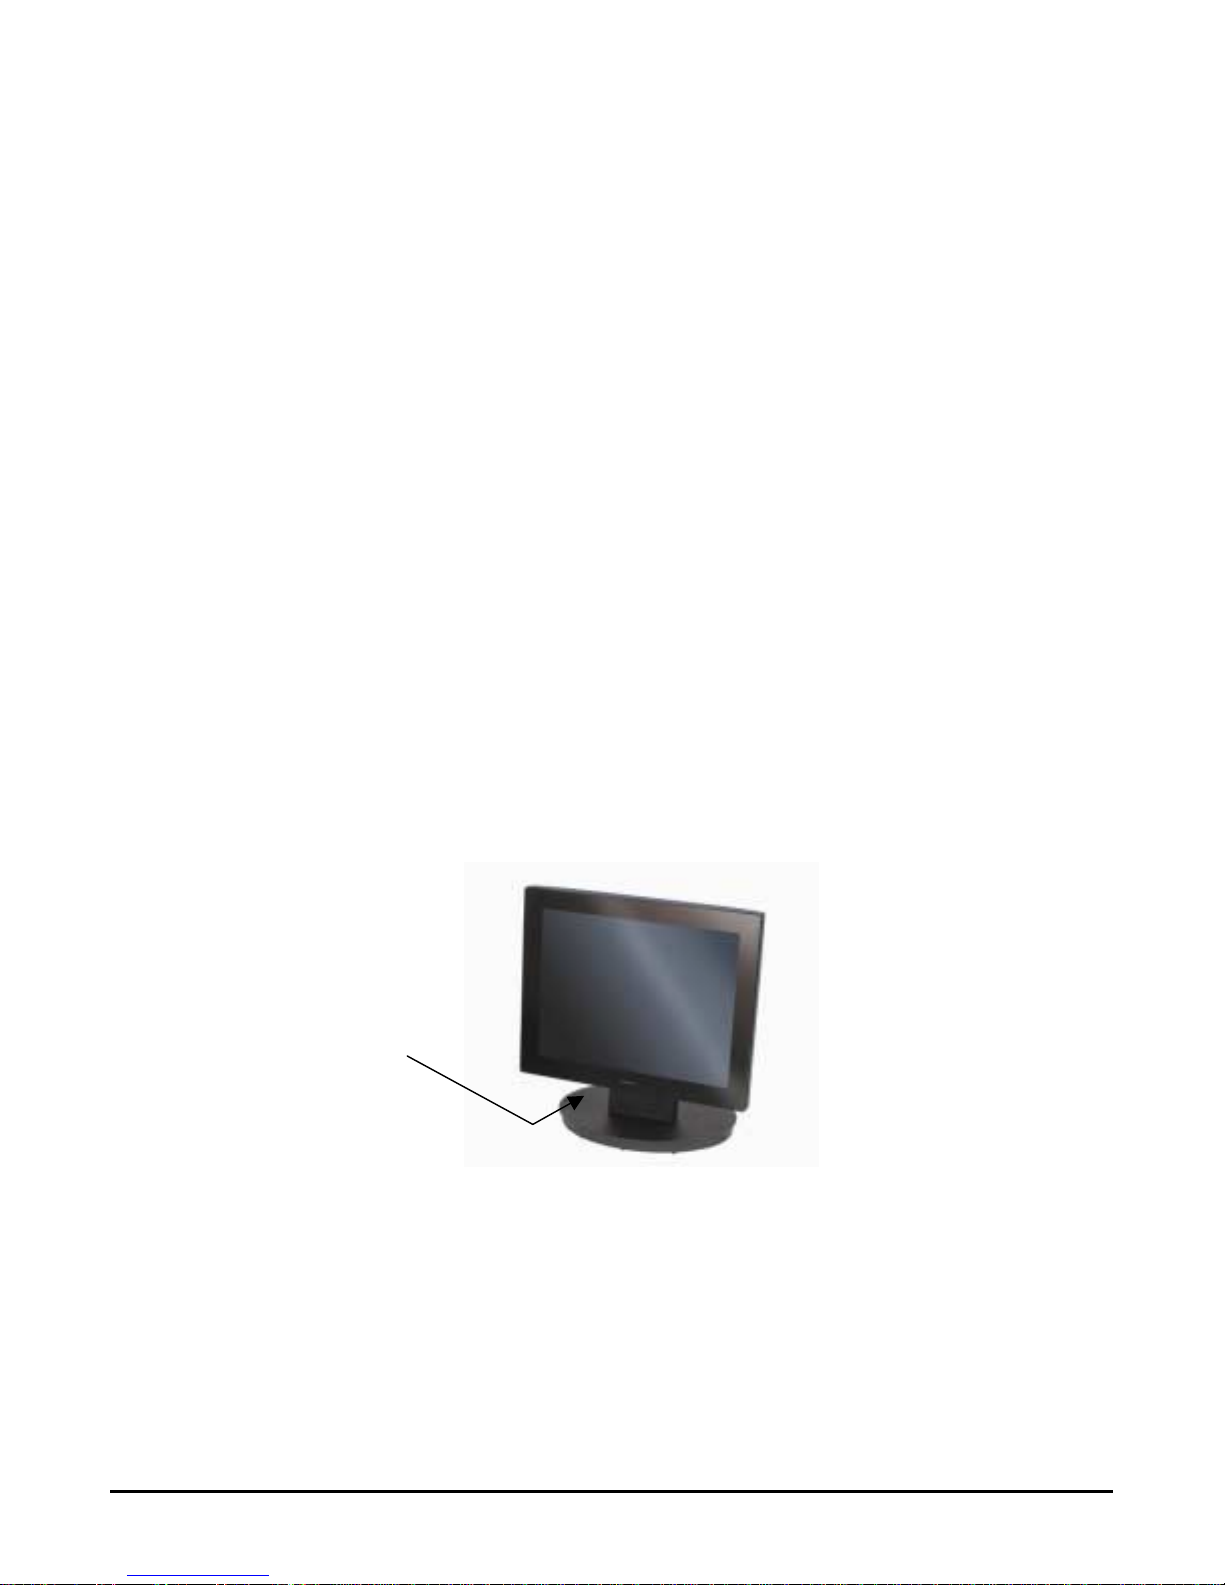
OSD panel is located
beneath the monitor
Page 4 of 18
mermaid ventura 213/240 - Users manual Version 3.0
g
p
___________________________________________________________________________________
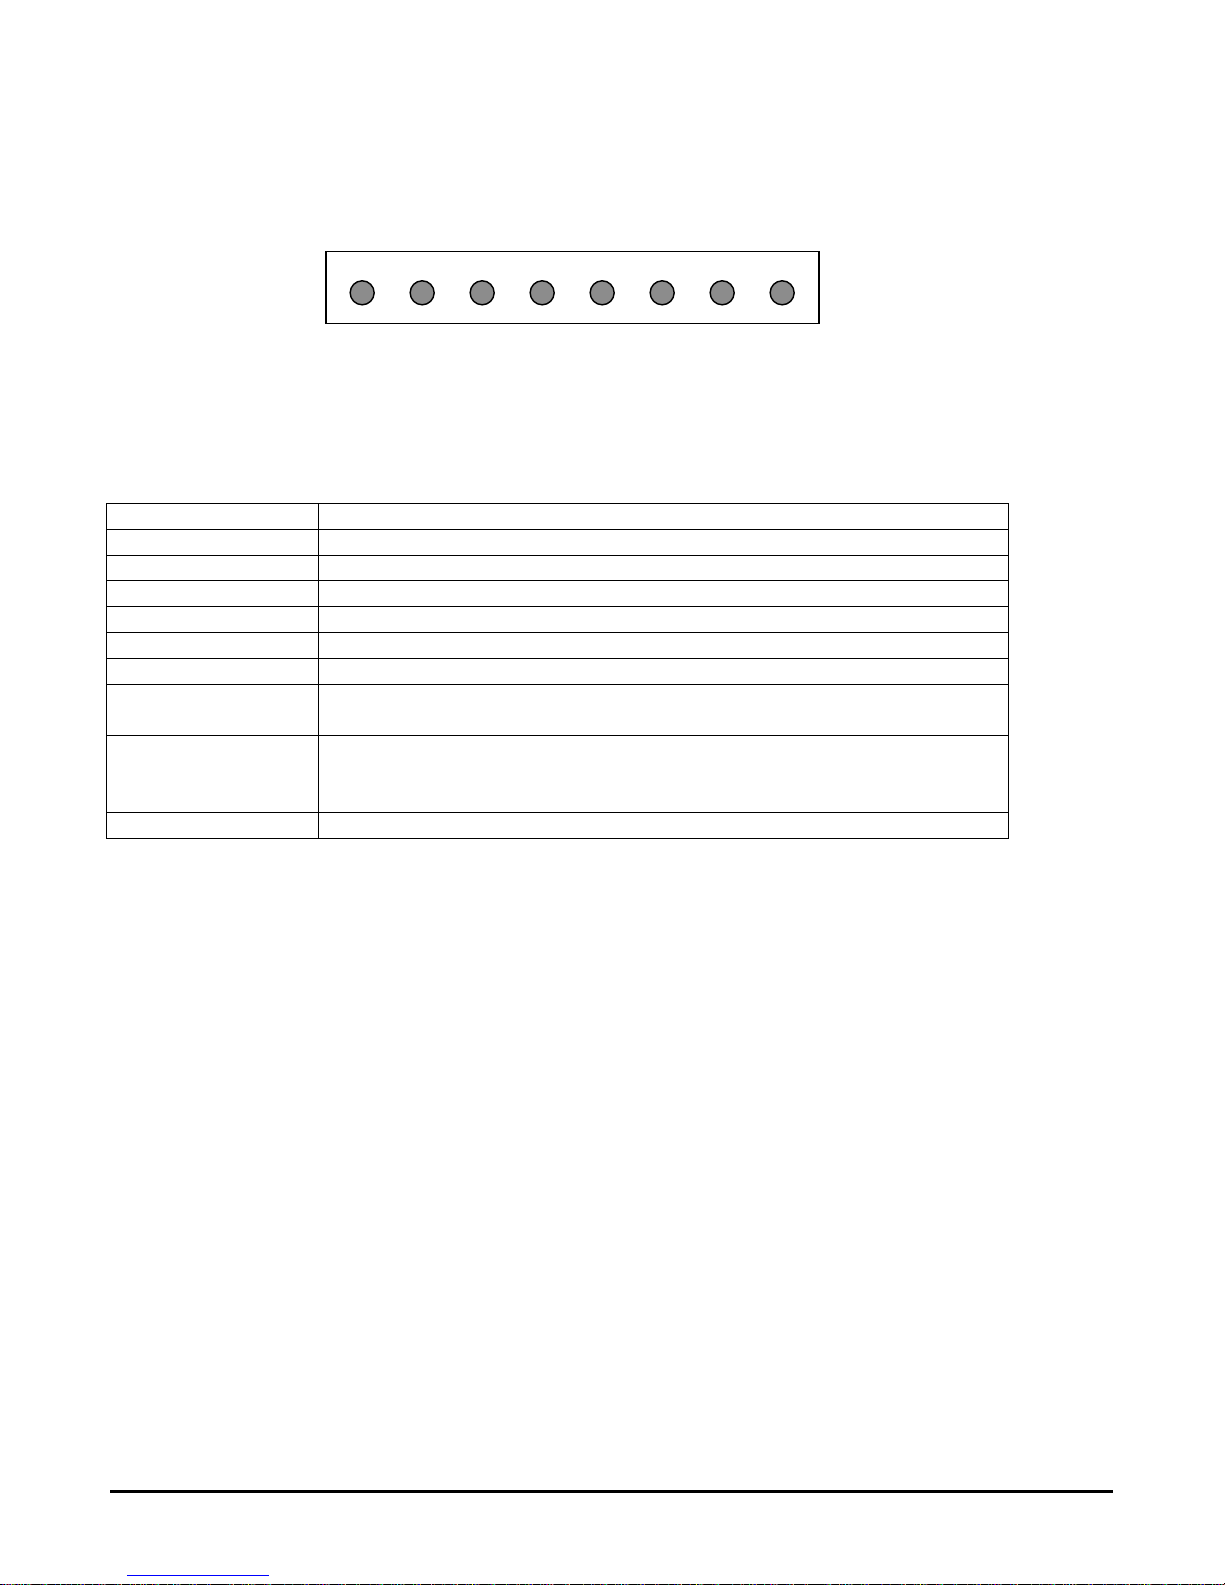
5. OSD Key functions
Function Description
Menu (Hot Key) Activate the OSD
Bright (Hot Key) Activate brightness control OSD
PIP (Hot Key) Activate PIP (Picture-in-Picture) window
Source (Hot Key) Source select Analog RGB->DVI->Video->S-Video->DVD (YPrPb/RGB)
Auto Adj. (Hot Key) Optimize image quality automatically
Select Select the highlighted menu
Down/Left
Up/Right
Exit Exit from menu or sub-menus
Hot Key: MENU Bright Bright N/A N/A PIP Source Auto Adi.
Normal: Select Down Up Exit N/A PIP Source Auto Adi.
Left Ri
Moves the selector right or left on the OSD
Increase of decrease the value of selected
Exit from OSD menu
Turns PIP off
ht Pre-Menu swa
PIP Swap the PIP sources
Page 5 of 18
mermaid ventura 213/240 - Users manual Version 3.0
___________________________________________________________________________________
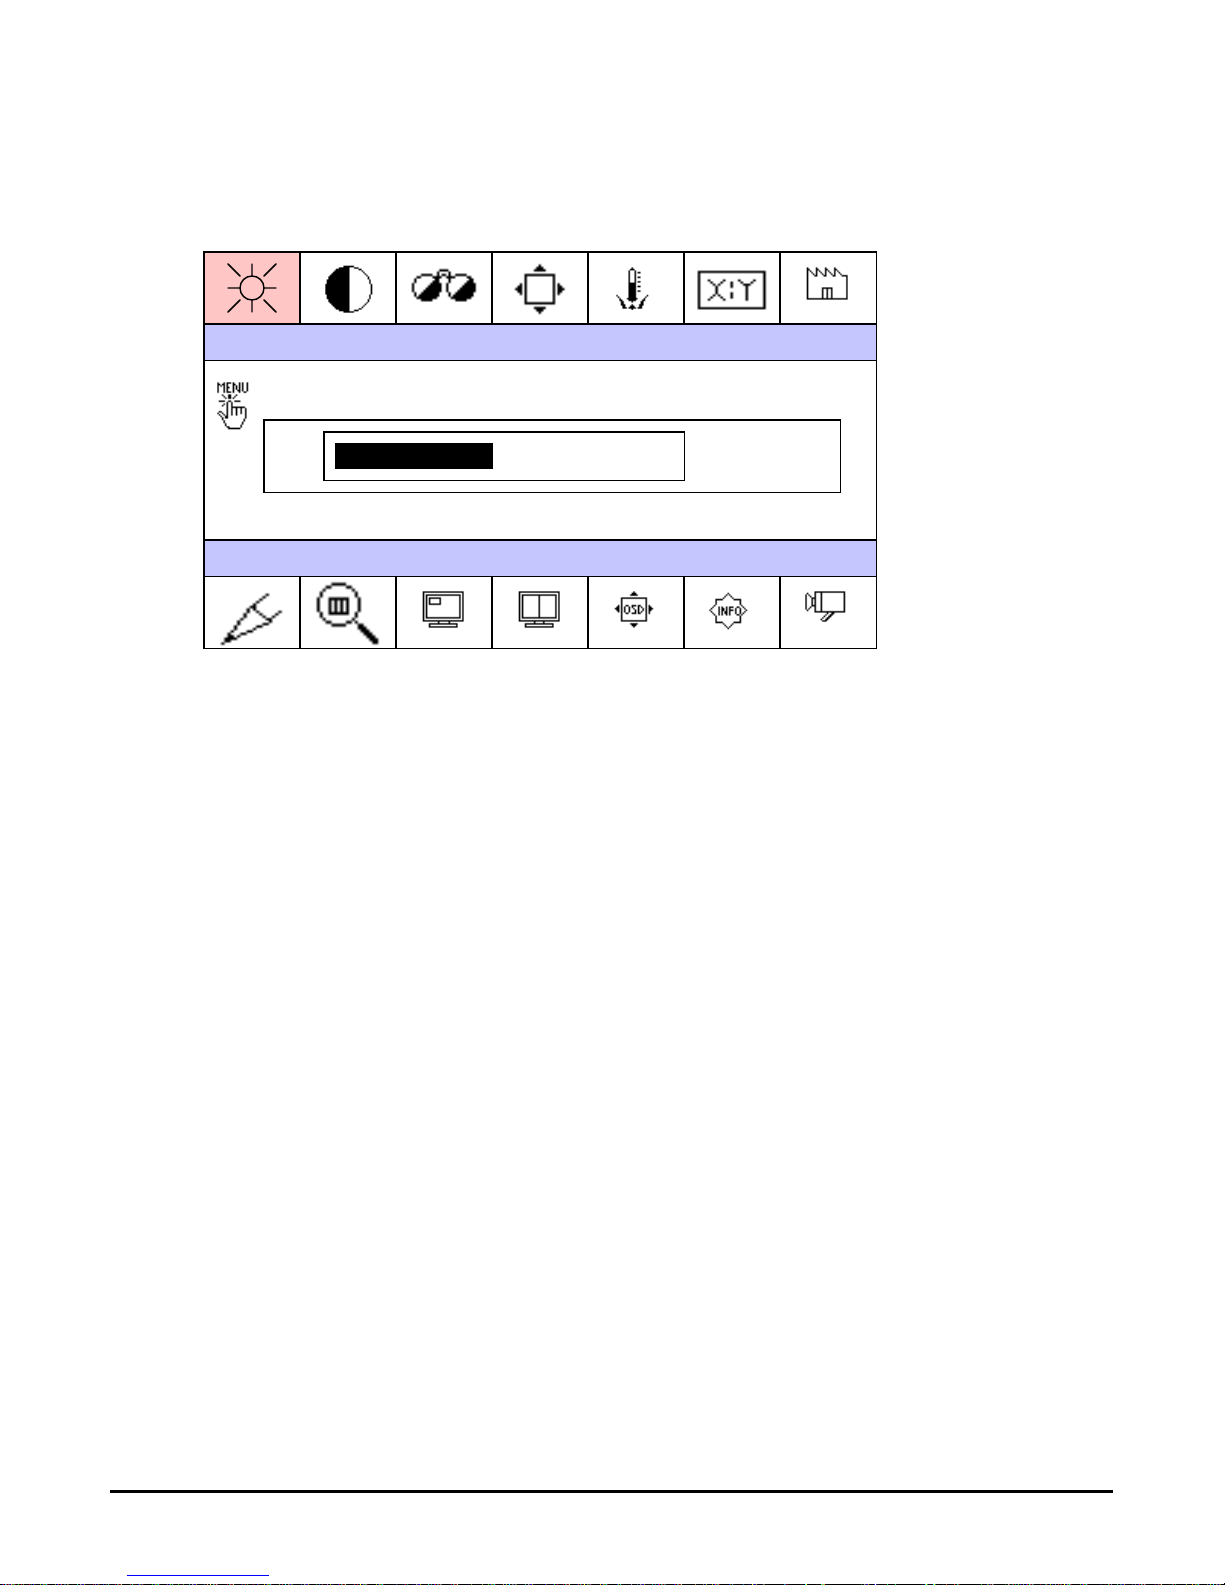
6. OSD Menu
1
8
Main Menu Sub-Menu
1. Brightness
2. Contrast
3. Image control H-Size / Phase
4. Image position H-position / V-position
5. Color control Mode / R / G / B
6. Aspect ratio Wide expand / Expand / Normal (1:1)
7. Default setting Power Resume/Power Save/Default load / Color load
8. Sharpness Sharpen / Medium / Soften
9. Zoom Zoom / H-panning / V-panning
10. PIP Size / H-position / V-position
11. PBP Mode / PC Source / Video Source(Composite/S-video/Component)
12. OSD Language / Transparent / OSD position / OSD timeout
13. Info (Video information)
14. Video control Brightness / Contrast / Saturation / Hue / Enhance/Component
-
9
2
3 4 5 6 7
+
50
10 11 12 13 14
Page 6 of 18
 Loading...