

User Guide
Instruction manual
Feel Design
User Guide
User Guide
Instruction manual
Instruction manual
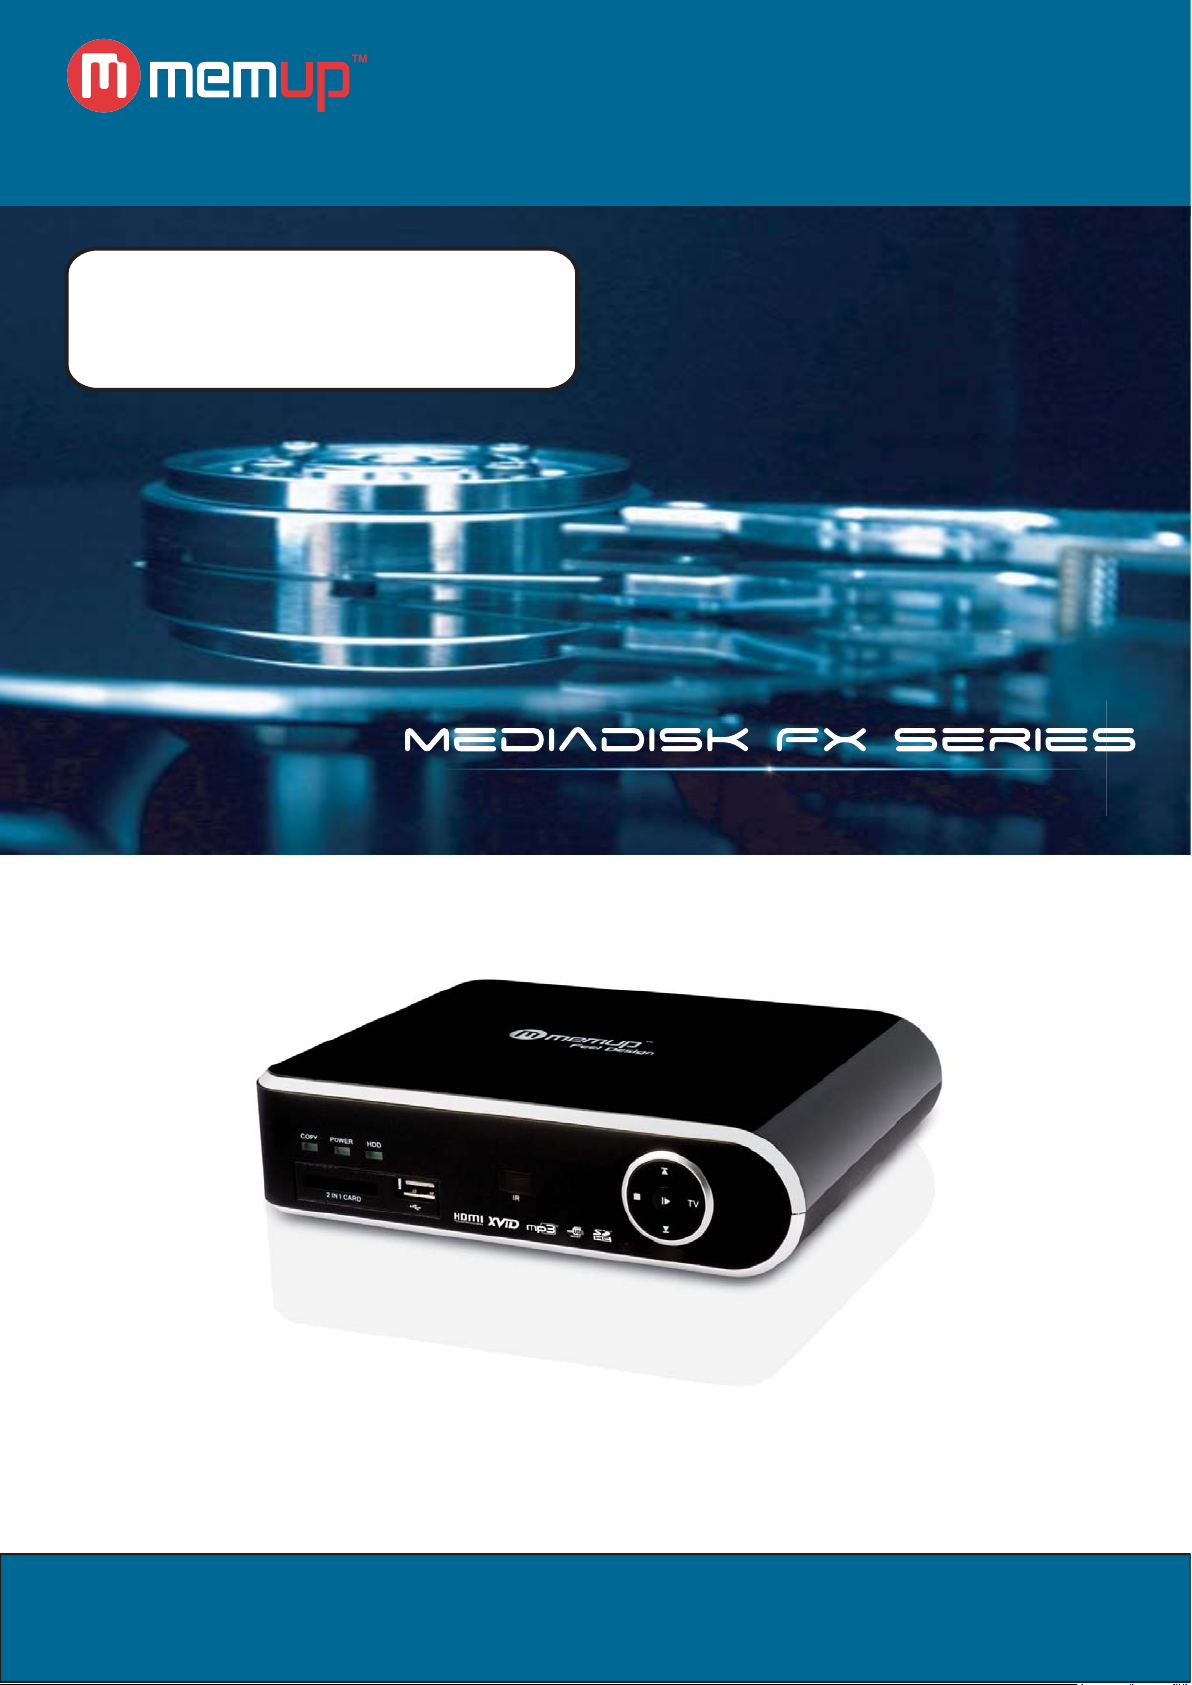
MEDIADISK FX SeriesMEDIADISK FX Series
USER GUIDE
SAFETY AND OTHER INSTRUCTIONS 1
REMARKS
PRODUCT VIEW
ACCESSORIES
REMOTE CONTROL
PRODUCT USE
MEDIA PLAYBACK
SETUP MENU
2
2
2
3
4
7
9
SPECIFICATIONS
FAQ
10
10
SAFETY AND OTHER INSTRUCTIONS
Please use Mediadisk FX carefully and read following instructions.
>>> Copyright
Software, audio, video or any intellectual
properties are protected by copyright and
international laws.
It is user’s responsibility when reproducing or
distributing content(s).
>>> Codec Check
This product may not support some media
formats. Please check available codec types.
>>> Data Backup
Please backup datas stored in this product in a
safe place. We are not responsible for any
data loss or damage.
>>> Drop / Shock
Do not give shock or drop the Mediadisk FX.
This may damage it.
>>> Foreign Substance
Do not insert any metal or inflammable foreign
substances into player. This may damage it.
>>> Disassembly / Modification
Do not attempt to disassemble or modify any
part of Mediadisk FX. This may damage it.
Any product modification may void the
warranty.
>>> Load
Do not place any heavy object on the top of
the Mediadisk FX. This may damage it.
>>> Chemicals
Do not clean product using chemicals cleaners.
This may damage the Mediadisk FX.
>>> Water / Moisture
Do not contact the Mediadisk FX with water or
liquid.
This may cause fire or electric shock. If any
conductive liquid enters, turn off the Mediadisk
FX and disconnect power adapter immediately.
>>> Magnet or Magnetic Properties
Do not place the Mediadisk FX near a
magnetic field. This may cause a malfunction
or damage stored data.
>>> Heat
Do not place the Mediadisk FX under direct
sunlight or near a heat source. Do not keep it
for long time in high temperature. This may
damage it.
>>> Vision / Hearing
Do not watch TV or hear loud sound for long
time. This may cause vision or hearing problem.
>>> Fire
During Mediadisk FX use, if you detect smoke
or unusual smell, turn off product, disconnect
adapter immediately, and call the aftersales
department if required.
>>> Children
Do not let children touch the Mediadisk FX.
They may damage it.
>>> Power
Do not use many electronic products with
single outlet.
Firmly insert power plug. When working, do
not unplug.
- 1 -

REMARKS
To facilitate file searches, the user is recommended to create 3 folders, respectively named “music”,
1.
“photo” and “movie” in the external device and then place the corresponding file into each folder.
You could either select by media with icons or by explorer with “Explorer” icon.
2. Plug AC adapter
3. Press [Play] button for 3 seconds on front panel or [Power] on remote control, the Mediadisk will
switch on as the LED will turn on
4. Press [TV] on front panel or [TV Out] on remote control to check output
5. Press [Play] button again for 3 seconds (during playback) to switch it off, the blue LED then
disappear.
PRODUCT VIEW
KEY FUNCTION
Power supply Connect to power
USB Host Connect any USB device: external HDD, USB key, MP3 players, …
Card Reader Connect SD/MMC memory card
HDMI output Connect to your TV with HDMI cable (not supplied)
Scart output Connect to your TV with Scart cable (not supplied)
Coaxial output Connect to your Hifi System with coaxial cable (not supplied)
AV output Connect to your TV or audio system with composite AV cable
(supplied) with scart adapter if necessary
ACCESSORIES
N° Item Quantity
1 Mediadisk FX 1
2 Remote Control 1
3 AV Cable 1
4 Scart adapter 1
5 USB Cable 1
6 Power Adapter 1
7 CD 1
8 Quick Starter Guide 1
- 2 -

REMOTE CONTROL
KEY FUNCTION
POWER
MUTE
TV SYSTEM
SETUP
DVD
SUBTITLE
GOTO
MENU
RETURN
INFO
COPY
Enter
■
+
-
MOVIE
MUSIC
Power ON/OFF
Audio mute ON/OFF
TV Output Mode(CVBS/HDMI
All kinds of Parameter Settings:
Press “Setup “ to Return Menu;
Play Video_TS folder Like DVD
SRT.SSA.ASS.SUB.ASS.TXT
Select Playback time when playing Video
Main MENU
Return to Previous Menu;
Return to Home when to press it in Main Menu
File properties;
Display playback time when playing video;
Press ”COPY” to realize Copy/Paste function for FAT
32 only
Enter to select to playback
Move Up
Move Down
Move Left;
Move Right
Pause/Play
Stop
Volume Inc reases
Volume Decreases
Shortcut Key for Video Menu
Shortcut Key for Music Menu
PHOTO
SLOW
Shortcut Key for Photo Menu
Press “Slow” to enter slow playback status, there are
3 selectable speeds 2×/4×/8×.Press ENTER key to
return to normal playback
fast backward
Fast forward
Previous
Next
- 3 -

PRODUCT USE
Coaxial mode
Make sure your Mediadisk FX and Hifi System are correctly plugged with a coaxial cable (not included).
Connect composite AV cable
Make sure your Mediadisk FX and TV are correctly plugged with a jack/RCA cable (included), using
scart adapter if necessary.
Then, press [TV SYSTEM] button on Mediadisk FX remote control to choose the AV output mode. The
menu appears on TV if correct AV input is selected.
- 4 -

HDMI mode
Make sure your Mediadisk FX and TV are correctly plugged with an HDMI cable (not included).
Then, press [TV SYSTEM] button on Mediadisk FX remote control to choose the HDMI output mode.
The menu appears on TV if correct HDMI input is selected.
Scart mode
Make sure your Mediadisk FX and TV are correctly plugged with an Scart cable (not included).
Then, press [TV SYSTEM] button on Mediadisk FX remote control to choose the AV output mode. The
menu appears on TV if correct AV input is selected.
- 5 -

USB Host
Once an USB device is connected, select folders in menu “Explorer” to display the content.
Warning:
Some video playback can slow down if the bitrate is too high (over 7MB / s), indeed, data transfer
is too high and is limited by the USB output. Only 500MA electric current supply for USB host.
Card Reader
Once a memory card is connected, select folders in menu “Card” to display the content.
- 6 -

MEDIA PLAYBACK
When you switch on Mediadisk FX for the first time, you will find the main menu after a few seconds.
Please use [] or [] to select the device you want to enter, then chose your media type between
“VIDEO”, “MUSIC”, “PHOTO”, “SLIDE” and “EXPLORER”.
Video Menu
Use [] or [] to select the file you want to play. Confirm your selection by pressing [Enter] button to
play the file you want.
Only Video files will be displayed under “Video” Menu. Other media files such as Audio or Photo files
won’t be displayed in this menu.
Warning: Mediadisk FX needs a few seconds to load some video file with high bitrate for example. For
large files, it may need more time, depending on file length and file settings.
Some media files such as WMV, ASF or MOV can’t be played with this device. Some AVI files may not
be played also. Please use a Video Converter to convert those files into the specific media formats.
Music Menu
Use [] or [] to select the menu you want to enter. Confirm your selection by pressing [Enter] button to
play the file you want.
Only Audio files will be displayed under “Music” Menu. Other media files such as Video or Photo files
won’t be displayed in this menu.
- 7 -

Photo Menu
Use [] or [] to select the menu you want to enter. Confirm your selection by pressing [Enter] button to
play the file you want.
Only Photo files will be displayed under “Photo” Menu. Other media files such as Video or Audio files
won’t be displayed in this menu.
Slide Menu
Please use [] or [] to select the menu you want to enter. After you enter one menu, please use [] or
[] to select the file you want to play. When you confirm your selection, please press [Enter] to play the
movie you want.
Explorer
Use [] or [] to select the file you want to play. Confirm your selection by pressing [Enter] button to
play the file you want. All kind of medias are displayed here with the different USB device folders.
- 8 -

SETUP MENU
Press [SETUP] button of the Mediadisk FX remote control, the following interface will appear :
General settings
OSD Lang: Select the language to display the SETUP MENU, information and Movie subtitle.
Screen Saver Control the screen saver.
Rom Version: Check the software version.
Audio setup
Downmix: Select Right/Left stereo
Audio Out: Select the Audio quality between Analog / SPDIF RAW and SPDIF PCM (default)
LPCM Output: High Audio Quality selected
Video setup
TV Display: Screen display control
TV Type: TV Norm display control
Video Output: Video output mode control. Select between: Scart and CVBS (for AV output) /
720p and 1080i (for HDMI output)
Preferences setup
Defaults: When this function is activated, all settings will be reset to factory defaults.
Slide Time: Playback interval time
Slide Mode: Select Playback effect mode
Note:
Photo Digest: Switch between preview and playback list
Power Resume: Resume playback at the same place where it stops due to power cut off.
No transition effect with 720p & 1080i in Slideshow Menu
Once you set your preferences, press [Setup] button to go back to main menu.
- 9 -

SPECIFICATIONS
CONTENT FORMAT SUPPORTED:
Video: MPEG1/2/4, XVID, VCD, ISO DVD files
Format: AVI / MPG / MPEG / DAT / VOB
Photos: JPEG, JPG
Audio: MP3 / WMA / AAC / OGG
Subtitles: SRT, SSA, SUB, TXT
VIDEO OUTPUT SPECIFICATION
Image Resolution Up to 1920 x 1080i
CONNECTIONS
USB host port USB full speed port x 1
Card reader SD HD / MMC
Supported HDD 3.5"HDD (NTFS read only/FAT32)
Video Output HDMI, Scart, Jack/RCA Connector (yellow end) x 1
Audio L/R HDMI, Coaxial, Jack/RCA Connector (white/red ends) x 1
GENERAL
Power Supply AC 100~240V - 50~60Hz
Operating +5°C to +40°C (+36°F to +104°F)
Operating Humidity 5% to 80% RH
Dimensions (W/H/D) L185,5 cm X H162 cm X P4,9 mm
Net Weight Approx. 1400 grs
Note: The specifications and design of this product are subject to change without any notice
FAQ (FREQUENTLY ASKED QUESTIONS)
Q: When power is on, nothing appears or screen is shaking?
A: Video output mode is not properly set, press [TV SYSTEM] on remote control to change output
mode until it is properly set.
Q:It works well, but the data transfer speed is very slow, why?
A:Please check the USB port version of your computer.
Q: My file slow down when I read it with the USB Host?
A: Some files require a lot of resources, reading files with a too high bitrate are limited by the USB
connection and data transfer.
However, once copied into the hard drive, playback is smoother.
- 10 -
 Loading...