

Page 1
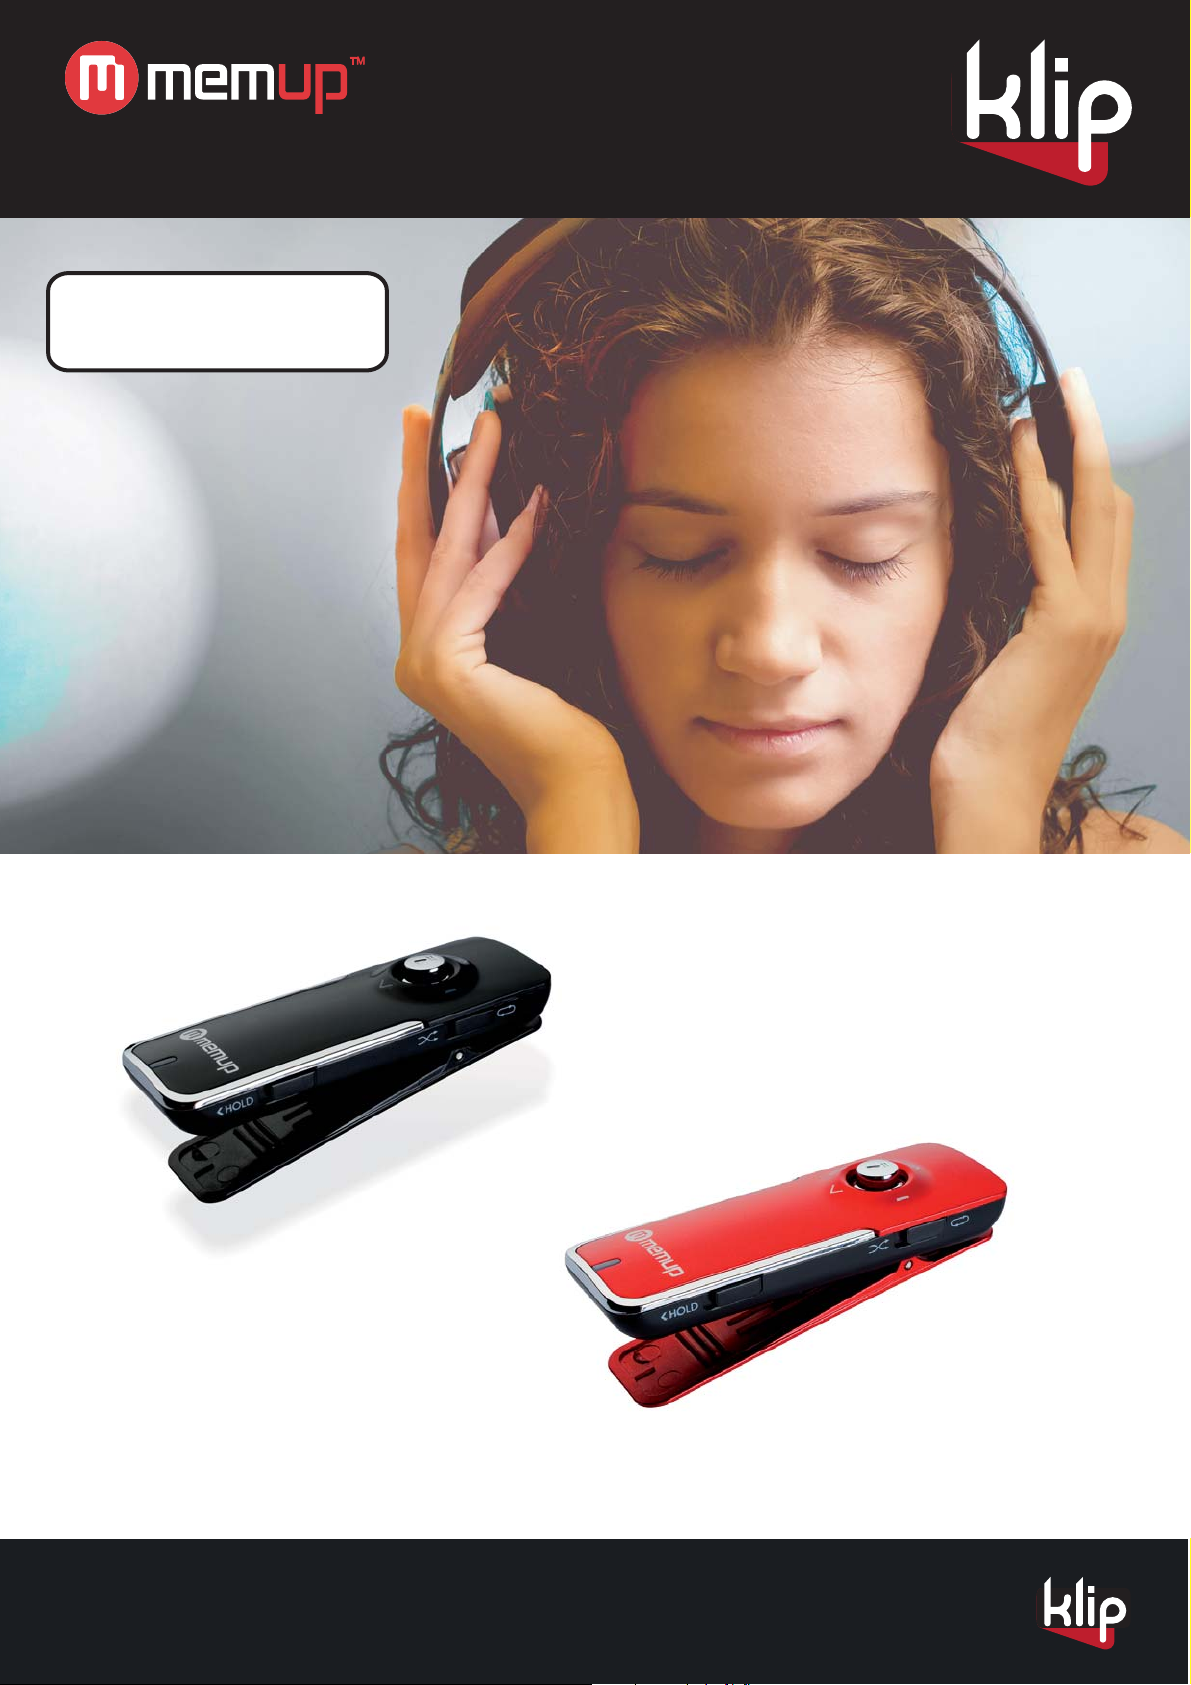
Feel Design
User Guide
Page 2

Important Safety Instruction
1. Read and follow Instructions: All the safety and operating instructions should be read before
the product is operated.
2. Cleaning: Unplug this product from the wall outlet before cleaning. Do not use liquid cleaners
or aerosol cleaners. Use a damp cloth for cleaning.
3. Attachments: Use only attachments recommended by Memup.
4. Water and Moisture: Do not use this product near water.
5. Accessories: Use only with carts, stands, tripods, brackets, or tables recommended by
Memup or sold with the product.
A product and cart combination should be moved with care. Quick stops, excessive force, and
uneven surfaces may cause the product and cart combination to overturn.
6. Ventilation: Slots and openings in the cabinet are provided for ventilation to ensure reliable
operation of the product and to protect it from overheating. These openings should never be
blocked by placing the product on a bed, sofa, rug, or other similar surface.
7. Power Sources: This product should be operated only from the type of power source
indicated on the rating label. For products intended to operate from battery power or other
sources, refer to the operating instructions.
8. Lightning: For added protection for this product, unplug it from the wall outlet and disconnect
the antenna or cable system during a lightn ing storm or when it is left unattended and unused for
long periods of time. This will prevent damage to the product due to lightning or power-line surges.
9. Object and Liquid Entry: Never push objects of any kind into this product through openings
as they may touch dangerous voltage points or shout-out parts that could result in a fire or
electric shock. Never spill liquid of any kind on the product.
10. Servicing: Do not attempt to service this product yourself as opening or removing covers
may expose you to dangerous voltage or other hazards. Refer all servicing to qualified service
personnel.
11. Damage Requiring Service: Unplug this product from the wall outlet and refer servicing to
qualified service personnel under the following conditions: a) when the power-supply or plug is
damaged; b) if liquid has been spilled or if objects have fallen into the product; c) if the product
has been exposed to rain or water; d) if the product does not operate normally by following the
operating instructions. Adjust only those controls that are covered by the operating instructions
as improper adjustment of other controls may result in damage and will often require extensive
work by a qualified technician to restore the product to its normal operation; e) if the product has
been dropped or damaged in any way; f) when the product exhibits a distinct change in
performance—this indicates a need for service.
1
Page 3

Wall or Ceiling Mounting: The product should be mounted to a wall or ceiling only as
12.
recommended by the manufacturer.
Heat: The product should be situated away from heat sources such as radiators, heat
13.
registers, stoves, or other products (including amplifiers) that produce heat.
Table of Contents
PACKAGE CONTENTS................................... 3
FEATURES....................................................... 3
GETTING STARTED........................................ 4
Controls at a Glance......................................... 4
Powering KLIP.................................................. 4
Charging KLIP................................................ 5
Turning KLIP On/Off ...................................... 5
Locking/Unlocking KLIP’s Keys (Hold) ............. 5
PLAYING MUSIC ............................................. 5
Music Playback Controls .................................. 5
Random Playback (Shuffle).............................. 6
CONNECTING TO A COMPUTER .................. 6
Transferring/Managing Files.......................... 6
Disconnecting from a Computer .................... 7
TROUBLESHOOTING..................................... 7
SPECIFICATIONS............................................ 8
2
Page 4

Package Contents
Please make sure that the items shown below are included in the package. Should an item be
missing, please contact the local retailer from which you purchased this product.
1. KLIP
2. Stereo Earphones
3. USB Adapter
4. Quick starter Guide
Features
Integrated flash memory
•
Plays MP3 and WMA digital music files
•
Random (shuffle) music playback
•
Hold feature prevents accidental key presses
•
Mobile data storage function
•
USB 2.0 for fast file transfers
•
Integrated rechargeable battery
•
3
Page 5

Getting St arted
Controls at a Glance
1. Play/Pause: OK
Press Joystick, Power On/Off: Press and Hold Joystick
2. Volume Up +
3. Previous/Reverse <
4. Next/Forward >
5. Volume Down -
6. LED Status Indicator
7. Headphone Output Jack
8. USB Port
9. Random Switch
10. Hold Switch
Powering
KLIP has an integrated rechargeable battery. Typical music playtime is up to 4 hours.
Upon initial use, the battery should be charged fully (4 hours) to ensure optimal performance and
battery life.
Music play time is an estimated value. Actual play time may vary depending on encoding me thod
used and other factors.
4
Page 6
Charging
KLIP can be charged through a PC USB connection. Plug one end of the USB cable into the
player’s USB Port and plug the other end into the USB port of a powered-on computer.
If the player is connected to a computer through a USB hub, the hub must be self-powered to
charge the player’s battery.
File transfers will extend the charging time.
The battery used in this device may present a fire or chemical burn if mistreated. Do not
disassemble, incinerate, or heat the battery.
Do not connect the player to a power source other than that which is indicated here or on the
label as this may result in the risk of fire or electric shock.
Turning KLIP On/Off
To turn KLIP on, hold OK until the LED indicator lights up.
•
To turn KLIP off, hold OK until the LED indicator darkens.
•
Locking/Unlocking KLIP’s Keys (Hold)
When engaged, the Key Lock feature disables KLIP’s controls to prevent accidental key presses
when it is in your pocket or bag.
To lock the player, slide the HOLD switch to the left in the direction of the “HOLD >” symbol.
•
To unlock the player, slide the HOLD switch to the right in the direction away from the “HO LD
•
>” symbol.
Play Music
Music Playback Controls
Use the following controls during music playback. The LED indicator will flash during music
playback.
Key Action
Press OK Start/Pause music playback.
Press < Play the previous track.
Press > Play the next track.
Hold < Reverse through the current track.
While playback is paused, press OK to resume.
Function
5
Page 7

Key Action
Hold > Fast-forward through the current track.
Press - Decrease the volume level.
Press + Increase the volume level.
Function
For more information about how to get music onto KLIP, please refer to the section “Connecting
to a Computer > Transferring Files”.
Random Playback (Shuffle)
KLIP can play all music files in Normal (repeat) or Random order.
To play tracks in normal (repeat) order, set the RANDOM switch to the Repeat position.
•
To play tracks in random order, set the RANDOM switch to the Random position.
•
Connecting to a Computer
Connect Klip to a computer with the USB cable provided to:
Transfer files to and from the player
•
Perform basic file management functions.
•
Upon connection:
Your computer will automatically recognize the player as a Removable Disk. An icon
•
representing “KLIP” will appear under “Devices with Removable Storage” when you open “My
Computer”.
It may take Windows several minutes to recognize and set up the device the first time it is
•
connected depending on your hardware configuration .
If you are using Windows 98 SE, you may need to install a USB driver on your computer. Please
download and install the provided driver.
Transferring/Managing Files
The USB 2.0 connection makes it easy to transfer music quickly between the player and your
computer. Simply use the player as you would any removable disk using basic operating system
commands. You can also use KLIP to store video, photo, or any other type of files. If you need
further assistance with transferring and managing files, please refer to your operating system’s
instruction manual or on-screen help. If you are using media management software such as
iTunes, Winamp, or Windows Media Player, please refer to their documentation for support. Do
not disconnect or otherwise interrupt the player during file transfer—this could damage or corrupt
the player’s firmware or your files.
6
Page 8

Disconnecting from a Computer
Disconnect KLIP as instructed below to prevent data loss or file/firmware corruption.
Microsoft Windows
1. Double-click the green arrow in the taskbar located on the lower-right side of the compute r
screen (Safely Remove Hardware).
2.
Safely Remove Hardware:
Select “USB Mass Storage Device” from the list that appears and then click on “Stop”.
Stop a Hardware Device:
then click on “OK”.
3. When the “Safe to Remove Hardware” window appears, click the OK button and disconnect
the USB cable from the player and your computer.
Macintosh OS X
1. On the left side of the Finder Window, identify the appropriate Removable Disk icon.
2. Click on the “Eject” arrow on the right of the Removable Disk icon.
3. Disconnect the USB cable from the player and your computer.
Select “USB Mass Storage Device” from the list that appears and
Troubleshooting
If you have a problem with this device, please read the troubleshooting guide below.
The player does not turn on.
Ensure that the player is fully charged. Try charging the player overnight (8 hours).
Ensure that the Hold/Lock switch is disengaged.
The buttons do not work.
Ensure that the player is fully charged. Try charging the player overnight (8 hours).
Ensure that the Hold/Lock switch is disengaged.
I cannot transfer files to the player.
Ensure that your computer is running a supported operating system.
If using a USB extension cable, ensure that it is securely attached to the player and the PC, or try
using another USB cable.
If you have connected the player through a USB hub, try connecting the player directly to your
computer.
Ensure that the player’s memory capacity is not full.
Ensure that the Hold/Lock switch is disengaged.
There is no sound during playback.
Check the volume level.
Ensure that the headphones are attached securely to the player.
7
Page 9

The sound quality of the music is poor.
Try playing the file on your computer. If the sound quality is still poor, try downloading the file
again or re-encoding the file yourself.
Ensure that the bit rate of the file is not too low. The higher the bit rate of the file, the better it will
sound. The minimum recommended bitrate is 128kbps for MP3s and 96kbps for WMAs.
Try lowering the volume of the player.
Ensure that the headphones are attached securely to the player.
The player will not play my music file.
Ensure that the file is in a compatible format.
The file may be copy-protected and you no longer have authorization to play this file. If you feel
this is in error, please contact the service from which you downloaded the file.
Specifications
Display Type
Memory
Audio Format
Support
PC Interface
Plug and Play
Support
Audio Output
Signal-to-Noise Ratio
Frequency Response
Power Supply
Unit Dimensions
LED Indicator
Integrated Memory
USB 2.0 Hi-Speed (MSC)
3.5mm Stereo (Headphone)
Rechargeable Li-Poly Battery
2.52” x 0.86” x 0.34” (WHD)
MP3, WMA (>64kbps, Class 1)
Windows 98SE/2000/ME/XP or newer
Mac OS X
90dB
20Hz - 20kHz
USB Charge
8
 Loading...