

Page 1
MKA382
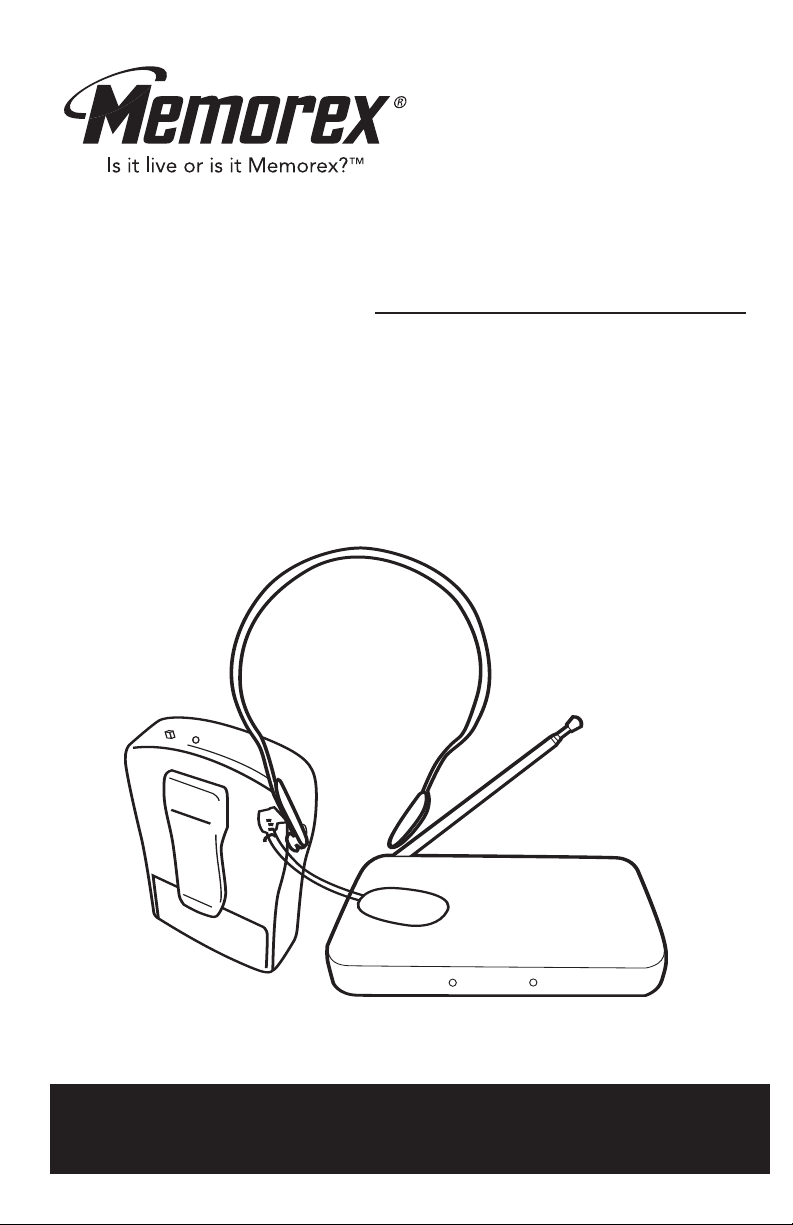
User’s Guide
Wireless Microphone
Before operating this product,
please read these instructions completely.
Page 2

SAFETY PRECAUTIONS
FCC INFORMATION
This equipment has been tested and found to comply with the limits for a
Class B digital device, pursuant to Part 15 of the FCC Rules. These limits are
designed to provide reasonable protection against harmful interference in a
residential installation. This equipment generates, uses and can radiate radio
frequency energy and, if not installed and used in accordance with the
instructions, may cause harmful interference to radio communications.
However, there is no guarantee that interference will not occur in a particular
installation. If this equipment does cause harmful interference to radio or
television reception, which can be determined by turning the equipment off
and on, the user is encouraged to try to correct the interference by one or
more of the following measures:
• Reorient or relocate the receiving antenna.
• Increase the separation between the equipment and receiver.
• Connect the equipment into an outlet on a circuit different from that to
which the receiver is connected.
• Consult the dealer or an experienced radio/TV technician for help.
PLEASE KEEP ALL PACKAGING MATERIAL FOR AT LEAST
90 DAYS IN CASE YOU NEED TO RETURN THIS PRODUCT
TO YOUR PLACE OF PURCHASE OR MEMOREX.
1
Page 3
1 2 3
6 74 5
+
-
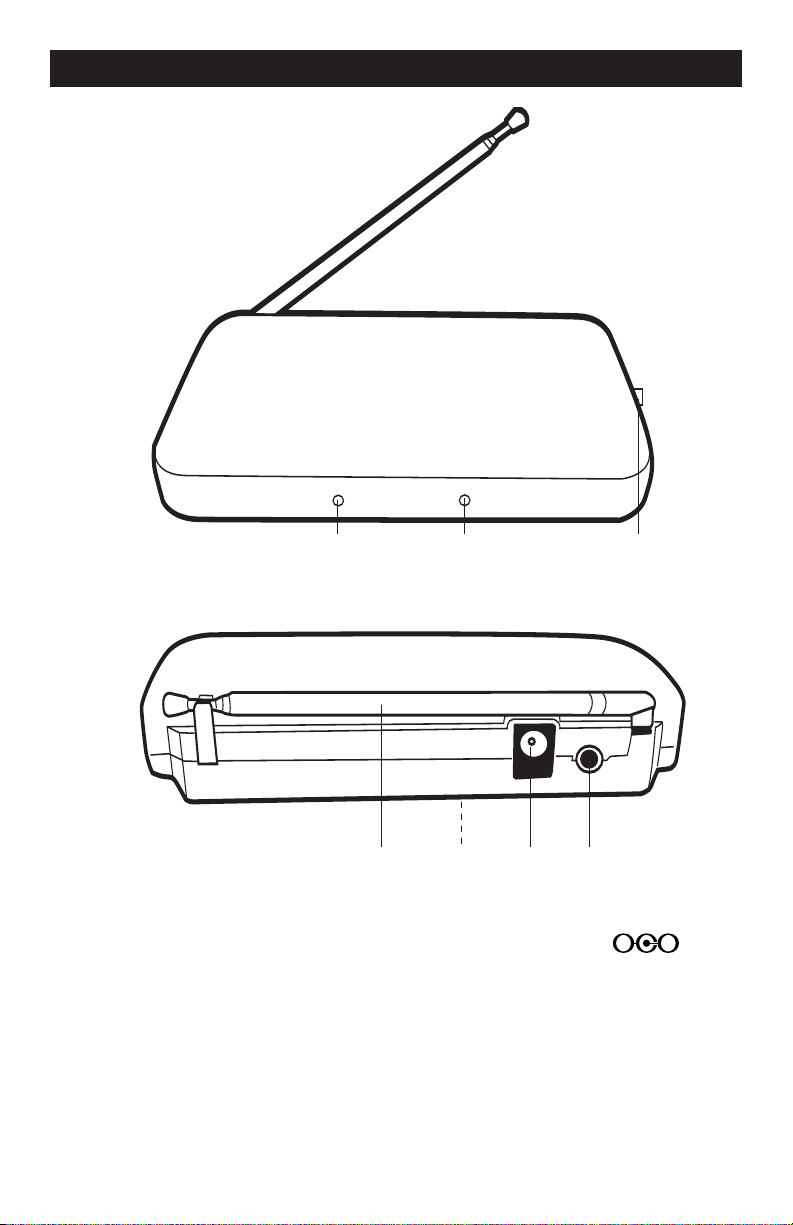
RECEIVER
FRONT
RECEIVER
REAR
LOCATION OF CONTROLS
1. Microphone ON Indicator
2. POWER ON Indicator
3. POWER ON/OFF Switch
4. Antenna
5. Battery Compartment
(Bottom of Receiver)
6. DC 4.5V Jack
7. Line OUT Jack
2
Page 4

LOCATION OF CONTROLS (CONTINUED)
2
4
3
65 87
1
MICROPHONE
HEADSET
TRANSMITTERREAR VIEW
1. Headset Plug
2. Headset Cord
3. Microphone
4. OFF/STANDBY/ON Switch
5. Belt Clip
6. POWER Indicator
7. Battery Compartment
8. Headset Jack
3
Page 5

INSTALLATION
+
+–
+–
+
-
REPLACING THE BATTERIES
If the sound quality starts to become poor or the receiving distance has shortened,
replace the batteries in the microphone and the receiver as follows:
INSTALLING THE BATTERY INTO THE TRANSMITTER
1
Remove the battery cover at the bottom of the transmitter by sliding it
downward. Insert one 9V battery, making sure to observe the correct polarity
(+/–). Replace battery cover.
INSTALLING THE BATTERIES INTO THE RECEIVER
1
Remove the battery cover by sliding
it off.
2
Insert two (2) "AA" size batteries (not
included) following the polarity
diagram (+/–). Slide the battery
cover back into place.
DC JACK
To use the receiver with the external AC adapter (included) having 4.5V and a positive
center pin, insert the AC adapter’s plug into the DC 4.5V jack on the receiver. The
batteries will be disconnected when the AC adapter is connected.
Follow these precautions when using batteries in this device:
1. Use only the size and type of batteries specified.
2. Be sure to follow the correct polarity when installing the batteries as indicated in the battery
compartment. Reversed batteries may cause damage to the device.
3. Do not mix different types of batteries together (e.g. Alkaline, Rechargeable and Carbon-zinc) or old
batteries with fresh ones.
4. If the device is not to be used for a long period of time, remove the batteries to prevent damage or injury
from possible battery leakage.
5. Do not try to recharge batteries not intended to be recharged; they can overheat and rupture. (Follow
battery manufacturer’s directions.)
BATTERY PRECAUTIONS
4
Page 6

OPERATION
2
1
USING YOUR MICROPHONE (TRANSMITTING)
To use your microphone, please see the following:
1
Insert the large end of the cord into the
Microphone jack on the unit you are
connecting this wireless microphone
to, and the small end into the Line OUT
jack on the receiver.
3
Slide the Receiver’s POWER switch
to the ON position; the red POWER
indicator on the receiver will light. If
the microphone headset is on, the
green Microphone ON indicator on
the receiver will also light. Raise the
antenna for best reception and speak
or sing into the microphone headset
as desired.
2
Connect the headset plug into the
Headset jack
the headset on your head and adjust the
microphone so it is in front of your mouth.
Slide the OFF/STANDBY/ON switch
the ON position; the POWER indicator
on the transmitter will light.
1 on the transmitter. Place
2 to
4
Slide the transmitter OFF/STANDBY/
ON switch to the STANDBY position to
put the microphone in Standby mode (it
will be on, but will not transmit).
Slide the Microphone OFF/
STANDBY/ON switch to the OFF
position to turn the microphone off; the
POWER indicator on the transmitter
and the green MIC indicator on the
receiver will go out.
NOTES:
• When done using the receiver, slide the POWER switch to the OFF
position; the red POWER indicator will go out.
• If your microphone headset is not to be used for a long period of time,
remove the batteries in the transmitter and the receiver
• If the microphone headset is out of range (microphone too far away from
the receiver) the green Microphone ON indicator on the receiver will turn
off and the microphone will be muted.
5
.
Page 7

SPECIFICATIONS
Power Requirement
Receiver .........................DC 3V, 2 X LR6 “AA” Alkaline Battery
Transmitter ..........................................................DC 9V Battery
Frequency ..............................................................169.445MHz
Receive Distance...................................................................7m
Specifications subject to change without notice.
FOR ADDITIONAL SET-UP OR OPERATING ASSISTANCE, PLEASE VISIT OUR
WEBSITE AT
WWW.MEMOREXELECTRONICS.COM
OR CONTACT CUSTOMER SERVICE AT (954) 660-7100.
PLEASE KEEP ALL PACKAGING MATERIAL FOR AT LEAST 90 DAYS IN CASE
YOU NEED TO RETURN THIS PRODUCT TO YOUR PLACE OF PURCHASE OR
TO MEMOREX.
FOR PARTS AND ACCESSORIES, CONTACT FOX INTERNATIONAL AT
1-800-321-6993.
6
Page 8

Memcorp, Inc.
Weston, FL
Printed in Hong Kong
Visit our website at www.memorexelectronics.com
 Loading...