

Page 1
PLEASE READ ALL INSTRUCTIONS BEFORE USE
2 year guarantee
EXECUTIVE
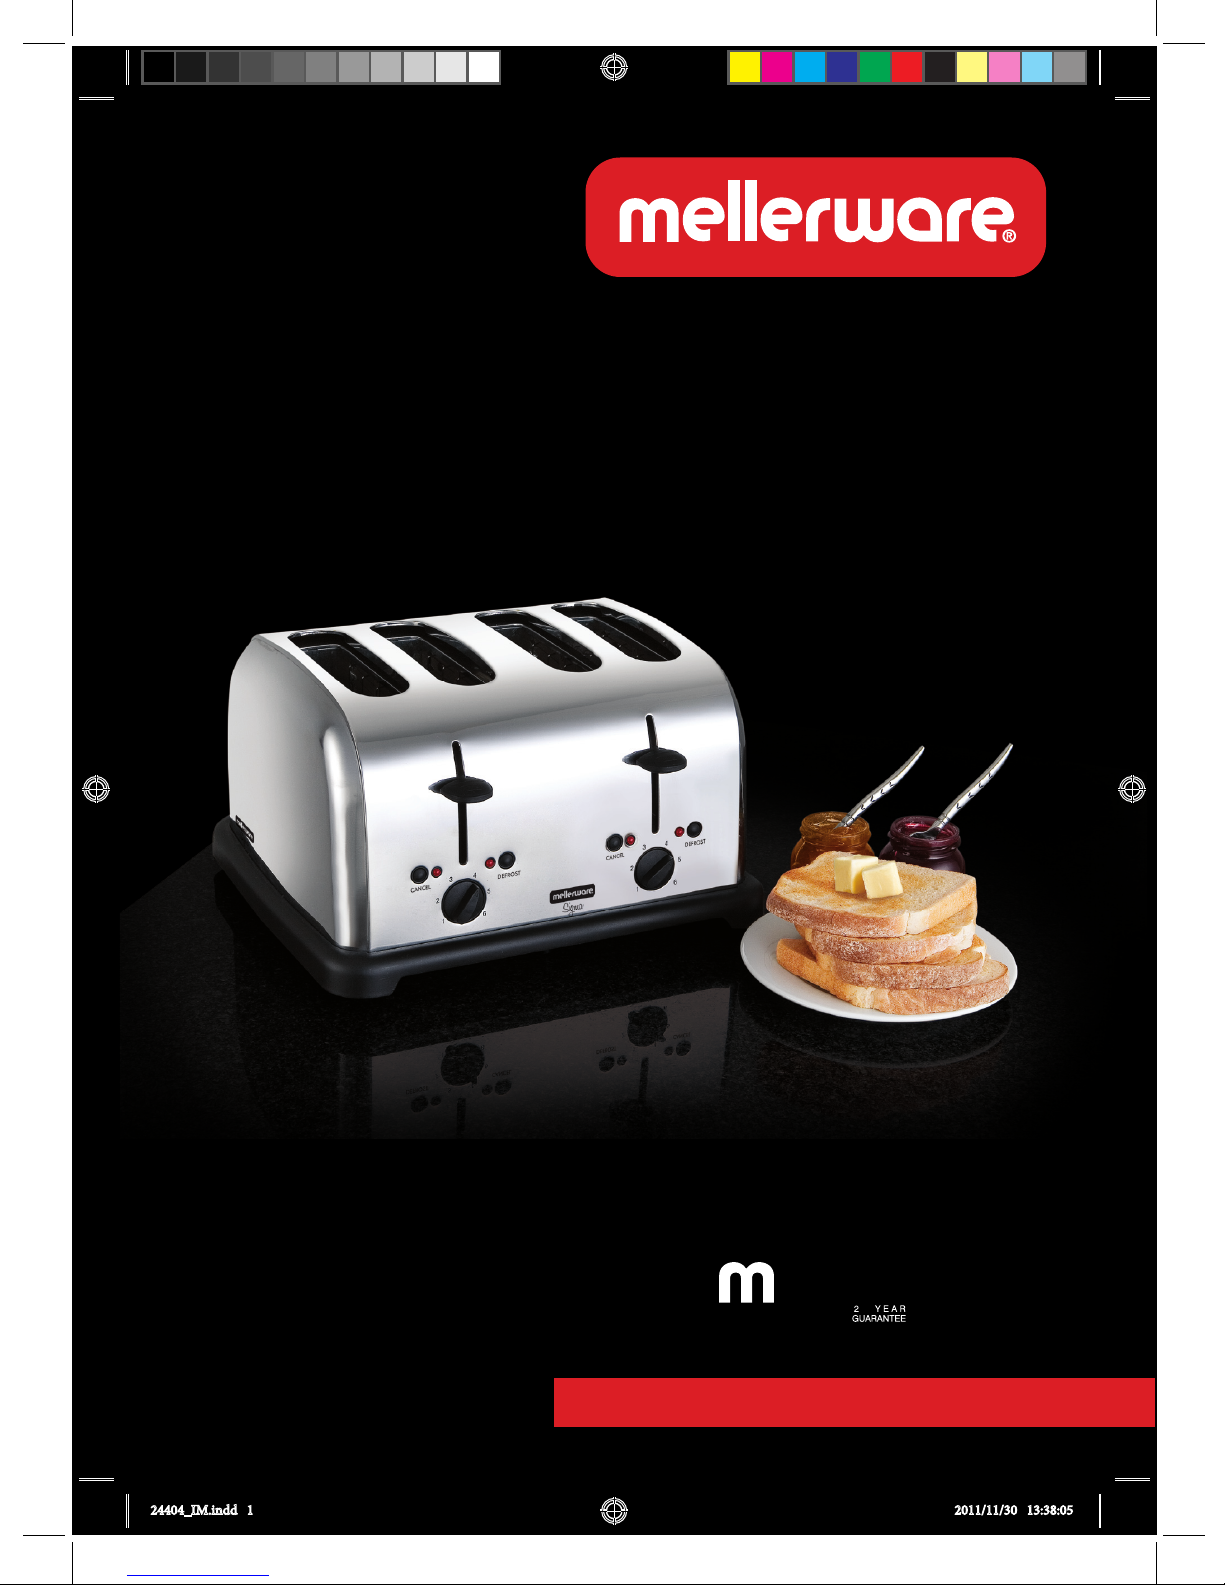
SIGMA 4 SLICE BRUSHED STAINLESS STEEL TOASTER
Model:
24404
1750W
complies with
INTERNATIONAL
IEC60335
SAFETY SPECIFICATIONS
24404_IM.indd 1 2011/11/30 13:38:05
Page 2
Dear customer,
Many thanks for purchasing a MELLERWARE product. Thanks to its technology, design and operation
and the fact that it goes through strict quality controls - we feel sure you will be entirely satised.
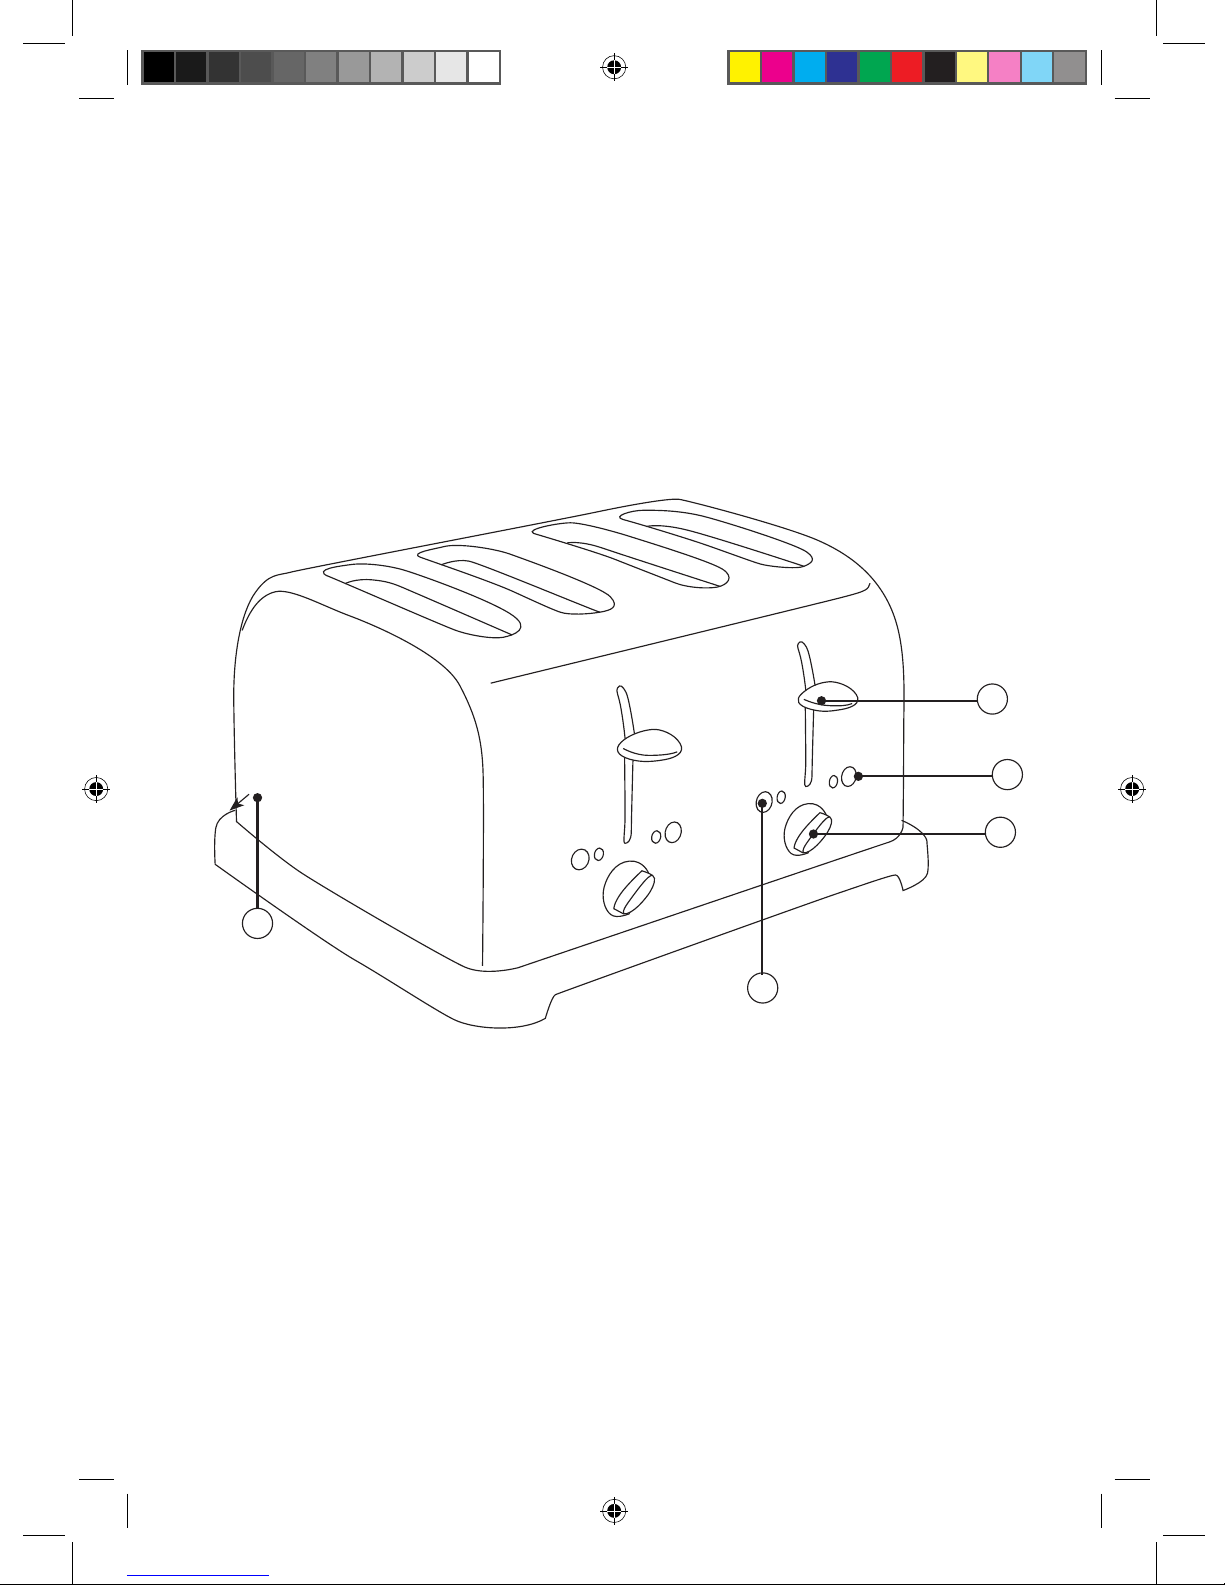
A. Loading lever
B. Defrost button
C. Browning control
D. Cancel button
E. Removable crumb tray
D
A
B
C
E
24404_IM.indd 2 2011/11/30 13:38:05
Page 3

IMPORTANT
CAUTION HOT SURFACES: This appliance gener-
ates heat and escaping steam during use. Proper precautions must be taken to prevent the risk of burns,
res, or other injury to persons or damage to property.
1. Please read all instructions carefully before operating this appliance.
2. If this appliance falls or accidentally becomes immersed in water, unplug it from the wall outlet immediately. Do not reach into the water!
3. When using this appliance, provide adequate air
space above and on all sides for air circulation. Do
not operate this appliance while it is touching or near
curtains, wall coverings, clothing, dishtowels or other
ammable materials.
4. To reduce the risk of re, do not leave this appliance
unattended during use.
5. If this appliance begins to malfunction during use,
immediately press the CANCEL button(s) and unplug
the appliance. Do not use or attempt to repair a malfunctioning appliance!
6. This appliance should only be plugged into a wall
socket which has an AC supply of 220 - 240V.
7. Use the toaster on a hard, at surface. Do not
place the appliance near a ame, heat source or a
soft surface eg: carpet. Do not place the toaster near
the edge of a table top or counter as toaster may fall
down from the surface. Do not drop the toaster as this
will cause the appliance to malfunction.
WARNING: ELECTRICAL SHOCK HAZARD. Never
attempt to dislodge food inside the toaster while the
toaster is plugged in and operating. Doing this can
cause the operator to shock or even burn.
CAUTION: This appliance is hot during operation and
retains heat for some time after turning off. Always
use oven mitts when handling hot material and allow metal parts to cool before cleaning. Do not place
anything on top of the Toaster while it is operating or
while it is hot.
8. Do not operate appliance with wet hands.
9. Do not insert or remove plug from wall socket with
wet hands.
CAUTION:
DO NOT toast pastries with runny llings or frosting.
DO NOT toast torn slices of bread.
DO NOT place buttered bread or wrapped food into
the Toaster.
DO NOT toast small-size bread, mini-baguettes,
breadsticks, etc.
BEFORE USING FOR THE FIRST TIME
1. Remove all packaging materials including those
that may be inside the toasting slots or toasting lever
slots.
2. Wipe the exterior with a damp cloth. Dry thoroughly.
Do not use abrasive cleaners.
3. Do not immerse the toaster, cord or plug in water.
4. Ensure that the crumb tray is pushed all the
way into the back of the toaster and the toasting
lever is in the up position.
5. Unwrap power cord from cord storage area on
underside of Toaster and plug into a 220-240V
AC outlet.
6. Turn the browning selector knob to (1), the
lightest setting.
7. Lower both of the toasting levers until they lock
in place. Operate without bread once or twice to
burn off any manufacturing residue. You may
notice a small amount of smoke, this is normal
and will stop as the heating elements continue
to heat.
AUTOMATIC CENTERING GUIDES
1. Lowering either 1 or both of the toasting levers
closes the centering guides, and holds the bread
or toaster food centrally in the toasting slots.
Note: The toasting lever(s) will not lock down unless the toaster is plugged into a 220-240V AC
electrical outlet.
TOASTING INSTRUCTIONS
1. Make sure no bread or other objects are inside
the toasting slots. Place toaster on a at, level
and heat resistant surface.
2. Insert the plug of the toaster into a 220 - 240V
AC wall socket.
3. Position the browning selector knob to the desired setting(s). To test toasting times for browning, it is best to use both toasting slots. Position
the browning selector knob between (3) and (4)
medium, then adjust each subsequent toasting
to your preference.
4. Remove all protective wrappings from food before placing into the toasting slot(s).
5. Insert bread or toaster food into the toasting
slot(s). Lower the toasting lever until locked into
place. The automatic centering guides hold food
upright for uniform side-to-side toasting. When
the bread is lowered into position, toasting will
begin.
NOTE: When toasting a single slice, the bread
may be placed in any toasting slot.
NOTE: To prevent a re hazard, never place
bread over the opening of the toaster, always
place bread into the slots.
NOTE: DO NOT change the browning selector
knob selection during the toasting cycle. First
press the CANCEL button, then turn the brown-
ing selector knob to adjust the browning level.
Lower the toasting lever and toast until the desired toast color is achieved.
6. When the toast reaches the selected browning
level, it will pop up automatically.
7. Remove bread from toasting slot(s). Use care
when removing bread as the bread and the top
of the toaster will still be hot.
24404_IM.indd 3 2011/11/30 13:38:05
Page 4

8. To interrupt toasting, press the corresponding
CANCEL button.
9. Remove plug from wall outlet when not in use.
IMPORTANT: Never use a fork or sharp-edged
utensil to remove toast, because that may damage
the heating element or cause injury.
24404_IM.indd 4 2011/11/30 13:38:05
Page 5

24404_IM.indd 5 2011/11/30 13:38:05
Page 6
27 Nourse Avenue Epping 2 Cape Town
P.O. Box 975 Eppindust 7475 South Africa
Tel: +27 21 534 8114 Fax: +27 21 534 8086
Service Centre Share Call: 086 111 5006
web: www.creativehousewares.co.za
24404_IM.indd 6 2011/11/30 13:38:05
 Loading...