

Page 1
HOME THEATER DLP™ PROJECTOR
HC2000
Controlling the projector using a personal computer
This projector can be controlled by connecting a personal computer with RS-232C terminal.
PC-controllable functions :
• Turning the power ON or OFF
• Changing input signals
• Menu setting
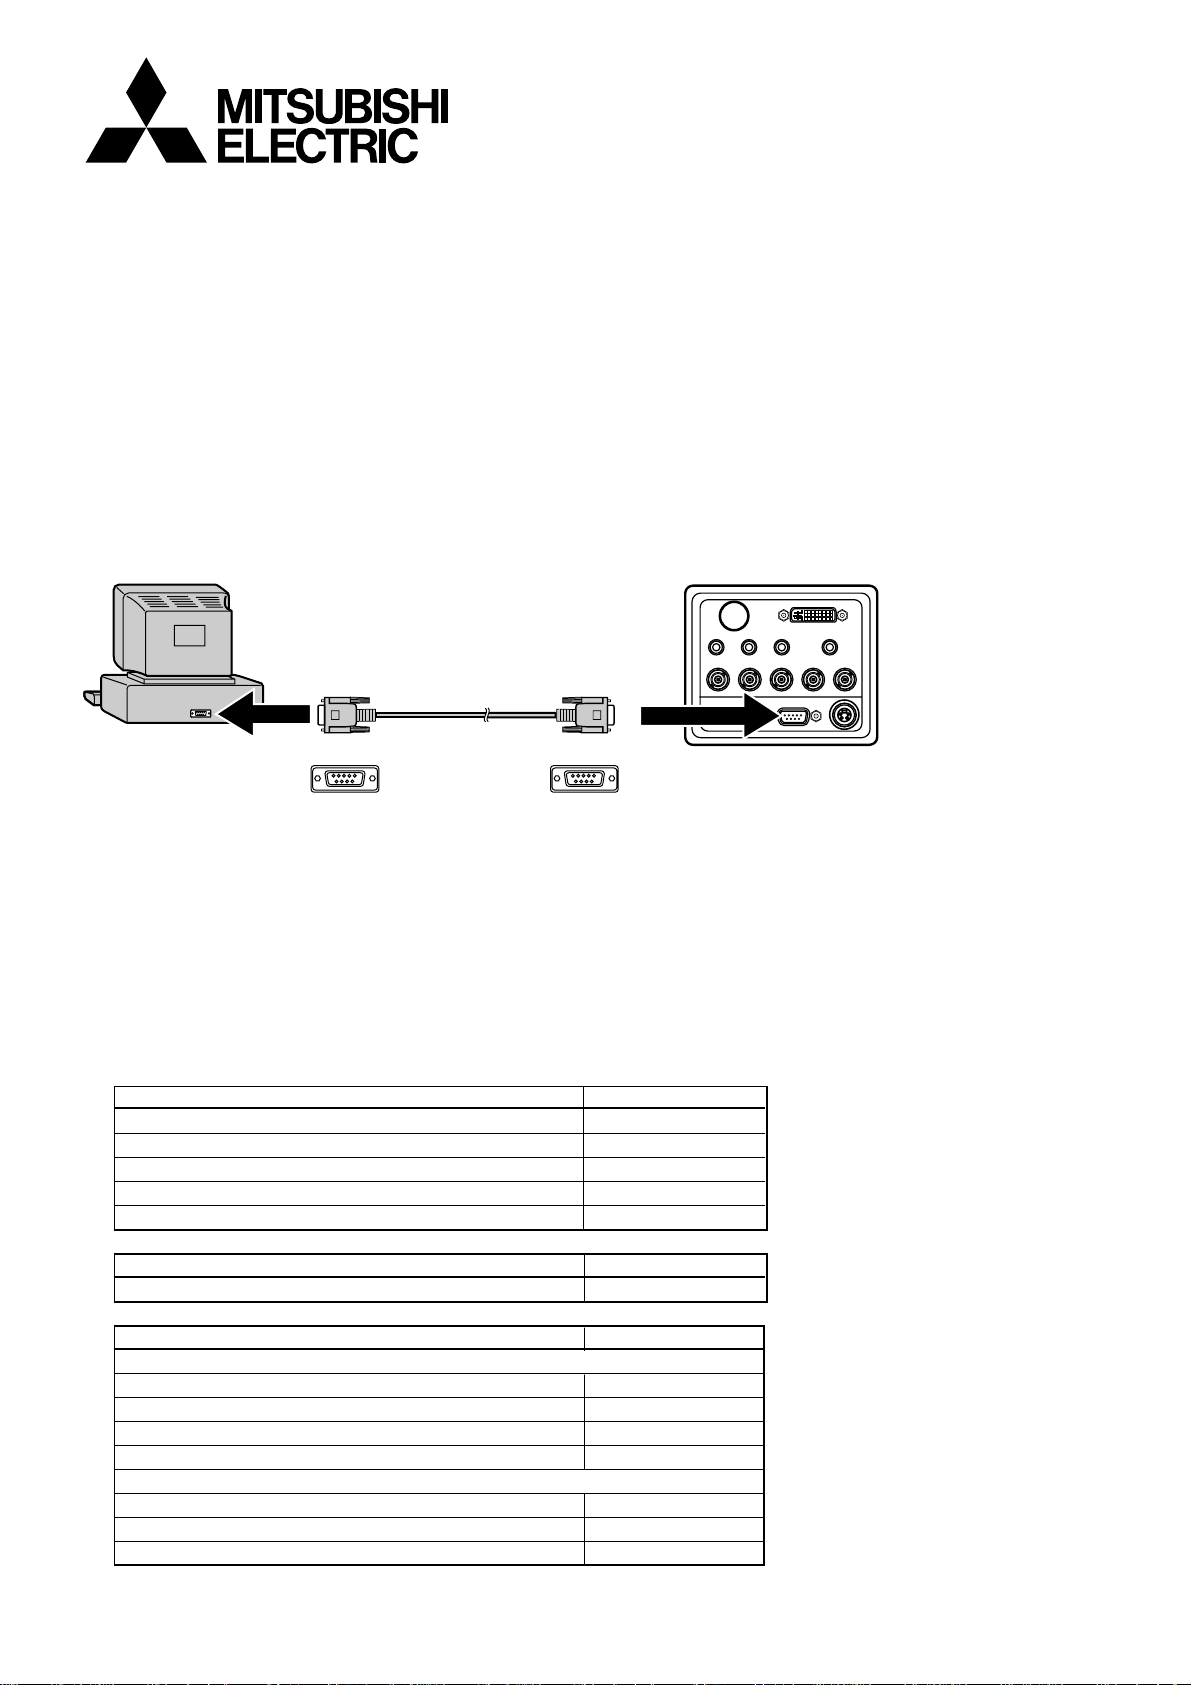
Connection
DVI
Y
Cb/Pb Cr/Pr VIDEO
B(Cb/Pb) R(Cr/Pr) H/HV V
G(Y)
RS-232C cable
RS-232C
S-VIDEO
to SERIAL port
to RS-232C terminal
D-SUB 9P D-SUB 9P
Important:
• Adapters may be necessary depending on the PC connected to this projector. Contact your dealer for details.
• Make sure that your computer and projector are turned off before connection.
• Turn on the personal computer and put the control software in the standby state before turning on the projec-
tor.
• This projector uses RXD, TXD and GND lines for RS-232C control.
• For RS-232C cable, the reverse type cable should be used.
1) Communication setting
Connection settings Value
Baud Rate 9600 [bps]
Data Bits 8 [bits]
Parity None
Stop Bits 1 [bit]
Flow Control None
Emulation settings Value
Emulation ANSI
ASCII settings Value
ASCII sending
Sending line ends with line feeds Enable
Echo typed characters locally Enable
Line delay (milliseconds) 400
Character delay (milliseconds) 0
ASCII Receiving
Append line feeds to incoming line ends Disable
Force incoming data to 7-bit ASCII Disable
Wrap lines that exceed terminal width Enable
1
Page 2

2) Power-On command
The command consists of the command code only.
Control command List
Command code Command Description
OKOKOKOKOK Power ON
[Example] When turning the power ON:
Control commands Description
'O' 'K' 'O' 'K' 'O' 'K' 'O' 'K' 'O' 'K' Command for POWER ON
(From PC to Projector)
• Send the Power-On command immediately after turning on the main power switch of the projector. The
Power-On command will not accepted if it is sent after other command or a press of the return key. In this
case, turn off and on the main power switch and then send the Power-On command.
• The acknowledgment command is not appeared for Power-On command.
3) Control command
The command consists of the header code, address code, string code, and command code.
Control command Syntax (From PC to Projector)
[H][S][A][S][STRING][S][COMMAND][<CR>]
Field Description Contents
[H] Header
[A] Address code
[STRING] Command head
[COMMAND] 3 digits command code 3 digits (Show below)
[<CR>] Terminator code Carriage Return
[S] SPACE code
'*'
'0'
'
I' 'R
' '
'
Control Commands List
Command code Command Description
002 OFF button
003 SOURCE button
004 AUTO (AUTO POSITION) button
008 MENU button
009 Up ({) button
010 Down (}) button
011 Right (%) button
012 Left ($) button
013 ENTER button
014 DVI-D button
015 DVI-A button
016 COMP (COMPONENT) button
017 BNC button
018 S-Video button
019 Video button
Acknowledgments commands (From Projector to PC) format
Return command Description
Receive OK <CR><LF> Projector receive the command from PC properly
Unknown Command <CR><LF> Projector receive unknown from PC properly
Invalid Command <CR><LF> Projector receive invalid command from PC
• The RS-232C commands of this projector basically have the same functions as those of the remote control
(with some exceptions). To turn off the power, send the Power Button command twice as in the case of
remote control.
[Example] When setting the input signal to S-Video.
Control commands / Acknowledgment commands Description
'*' ' ' '0' ' ' 'I' 'R' ' ' '0' '1' '8' '
'R' 'e' 'c' 'e ' 'i' 'v' 'e' ' ' 'O' 'K' '
<CR>
' Command for setting the input signal to S-video
<CR>''<LF>
' Command receipt confirmation
2
(From PC to Projector)
(From Projector to PC)
 Loading...