

Page 1

ITEM NO.T43/T643
Page 2
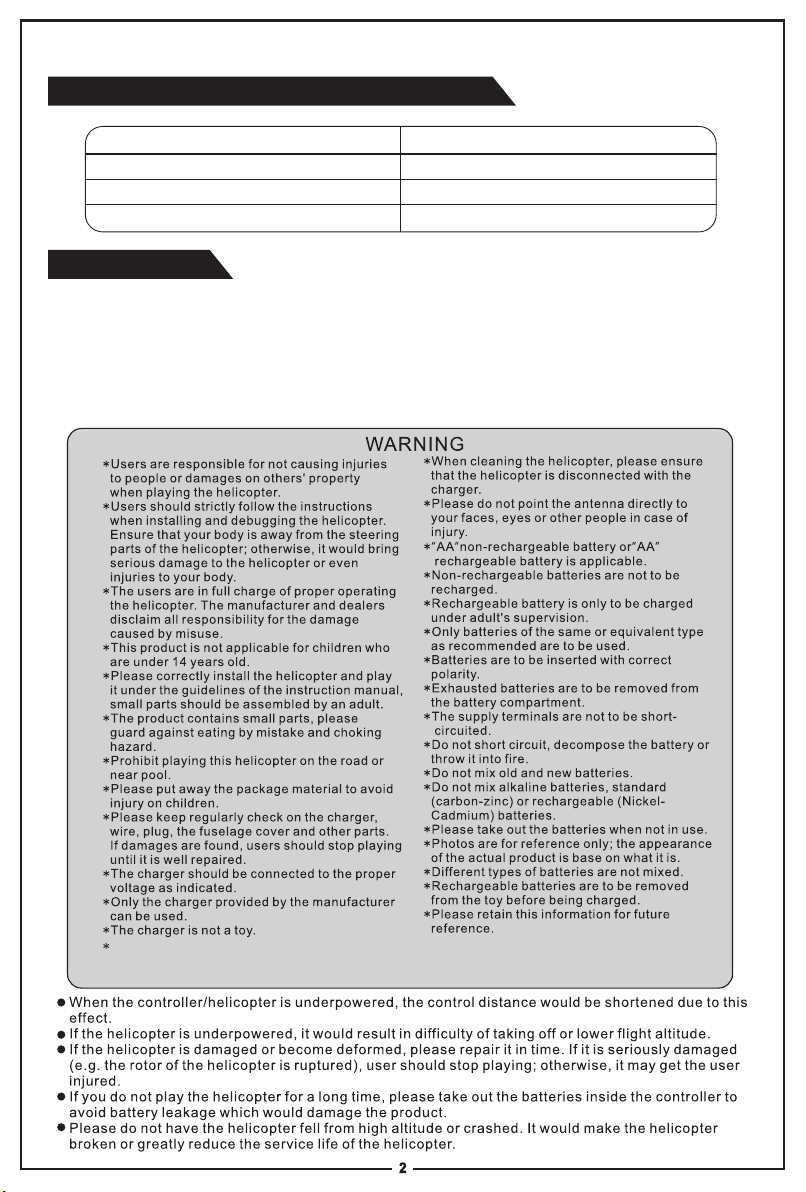
Thank you for purchasing this product. Please read this manual carefully before use and retain it for
future reference.
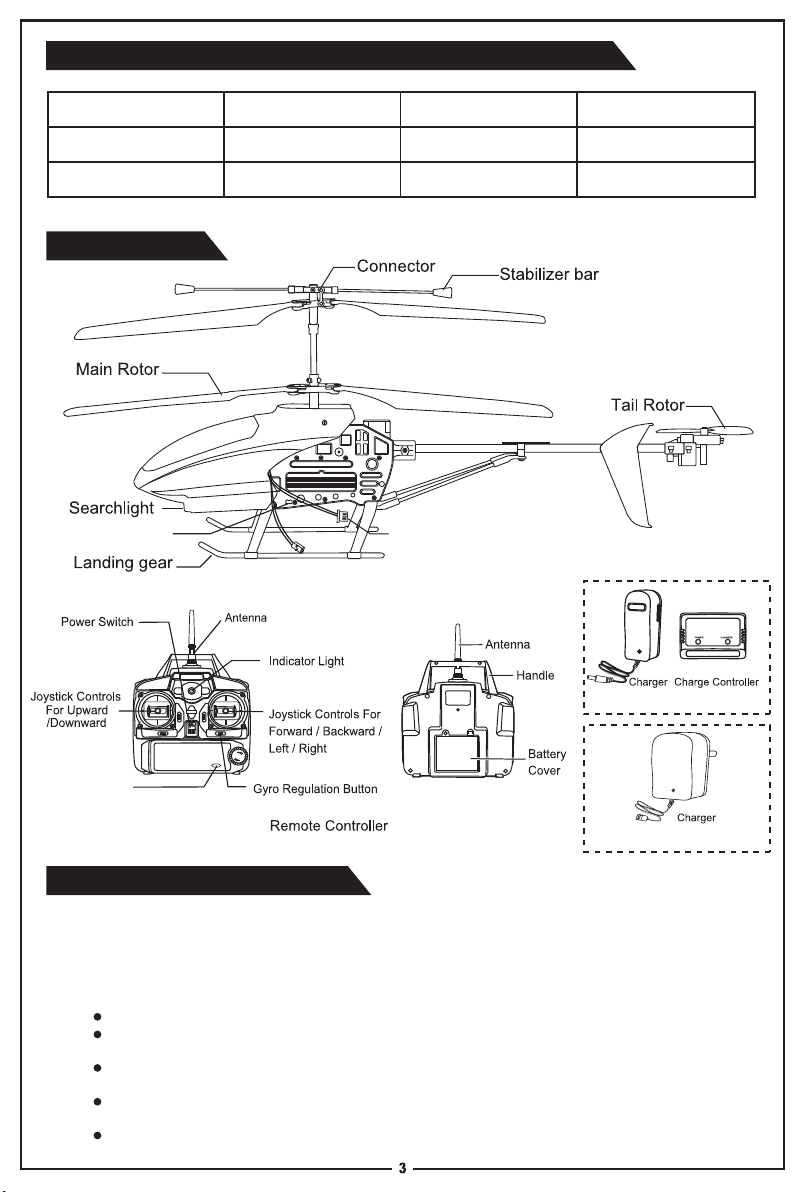
Technical parameter of the helicopter
Fuselage Length:610MM
Overall height: 245MM
Motor: #180 Battery: Li-polymer 7.4V
Gear Ratio: 14:1
Gross Weight: about 392g
Main Rotor Diameter: 475MM
Charging Time: about 2 hours
Introduction
1.Coaxial-rotor design, built-in gyro and negative rotation of rotors are used to increase the
helicopter’s stability and operability. It is the best choice for beginner.
2.Aluminum fuselage design and innovative appearance make the helicopter full of attraction; By
using of the 2.4G auto connection technology, users can operated many helicopters simultaneously
with high stability.
3.With the full charge battery, Li-polymer 7.4V1100mAh,the helicopter can flight 9 min steadily.
4.Tripple circuit protections make the flight more safer and improve the service life of the helicopter.
5.Installed with camera device, the helicopter has videography function.
The wire that fixed on the landing gear is the receiver
of the helicopter, disassembling this wire may be
dangerous or causes accident.
Page 3
Product/spare parts included in this packaging
Description
Helicopter 1
Manual
Major parts
power socket
Qty(pc) Description Qty(pc)
Adaptor
1
Remote controller
Charging plug
Helicopter
1
1
split charging device
Camera/
Photograph
switch
all-in-one charging device
Charge the helicopter
To meet the different demands from different customers worldwide, two different charging devices
have been designed for charging. One is split charging device (1 piece charger +1 piece charge
controller), the other one is all-in-one charging device (one charger only)The product is included
with either of the two charging devices. User should check the package to confirm which charging
device is included before reading the charging method.
How to charge the helicopter by split charging device.
� Turn off the helicopter; unplug the battery cable from the helicopter.
� Insert the plug of the battery cable into the quadrate port of the charge controller (matching
the plug to the port)
� Insert the plug of the charger cable into the circular port of the charge controller, then,
connect the plug of the charger to AC power outlet to start charging.
� Once charging is proceeding, the red power light of the charge controller is on. When
charging is finished, both the red light and green light of the charge controller are on.
Full charge takes about 2 hours.
Page 4

How to charge the helicopter by all-in-one charging device.
Turn off the helicopter.
Unplug the battery cable from the helicopter, then, insert the plug of the battery cable into the port
of the charger (matching the plug to the port) to start charging.
Once charging is proceeding, red light is on. When charging is finished, the red light will turn into
green light.
Full charge takes about 2 hours.
Preparation for flight
1. Insert the battery plug into the helicopter battery socket located at the right side of the
helicopter, then, the indicator light of the helicopter will keep flashing rapidly, set the helicopter
down to a platform.
2. Slide the power switch to “ON” position. To activate the remote controller, slowly push up the
throttle stick to the top and then push it down to the bottom. The indicator light flashes rapidly
while the remote controller is sending out connectional signal.
3. When the whole auto signal connection process is finished, both indicator lights of helicopter
and transmitter are keep ”ON” without blinking, then push up the throttle stick slowly and the
helicopter takes off.
1.User may push either of the control sticks to skip the auto signal connection process once the
helicopter finished signal connection.
2.Set the connection one by one. Otherwise, it may not be connected.
3.Once the transmitter is turned off, the connection procedure must be repeated to operate the
helicopter.
4.Please pull out the battery plug from the helicopter battery socket.
OPERATIONAL TIPS
Flight adjustment
1.Operating
Page 5

Hints
1.If the helicopter keeps self-rotating in the air even there is no control signal given, you could correct
it by adjusting the trimmer of gyro on the remote control.
2.If the helicopter keeps flying forward/backward in the air even there is no control signal given, you
could correct it by adjusting the trimmer on the remote control.
Page 6

Video function and videography device
If installed the C4002 videography device(should be ordered separately from MJX), the helicopter has
the videography function.
TF memory card card reader
Videography device
videography module
How to install the videography device
Insert the TF memory card into the videography module.(Pic9)
Fix the videography module onto the bottom of the helicopter by
screws.(Pic10)
Open the helicopter nose and insert the plug of the videography module
into the video control socket, then, reinstall the helicopter nose.(Pic11)
Pic9 Pic11
1. Turn on the helicopter by push the power switch. At this time, the red light and the green light
keep flashing in turn. Two seconds later, the green light keeps “ON” means it is ready.
2. When the helicopter is finished signal connection and is not under shooting condition, the
indicator light of the videography module keeps constant “ON”. At this time,
Turn the switch button on videography module to the direction of the videography icon (Pic. 13),
and then turn on the camera switch of the remote control, it will start taking videography and
the red light of module keeps flashing. Press the camera button again, videography taking
will be stopped.
Turn the switch button on videography module to the direction of the photography icon (Pic. 14),
and then press the camera button on the remote control to take photos.
Pic10
Pic13 Pic14
Page 7

3. After shooting is finished, take out the TF memory card from the videography module
and insert it into the card reader, then, insert the card reader into the USB interface of
the computer to watch the video.
To stop shooting, please press the shooting switch on the remote controller. Directly unplug the
battery cable or take out the TF memory card from the videography module will result in loss of
the video data.
To avoid helicopter crash,please do not insert or take out the TF memory card from the
videography module,when the circuit is on. TF memory card should be installed before circuit is
on and take out after shooting switch is turned off.
When crash occurs,turn off the helicopter and then turn on the power to recover normal working.
TIPS
Circuit protection devices
1.When the battery voltage of the helicopter drops to certain level , the helicopter will be out of
control. Recharge is necessary to resume the function.
2.To protect the helicopter and prevent any risks caused by the stuck of the main rotor, the main
rotor will stop rotating when it is stuck. Pull the upward/downward control stick to the lowest
position to re-launch the helicopter.
Trouble shooting
Problem
No reaction
from the
helicopter
1.The helicopter is underpowered. 1.Get the battery of the helicopter charged
2.The indicator light of the helicopter
flashing rapidly, and the gyo is in
the testing statement
3.the helicopter and the transmitter
is out of radio connection
Reason Solution
2.Set the helicopter down to a platform, until the
indicator light turn to constant ”ON” without
blinking.
3.Repeating the connection procedure.
7
 Loading...