

Page 1
165mm+-2
122mm+-2122mm+-2 122mm+-2
4
1
2
5
3
6
4
R9000055
Quick Start Guide
Do not try to open the camera by yourself which may cause
damage to the camera or electric shock.
Do not fire the flash in a close distance (less than 1 meter) to
human eyes.
Keep the camera away from the reach of children or animals to
prevent them from swallowing the batteries or small
accessories.
Avoid using the camera if any form of liquid enters the camera.
If it happens, switch off the camera and contact the company
that you bought this camera from for help.
Do not operate this camera with wet hands which may cause
electric shock.
Do not place or store the camera in a high temperature
environment which may cause damage to the camera.
Do not mix to use different types of batteries or new and old
batteries.
Take out the batteries to avoid electricity leakage which may
damage the camera when the camera is not in use for a long
period.
Unplug the camera from the adapter (if used) to avoid damage to
the camera if the camera is not to be used in a long period.
It's normal that the temperature of the camera body rises after
using for a long period.
Safety Notes
Icon Index
Working Mode
Focus Range
Flash Modes
Digital Zoom
Thumbnails
Self-timer
Movie Clip
Memory Card Inside
Battery Status
Image Size (Resolution)
Image Quality
White Balance
Exposure
Protected Image
Print (DPOF)
X1
AUTO
+
+
-
0
X4
How to Switch On Or Off The Camera
Note
From the TFT LCD Monitor you can see the battery status shown below:
: Batterypower full.
: Batterypower half drained.Please prepare withnew batteries.
: Batterydrained. Replace theold batteries withnew ones.
Note
Please refer to the suggested battery shown below to ensure the
normal operation of the camera
()
()
()
Note
1. Batteries may lose power if kept inside the camera for a long time
without using. Please remove the batteries while the camera is
not in use.
2. Do not use manganese batteries as they cannot supply sufficient
power to support the camera's operation.
o
3. Batteries may not work normally under 0C.
4. It's normal that the temperature of the camera body rises after
being in use for a long period.
5. It is suggested to use an AC adapter if you expect to use the
camera for a long period.
6. In order to avoid any damage caused by bad quality AC adapters,
please contact the company, from which you bought the camera.
Brand Type
Duracell(Ultra) Alkaline
Installing The Camera Driver
Installing Ulead Photo Explorer
Downloading The Image(s)
Onto Your PC
Safety Notes
Taking Pictures
1. Switch on the power by sliding the Power Switch to the side,
holding it for 1 second, and letting it go.
2. Set the Mode Dial at Shooting Mode for still image
capture or Movie Clip Mode for videos.
3. If you would like to capture a still image, please set the Focus
Switch at correct focus range which are:
Macro ( ): 0.18m~0.25m
Portrait ( ): 0.8m~1.3m
Normal ( ): 1.3m~infinity
4. Set up all the preferred features and functions.
5. Hold still and press the Shutter Button.
6. The LED Indicator will start blinking after the Shutter Button
is released. After the LED Indicator stops blinking, then you
are able to take another shot.
Note
The TFT LCD Monitor will show "Low Light!" as a warning to
remind you that the still image that you are going to capture
is under a low light environment. It is suggested to set the
Flash Mode at Auto Flash or Fill-in Flash for supplementary
light to compose a good image.
( )
( )
To switch on the camera, slide the Power Switch to the side and
hold it for 1 second.
To switch off the camera, slide the Power Switch to the side and
hold it for 1 second again.
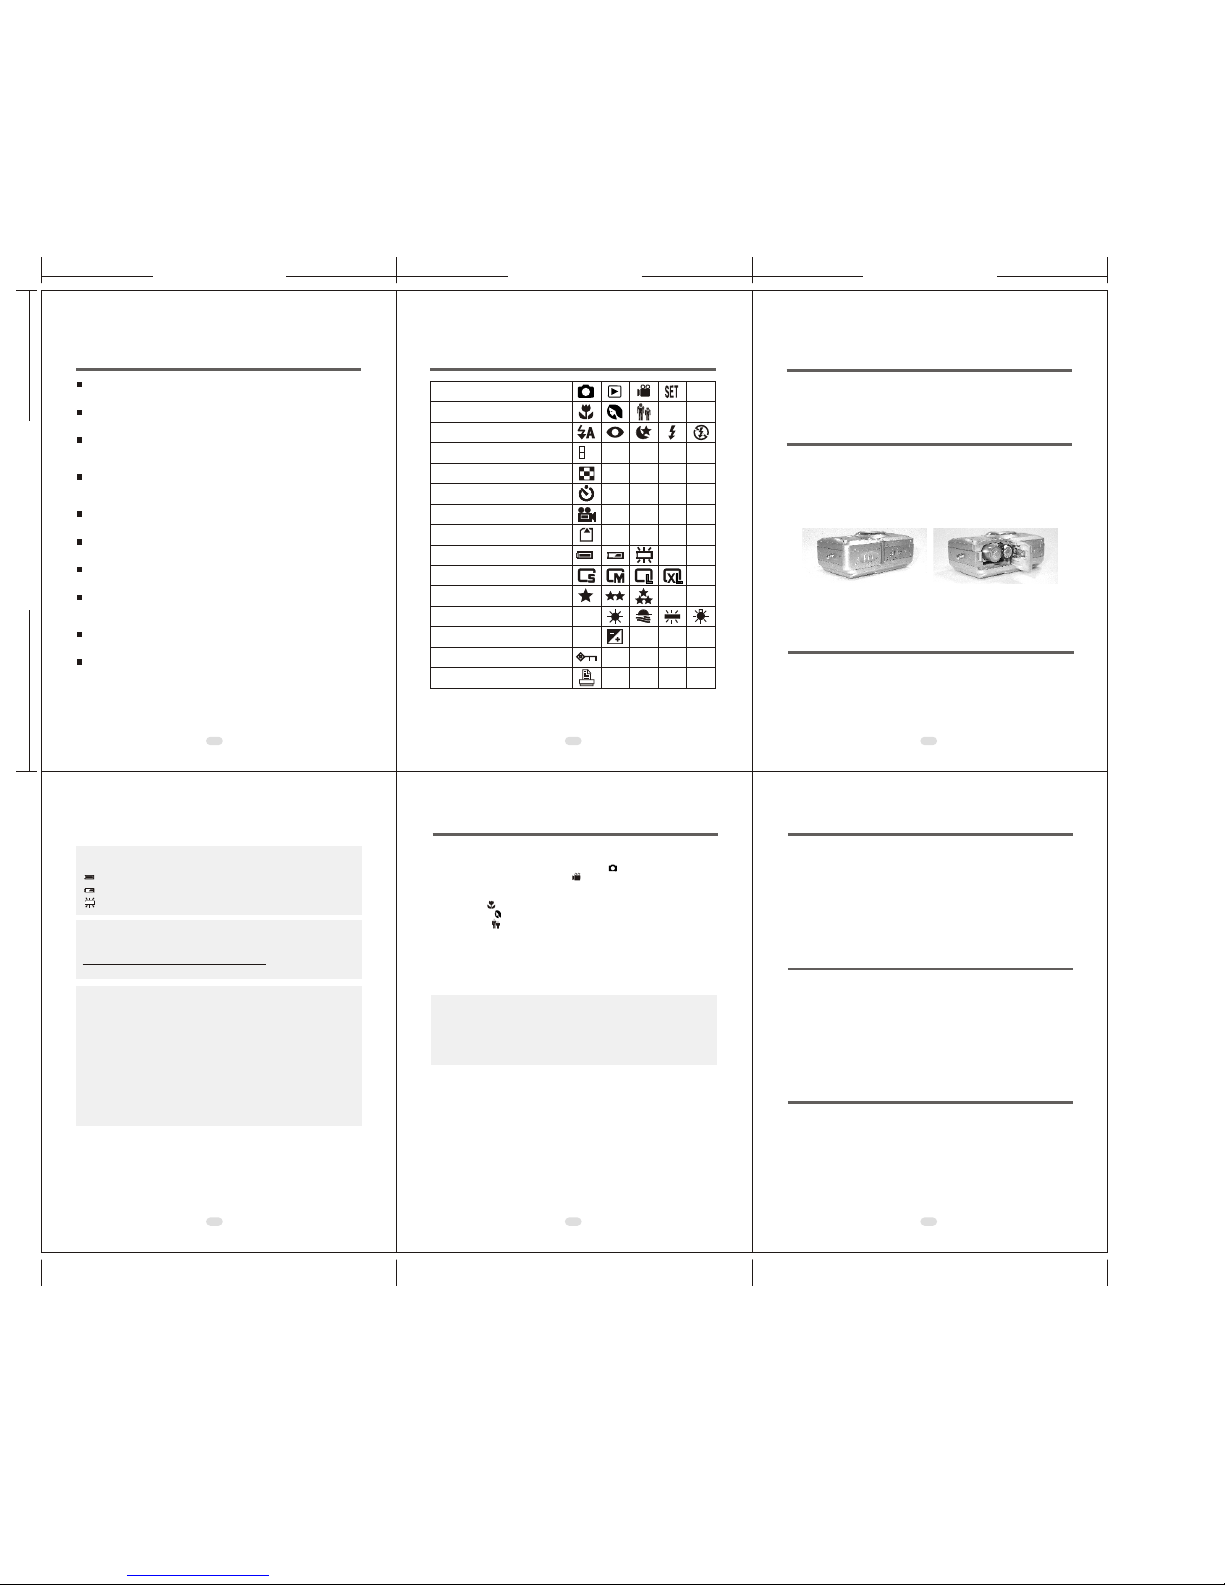
This camera is using 2 x AA batteries.
1. Make sure the camera is switched off.
2. Open the Battery / Memory Card Cover.
3. Load the batteries into the battery chamber following the
polarity indications.
4. Close the Battery / Memory Card Cover.
1. Switch off the camera.
2. Make sure the AC adapter is 3.3V/2.0A.
3. Plug the AC adapter into the DC In Connector.
4. Switch on the camera.
Loading the Batteries
Using An AC Adapter
For details please refer to the User Manual.
For details please refer to the User Manual.
For details please refer to the User Manual.
 Loading...