

Mego Optoelectronics ML131 Users manual
User’s Manual
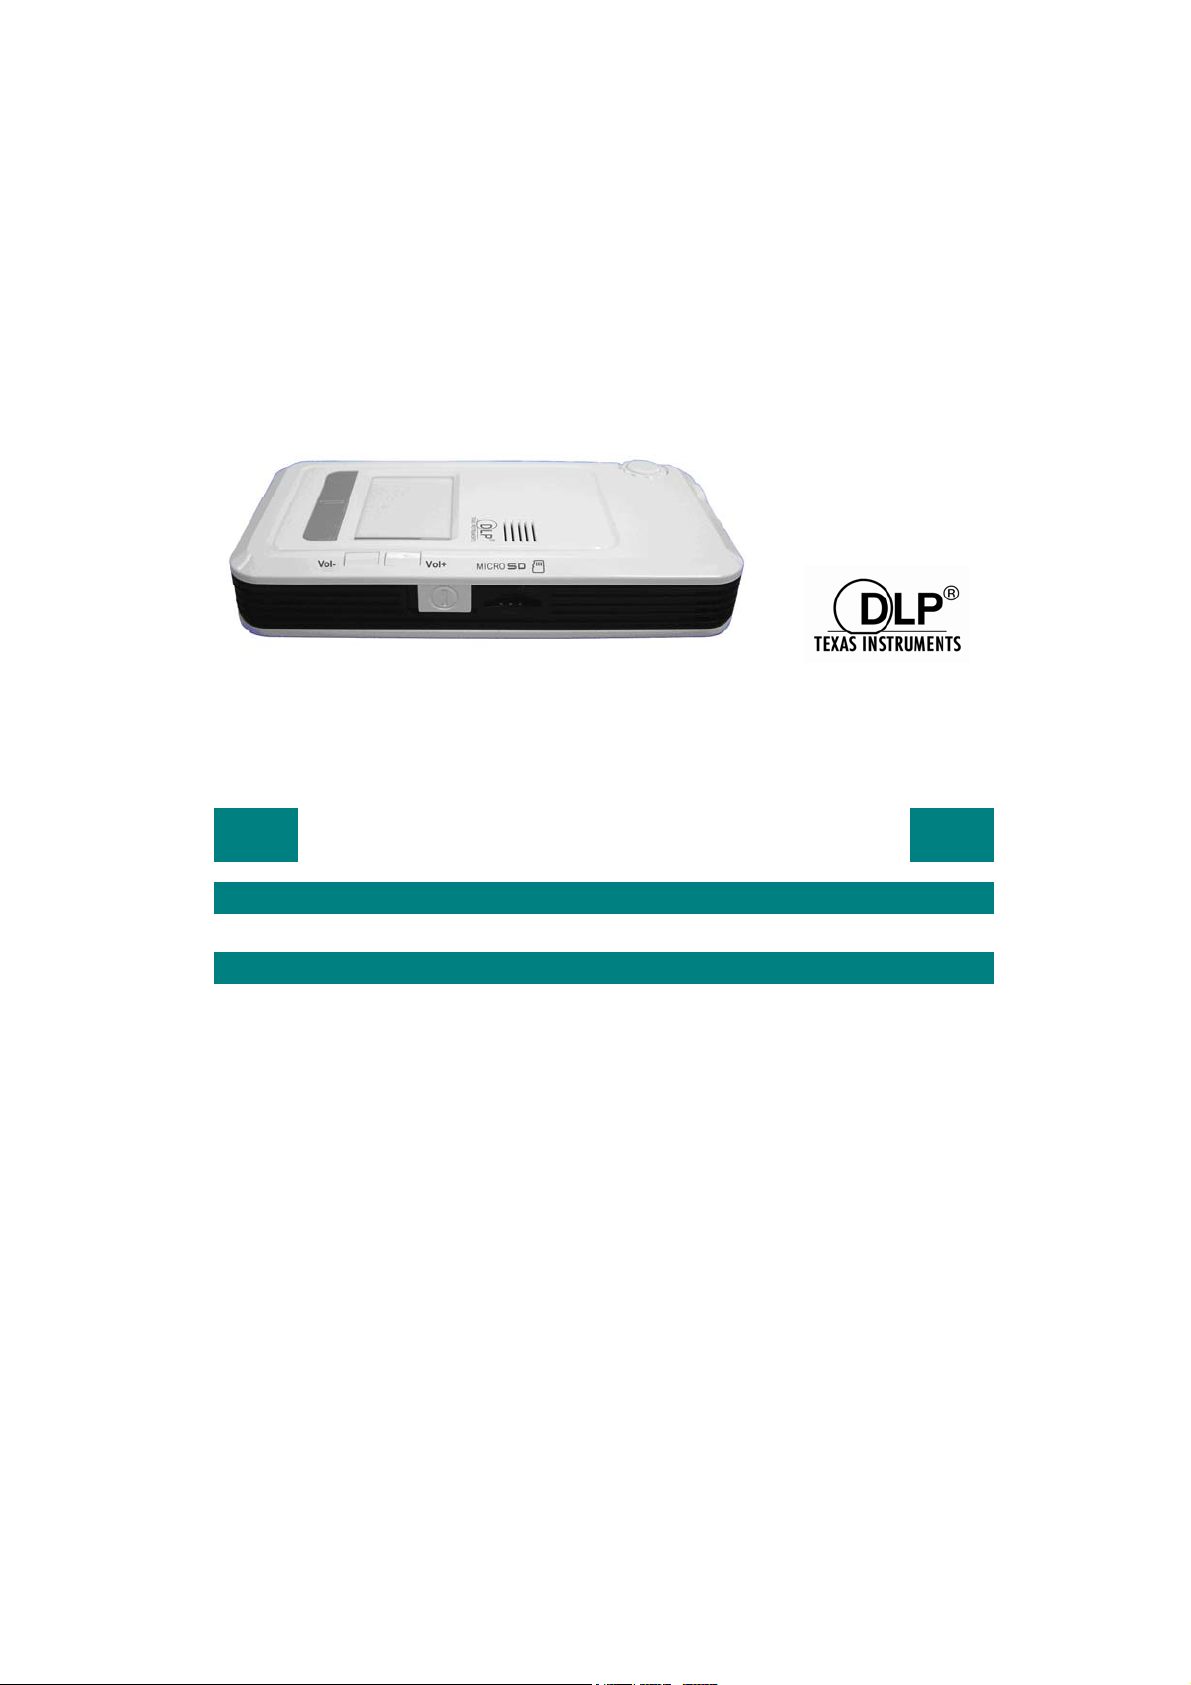
DLP ANDROID PICO PROJECTOR
DLP PICO PROJECTOR
I

TABLE OF CONTENTS
Introduction -------------------------------------------------------------------1
Box Contents ------------------------------------------------------------------ 1
Projector Controls and Indicators --------------------------------------- 2
Setting Up the Pico Projector --------------------------------------------- 4
Using the Mouse Pad ------------------------------------------------------- 5
Using an External USB Mouse -------------------------------------------- 6
Applications Drawer -------------------------------------------------------- 6
Projector Settings ------------------------------------------------------------- 7
Connecting to Wireless Network ---------------------------------------- 9
Installing New Applications ---------------------------------------------- 12
Connecting to External Sources ------------------------------------------ 13
LED Indicators --------------------------------------------------------------- 18
Charge Mobile Devices ---------------------------------------------------- 18
Useful Apps ------------------------------------------------------------------ 19
Care and Maintenance ----------------------------------------------------- 19
Cleaning the Pico Projector Housing ----------------------------------- 19
Cleaning the Projection Lens --------------------------------------------- 19
Transporting the Pico Projector ----------------------------------------- 19
Troubleshooting Guide ---------------------------------------------------- 20
Appendix 1 (Product Specifications)------------------------------------ 21
II

Notes:
1. The appliance inlet of the power supply is the disconnector from mains and must be
anytime easily accessible.
2. The maximum noise level of the product is L
1. Der Gerätestecker des Netzteilesbildet die TrennvorrichtungzumVersorgungsstromkreis
und mußjederzeitleichtzugänglichsein.
2. Max. Geräuschpegel: L
Acknowledgments
The followings are registered trademark or trademarks of their respective corporations: Google,TI,
Microsoft etc.
≤70dB (A) DIN 45635-19-01-KL2.
PA
≤70dB (A) DIN 45635-19-01-KL2.
PA
III

Safety Information
Please read these instructions before using your Pico Projector. Failure to comply with these instructions
could result in electric shock, fire, personal injury or damage to your Pico Projector.
Power Source
Check the power specification plate on the back of the Pico Projector. Ensure that your line voltage
matches with the power adapter rating of the Pico Projector.The Power Adaptor accepts AC power
90-264V, 50-60 Hz.
Power Adaptor
Use only the power adaptor supplied with the Pico Projector. Do not use the power adaptor if it has
become damaged or frayed. For a replacement power adaptor, contact your authorized dealer.
Do not allow anything to rest on the power adaptor. Do not place this projector where the adaptor may
be abused by persons walking on it.
Overloading
Do not overload wall outlets and extension cords as this can result in the risk of fire or electric shock.
Liquid Spills
Do not set drinks or other liquids on top of the Pico Projector. Do not place the Pico Projector near water,
for example, near a bathtub, washbowl, kitchen, sink, or laundry tub, in a wet basement, or near a
swimming pool. Spilled liquids can flow inside the Pico Projector and cause damage.
Repair
Do not disassemble the Pico Projector. Take it to an authorized technical staff when service or repair
work is required.
Technical Service
Please refer servicing to authorized technical staff under the following conditions:
• When the power adaptor or plug is damaged or frayed.
• If liquid has been spilled into the Pico Projector.
• If the Pico Projector has been exposed to rain or water.
• If the Pico Projector does not operate normally by following the operating instructions.
• If the Pico Projector has been dropped or the cabinet has been damaged.
• If the Pico Projector exhibits a distinct change in performance.
IV

Introduction
The DLP Pico Projector is a convenient, versatile, state-of-the-art presentation system.
It is an effective and valuable tool for projecting computer-generated video
information or full motion video signals onto a front or rear projection screen. The
built-in Google Android Operating System allows playback of PDF, photos, Excel
files, Powerpoint presentations and various video files directly from the Pico
Projector without the need for external signal sources. This, coupled with the
rechargeable battery, allows easy presentations on the fly. The Pico Projector is an
ideal companion to travelling executives, sales personnel and anyone who wants to
do presentations and entertainment on the spot. Photos and videos can easily be
shared in group meetings or parties. Apps can be downloaded to extend the
applications of the Pico Projector. For some Smartphones, wireless projection can
be done via DLNA or Miracast broadening the connectivity of this Pico Projector.
The following lists some of the specific features of the DLP Pico Projector:-
- Small & Simple to Operate
- Built in Google Android OS 4.2 with Built-in WiFi
- WVGA 854x480 DLP resolution
- 100 Lumens brightness
- 2000 : 1 High contrast ratio
- Battery operated
- 2 USB ports,OTG & standard USB A host for flash drives, wireless
mouse, harddisk (self powered)
- Touch Sensitive Mouse Pad for Easy Navigation
- Various Audio Visual interface connections including HDMI input
- Built-in Speaker
Box Contents
Handle your DLP Pico Projector carefully as you remove it from the packing box.
The following items should be included in your package:-
- DLP Pico Projector
- AC Power Adaptor with Power Cord (plug according to national spec)
- AV cable
- VGA cable
- USB OTG cable
- Earphone or external speaker adapter
- Quick Startup Guide
1
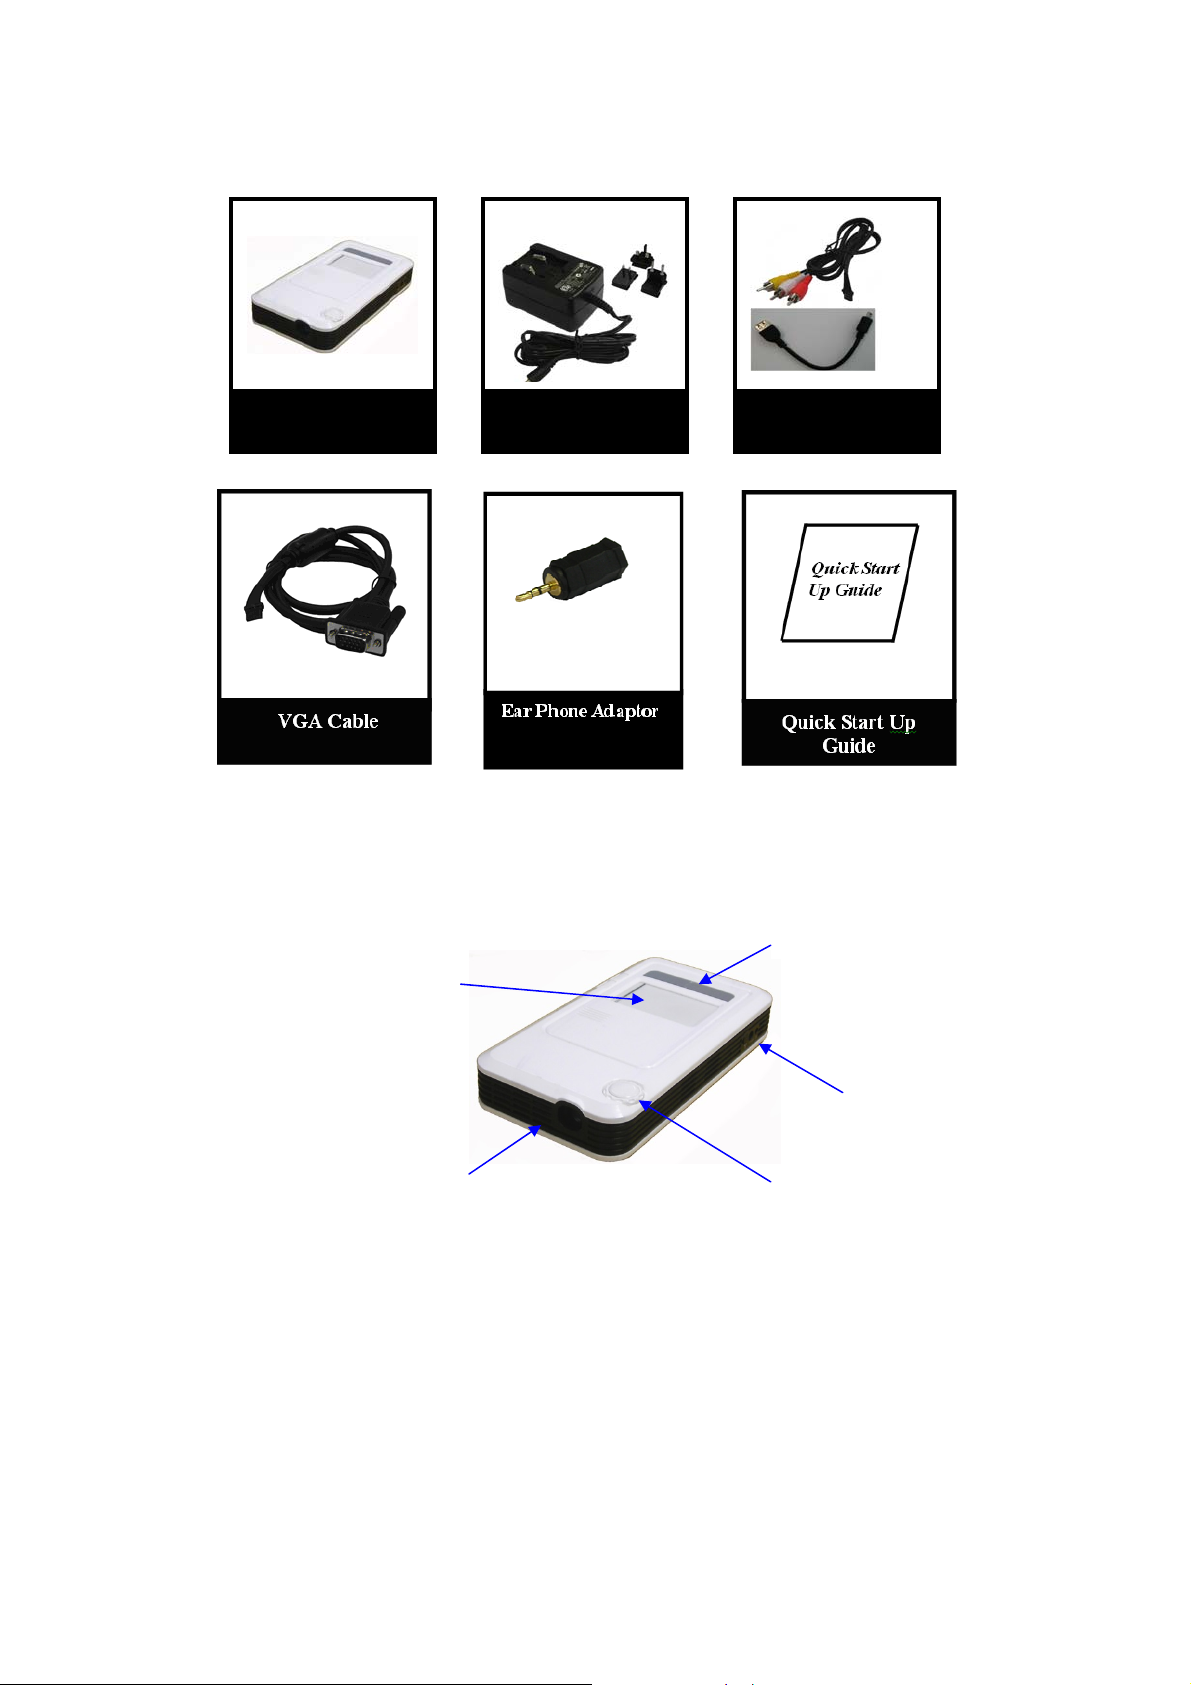
Check to make sure all parts are included in the shipping box. If any are missing,
contact your dealer immediately.
AC Power Adaptor
(plug supplied according to
national standard)
AV and OTG Cable DLPPicoProjector
Projector Controls and Indicators
Mouse Pad
2
Projector Lens
Back and Select Buttons
LED Indicator
Focus Knob
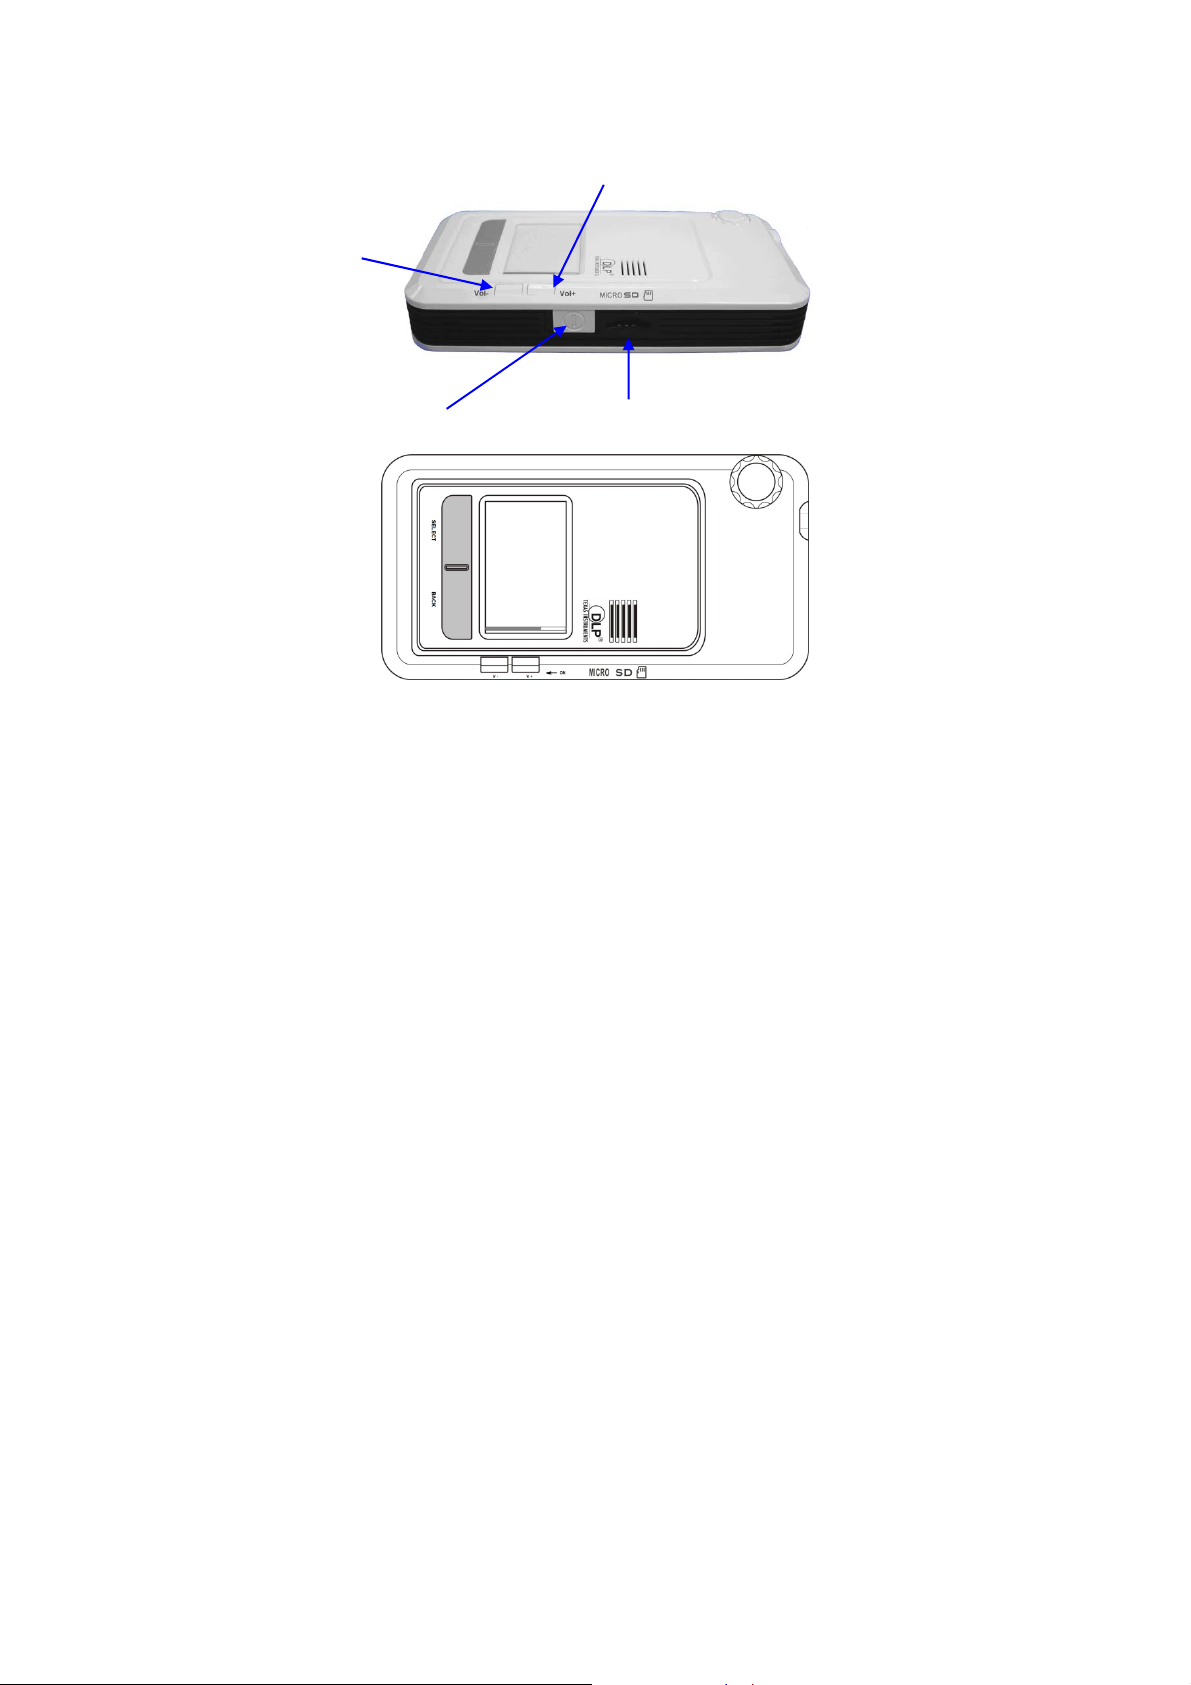
Volum e Up
Volum e Down
On/Off Power Button
Micro SD Card connector
On/Off Switch Slide the On/Off switch and hold for 1 second then release to turn
on the Pico Projector.
Slide the On/Off switch in the same way to turn off the Projector.
Vol. + / - Press the “Vol.” button to control the volume of the Pico Projector.
The volume will first increase and when it reaches the maximum
volume, the sound volume will start decreasing.
Focus Knob To adjust the image focus.
Mouse Pad To move cursor and select options
Select Button To select applications
Back Button Press to go back to previous screen
3
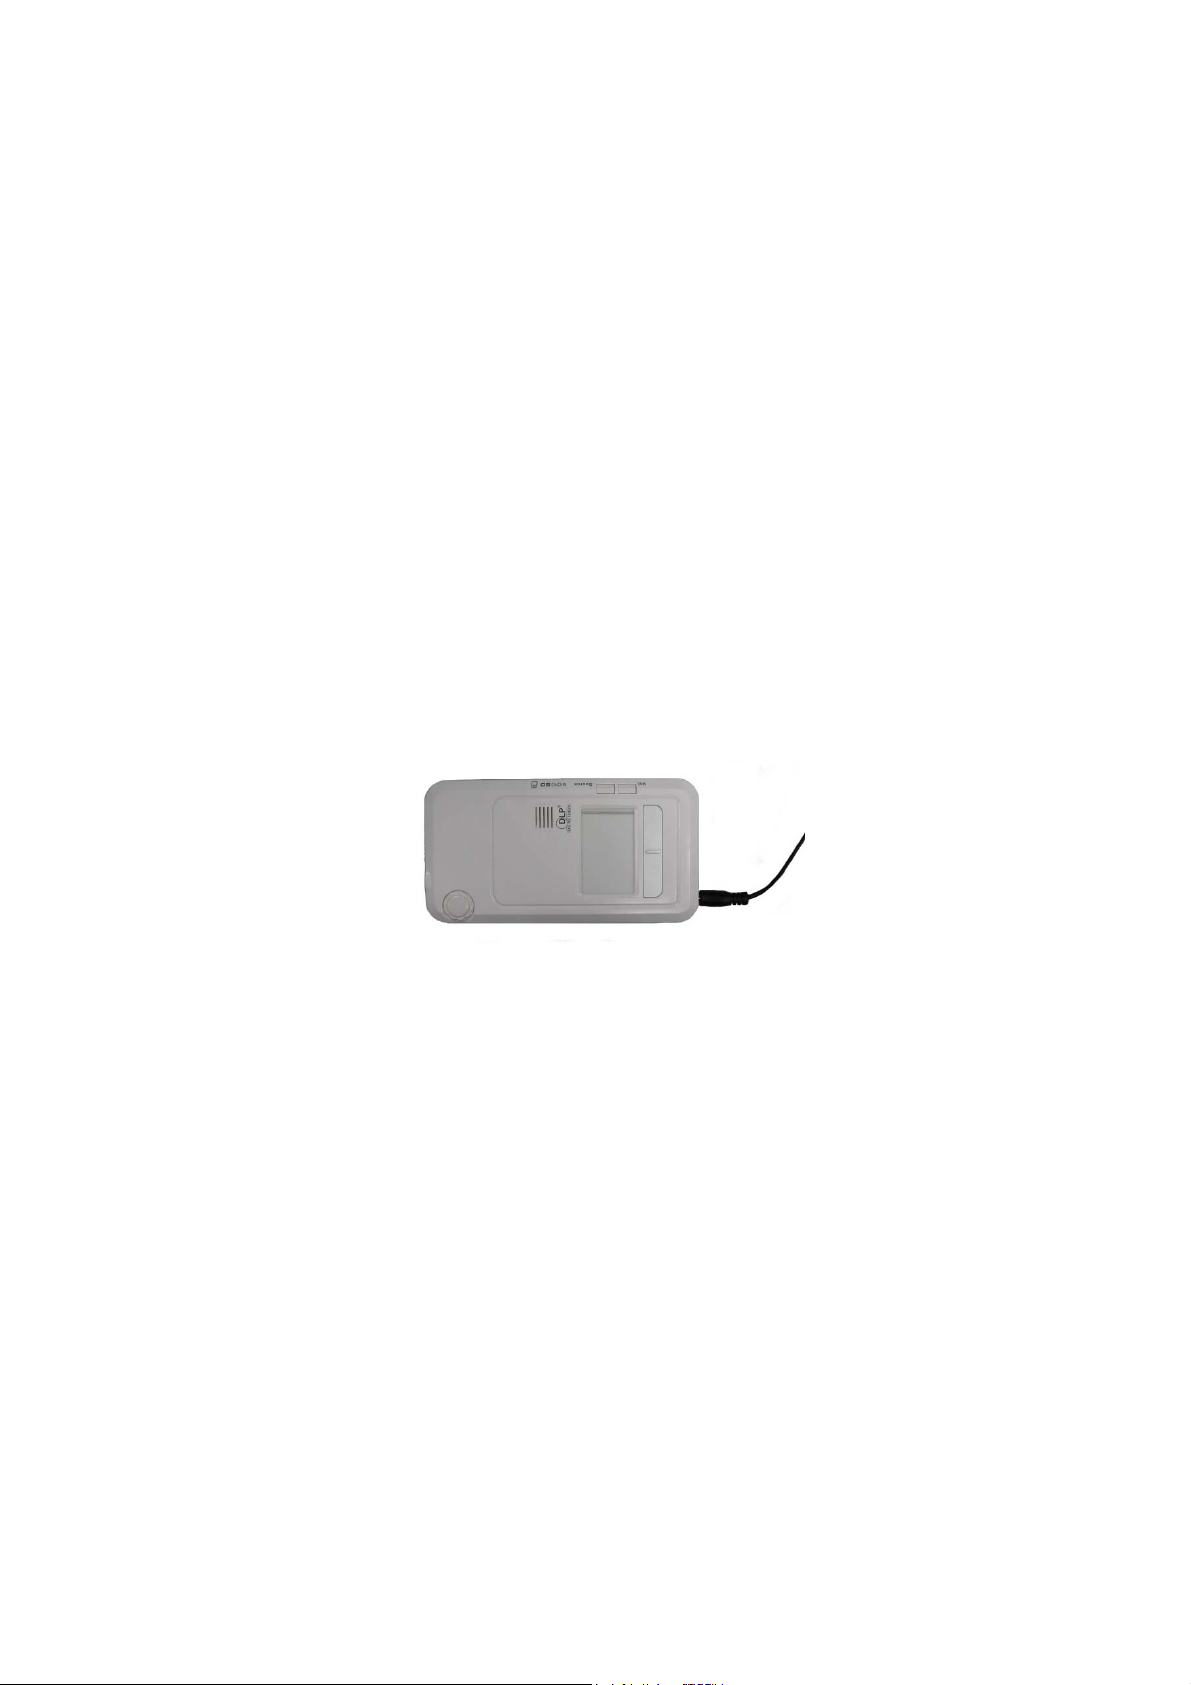
Setting Up the PICO Projector
1. Plug the Power Adaptor to the DC in connector at the rear of the DLP Pico
Projector.
Note : For first time use with internal battery, charge unit for about 4~5hours
2. Slide the ON/OFF power switch towards the rear of the unit and hold until
the display turns on, “Booting Up----“. The Projector will take a short while
to initialize. After booting up, the projector will display the Home Screen
3. Place the Projector at a suitable distance so the image size is around 30” to
80” diagonal
4. Turn the Focus Knob to bring the image into focus.
5. Navigate the Mouse Cursor with the built-in Capacitive Mouse Touch Pad to
operate the projector. Alternatively, connect a wired/wireless mouse to the
USB A connector.
6. External signal source can also be played through the projector via the
HDMI, AV and VGA input connectors.
Caution:Always use the power adaptor that was shipped with the Pico Projector. The adaptor accepts power
90-264V 50-60 Hz. Check to ensure that the main voltage is within the range on the rating plate on the rear of the
projector. When disconnecting the Pico Projector, always power off the unit before attempting to remove the AC plug
from the power source.
4
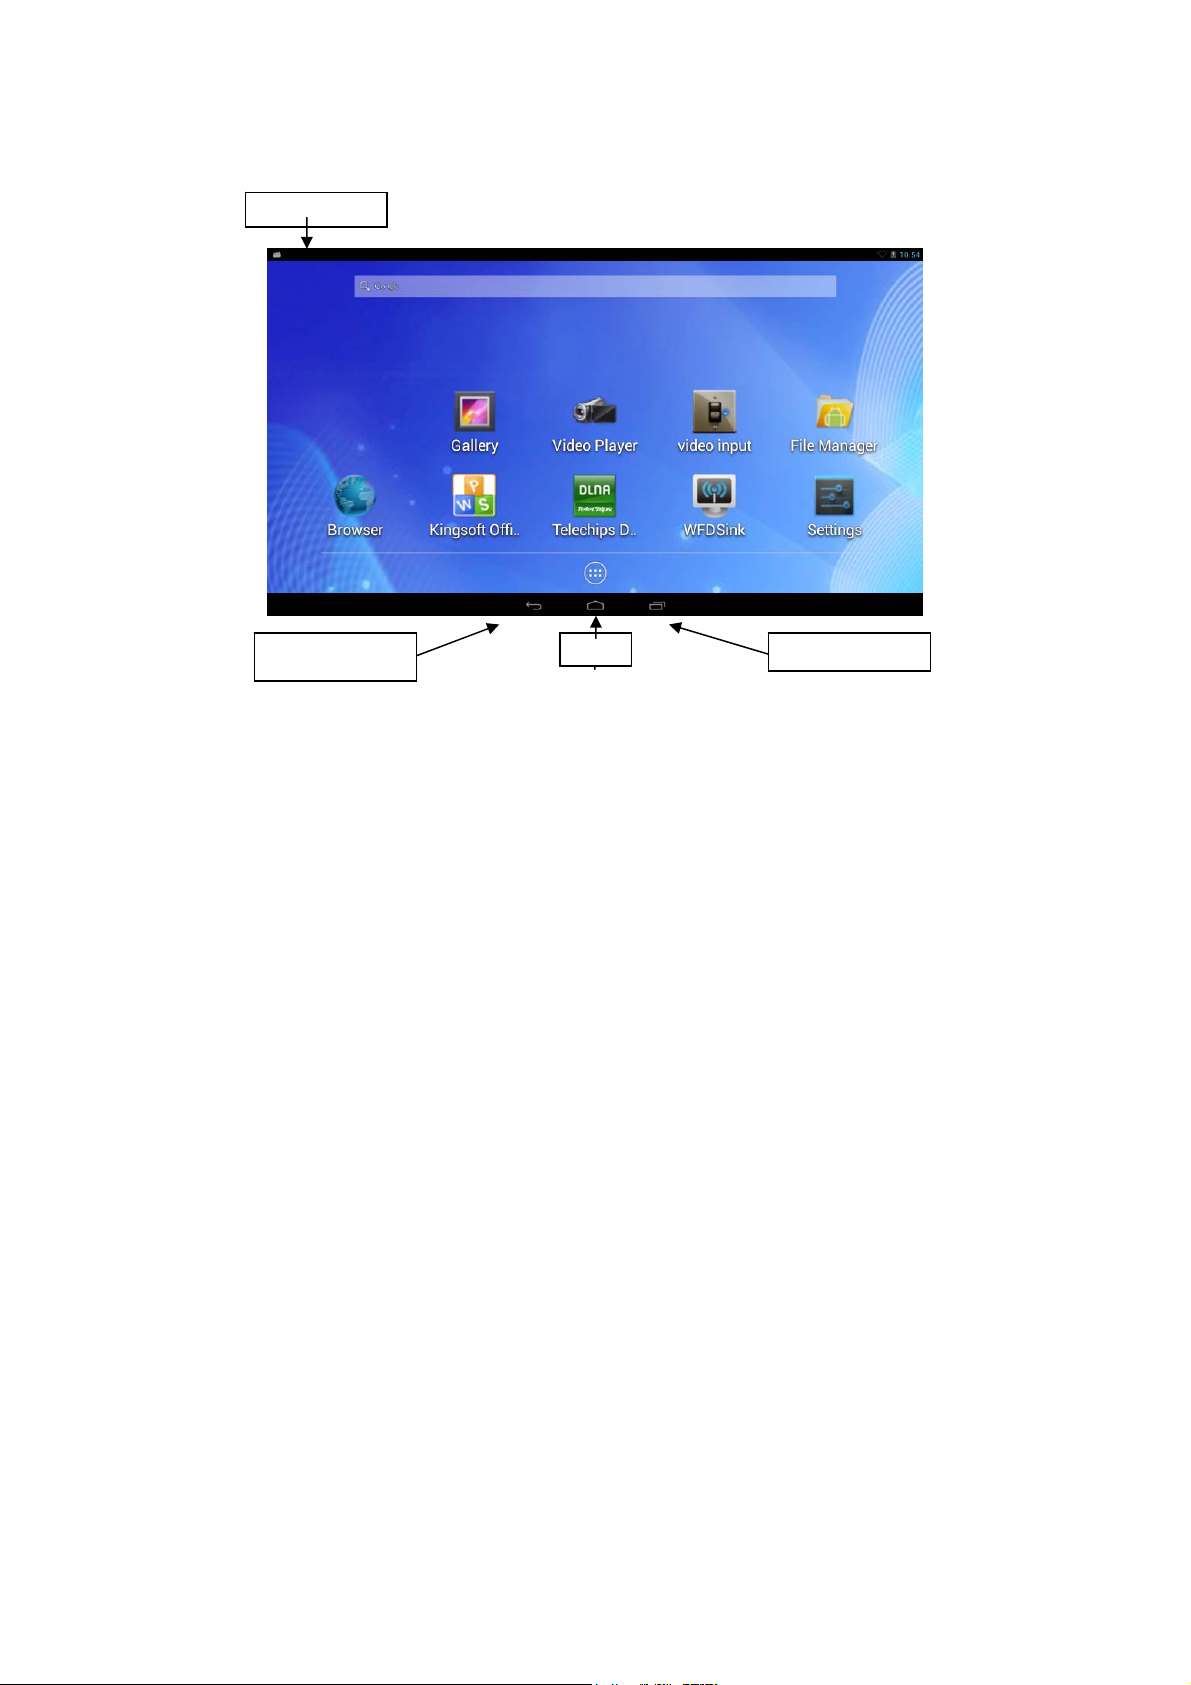
r
Notification ba
Back to previous
Home Screen
Home
(appearance may differ)
Applications cache
Using the Mouse Pad
controlled by the mouse pad.
Moving the cursor : Place finger over and in contact with the mouse pad, gently
move the finger across the mouse pad surface.
Select applications : move cursor over the application icon then gently tap once on
the mouse pad.
Moving to a different screen : Press and hold the select button then move the cursor to
the up/down/left/right. Alternatively, for one handed operation simply tap twice
in quick succession on the mouse pad and to keep in contact with the mouse pad on
the second tap. With the finger in contact with the mouse pad move the cursor
up/down/left/right
5
:All features of the Pico Projector can be
 Loading...