


SUPER BEAM260 MOVING HEAD LIGHT
MJ-1260
User manual
======PROFESSIONAL STAGE LIGHTING ========
Thank you for choosing our super beam moving head light. For the sake of your safety, Please
read and follow these instructions carefully and keep this manual in a safe place for future
reference.

2
Catalogue
Chapter Page
Safe Usage Of The Product -------------------------------------------------------------------------------------------3
Install The Equ ipment --------------------------------------------------------------------------------------------------4
Fitting The Lamp ---------------------------------------------------------------------------------------------------------4
Power Code Connection -----------------------------------------------------------------------------------------------5
DMX Connection --------------------------------------------------------------------------------------------------------5
DMX Terminato r ---------------------------------------------------------------------------------------------------------6
Function Set ----------------------------------------------------------------------------------------------------------------6
Operation Menu -----------------------------------------------------------------------------------------------------------7
Maintenance ----------------------------------------------------------------------------------------------------------------9
Keeping The Product Clean --------------------------------------------------------------------------------------------9
Trouble Shooting-----------------------------------------------------------------------------------------------------------9
Equipment and Appendix-----------------------------------------------------------------------------------------------10
Channel List-----------------------------------------------------------------------------------------------------------------10
Technical Parameters------------------------------------------------------------------------------------------------------13
☆Important notice:
· In this instruction for use contains about the installment and t he use aspect important information of the beam moving
head. When installing and using, you need to look this usage instruction strictly.
· Before open the beam mov i ng head and if you want to do the repair work, please make s ure the power so urce is at the
separation condition.
· Every unit is tested completely and packed properly by the manufacturer. Please make sure the packing and the unit are
in good condition before installation and use. Should there be any damage caused by transportation, consult your dealer
and do not use the unit. Any damage caused by improper use will not be assumed by the manufacturer or dealer.
Attention: Unceasingl y carries on the product improvement about our company the policy, in this instruction booklet
carries the data will have the possibility to be able to change in the future, when no longer separate notice change matters
concerned. Our company retains when the product improvement changes the related specification the authority. This
instruction booklet publisher cannot be responsible regarding this instruction booklet in information accuracy, also cannot
the related consequence which causes regarding these information be responsible.

3
SAFE USAGE OF THE PRODUCT
When unpacking and before disposing of the carton, check there is no transportation damage before
using the product. Should there be any damage caused by transportation, consult your dealer and do
not use the apparatus.
The product i s for indoor use only, IP20. Use only in dry locations. Keep this device away from rain
and moisture, excessive heat, humidity and dust. Do not allow contact with water or any other
liquids.
The product is not designed or intended to be mounted directly on to inflammable surfaces
The product is only intended for installation, operation and maintenance by professional person.
The product must be installed in a location with adequate ventilation, at least 50cm from adjacent
wall surfaces. Be sure that no ventilation slots are blocked.
Do not product the beam onto inflammable surfaces, minimum distance is 15m.
Avoid direct exposure to the light from the lamp. The light is harmful to the eye.
Do not attempt to dismantle or modify the projector in any way.
Electrical connection must only be carried out by qualified personnel.
Before installation, ensure that the voltage and frequency of power supply match the power
requirements of the projector.
It is essential that each projector is correctly earthed and that electrical installation conforms to all
relevant standards.
Do not connect this device to any other types of dimmer apparatus.
Make sure that the power-cord is never crimped or damaged by sharp edges. Never let the
power-cord come into contact with other cables. Only handle the power-cord by the plug. Never pull
out the plug by tugging the power-cord.
Keep the light clean. Do not touch the light glasss with bare hands.
The product should always be installed with a secondary safety fixing. On the projector base brink,
there is a hole for the safety cord provided. It should be attached as shown in “installing the projector”
section.
The lamp used in this projector is a discharge lamp. After switching off don
projector until lamp has cooled, this will require approx 15 minutes. Switching the lamp on and off at
short intervals will reduce the life of both the lamp and the projector. But occasional breaks will
prolong the life of the lamp and projector.
Never run the projector without a lamp.
The light shall be changed if it has become damaged or thermally deformed or reached its life limit.
Shields and lens shall be changed if they have become visibly damaged to such an extent than their
effectiveness is impaired, for example by cracks or deep scratches.
Exteri or surface tempera t ures of the luminaire after 5 minutes op eration is 70°,when steady state is achieved 140°。
There is no user serviceable parts inside the projector, do not open the housing and never operate the product
with the covers removed.
,
t attempt to restart the
If you have any questions, don’t hesitate to consult your dealer or manufacturer.
★Always disconnect from the mains, when the device is not in use or before cleaning it or
before attempting any maintenance work !

4
Install The Equipment:
Use 2pcs clamp and 1pcs safety cord(need to purchase).Use clamp fix with light hook which in the
packing box with light, then use screw install to the bottom of lamp. Hang the fixture on the structure
and fasten the screws attached to each clamp. Make sure the light is installed reliable, and confirm
the light which you fixed is strong enough for hanging the light. Base on safety reason, please
according to the above picture using safety wire cross the light to make it strong enough again.
Warning!
1. Unlock the PAN and TILT before the 1st application of the light for safety.
2.Hook and clamp only use for hanging the light. Do not use clamp as a tool to move fixtures.
3.Base on safety reason, please use the safety cord which can afford the weight ten times of lamp
through Insurance hole for auxiliary hanging.
4.Don't use the handle of the moving head light to fixed or lift!
Fitting The Lamp:
.Loosen 4 fast-fit screws and remove the back cover, when fitting/replacing the lamp.
.Do not touch the bulb of the new lamp with bare hand so as not to influence the beam output.
.Do not harm the sticking out point of the lamp during its installation.
.Fit new lamp and close the back cover by fastening 4 fast-fit screws when finished lamp installation.
.Lamp work will reach a very high temperature, Vapor discharge lamp can not continue to supply this
physical characteristics, therefore, the power completely cool for 10 minutes before on the operation.
Failure to do so will lead to a high-pressure discharge and short circuit burned out the computer's
control panel components.
Notes:
Unplug the light from power before lamp installation or replacement and wait for it to cool.

5
Power Code Connection:
Connect the power cord as follows:
L (live) =brown
E (earth) =yello w/green
N (neutral) =blue
Use the plug provided to connect the mains power to the projector paying attention to the voltage and
frequency marked on the panel of the projector. It is recommended that each projector be supplied
separately so that they may be individually switched on and off.
★It is essential that each projector is correctly earthed and the electrical installation conforms
to all relevant standards.
DMX Connection:
Connection between the controller and a projector and between one projector and another must be
made with a 2 core-screened cable, with each core having at least a 0.5mm diameter. Connection to
and from the projector is via cannon 3 pin (which are included with the projector) XLR plugs and
sockets. The XLR's are connected as shown in the figure above.
Note: Care should be taken to ensure that none of the pins touch the metallic body of the plug or each
other. The body of the plug is not connected in any way. The XLED 590 accepts digital control
signals in protocol DMX512 (1990).
Connect the controller ’s output to the first fixture’s input, and connect the first fixture’s output to the
second fixture’s input and connect the rest fixtures in the same way. Eventually connect the last
fixture’s output to a DMX terminator as shown in the figure below.

6
Manual
180°
EN/CN
DMX Address
DMX mode
DMX Terminator:
In the Controller mode, at the last fixture in the chain, the DMX output has to be connected with a
DMX terminator. This prevents electrical noise from disturbing and corrupting the DMX control
signals.
The DMX terminator is simply an XLR connector with a 120Ω (ohm) resistor connected across pins
2 and 3, which is then plugged into the output socket on the last projector in the chain. The
connections are illustrated below.
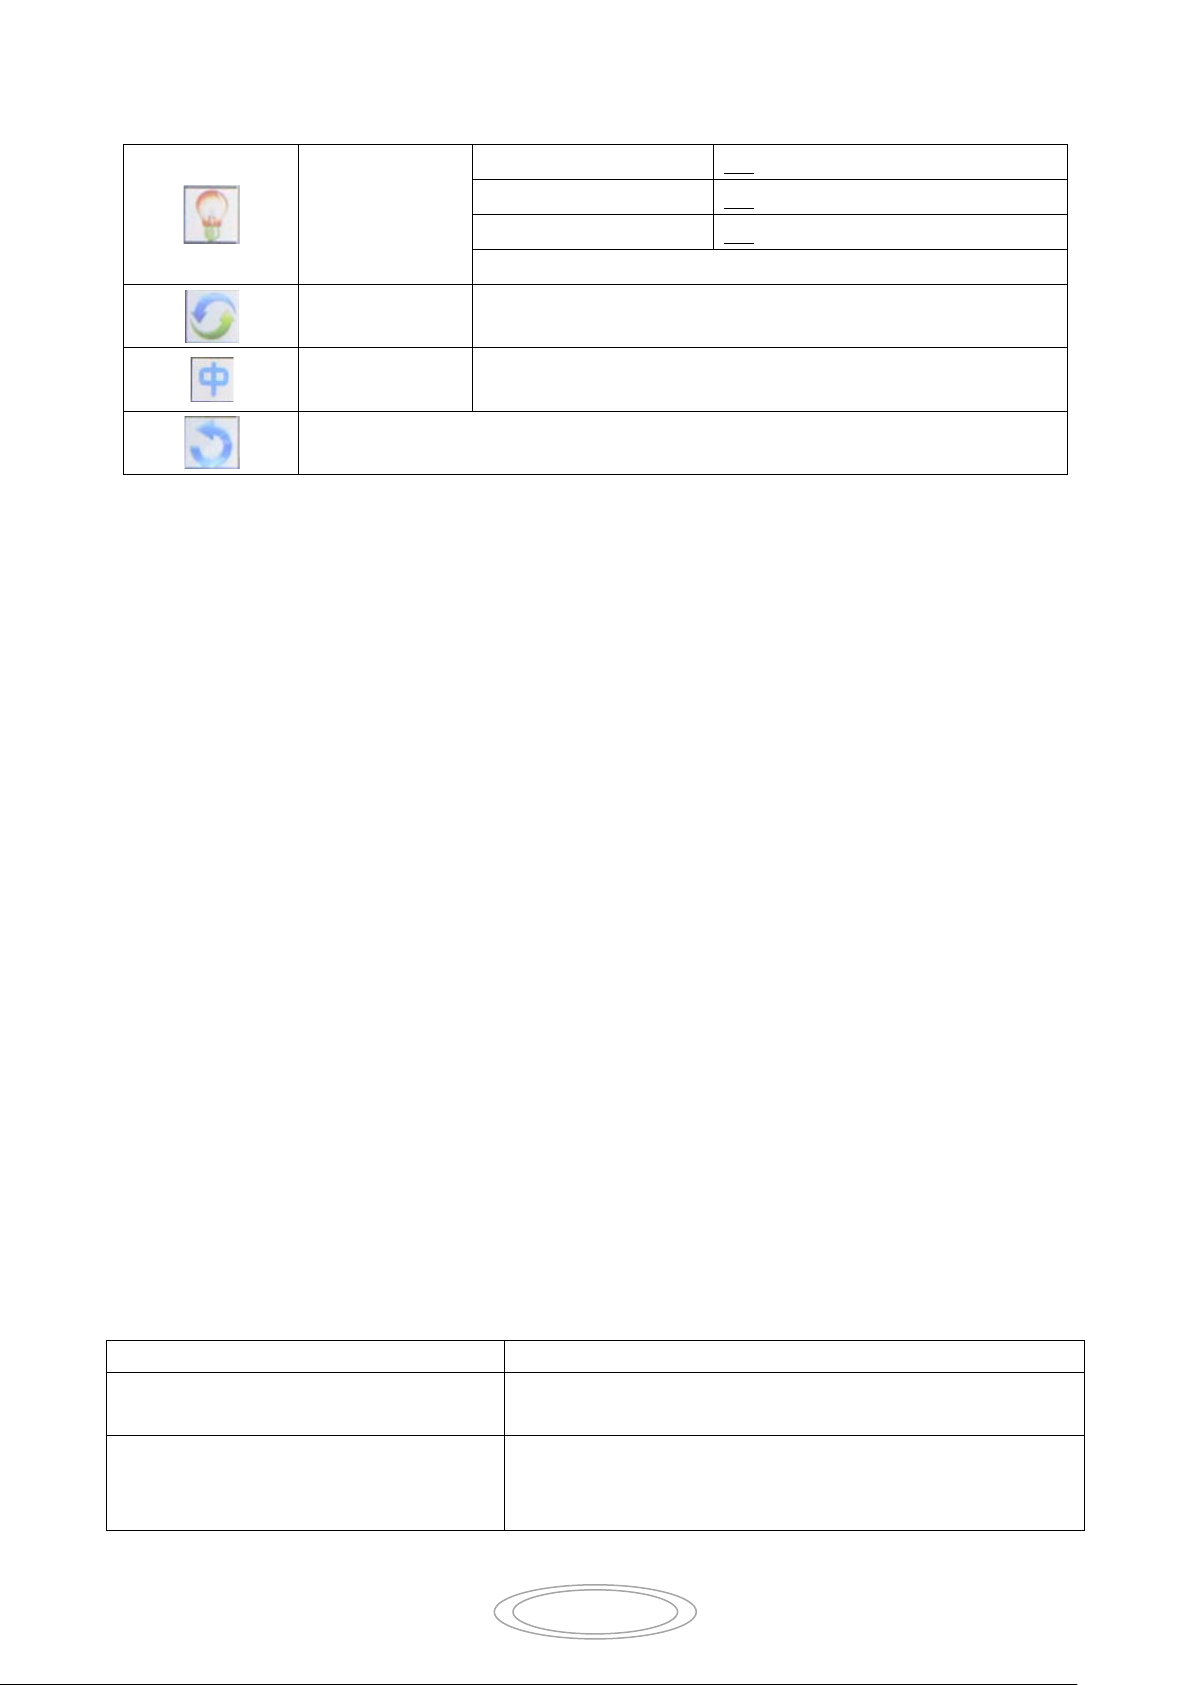
Function Set:
1. Touch Operat i on(Touch the Menu into the main menu as below)
Setting
Info
Display
Lamp
Back

7
2. Button Operation
Save
Esc
Running Mode
DMX /Wireless /Automatic
XY Optocoupler Test
ON/OFF
Signalclear
ON/OFF
Full Color
ON/OFF
The Shortest Distance
ON/OFF
Password 1
***
Password 2
***
Password 2
***
Use The
Password 1
***
Password 2
***
RST
Reset
Reset set t ing
ESC
Esc
Return to the main menu
OK
UP
Esc Ese
DOWN
Use button switch and LCD display, can set the address code and function code easily.
Check or modify lighting function settings, Press the LCD display or OK button. LCD display panel
will display main menus. Function operation menu all ha ve corresponding submenu . Each menu all
represent the specific functions of lamps, specific see below "operation menu" section.
Set or browse function setting of lamp, Press UP or DOWN key.
Press OK ke y to save your changes or to enter submenu, Press UP or DOWN can change value(Plus
or reduce number).
Operation Menu:
Menu Structure chart
Main Menu Sub Menu
Dmx Address
Features Setting
ADV (High
Factory Set
(0-512)
Level)
Channel
Definition
Channel Mode Standard/Simplify/Custom
X Reverse ON/OFF
Y Reverse ON/OFF
X Axis Angle 360/540
Password 1 ***
Password 2 ***
Password 1 ***
Management

8
All moto rs
Yes
No
Auto running
Sound running
ESC
CH1-CH32(0-255)
ESC
Ch1-CH32(0-255)
Running count(0-9999)
Residue time(Infinite)
Residue count (Infinite)
Fan 1(0-9999)
Fan 2(0-9999)
Tempe r ature 1(0-100)
Tempe r ature 2(0-100)
PCB1 Ver.: (V1.15)
ESC
Color pl at e err or
Rotate gobo error
Fixed rotate gobo error
X error
Y error
Gobo rotation error
Prism error
Gradie nt rot ati o n erro r
Focus error
ESC
Brightness
1-7 level
Light Delay
10/20/ 30 se c o nd s/ ON
Menu Back
10/20/ 30 se c o nd s/OFF
Flicker -Backlight Flash
ON/OFF
Part motor
Light Reset
XY motor
Manual
Test Running
Simulation Controller
Dmx Value
ESC
Running time(0-9999)
Other Info
PCB2 Ver.: (V1.22)
PCB3 Ver.: (V1.22)
System Info
Error Info
(If Have A Problem, It
Will Be Display To H ere)
Gradie nt er r or
Prism rot at io n er ro r
Enlarge error
Display Set
Save Save settings and r eturn to menu
Ese Don't save re t urn to menu
9
Default ON
Chinese /Eng lish
Problem
Answer
The moving head light doesn’t switch
on.
Check the fuse the power socket
Replace the lamp
Although shines, but the moving head
the controller.
Check the digital start address and also check the
Lamp S etting
Display Rev erse Display 180 d egree rotation
Display
Return to the scree n protection
Manual ON
Electronic ON
ESC
Switch the language of the menu display
Maintenance:
To prolong the life of the projector, some maintenance work has to be done to ensure the optical
system in good condition. If the projector does not function, check the fuses on the power socket of
the projector, they should only be replaced by fuses of the same specification. Should these be
damaged, call a qualified technician before replacement. The projector has thermal protection
device that will switch off the projector in case of overheating. Should either of these operate, check
that the fans are not blocked, and if they are dirty, clean them before switching on the projector
again. Check that the fans are operational, if not, call a qualified technician.
☆Any maintenance work should only be carried out by qualified technicians.
Keeping The Product Clean:
To ensure the reliability of the projector, it should be kept clean. It is recommended that the fans
should be cleaned every 15 days.
The lens and dichroic colour filters should also be regularly cleaned
to maintain an optimum light output.
Do NOT use any type of solvent on dichroic colour filters.
Cleaning frequency depends on the environment in which the fixture operates: damp, smoke or
particularly dirty surroundings can cause greater accumulation of dirt on the unit's optics. A soft cloth
and typical glass cleaning products should be used for cleaning. It is recommended to clean the
external optics at least once every 15 days and clean the internal optics at least once every 60 / 90
days.
☆Do not use any organic solvent, e.g. alcohol, to clean housing of the apparatus.
Trouble Shooting:
lamp doesn’t accept the instruction of
connection situation of the communication control line

10
The moving head lamp only can work
intermittently.
Inspect the power supply and voltage is whether normal.
filters not blocked
Defective projection
Make sure the lamp is within its life limit
Remove dust or grease from the lenses.
The beam appears dim
heck the optics is clean or the lens in good condition(not
Replace with a new lamp of the specified type and rating.
0~9
10~14
15~19
Red
20~24
25~29
Orange
30~34
35~39
40~44
45~49
50~54
55~59
60~64
65~69
70~74
Orange Red + Cool White
75~79
80~84
ool White + Rose Red
85~89
Rose Red
90~94
Rose Red +Light Green
95~99
Light Green
☆Other maintain work should by the specialist which has the experience to carry on.
Make sure the fan is working well or fans and their
cracked)
Equipment And Appendix:
☆ Beam 260W Moving Head Light 1pcs
☆ Power Cable 1pcs
☆ XLR connector 1unit
☆ Light Hook 2pcs
☆ The Product of Instruction 1pcs
Channel List: (18CH MODE)
Channel Value Function
White
White + Red
Red + Orange
Orange +Green
Green
Green + Blue
CH1
(Color)
Blue
Blue + Yellow Deep Yellow +
Yellow
Yellow + Orange Red Yellow-Green
Orange Red
Cool White
C

11
100~104
105~109
Light Bl u e
110~114
115~119
Light Yellow
120~124
125~129
Purple
130~134
135~139
140~149
Warm White + White
150~203
204~255
Rainbow effect with inversion (Slow~Fast)
CH2
0~6
Open
14~20
Gobo 2
28~34
Gobo 4
42~47
Gobo 6
48~53
54~59
60~65
Gobo 9
66~71
72~77
Gobo 11
78~83
84~89
90~95
96~100
101~105
106~110
(Strobe)
Light Green + Light Blue
Light Bl u e + Light Yellow
Light Yellow + Purple
Purple + Warm White
Warm White
Rainbow effect with veering(Fast ~Slow)
0~3 Strobe Close
4~103 Strobe speed from slow to fast
104~107 Open
108~207 Cut strobe is slow close and fast open
208~212 Open
213~251 Random stroboscopic from slow to fast
252~255 Open
CH3 0~255 Dimming from dark to brightness
7~13 Gobo 1
21~27 Gobo 3
35~41 Gobo 5
Gobo 7
CH4
Gobo 8
(Gobo)
Gobo 10
Gobo 12
Gobo 13
Gobo 13 shake from slow to fast
Gobo 12 shake from slow to fast
Gobo 11 shake from slow to fast
Gobo 10 shake from slow to fast

12
111~115
Gobo 9 shake from slow to fast
116~120
Gobo 8 shake from slow to fast
121~125
126~130
Gobo 6 shake from slow to fast
131~135
136~140
Gobo 4 shake from slow to fast
141~145
146~150
151~155
Gobo 1 shake from slow to fast
156~160
161~205
Gobo wheel Rot. with veering(Fast ~Slow)
206~210
211~255
128~255
Prism 2 (P32)
128~191
Prism veering rotation from fast to slow
CH9
0~255
Linear focusing
CH11
0~255
Pan fine
CH14
0~255
Pan/ Tilt speed (Fast~slow)
0~255
Linear Frost
0~99
No function
100~105
Lamp Delay open
200~205
Lamp Delay closing
0~249
No function
250~255
All motor Reset
Gobo 7 shake from slow to fast
Gobo 5 shake from slow to fast
Gobo 3 shake from slow to fast
Gobo 2 shake from slow to fast
Open
Open
Gobo wheel Rot. inversion (Slow ~Fast)
CH5
(Prism Wheel 1)
CH6
(Prism wheel 1
Rotation)
CH7
0~127 No function
128~255 Prism 1 (P16+8)
0~127 Prism rotation positioning
128~191 Prism reversion rotation from fast to slow
192~255 Prism veering rotation from slow to fast
0~127 No function
(Prism Wh eel 2)
CH8
0~127 Prism rotation positioning
(Prism wheel 2
Rotation)
192~255 Prism reversion rotation from slow to fast
CH10 0~255 Pan
CH12 0~255 Tilt
CH13 0~255 Tilt fine
CH15
CH16
CH17
(The lamp control)
CH18
(Reset)
0~127 No function
0~127 No function
0~255 Colourful color prism(it use CH5 and CH7)

13
Technical Parameters:
Voltage : AC100~240V/50-60Hz
Power consumption:420W@(220V)
Bulb: YODN 260W lamp
Lamp : YODN MSD260R9 LAMP
Color temperature : 8500K
Color: 13 Color + Open, Color half step function
Gobo: 13 Fixed gobo + Open, Gobo shake function
Prism: 1Pcs 16+8-face rotation prism, Bilateral rotation, Prism superposition function
1Pcs 32-face rotation prism, Bilateral rotation, Prism
Frost: 1Pcs frost mirror
Focus: Linear focusing
Multi-color mirror: 6 color mirror
Dimmer : 0-100% linear adjustment ,Strobe(0.5-9 times/ second)
Beam angle : Parallel beam angel 0 – 1.9°
Channel : 18CH
Control mode : Standard DMX512, Automatic, Sound and Master-slave mode
Pan: X axis 540°automatically accurate positioning
Tilt: Y axis 270°automatically accurate positioning
Control Panel: LCD touch screen display panel with buttons, 2.2-inch color LCD display with
English and Chinese menu, can be rotation 180 °
Protection grade:IP20
Net weight:15KG
Gross Weight: 16.5 kg
Package Size: 450 x 430x 530cm
superposition function
 Loading...