

mee audio T1M3 User Manual
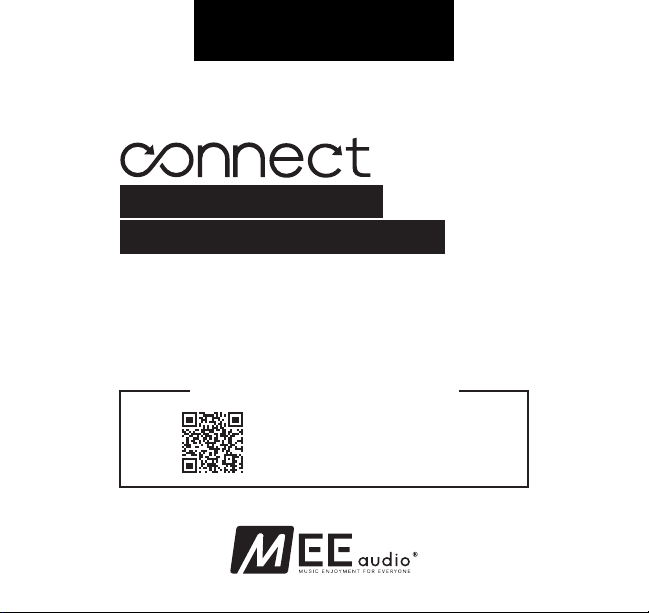
QUICKSTART GUIDE
HD WIRELESS SOUND FOR YOUR HDTV
Bluetooth® Wireless
headphone system for tv
Includes Bluetooth Wireless Audio Transmitter
and Matrix3 Wireless HD Headphones
www.MEEaudio.com/T1M3
CONNECT SUPPORT GUIDE
Scan QR code or enter the URL
below into your web browser:
MEEaudio.com/ConnectVid
Model: T1M3
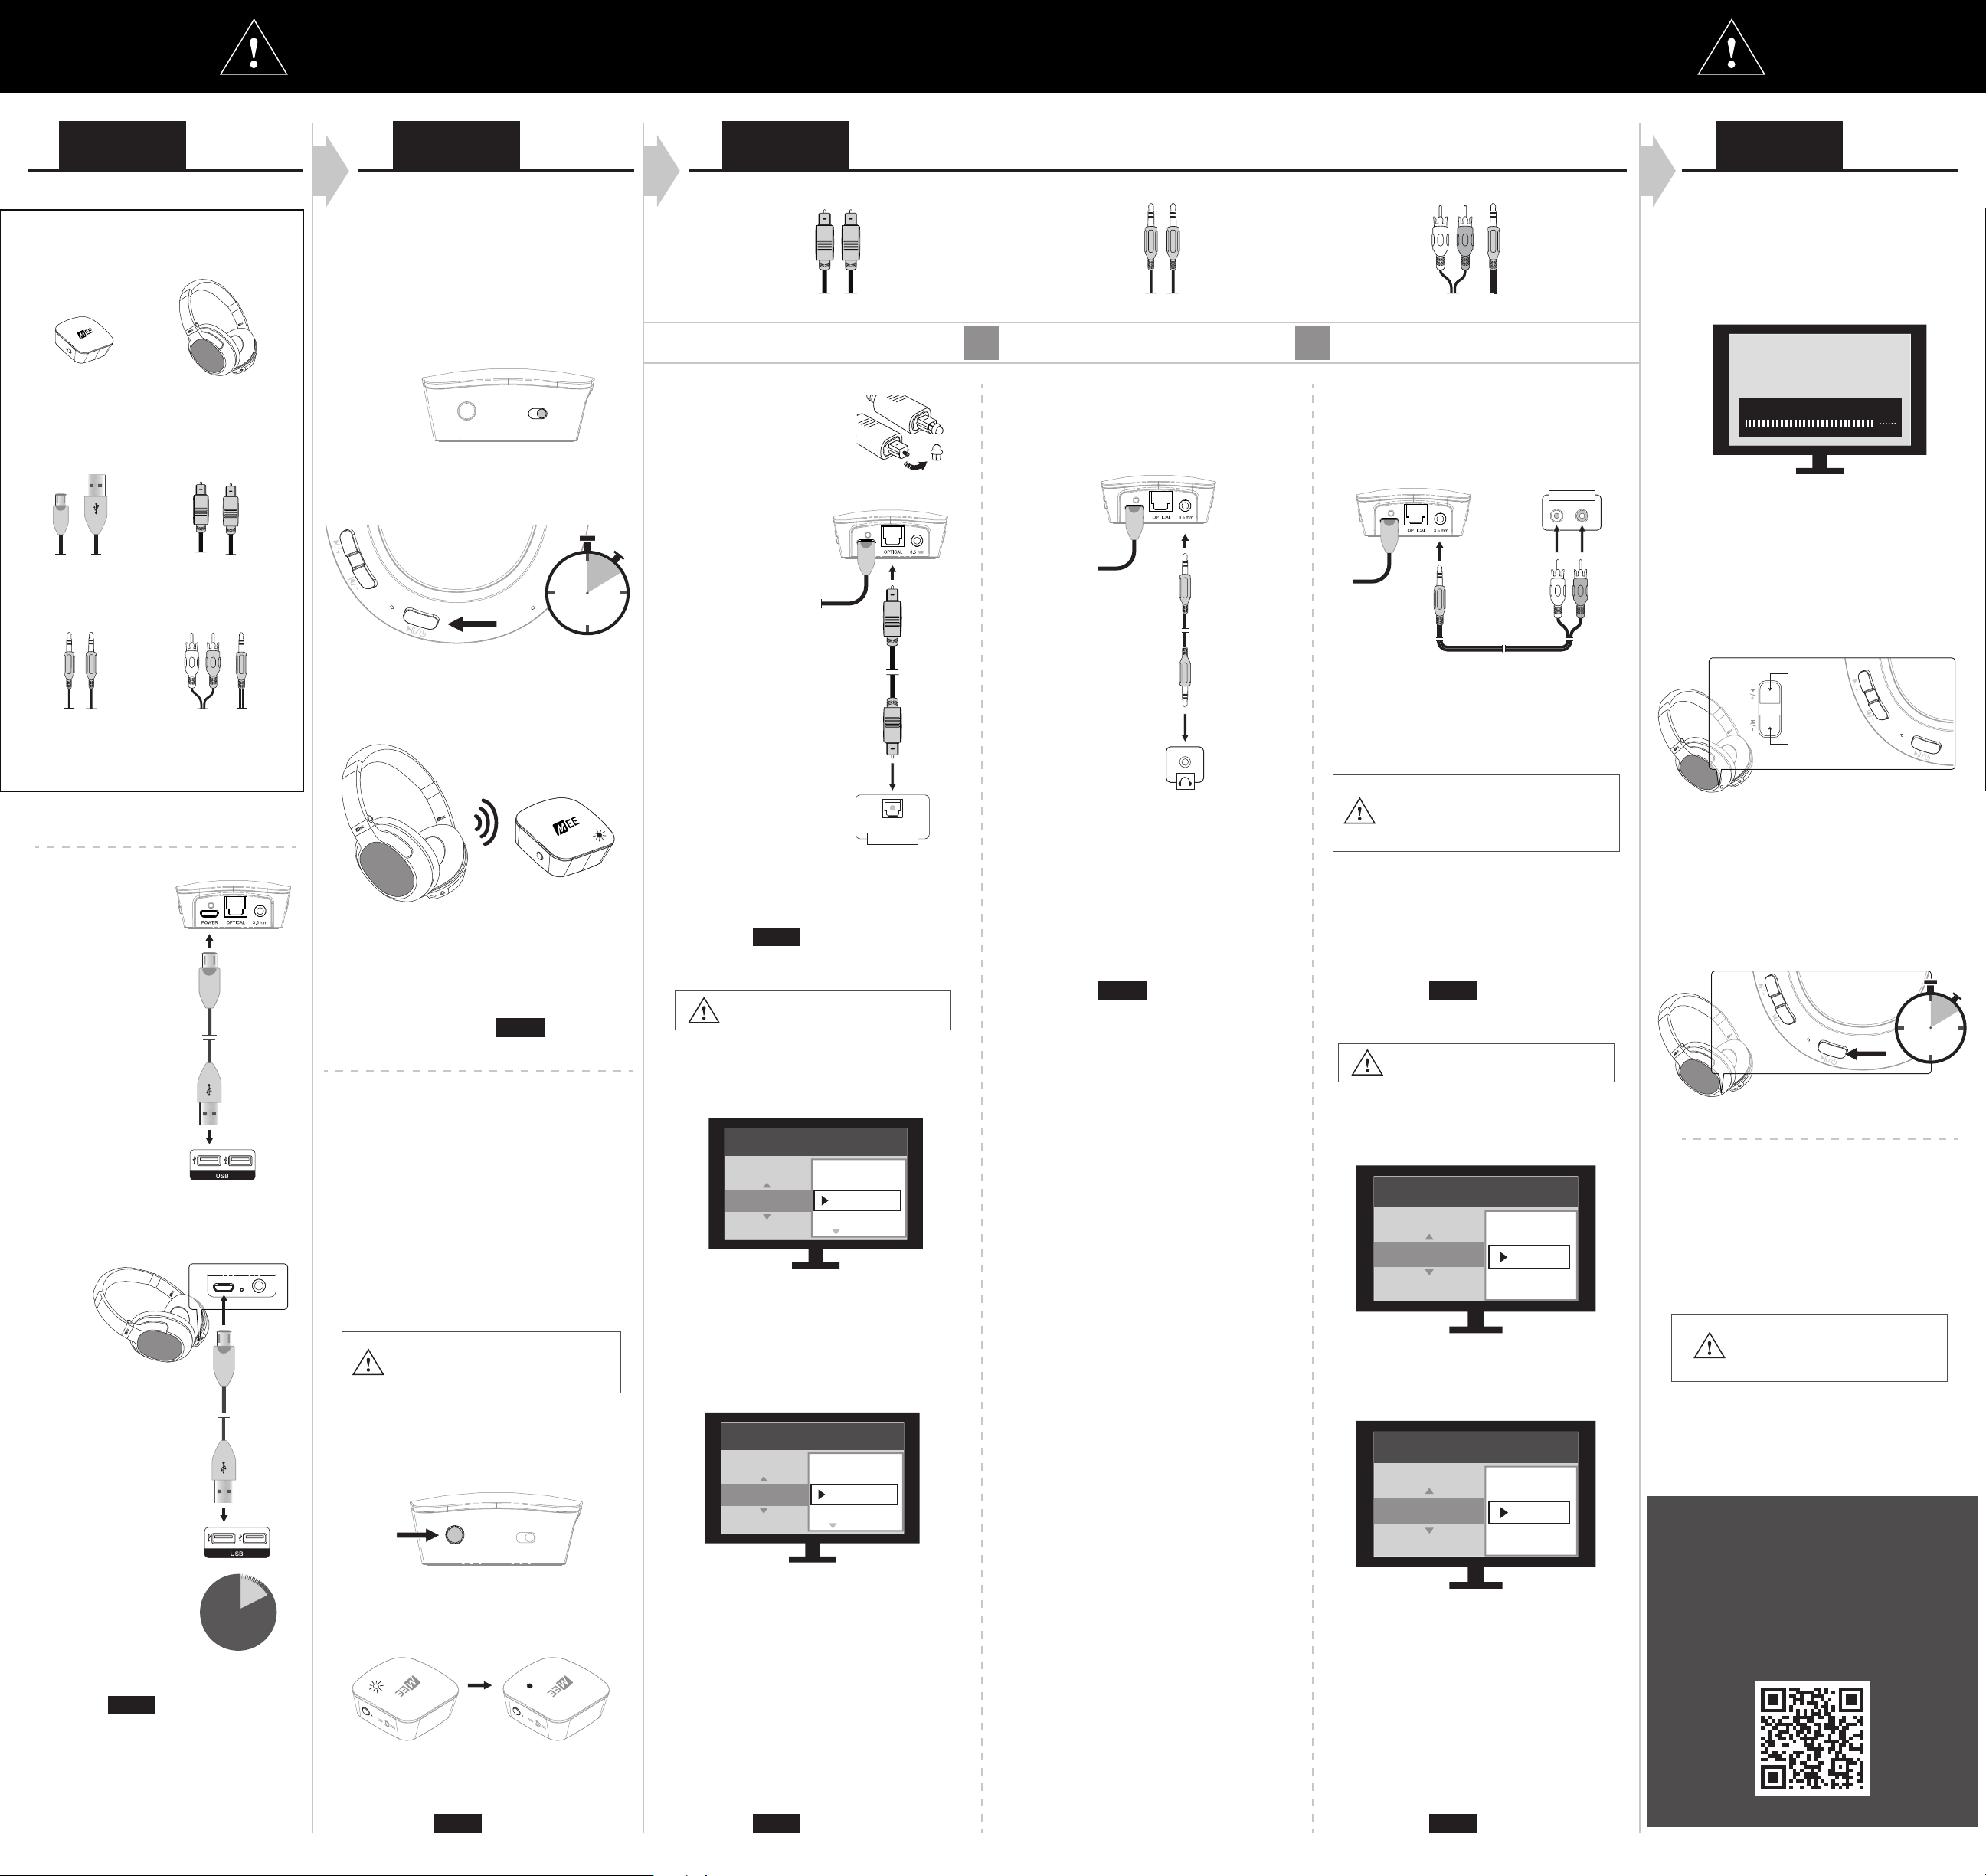
COMPLETE ALL 4 STEPS. REMEMBER TO PLUG IN ONE POWER CABLE AND ONE AUDIO CABLE
STEP 1
PACKAGE CONTENTS:
CONNECT
Bluetooth
Transmitter
Micro-USB
power cable
MATRIX3 Bluetooth
Stereo
Headphones
Digital optical S/PDIF
audio cable
STEP 2 STEP 3
POWER ON AND CONNECT
The
Connect
ready to use and will connect automatically
once powered on.
1.
Slide the ON/OFF switch of the
to the ON position.
Hold the Multifunction button on the
2.
Matrix3
and Matrix3 are paired and
Connect
A OFF ON
for 3 seconds to power on.
3
seconds
HOLD
CHOICE A: OPTICAL CHOICE B: 3.5 MM
1.
Remove protective caps
from both ends of the
digital optical S/PDIF
audio cable
2.
Plug digital optical
S/PDIF audio cable
into the OPTICAL
audio input of
the
Connect
.
Choose
OR OR
ONLY ONE
1.
Plug 3.5 mm audio cable into the
3.5 mm audio input of the
audio cable supported by your TV
CHOICE C: RCA
1.
Connect
.
Plug red/white ends of RCA audio cable
into the TV’s red/white RCA AUDIO OUT
port.
AUDIO OUT
R L
STEP 4
ADJUSTING VOLUME
Maximize the volume level on your TV, then
use volume controls on headphones to
adjust to preferred volume.
Volume max vol+
If you are using the Optical cable, you may
mute the TV speakers, which allows you to
directly control the volume on your
Bluetooth headphones.
Tap the Volume Up or Volume Down
buttons on the
headphone volume
Matrix3
to adjust
3.5mm
audio cable
GETTING STARTED
1.
Plug the micro-USB
power cable into
the micro-USB
POWER port of the
Connect
2.
Plug the USB end
of the cable into an
AC adapter, TV, or
computer USB port.
CHARGE HEADPHONES
1.
Plug micro-USB
power cable into
the micro-USB
power port of the
Matrix3
2.
Plug the USB end
of the cable into an
AC adapter, TV, or
computer USB port.
3.
Charge for 2 hours
.
MATRIX3
.
RCA
audio cable
2
hrs
3.
A solid blue light will appear on the
transmitter to indicate that a connection
is established
B
A SOLID BLUE LIGHT ON TRANSMITTER
INDICATES CONNECTION
If no solid blue light appears, perform the
4.
pairing procedure below.
Otherwise, proceed to
PAIR WITH BLUETOOTH HEADPHONES
This procedure is used to re-pair the
or to pair a different headphone with the
Connect.
1.
2.
Put your Bluetooth headphones in pairing
mode. To put the Matrix3 in pairing mode,
hold the Power / Multifunction button for
about 5 seconds until the status indicator
light begins to flash red and blue and the
headphone says “Ready to Pair”.
Consult the user manual of your
Bluetooth headphones if you are not
sure how to put them in pairing mode
Once the headphones are in pairing mode,
click Pairing button “A” once to put the
Connect
in pairing mode.
CLICK
Blinking blue light will change to solid
blue light once successfully paired.
STEP 3
Matrix3
A OFF ON
2.
3.
Plug the other end into
the TV’s DIGITAL AUDIO
OUT (OPTICAL) port.
DIGITAL AUDIO OUT
OPTICAL
Plug the other
end into the TV’s
headphone jack.
Headphone jack may be located on
rear, side, front, or bottom of TV.
2.
Plug 3.5 mm end of RCA audio cable into
the 3.5 mm audio input of the
RCA jacks on TV must be designated
an AUDIO OUT. RCA input jacks,
commonly labeled AV IN, INPUT, or
COMP IN / COMPONENT will not work.
Connect
.
TAP
to increase
volume
TAP
to decrease
volume
WHEN FINISHED, power off headphones
4.
Test for sound. Make sure the volume on both
your TV and headphones is turned up.
Proceed to
5.
STEP 4
3.
Test for sound. Make sure the volume on
both your TV and headphones is turned up.
Proceed to
4.
STEP 4
Test for sound. Make sure the volume on
both your TV and headphones is turned up.
4.3.Proceed to
STEP 4
until next use
Hold the Multifunction button on the
Matrix3
for 3 seconds to power off.
NO SOUND? CHECK YOUR TV SETTINGS.
HOLD
3
seconds
NO SOUND? CHECK YOUR TV SETTINGS.
1.
Change Sound Output to “Optical”**
1.
settings
Change audio output settings to “VARIABLE”.
Sound / Audio
hdmi
sound Output
optical
tv speaker
settings
sound / audio
SUBSEQUENT USE
fixed
WHEN READY TO USE AGAIN, POWER ON THE
HEADPHONES AND THEY WILL RECONNECT
AUTOMATICALLY.
Do not put the Connect or your
headphones into pairing mode.
A solid blue light on the Connect will indicate
that a connection has been re-established.
2.
Change Digital Audio Output Format to
“STEREO” or “PCM”**
This may also need to done in the audio
output settings menu(s) of your streaming
app(s) and/or device(s) such as Apple TV
†
settings
expert settings
Audio Output format
auto
dolby digital
pcm / stereo
DTS
Analog audio out
®
2.
Set TV’s internal speakers to “OFF”.
variable
settings
sound / audio
tv speakers
on
off
NEED HELP?
VIEW OUR VIDEO SETUP GUIDE
**Exact menu and item names may vary
between TVs.
†
On some TVs settings may be located in
“Advanced settings” or “Expert settings”
submenus.
**Exact menu and item names may vary
between TVs.
Scan QR code or enter the URL
below into your web browser:
MEEaudio.com/ConnectVid
Proceed to
4.
STEP 2
PAIRING
BLINKING BLUE LIGHT
Proceed to
3.
STEP 3
PAIRED
SOLID BLUE LIGHT
3.
Proceed to
STEP 4
3.
Proceed to
STEP 4
 Loading...