

Medtronic Sonicision Quick Reference Manual
QUICK
REFERENCE GUIDE
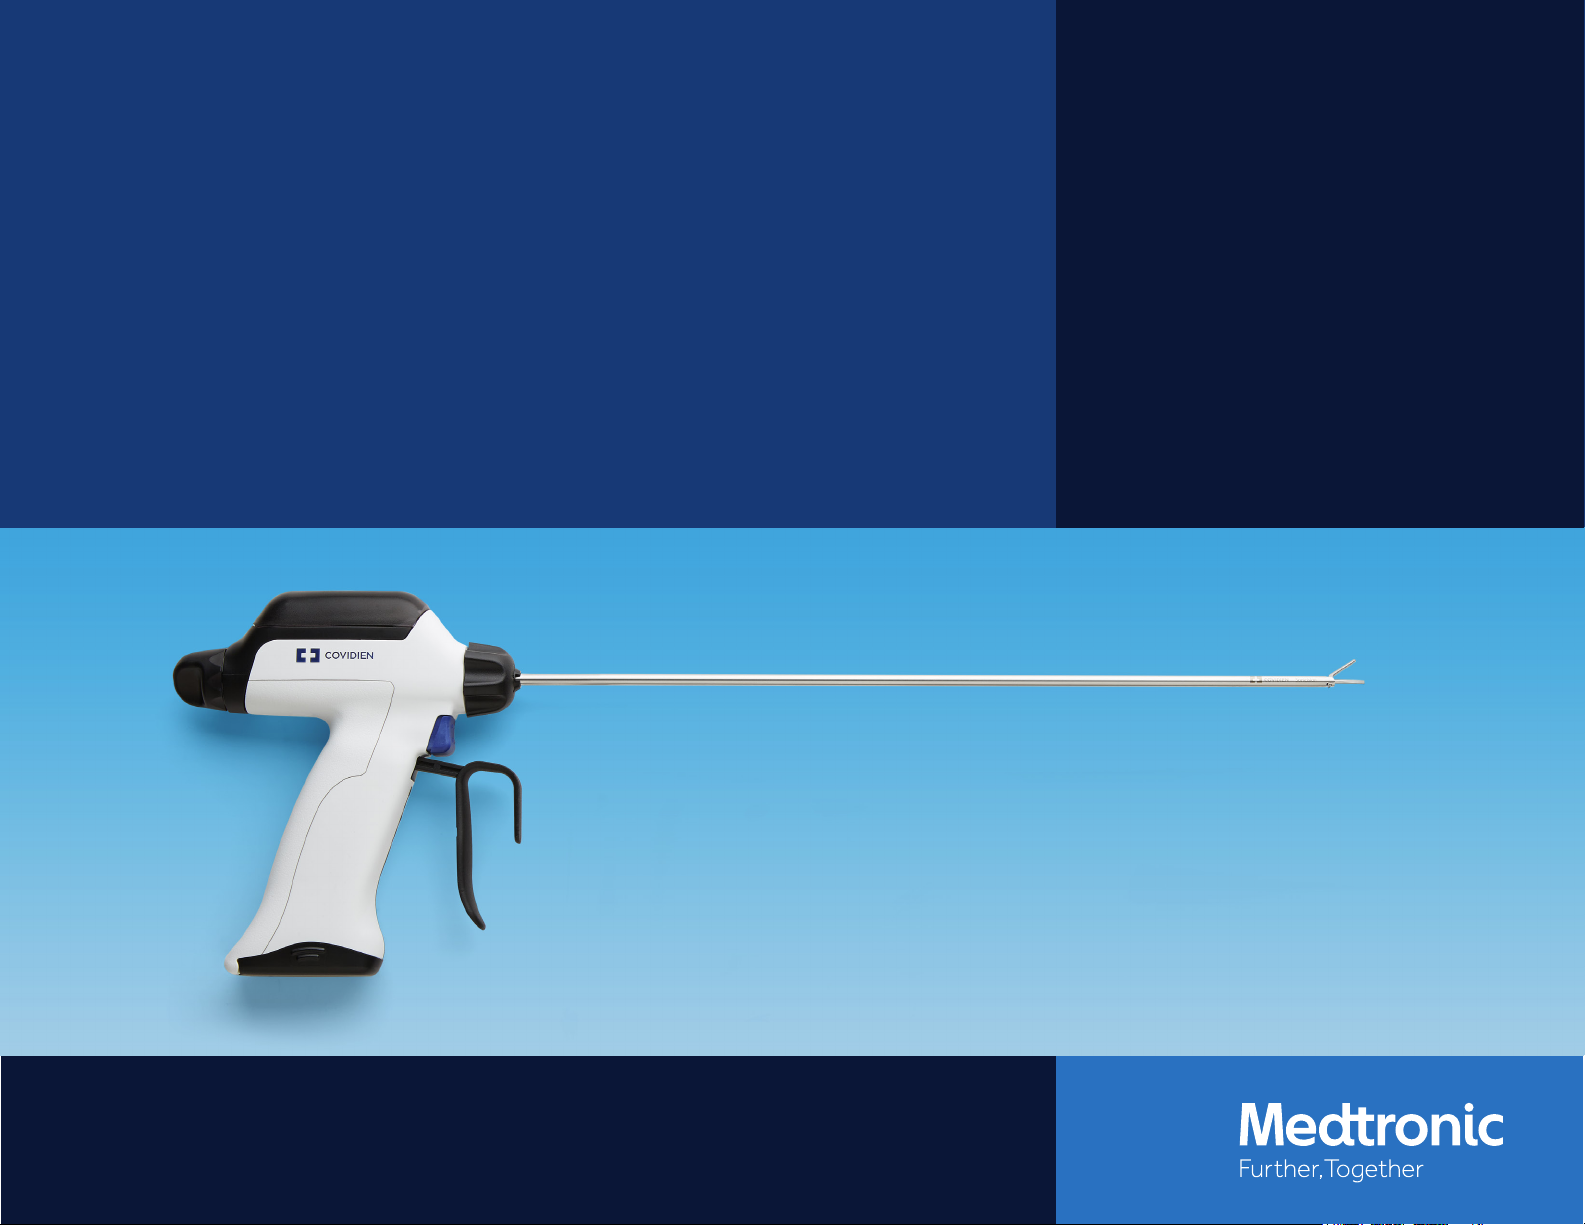
Sonicision™ Curved Jaw Cordless Ultrasonic Dissection System

TABLE OF CONTENTS
IN THE OPERATING ROOM
4 Assembly
5 Changing a Battery Pack During a Procedure
6 Disassembly, Cleaning, and Disinfecting
theBattery Pack
7 Device Status and Troubleshooting
8 Charger Indications andTroubleshooting
CLEANING AND STERILIZATION
10 Cleaning the Reusable Components
12 Sterilizing the Reusable Components
2
IN THE
OPERATING ROOM
3

ASSEMBLY
1
SCRUBBED
PERSON
Slide the generator into
the opening at the back
of the dissector until it
makes contact with the
front of the dissector
opening.
2
SCRUBBED
PERSON
Hold the dissector shaftrotation wheel. Turn the
torque knob clockwise
until it clicks twice.
Tip: Listen and feel for
the two clicks. This
will conrm that the
generator is properly
attached to the dissector.
After assembly
To ensure the device meets required essential performance,
it should be tested after assembly as follows:
With the clamping jaws open, test the minimum power
∙
mode (energy button depressed to rst position) and
maximum power mode (energy button fully depressed).
3
SCRUBBED
PERSON
Place the sterile battery
insertion guide onto the
open dissector handle
and hold rmly.
Tip: Make sure the
battery insertion guide
is completely seated on
the dissector. Improper
placement will make it
dicult to insert the
battery
.
If the device generates dierent pulsating tones for each
∙
power mode and a green LED is present, assembly is
complete and the device is ready to use.
If inaudible or undierentiated tones or a non-green LED
∙
are present, troubleshooting must be performed.
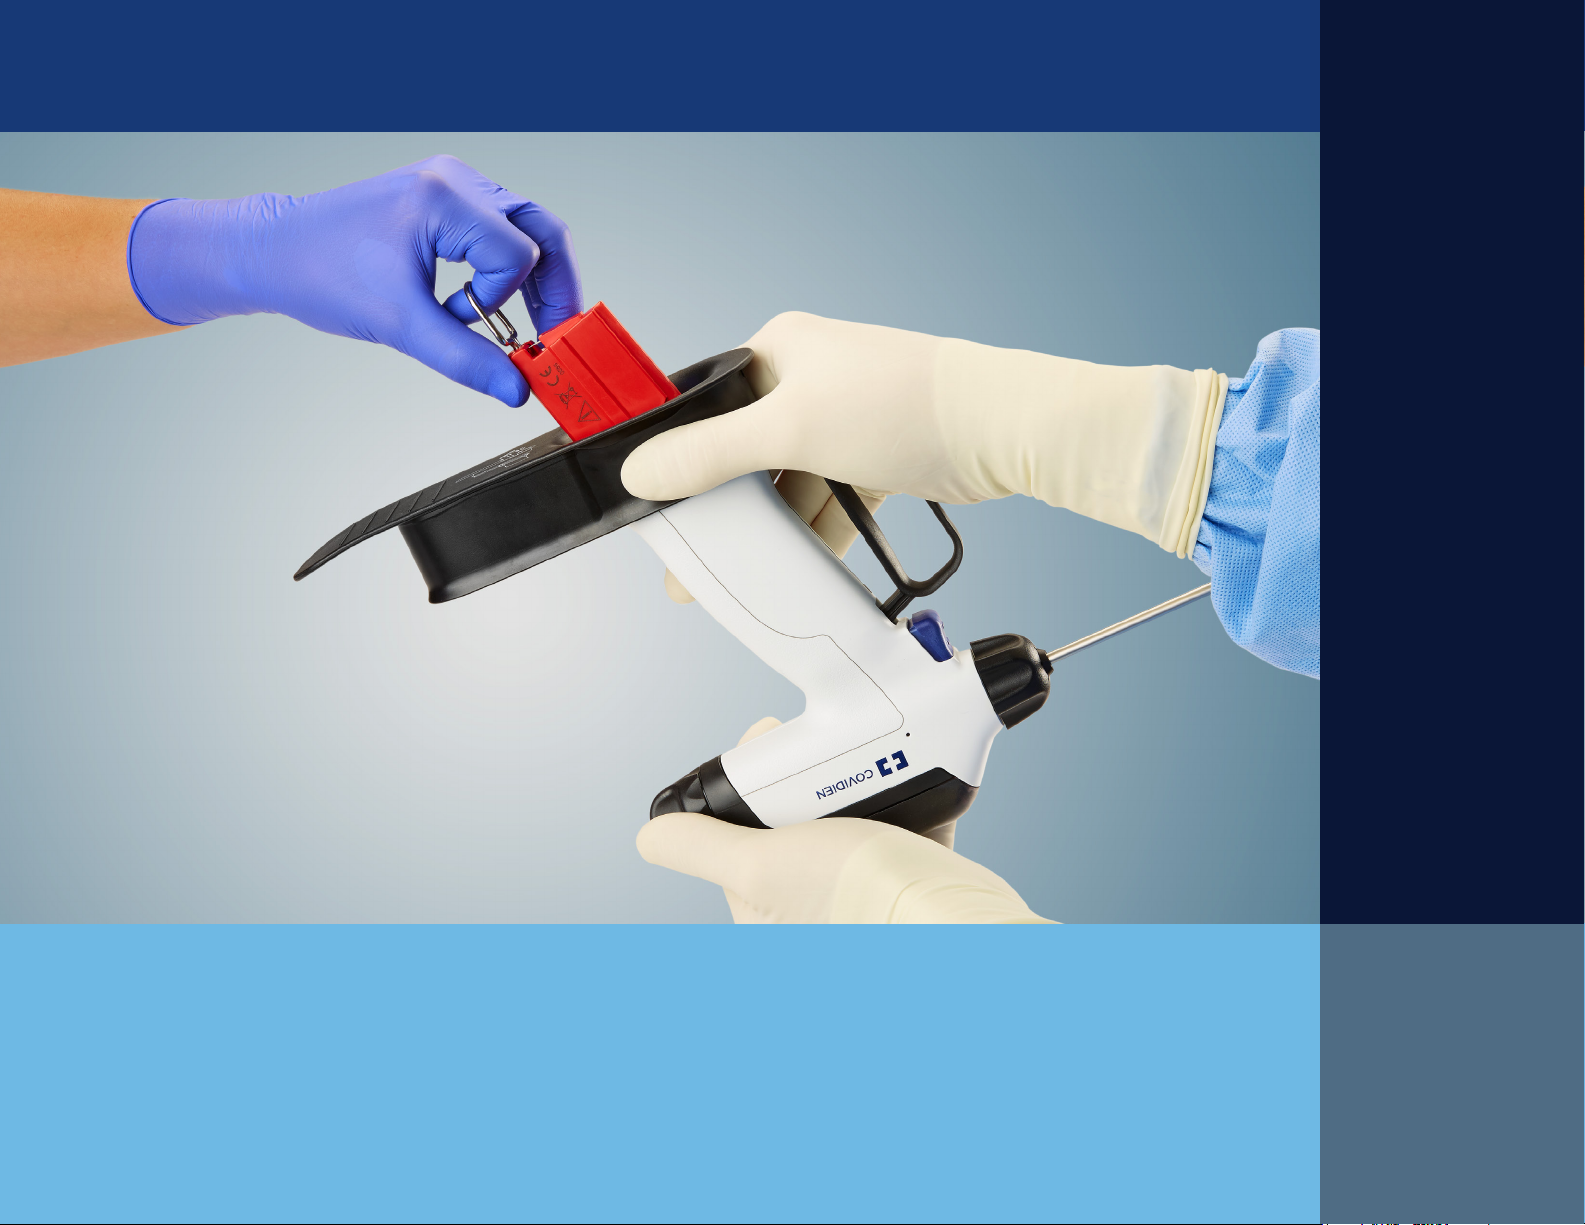
4
CIRCULATING
PERSON
Orient the battery as
shown on the battery
insertion guide. Insert
the battery pack through
the battery insertion
guide into the handle of
the dissector.
Tip: The scrubbed person
should provide additional
support by holding the
battery insertion guide
onto the dissector during
battery insertion.
5
CIRCULATING
PERSON
After the battery pack is
seated in the dissector,
remove the now
contaminated battery
insertion guide from the
sterile eld.
6
SCRUBBED
PERSON
Do not touch the battery
pack. Close the battery
compartment door until
there is tactile feedback
and an audible click.
Tip: Press down on
the top of the battery
compartment door
directly over the battery
door latch for easiest
closure.
4

CHANGING A BATTERY PACK DURING A PROCEDURE
1
SCRUBBED
PERSON
Hold the device with the
battery compartment
door up. Press the battery
door release button to
open the compartment.
2
SCRUBBED
PERSON
Place the new sterile
battery insertion guide
over the exposed battery
pack. Seat the guide onto
the open dissector handle
and hold rmly.
Tip: Ensure the battery
pack handle is facing
towards the jaws of the
device and away from the
battery door hinge. Do
not attempt to place the
battery insertion guide
while the handle is in the
improper orientation.
If the battery handle
is facing the wrong
direction, tilt the jaws
of the instrument down
towards the oor. This will
cause the handle to fall
into proper orientation.
3
CIRCULATING
PERSON
Grasp the battery pack
handle and pull the
battery pack through the
insertion guide, out of the
dissector, and into a clean,
nonsterile environment.
Tip 1: Make sure the
battery insertion guide
is completely seated on
the dissector. Improper
placement will make
the battery dicult
to remove.
Tip 2: The scrubbed
person should hold the
battery insertion guide
rmly on the dissector.
4
CIRCULATING
PERSON
Orient the new battery
pack as shown on the
battery insertion guide.
Insert the battery pack
through the battery
insertion guide into the
handle of the dissector.
Tip: The scrubbed person
should provide additional
support by holding the
battery insertion guide
onto the dissector during
battery insertion.
5
CIRCULATING
PERSON
After the battery pack is
seated in the dissector
handle, remove the now
contaminated battery
insertion guide from the
sterile eld.
6
SCRUBBED
PERSON
Do not touch the battery
pack. Close the battery
compartment door until
there is tactile feedback
and an audible click.
Tip: Press down on
the top of the battery
compartment door
directly over the
battery door latch for
easiest closure.
After changing the battery pack
With the clamping jaws open, test the minimum power mode (energy button
∙
depressed to rst position) and maximum power mode (energy button fully
depressed).
If the device generates dierent pulsating tones for each power mode and a
∙
green LED is present, assembly is complete and the device is ready to use.
If inaudible or undierentiated tones or a non-green LED are present,
∙
troubleshooting must be performed.
5
 Loading...