

Medtronic Signia User Manual
THE
FUTURE OF
STAPLING IS
IN YOUR
HANDS.
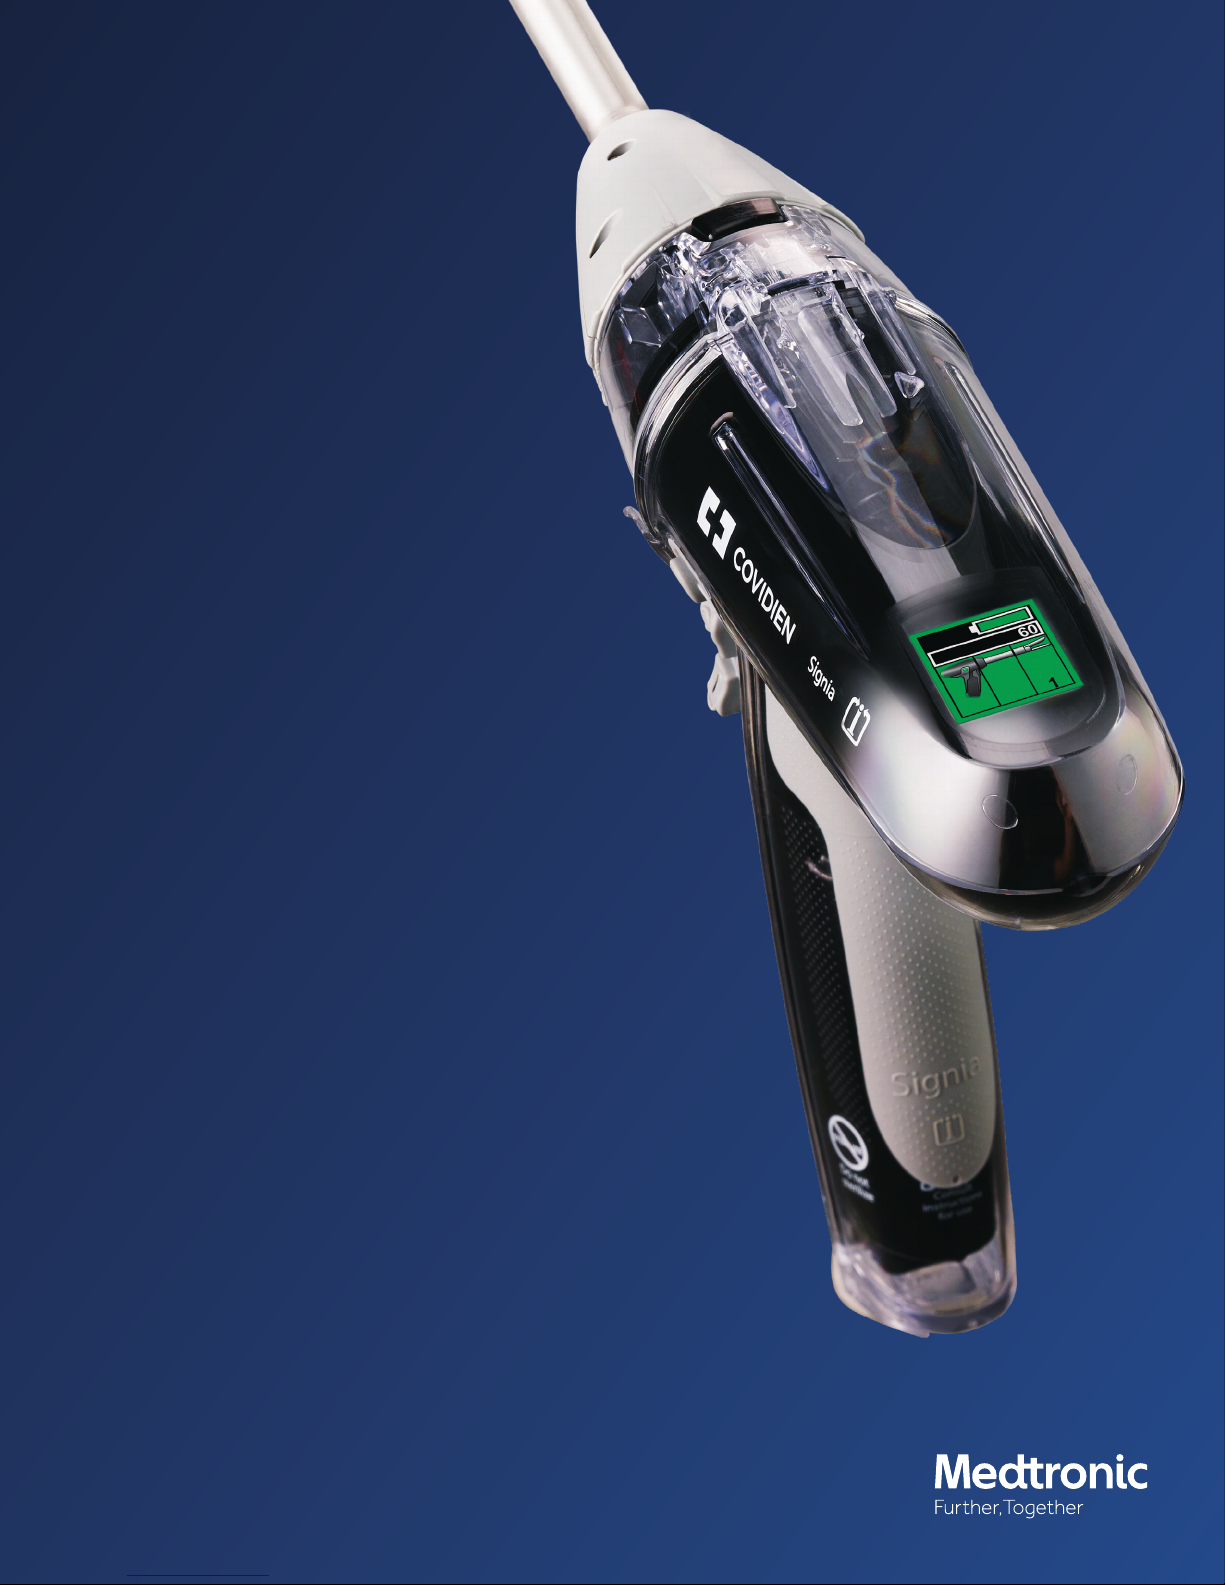
Signia™ Stapling System
In-Service Guide
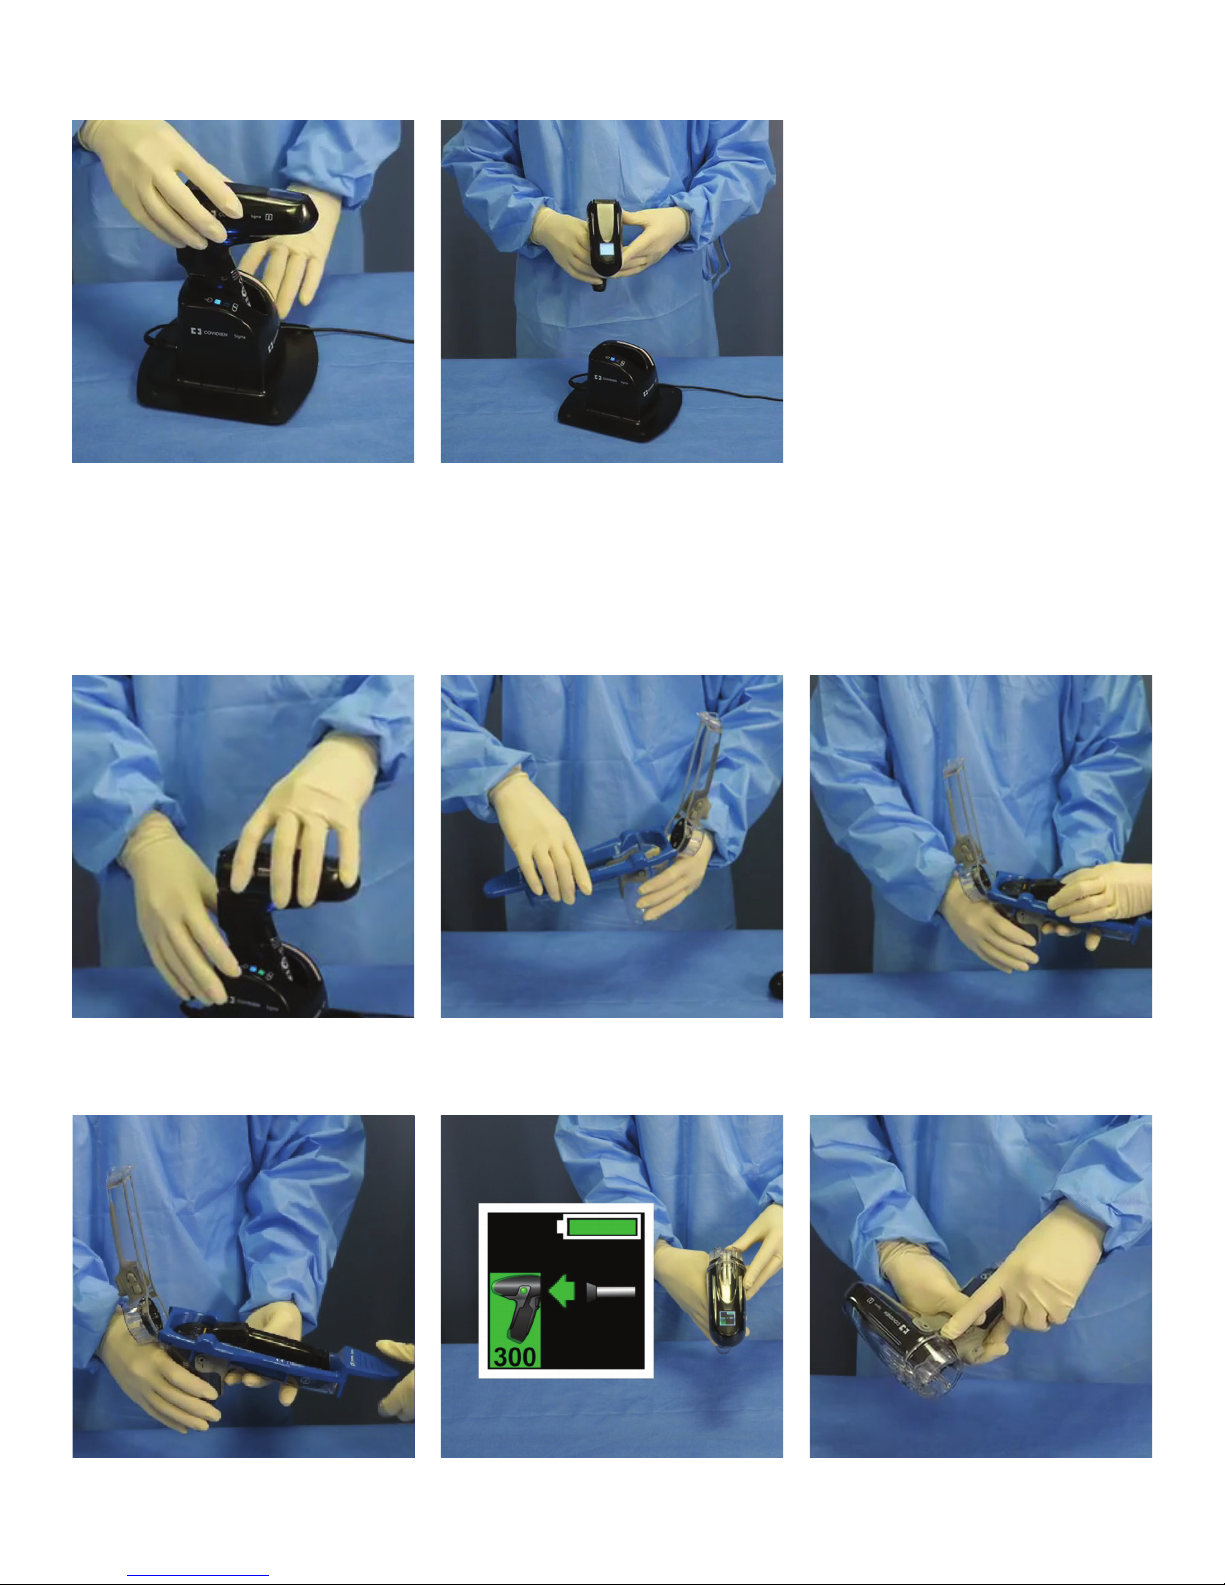
SET UP AND CHARGE
A
Rock the base of the power handle from back
to front into the battery charging terminal
until a secure connection is established.
ASSEMBLE THE HANDLE
A
B
For rst activation, the power handle should
charge for a minimum of three hours before
clinical use.
A fully charged battery is indicated by a solid
green LED.
B
C
Remove the power handle from the
charging terminal.
D
Remove the reusable insertion guide.
Place the sterilized insertion guide on the
open power shell.
E
Close the power shell until there is audible and
tactile conrmation the latch is fully closed.
Insert the power handle into the
power shell.
F
Ensure that all three top secure clips
are secured.
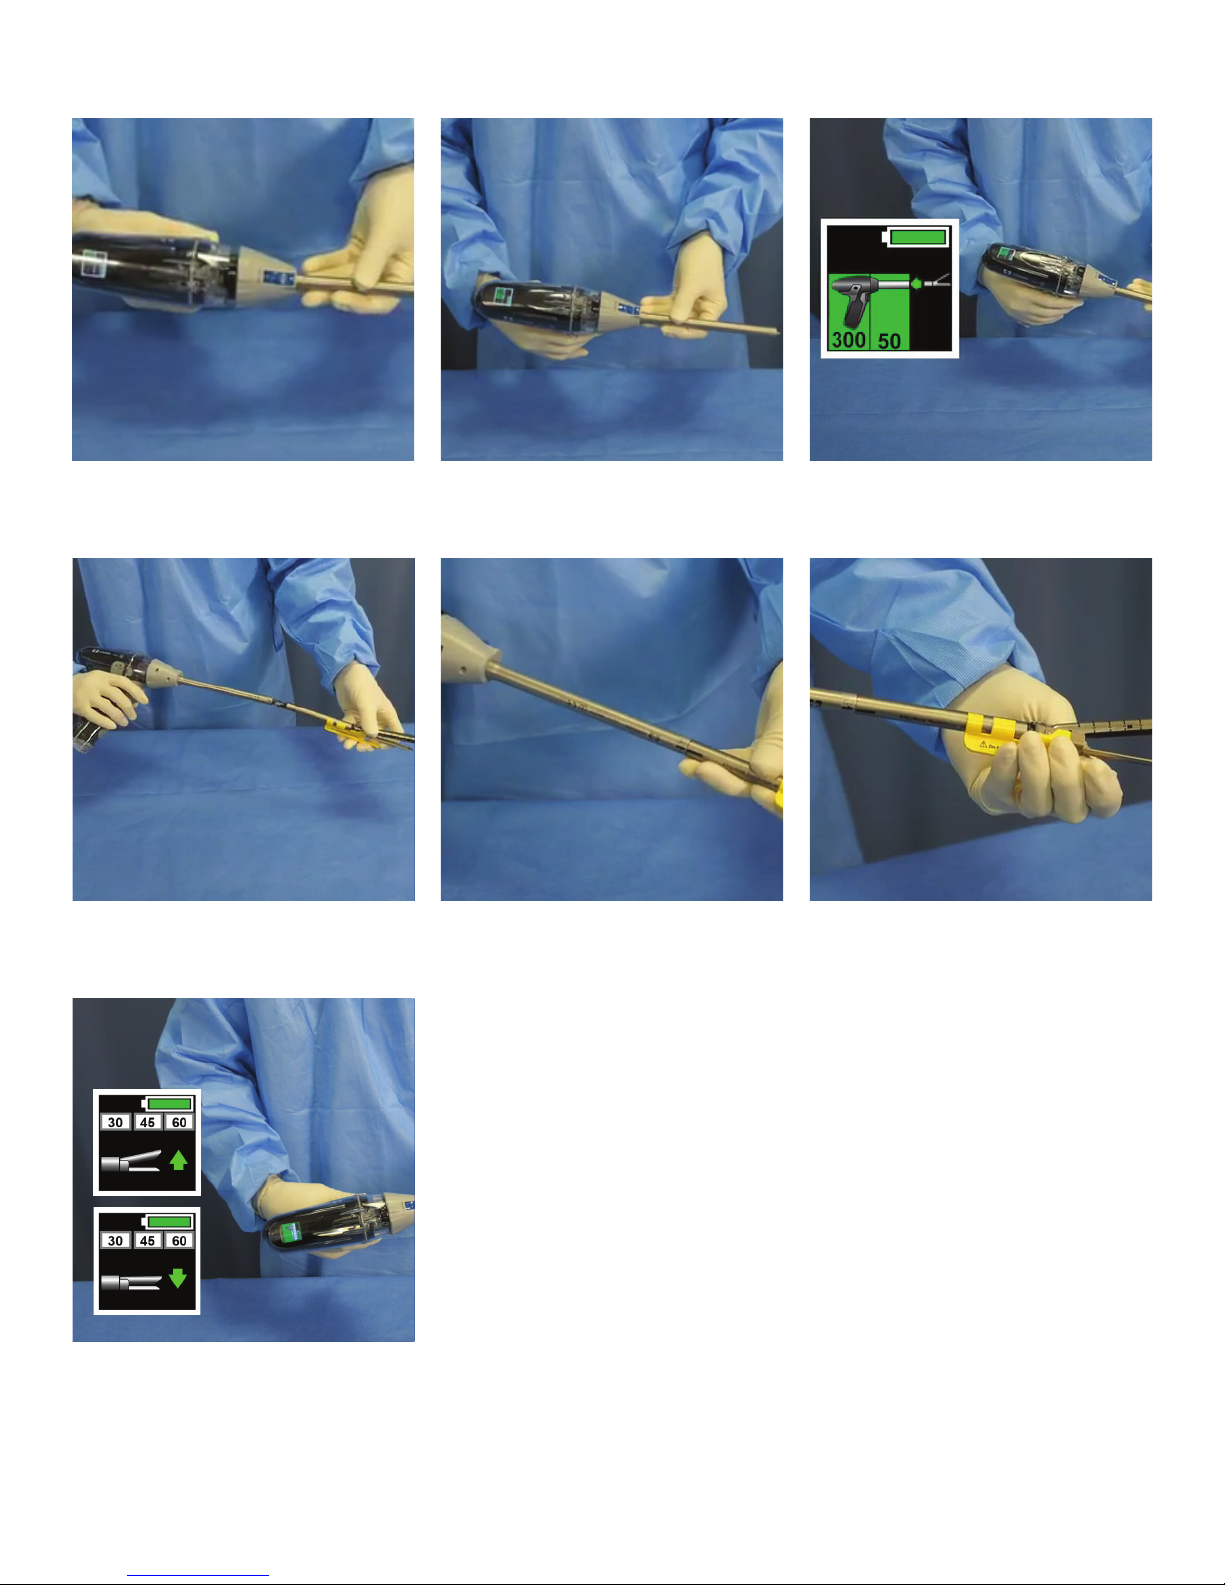
ATTACH THE ADAPTER AND LOAD THE STAPLER RELOAD
A
Align the proximal end of the adapter with
the QUICK RELEASE button facing up.
D
B
Press the two components together until the
adapter is fully seated in the stapler handle.
E
C
Conrm connection of the linear adapter on
the display screen.
F
Ensure that the LOAD alignment indicator on
the reload aligns with the LOAD alignment
indicator on the adapter.
G
Perform a reload cycle test:
▪ Press and hold the DOWN toggle until jaw
is completely closed
▪ Press and hold the UP toggle until jaw
is completely closed
Once complete, the handle will show that
the reload is loaded and ready for use.
Push the reload into the adapter and
twist clockwise. Ensure there is no red
showing underneath.
Remove the shipping wedge.
 Loading...