

Page 1
Quick Start
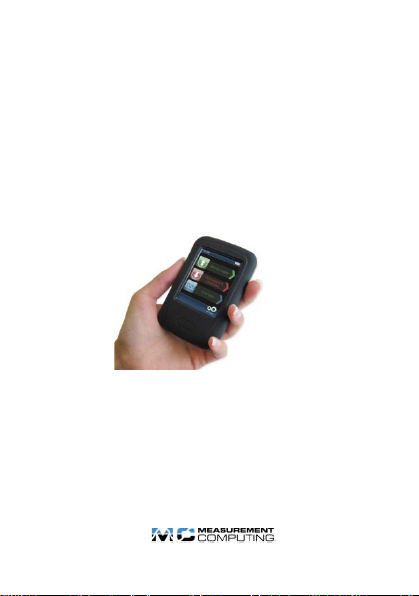
USB-525
Logger Assistant
Page 2

Page 3

Getting started with t he USB-525
Getting started with the USB-525
This quick start explains to configure and log data
with a USB-500 Series temperature/humidity data
logger using the USB-525 Logger Assistant for the
first time.
Minimum and recommended system
requirements
Computer with Pentium® II-class processor,
450 MHz (Pentium III class processor, 650 MHz
or higher recommended)
Windows® 7 (32- and 64-bit versions ), Windows
Vista®, Windows XP (SP2)
Power on the USB-525
To power on the USB-525, press and hold the button
on the front of the device until the display turns on.
The USB-525 battery comes approximately 25%
charged so you can try the device straight out of the
box. The USB-525 powers down and cancels any
operation after five minutes of inactivity. Touch the
screen before five minutes elapses to keep the device
powered on.
3
Page 4

Example: Configuring a data logger
Example: Configuring a data logger
For a simple example of configuring a USB-500
Series data logger using the USB-525, complete the
following steps:
1. With the USB-525 powered on, insert a
compatible USB-500 Series data logger into the
USB port on the top of the USB-525.
2. Press Set-Up Logger.
3. Press Full Set-Up.
4.
Press Next to retain the current logger name.
5.
Press Next to retain the current temperature units.
6. Press the arrow icons to set the SAMPLE
FREQUENCY
7. On each temperature alarm screen, press the arrow
icons to set each alarm to
Next
8. Press Immediate Start, and then remove the logger
from the USB-525 and let it log data for two
minutes.
4
to 10 Secs, and then press Next.
OFF, and then press
.
Page 5

Example: Configuring a data logger
Download and view logger data
To download logger data and view the data
graphically on the USB-525, complete the following
steps:
1. Insert the logger into the USB port on the top of
the USB-525.
2. Press Stop Logger & Download.
3. Press NEXT to stop the logger.
4. Press View Data.
The following example shows temperature and
humidity data logged by a USB-502 data logger.
Press Summary to display a screen showing a plot
lines legend, high and low data points, and the
number of alarm occurrences.
5
Page 6

For more information
For more information
For more information about using the USB-525 to
configure and view data from USB-500 Series data
loggers, refer to the following documents:
USB-525 Logger Assistant section of the USB-500
Data Logger Application Help.
USB-500 Series data sheet at
www.mccdaq.com/pdfs/specs/USB500-Series_data.pdf
USB-500 Series Getting Started at
http://www.mccdaq.com/pdfs/manual
s/usb-500-qs-ref.pdf
For software and hardware questions:
Email: info@mccdaq.com
Phone: 508-946-5100 and follow the instructions
for reaching Tech Support.
Fax: 508-946-9500 to the attention of Tech
Support
Customers outside of the U.S. should contact their
local Measurement Computing distributor for
support. Refer to
locate the distributor near you.
6
www.mccdaq.com/International to
Page 7

Trademark and Copyright information
Measurement Computing Corporation and the
Measurement Computing logo are either trademarks or
registered trademarks of Measurement Computing
Corporation. Refer to the Copyrights & Trademarks
section on mccdaq.com/legal for more information about
Measurement Computing trademarks. Other product and
company names mentioned herein are trademarks or
trade names of their respective companies.
© 2012 Measurement Computing Corporation. All rights
reserved. No part of this publication may be reproduced,
stored in a retrieval system, or transmitted, in any form
by any means, electronic, mechanical, by photocopying,
recording, or otherwise without the prior written
permission of Measurement Computing Corporation.
Page 8

Notice
Measurement Computing Corporation does not authorize
any Measurement Computing Corporation product for
use in life support systems and/or devices without prior
written consent from Measurement Computing
Corporation. Life support devices/systems are devices or
systems which, a) are intended for surgical implantation
into the body, or b) support or sustain life and whose
failure to perform can be reasonably expected to result in
injury. Measurement Computing Corporation products
are not designed with the components required, and are
not subject to the testing required to ensure a level of
reliability suitable for the treatment and diagnosis of
people.
QS USB-525-for-web.docx
Page 9

Page 10

Page 11

Page 12

Measurement Computing Corporation
10 Commerce Way
Norton, Massachusetts 02766
Tel: (508) 946-5100 Fax: (508) 946-9500
www.mccdaq.com
*325918A-01*
 Loading...