

MD Sports 58100 Installation Guide
ASSEMBLYINSTRUCTIONS
INSTRUCClONESDEARMADO
Do Not Return This Product To The Store
Toll Free 877-885-1635
www.medalsports.com .tw
No devuelva este producto a su local de venta
NQmero telef6nico gratis: 877-885-1635
www.medalsports.com .tw
MODEL/MODELO: 58100

This product is covered by a limited warranty that is effective for
90 days from the date of purchase. The warranty covers any
defects in parts and workmanship.
If, during the limited warranty period, a part is found to be defective
or breaks, we will offer either a free repair or replacement part at no
cost to you, the customer. The only exceptions to the warranty incl-
ude main frames, table tops, playing surfaces, batteries, tools. The
above warranty will not apply in cases of damages due to improper
usage, alteration, mis=use, abuse, accidental damage or neglect.
A PURCHASE RECEIPT (or other proof of purchase date) will be
required before any warranty service is initiated. All requests for
warranty service can be submitted by email, in writing or by con=
tacting our Consumer Service Dept. at:
Toll Free: 877-885-1635
Email: tablegame@medalsports.com.tw
Website: www.medalsports.com.tw
This Limited Warranty gives you specific legal rights and you
may also have other rights which vary from one state (province)
to another.
PLEASE SAVE THESE INSTRUCTIONS
AND PURCHASE RECEIPT!
DO NOT RETURN THIS PRODUCT TO THE STORE!
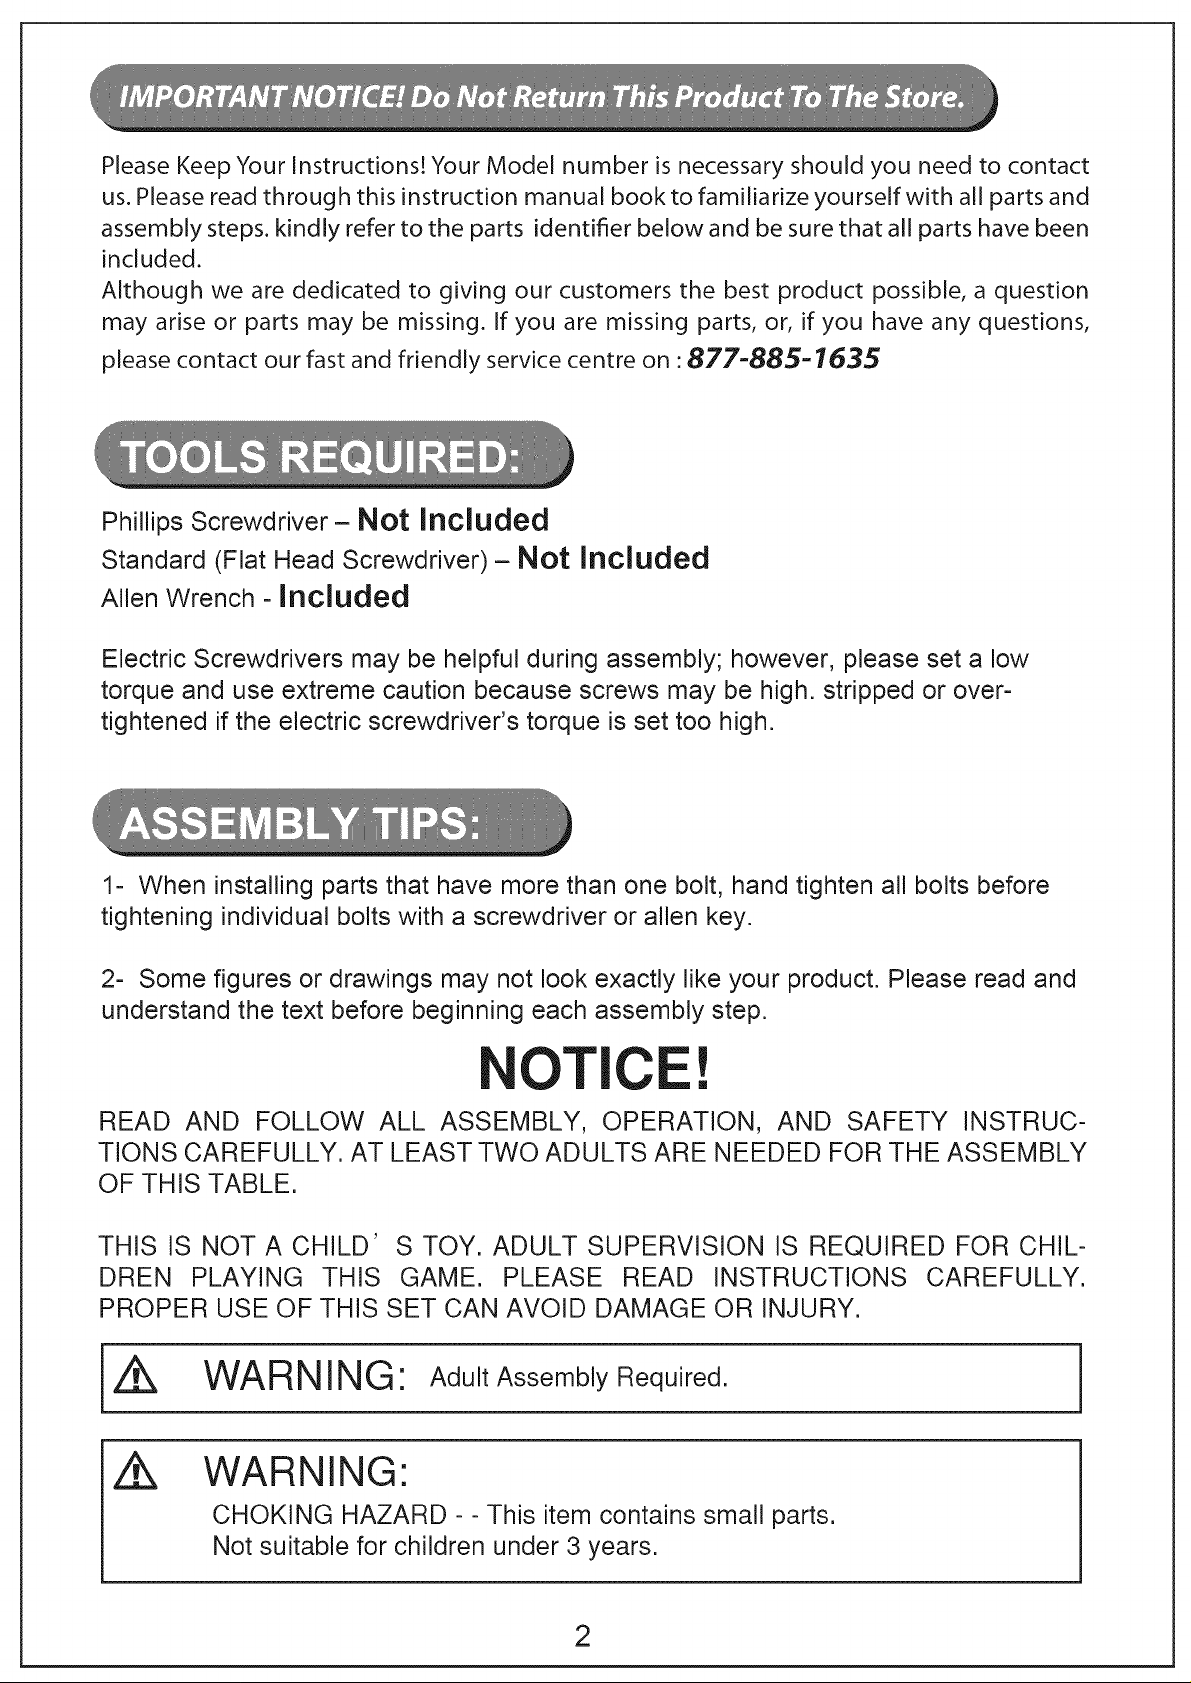
Please Keep Your Instructions! Your Model number is necessary should you need to contact
us. Please read through this instruction manual book to familiarize yourself with all parts and
assembly steps, kindly refer to the parts identifier below and be sure that all parts have been
included.
Although we are dedicated to giving our customers the best product possible, a question
may arise or parts may be missing. If you are missing parts, or, if you have any questions,
please contact our fast and friendly service centre on :877-885-7635
Phillips Screwdriver- Not Included
Standard (Flat Head Screwdriver)- Not Included
Allen Wrench - Included
Electric Screwdrivers may be helpful during assembly; however, please set a low
torque and use extreme caution because screws may be high. stripped or over-
tightened if the electric screwdriver's torque is set too high.
1- When installing parts that have more than one bolt, hand tighten all bolts before
tightening individual bolts with a screwdriver or allen key.
2- Some figures or drawings may not look exactly like your product. Please read and
understand the text before beginning each assembly step.
OTICE!
READ AND FOLLOW ALL ASSEMBLY, OPERATION, AND SAFETY INSTRUC-
TIONS CAREFULLY. AT LEAST TWO ADULTS ARE NEEDED FOR THE ASSEMBLY
OF THIS TABLE.
THIS IS NOT A CHILD' S TOY. ADULT SUPERVISION IS REQUIRED FOR CHIL-
DREN PLAYING THIS GAME. PLEASE READ INSTRUCTIONS CAREFULLY.
PROPER USE OF THIS SET CAN AVOID DAMAGE OR INJURY.
WARNING" Adult Assembly Required.
i
WARNING"
CHOKING HAZARD - - This item contains small parts.
Not suitable for children under 3 years.
2
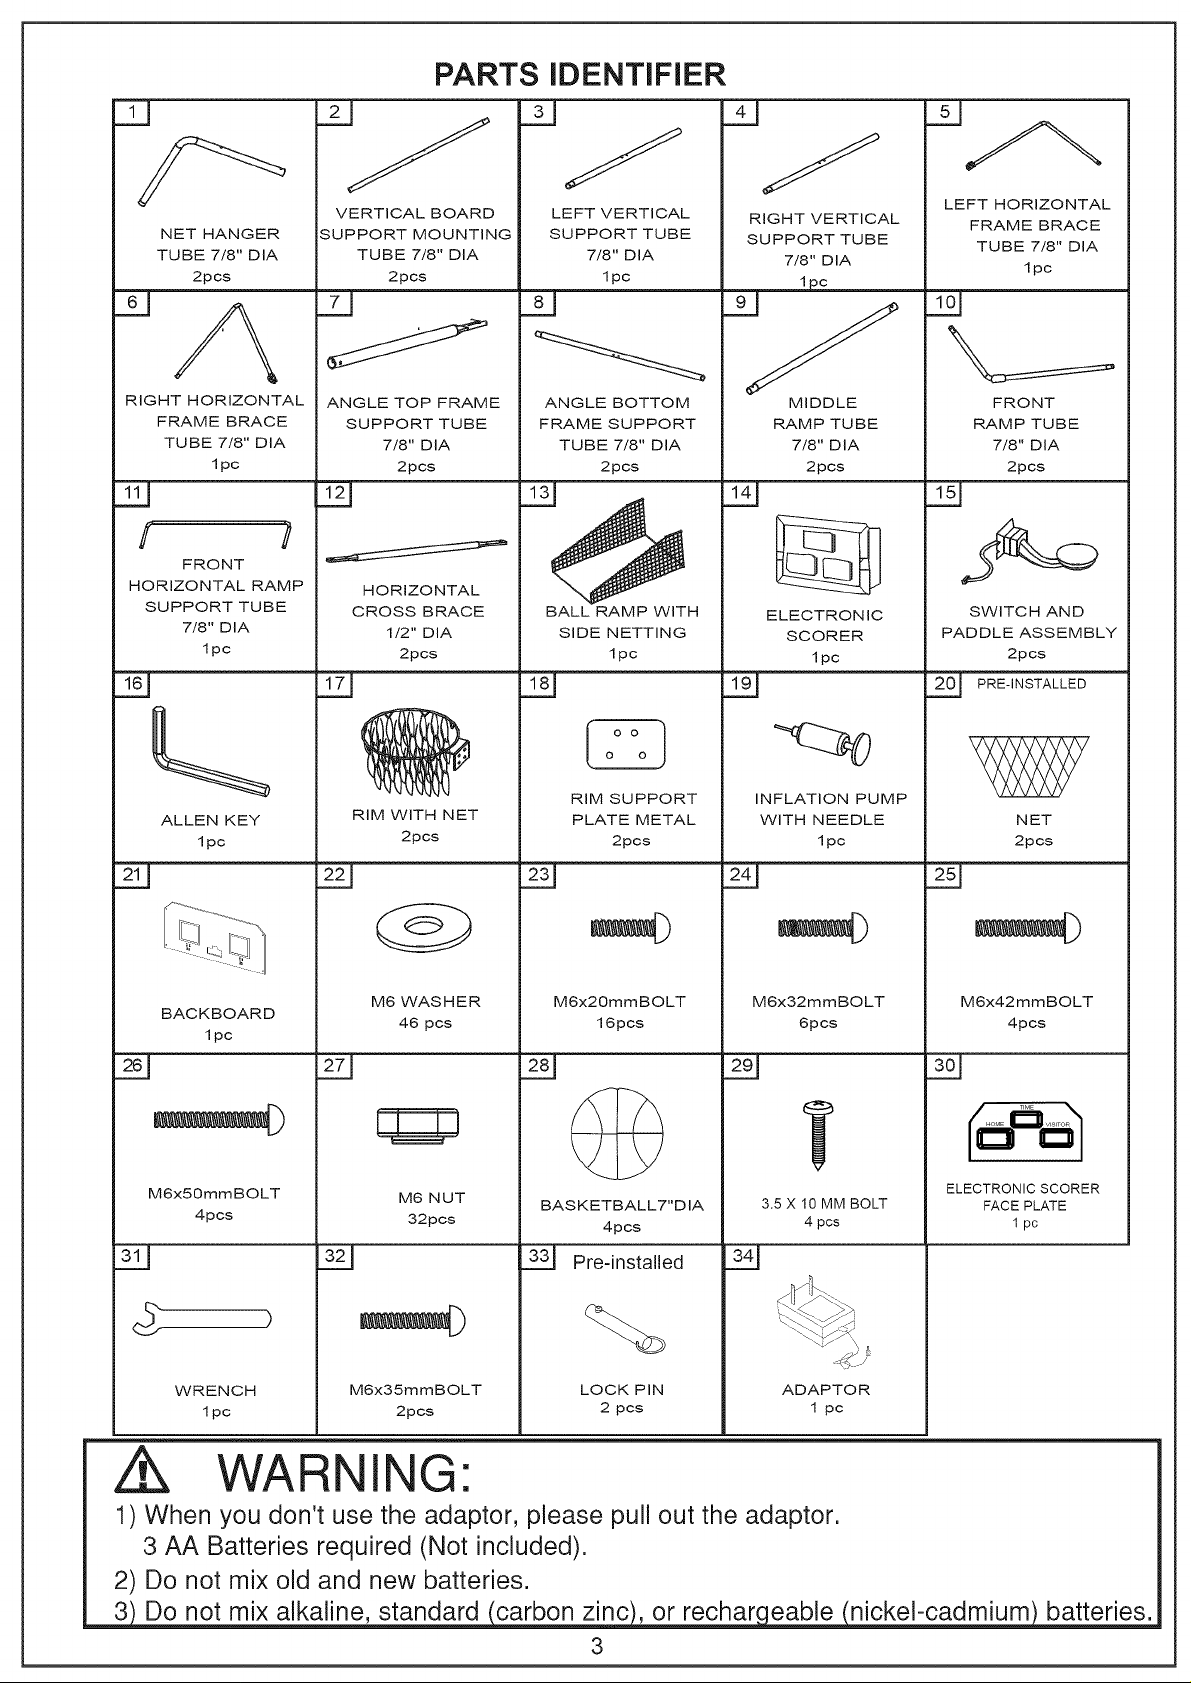
PARTS iDENTiFiER
11
NET HANGER
TUBE 7/8" DIA
2pos
RIGHT HORIZONTAL ANGLE TOP FRAME ANGLE BOTTOM MIDDLE FRONT
FRAME BRACE SUPPORT TUBE FRAME SUPPORT RAMP TUBE RAMP TUBE
TUBE 7/8" DIA 7/8" DIA TUBE 7/8" DIA 7/8" DIA 7/8" DIA
I pc 2pcs 2pcs 2pcs 2pcs
FRONT
HORIZONTAL RAMP HORIZONTAL
SUPPORT TUBE CROSS BRACE BALL RAMP WITH ELECTRONIC SWITCH AND
7/8" DIA 1/2" DIA SIDE NETTING SCORER PADDLE ASSEMBLY
1pc 2pcs 1 pc 1 pc 2pcs
21
VERTICAL BOARD
SUPPORT MOUNTING
TUBE 7/8" DIA
2pcs
LEFT VERTICAL
SUPPORT TUBE
7/8" DIA
1pc
RIGHT VERTICAL
SUPPORT TUBE
7/8" DIA
LEFT HORIZONTAL
FRAME BRACE
TUBE 7/8" DIA
171 PRE,NSTA'LE0
1pc
L RIM SUPPORT INFLATION PUMP
ALLEN KEY RIM WITH NET PLATE METAL WITH NEEDLE NET
1 pc 2pcs 2pcs 1 pc 2pcs
BACKBOARD
1pc
M6x50mmBOLT M6 NUT BASKETBALL7"DIA 3.5 X 10 MM BOLT FACE PLATE
4pcs 32pcs 4pcs 4 pcs 1 pc
M6 WASHER M6x20mmBOLT M6x32mmBOLT M6x42mmBOLT
46 pcs 16pcs 6pcs 4pcs
ELECTRONIC SCORER
311 _ _ Pre-installed
WRENCH M6x35mmBOLT LOCK PIN ADAPTOR
1pc 2pcs 2 pcs 1 pc
WARNING:
1) When you don't use the adaptor, please pull out the adaptor.
3 AA Batteries required (Not included).
2) Do not mix old and new batteries.
3) Do not mix alkaline, standard (carbon zinc), or rechargeable (nickel-cadmium) batterk
3

ASSEMBLY iNSTRUCTiONS
1. Find a clean, level place to begin the assembly of your Basketball Game. We recommend that two adults work
together to assembly this basketball game.
2. Remove all the parts from the box and verify that you have all of the listed parts as shown on the Parts
Identifier below.Carefully cut or tear the four corners of the box so that the bottom of the box can be used
as your work surface.
FIG. 1 & 2
3. Attach the Net Hanger Tubes (#1) to the Vertical Board Support Mounting Tubes (#2), and then attach the Vertical
Board Support Mounting Tubes (#2) to the Vertical Support Tubes (#3) using spring lock as shown in FIG.1.
4. Attach the Angle Top Frame Support Tubes (#7) to the Angle Bottom Frame Support Tubes (#8) using spring lock
as shown in FIG.2
t
@___----
Lock
FIG. 3
5. Attach the Left and Right Horizontal Frame Braces (#5 and #6) together using spring lock as shown in FIG.3
Spring Lock
...... Spring Lock
4
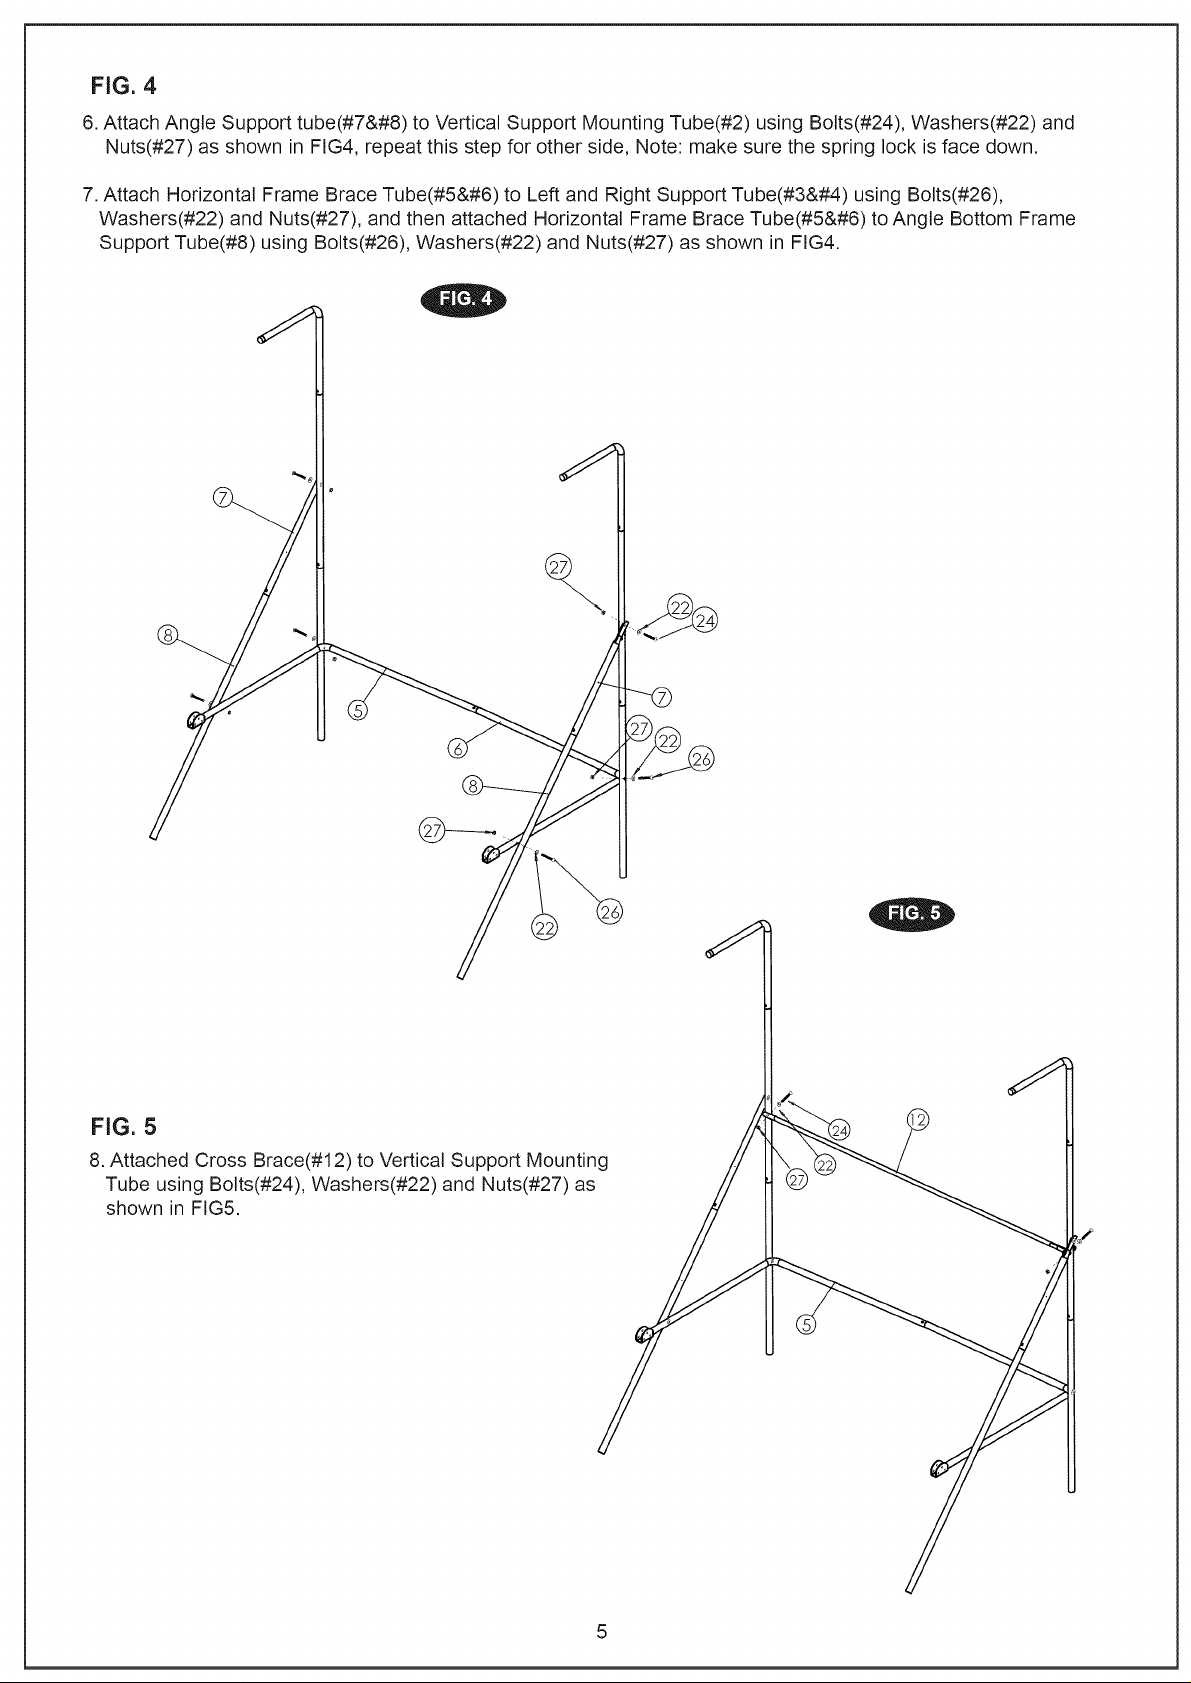
FiG. 4
6. Attach Angle Support tube(#7) to Vertical Support Mounting Tube(#2) using Bolts(#24), Washers(#22) and
Nuts(#27) as shown in FIG4, repeat this step for other side, Note: make sure the spring lock is face down.
7. Attach Horizontal Frame Brace Tube(#5) to Left and Right Support Tube(#3) using Bolts(#26),
Washers(#22) and Nuts(#27), and then attached Horizontal Frame Brace Tube(#5) to Angle Bottom Frame
Support Tube(#8) using Bolts(#26), Washers(#22) and Nuts(#27) as shown in FIG4.
%
FIG. 5
8. Attached Cross Brace(#12)to Vertical Support Mounting
Tube using Bolts(#24), Washers(#22) and Nuts(#27) as
shown in FIG5.
 Loading...