

Page 1

Installation Manual
IM 783-1
Group: Controls
Part Number: IM 783-1
Date: February 2005
Supersedes: IM 783-0
MicroTech II
TM
Remote I/O Panel Installation Manual
Page 2

Table of Contents
Notice ....................................................................................................................................................3
Reference Documents ............................................................................................................................3
Revision History....................................................................................................................................3
Introduction............................................................................................................................4
Panel Location and Mounting ..............................................................................................5
Unpack the Remote I/O Panel................................................................................................................5
Physical Installation...............................................................................................................................5
Tools Required ..................................................................................................................................5
Before Installation..............................................................................................................................5
Mounting............................................................................................................................................5
Removing and Replacing the Cover.......................................................................................................8
Removing the cover of a Remote I/O Panel.......................................................................................8
Replacing the cover of a Remote I/O Panel.......................................................................................8
Field Wiring ............................................................................................................................9
Power Wiring.........................................................................................................................................9
About the Transformer...........................................................................................................................9
Making the Power Connection to the Transformer................................................................................ 9
Remote I/O Modules ............................................................................................................12
Mounting of Remote I/O Modules.......................................................................................................12
General Control Wiring of Remote I/O Modules.................................................................................12
Designation of Remote I/O Modules ...................................................................................................13
Maintenance.........................................................................................................................14
Cleaning...............................................................................................................................................14
Parts List..............................................................................................................................................14
Warranty ...............................................................................................................................15
Warranty Return Material Procedure...................................................................................................15
Replacement Parts................................................................................................................................15
Page 2 IM-783
Page 3
Notice
McQuay International reserves the right to change any information contained herein without prior notice. The user is
responsible for determining whether this product is appropriate for his or her application.
The following are trademarks or registered trademarks of their respective companies. L
ONWORKS from Echelon Corporation;
McQuay and MicroTech II from McQuay International.
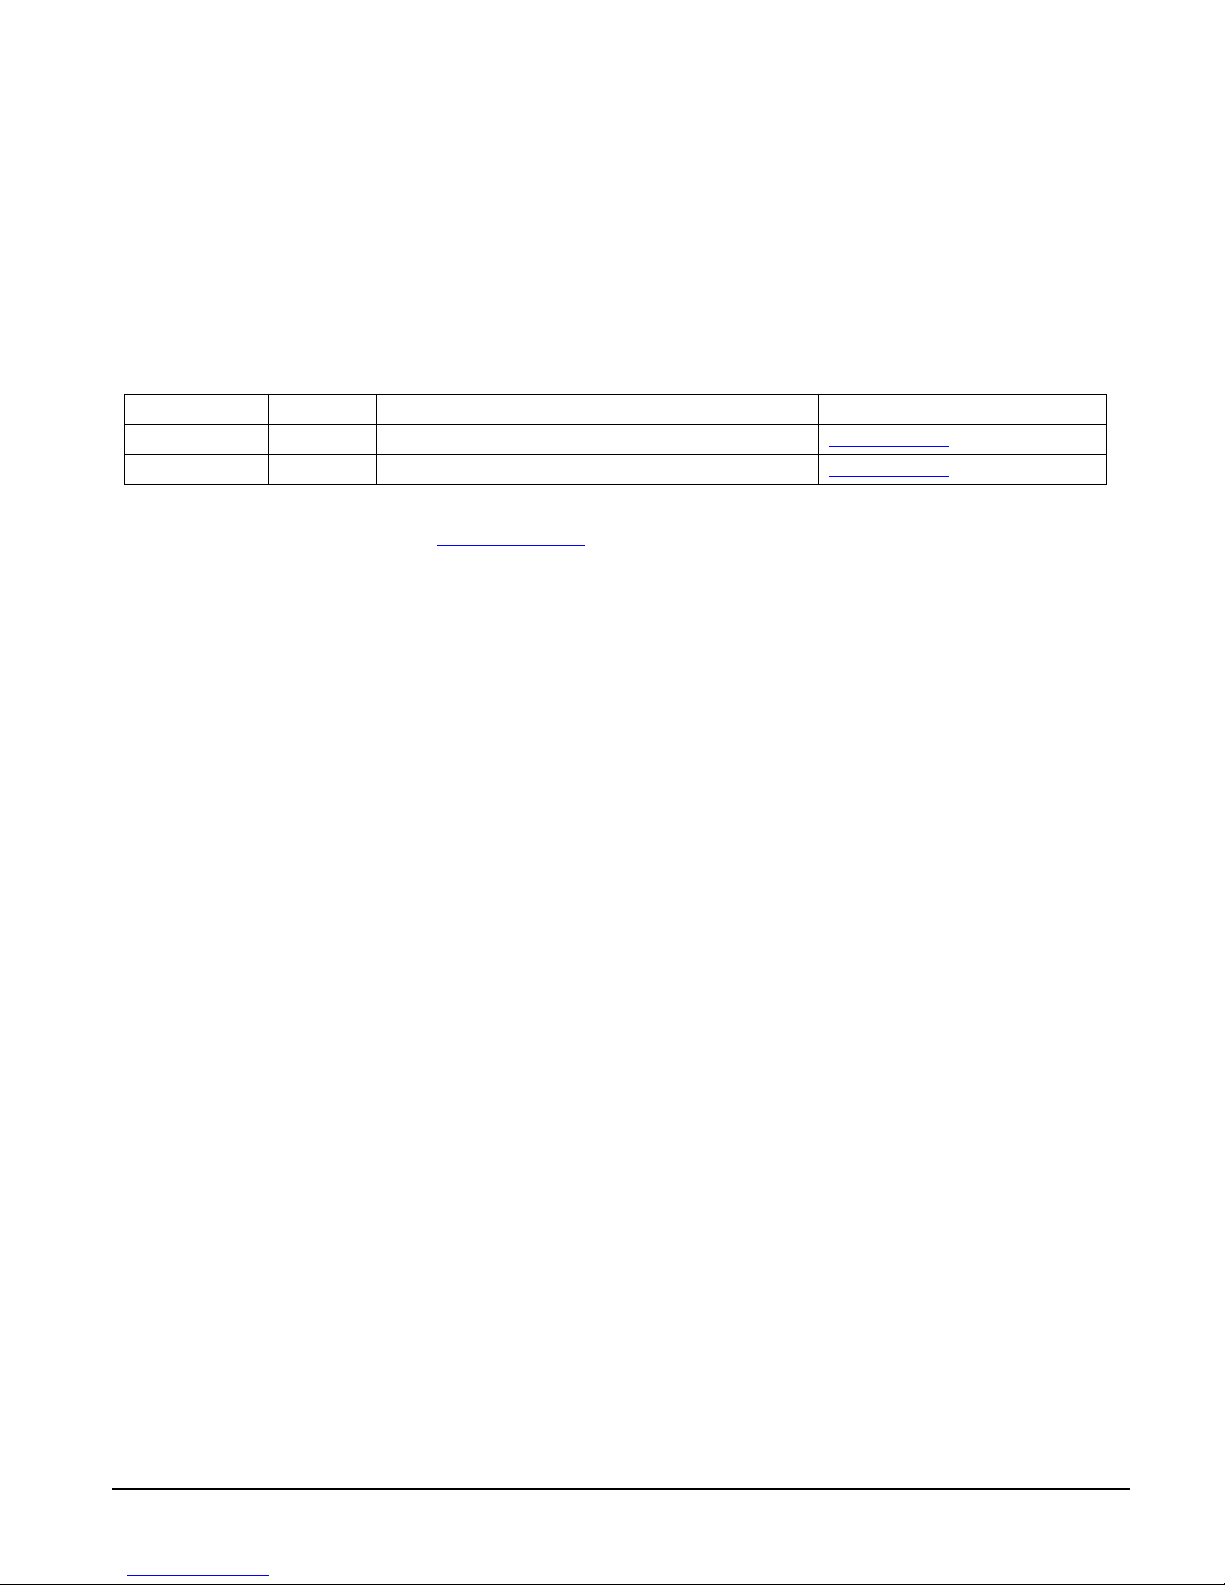
Reference Documents
Company Number Title Available At:
McQuay International OM 780 MicroTech II Chiller Sys tem Manager Op eration Manua l
McQuay International IM 781 MicroTech II Chiller System Manager Installation Ma nual
www.mcquay.com
www.mcquay.com
All McQuay documents are available at www.mcquay.com.
Revision History
IM 783-0 February 28, 2004 First release.
IM 783-1 July 7, 2004 Revised Standard Replacement Parts List.
IM 783-1 August 26, 2004 Added hardwired to Designation of Remote I/O
Modules section.
IM-783 Page 3
Page 4
Introduction
The MicroTech IITM Remote I/O Panel consists of a sheet metal enclosure housing a transformer, and remote I/O modules.
These modules provide additional input/output for use with a Chiller System Manager (CSM) supervisory controller. These
modules communicate with the supervisory controller via a two wire L
be mounted at strategic locations around the building, near the controlled devices to avoid long runs of control wires back to
the supervisory controller.
A CSM can control pumps, fans, valves, boilers, etc. The supervisory controllers use remote I/O modules as an expandable
platform of inputs and outputs to control different size pump stations, cooling towers, etc. For example, a large chiller plant
may have more secondary pumps to control than a smaller plant and fewer remote I/O modules are required to control the
smaller plant.
Remote I/O modules are not application specific. All the application software resides in the CSM supervisory controller. This
means that the same remote I/O modules are used on a CSM. Remote I/O modules may be purchased separately (McQuay
part number 112024401) and mounted in the field. They can also be purchased pre-mounted in a remote I/O panel ready for
wall mounting.
A remote I/O panel may have from one to four remote I/O modules. The number of modules per panel is determined by job
requirements. See the installation manual of the supervisory controller to determine specific uses for the modules. Each
module provides the following input/outputs:
• 4 Universal Inputs
• 4 Digital Inputs
• 4 Relay Outputs (normally-open contacts rated for 6 Amps @ 230 Volts)
• 2 Analog Outputs (0-10 Volts DC)
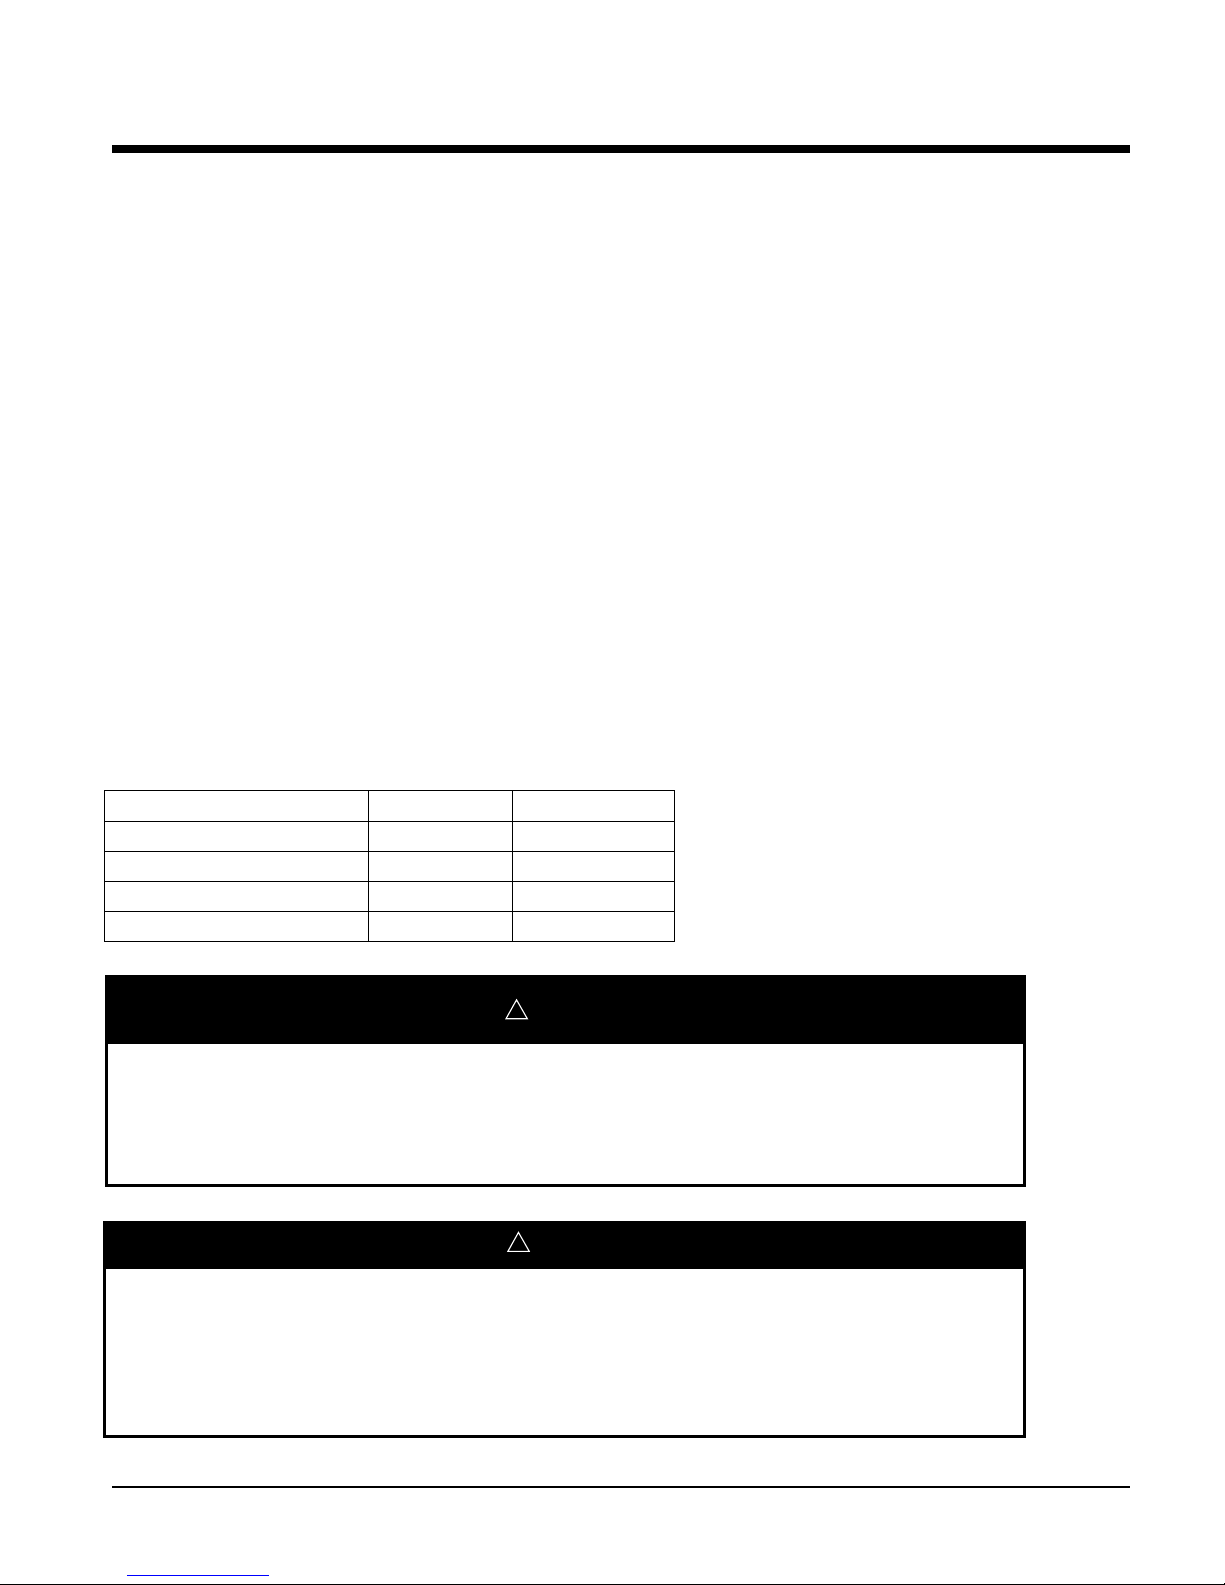
Remote I/O panels come with either 120Volt or a 240 Volt power supplies. See the part number designation table below:
ONWORKS communications network. The panel can
Table 1. Remote I/O Panel part numbers
Number of Modules per Panel 120 Volt 240 Volt
1 112028701 112029401
2 112029101 112029501
3 112029201 112029601
4 112029301 112029701
WARNING
!
Electric shock hazard.
Can cause personal injury or equipment damage.
This equipment must be properly grounded to the MicroTech II control panel. Connections and service must
be performed by trained personnel with experience with the equipment being controlled.
!
CAUTION
Static sensitive components.
Can cause equipment damage.
Discharge any static electrical charge by touching the bare metal inside the control panel before performing
any service work. Never unplug cables, circuit board terminal blocks, or power plugs while power is applied
to the panel.
Page 4 IM-783
Page 5

Panel Location and Mounting
Unpack the Remote I/O Panel
Unpack the remote I/O panel and inspect the contents of the package for damaged or missing components. If damaged, notify
the appropriate carrier at once and contact your local McQuay representative for immediate repair or replacement.
Physical Installation
Tools Required
The following tools and supplies may be required for installation:
• Small flat-blade screwdriver: used for terminal connections
• Phillips screwdriver: used to secure the door
Before Installation
To reduce the risk of condensation resulting from shipping at low temperatures, keep the Remote I/O Panel at room
temperature for at least 24 hours before applying power.
Avoid mounting this panel in areas where high electromagnetic interference (EMI) can affect its operation.
Mounting
• Mount the Remote I/O Panel in a location that allows clearance for wiring, servicing, and module removal. For mounting
details and drill hole locations, refer to the Mounting Guide and Mounting Details, Figure 1 and Figure 2.
• Mount the Remote I/O Panel within the maximum node-to-node distance to another node of your L
See IM 781 for detail on L
this means the panel must be mounted within 820 ft (250 m) of the nearest L
CSM, a chiller, another remote I/O module, etc). This typical node-to-node distance can be increased to a maximum of
8855-ft (2700 m) by using thicker cable (up to 16 AWG) and doubly terminated networks.
• This product is intended for indoor use only. Do not expose this unit to ambient conditions outside of the range of 0° to
50° C (32° to 122° F) and relative humidity outside the range 5% to 90%, non-condensing (pollution degree 1).
• If the controller is mounted inside an enclosure, that enclosure must be designed to keep the unit within its required
operating range, considering 40-watts heat dissipation. This is especially important if the panel is mounted inside an
enclosure with other heat dissipating equipment.
• For proper mounting clearances see Figure 2. Minimum clearance from the wall on which the unit is mounted is 0.2
inches (provided by the dimpled mounting feet). Provide ample space so that airflow is not blocked behind the unit.
• DO NOT mount the unit:
• In an area where excessive moisture, corrosive fumes, or explosive vapors may be present.
• Where vibration or shock is likely to occur.
• In a location subject to electrical noise. This includes large electrical contactors, electrical machinery, variable
frequency drive s , welding equipment, spark ignit ers, and other equipment of this nature.
• The unit is designed to be wall mounted with the transformer situated towards the top of the unit. For the maximum
airflow, do not mount the unit oriented in any other way.
ONWORKS network wiring and maximum node-to-node distance charts. On a typical network
ONWORKS device (other devices can be the
ONWORKS network.
IM-783 Page 5
Page 6

Figure 1. Remote I/O Panel Mounting Guide
.438"
(1.11cm)
DETAIL KEYHOLE
Upper Mounting
Remote I/O Panel
Mounting Guide
Ø
.218"
(0.55cm)
.406"
Ø
(1.03cm)
11.375"
(28.89cm)
Mount with this end up.
Note: Drawing not
to scale.
Verify all measurements
before drilling.
Lower mounting holes ar e 0.221" (0.56cm) dia.
Clearance for a #10 screw.
9.50"
(24.13cm)
Page 6 IM-783
Page 7

Figure 2. Remote I/O Mounting Detail
1/2" CONDUIT KNOCKOUT
FOR AC POWER ENTRY
1.030
(26)
4.00
(102)
15.5 (394)
8.63 (219)
1" CONDUIT
KNOCKOUTS
3.5 (89)
1.25
(31.8)
1.130
(29)
0.438
(11)
0.218
(5.5)
KEYHOLE
DETAIL
9.50
(241)
KNOCKOUTS
3/4" CONDUIT
20.8
(528)
3.00
(76)
3.05
(77)
11.375
(289)
16.846
(428)
0.406
(10.3)
3/4" CONDUIT
KNOCKOUTS
(5 TOTAL THIS SIDE)
3/4" CONDUIT
1.00
(25.4)
KNOCKOUTS
MINIMUM CLEARANCE AREA
IM-783 Page 7
17.5
(444)
0.218
(5.5)
1" CONDUIT
KNOCKOUTS
NOTES:
1. ALLOW MINIMUM OF 1 " CLEARANCE AROUND ALL SIDES OF UNIT FOR COOLING.
2. ALLOW MINIMUM OF 24" IN FRONT OF UNIT FOR DOOR OPENING.
3. MOUNT ONLY IN POSITION SHOWN (TRANSFORMER AT TOP).
4. DO NOT BLOCK AI R FLOW BEHI ND UNIT.
5. DIMENSIONS ARE IN INCHES (MM).
2.00
(51)
Page 8

Removing and Replacing the Cover
The remote I/O panel cover is removable and provides a security screw that secures the cover in place.
Note: The security screw that ships with the remote I/O panel is a standard #10-32 machine screw, pan head, ½-inch Phillips.
You can replace this screw with a tamper-proof screw to provide a more secure installation. In addition, you can secure the
unit with a padlock t hrough the security tab that protrudes through the co ver.
Removing the cover of a Remote I/O Panel
Step 1. Loosen the security screw and open the cover.
Step 2. On the inside of the door, loosen and remove the nut and locking washer that secures the green grounding strap to the
cover.
Step 3. Pull the grounding strap off the screw post.
Step 4. Replace the locking washer, then the nut on the screw post, and tighten.
Step 5. Close the door about half way.
Step 6. Slide the cover toward the top of the unit until the tops of the hinge tabs on the cover hit the top of the hinge slots on
the left wall of the metal enclosure.
Step 7. Slide the hinge tabs out of the slots.
Replacing the cover of a Remote I/O Panel
Step 1. Align the hinge tabs on the cover with the hinge slots on the left wall of the metal casing.
Step 2. Slide the hinge tabs into the slots and slide the door toward the bottom of the unit, until the bottom of the hinge tabs hit
the bottom of the slots.
Step 3. Loosen and remove the nut and locking washer on the grounding strap post on the door.
Step 4. Slide the ground strap onto the screw post and replace the locking washer, then the nut, and tighten.
Step 5. Close the door and tighten the security screw.
Page 8 IM-783
Page 9

Field Wiring
Following are descriptions of the various field-wiring requirements. Wiring must comply with the National Electrical Code
and all local codes and ordinances. Failures caused, or contributed to, by wiring not in accordance with these instructions will
not be covered by warranty.
Power Wiring
Building power is wired to the transformer supplied with the remote I/O panel. Wire the transformer to an external switch or
breaker, as there is no disconnect switch in the unit. Some local codes require the switch to be in sight of the unit. The switch
must be capable of 120VAC or 240VAC service (depending on model) to switch the transformer primary.
About the Transformer
The Remote I/O Panel ships with a 120VAC or 208/240VAC (depending on model), 40 VA, 50/60 Hz transformer. The
transformer provides 24-volt power to the remote I/O modules. The panel ships with from one to four remote I/O modules.
Each module requires 10 VA of power. Do not power other devices from this transformer.
The following things should be noted about the remote I/O panel transformer:
WARNING
!
Improper wiring can cause severe personal injury or death. All connections must be made in accordance with
national and local electrical codes. Use copper conductors only.
The transformer must be dedicated to running the devices in the remote I/O panel. Do not power other devices
from the transformer.
Do not use any other power source or otherwise defeat the isolation provided by the integral transformer. A
two-wire power source, including a 24V transformer, can cause permanent damage or greatly shorten the life
of the unit.
!
CAUTION
Verify that neither wire of the transformer's secondary winding is connected to earth ground or building neutral.
Ground loops on the analog inputs and outputs can result and damage the modules or connected equipment.
Making the Power Connection to the Transformer
The following procedure is pro v i ded for supplying high voltage power to the remote I/O panel:
1. Remove the ½” knockout provided above the transformer.
2. Run the electrical supply wires through the knockout hole.
3. Using the provided two-position terminal block, connect high voltage power to the transformer primary lead wires.
4. Connect a ground wire to the gr ounding lug provided.
IM-783 Page 9
Page 10

!
CAUTION
Do not run LONWORKS communication wiring alonside higher-voltage supply or higher-voltage control wiring.
Communication problems over the L
ONWORKS network can occur.
On 120 VAC models, connect 120 VAC, 50/60 Hz power to the two position terminal block provided using the information in
Table 2.
Table 2. 120 VAC models building power termination
Building Power Source Termination point
Type of Wire Typical Color of Wire
Ungrounded—Hot Black Either empty terminus of the terminal block
Grounded—Neutral White Other empty terminus of the terminal block
Grounding—Ground Green or bare copper Grounding stud
On 240 VAC models, connect 208/240 VAC, 50/60 Hz power to the two-position terminal block provided using the
information in Table 3. The transformer’s primary wiring is factory wired to the terminal block for 240 VAC power. If your
power supply is closer to 208 VAC, switch the primary wiring from 240 VAC to 208 VAC by replacing the orange wire in the
terminal block with the red wire from the transformer. The remote I/O modules require 24 VAC ± 20%.
Table 3. International Models - 240 VAC models building power termination
Building Power Source Termination point
Type of Wire Typical Color of Wire
Ungrounded—Hot Brown Either empty terminus of the terminal block
Grounded—Neutral Blue Other empty terminus of the terminal block
Grounding—Ground Green or bare copper Grounding stud
When power is supplied to the Remote I/O Modules, a green LED located on the lower left hand side on the top of the
module, comes on.
Page 10 IM-783
Page 11

Figure 3. Remote I/O Panel General Wiring Diagram
y
y
d
d
h
Power Suppl
120 VAC or 208/240 VAC
(depending on model)
Transformer
Primar
24 VAC
If the module’s relay outputs will be
controlling high voltage (230 Volt
maximum) devices, bring high
voltage control wires to modules 3
and 4 through the top of the panel.
Ground
Bring low
voltage
control
wires and
LonWorks
network
cable in
through the
sides of the
panel.
High Voltage Terminals-Orange
t
4
Remote I/O Module
Low Voltage Terminals-Brown
Yellow
Blue
Low Voltage Terminals-Brown
n
2
Remote I/O Module
High Voltage Terminals-Orange
If the module’s relay outputs will be
controlling high voltage (230 Volt
maximum) devices, bring high voltage
control wires to modules 1 and 2
through the bottom of the panel.
High Voltage Terminals-Orange
r
3
Remote I/O Module
Low Voltage Terminals-Brown
1 2 23 221 2 23 22
Blue
Yellow
Yellow
Blue
Low Voltage Terminals-Brown
1st Remote I/O Module
High Voltage Terminals-Orange
Legend
Notes
1. Depending on the model ordered,
the panel will contain from 1 to 4
modules. Additional modules may be
purchased separately and added to a
panel in the field.
2. See the supervisory controller
installation manual (e.g. IM-781 for
the Chiller System Manager) for
wiring diagrams of the control wiring.
Blue
Yellow
22 23 2 122 23 2 1
Factory wiring
Field wiring
Field wiring terminal
Bring low
voltage
control
wires and
LonWorks
network
cable in
through the
sides of the
panel.
IM-783 Page 11
Page 12

Remote I/O Modules
Mounting of Remote I/O Modules
Each remote I/O module mounts on a DIN rail. The modules are snapped in place on the rail. To remove a module from a
rail, slip a flat-head screwdriver into the stirrup located on the base of the module (center tab under the brown terminals).
Gently pull the stirrup away from the housing while lifting up on the module.
General Control Wiring of Remote I/O Modules
The remote I/O panel comes with the 24 VAC power wires supplied from the transformer to the modules. All control wiring
is field supplied in accordance with the CSM supervisory controller Installation Manual with which the panel will be used. All
wiring must comply with applicable electrical codes and ordinances.
Note: Terminals on the remote I/O module accept wire from 20 AWG (0.5 mm
Each remote I/O module is equipped with four 230 VAC, digital outputs (i.e. relays). Two are normally open (N.O.) and two
are changeover (C.O.) relays. All four normally open contacts are rated for 6 amps continuous current while the normally
closed contacts of the two C.O. relays are rated for 1 amp continuous current. These high-voltage relay terminals are the
orange touchless terminals on the module (separated from the brown low-voltage terminals). The modules are mounted so that
the orange high-voltage terminals are directed toward the top and bottom of the remote I/O panel to keep high-voltage wiring
separated from low-voltage wiring (see Figure 3).
If you are wiring to remote I/O modules mounted in the r emote I/O panel and high-voltage devices are being switched, run the
wiring from these devices into the top o r bottom of the panel. Connect these wires directly into the touchless orange relay
terminals on the high voltage side of the module. Wire the low-voltage and communication wiring into the sides of the panel
and connect these wires directly into the brown terminals on the low-voltage side of the modules.
If these relays are used for control of high-voltage devices, the wiring must be run separately from any low-voltage wiring. Do
not mix relay control of high voltage and low voltage devices on the same module.
WARNING
!
Electric shock hazard.
Can cause personal injury or equipment damage.
If the remote I/O module relay outputs will be switching higher voltage devices, higher voltage wiring must be run
separately from low voltage wiring.
2
) to 14 AWG (2.5 mm2).
Do not mix low-voltage and higher-voltage wires on the relay side (orange terminals) of a remote I/O module.
Note: Local wiring guidelines may take precedence over recommendations provided in these instructions.
Page 12 IM-783
Page 13

Designation of Remote I/O Modules
When you receive a Remote I/O Module(s) in a Remote I/O Panel, it has not yet been assigned a designation (meaning it has
not yet been assigned to be Hardwired, Remote A, Remote B, etc.). The module only becomes a Remote I/O Module A (or B,
or C, etc.) or a Remote I/O Module for Hardwired Chillers after it has been commissioned into the CSM’s L
communications network. This assignment is accomplished at the Device Addressing screen of the CSM user interface.
To designate a Remote I/O Module(s), go to the Device Addressing tab in the CSM user interface. The Device Addressing
screen contains both a Chiller table and a Remote I/O table. To designate a Remote I/O Module, click on the Service Pin
button associated with the appropriate Remote I/O device (e.g. Remote I/O - A) in the Remote I/O table. While the Service Pin
timer is counting down, (the timer appears as a pop-up box on the screen) press down on the Service Pin button located on
Remote I/O Module. After you have assigned a module, label it for future reference. Labels are included with the Remote I/O
Panel for this purpose.
To designate a module as Hardwired, go to the Chiller table, click on the dropdown menu and change the default in the
Hardwire Selection field from MicroTech II to Hardwired. Next, click on the Service Pin button associated with that chiller.
While the Service Pin timer is counting down, (the timer appears as a pop-up box on the screen) press down on the Service Pin
button located on the Remote I/O Module. After you have assigned a module, label it for future reference. Labels are
included with the Remote I/O Panel for this purpose.
ONWORKS
IM-783 Page 13
Page 14

Maintenance
This section provides information on the following topics:
• Cleaning
• Replacement Parts
Cleaning
If dust or metal filings are present inside the unit, clean with vacuum or compressed air. Otherwise, no cleaning inside the unit
is required. Optionally, if the outside of the metal enclosure becomes dirty, you can wipe it with a damp cloth and mild
detergent.
Parts List
Standard replacement parts are listed in Table 4 and can be ordered from stock without restriction. Standard replacement parts
cannot be returned for credit and should be disposed of in an appropriate manner.
Table 4. Standard Replacement Parts
Part Number Description
060630801 Remote I/O Panel Transformer, 120V
063042401 Remote I/O Panel Transformer, 208/240V
112024401 Remote I/O Module
Page 14 IM-783
Page 15

Wa rranty
Consult your local McQuay Representative for warranty details. Refer to Form 933-43285Y. To find your local McQuay
Representative, go to www.mcquay.com.
Warranty Return Material Procedure
Defective material may not be returned without prior authorization of authorized factory service personnel of McQuay
International in Minneapolis, Minnesota, phone number (763) 553-5330. A "Return Goods" tag must be included with the
returned material. Enter the required information to expedite handling and prompt issuance of credits. All parts must be
returned to the appropriate McQuay facility, designated on the "Return Goods" tag. Transportation charges must be prepaid.
The return of the part does not constitute an order for replacement. Therefore, a purchase order must be entered through the
nearest McQuay representative. The order should include part number, model number, and serial number of the unit involved.
Credit will be issued on customer's purchase order following an inspection of the returned part and upon determination that the
failure is due to defective material or workmanship during the warranty period.
Replacement Parts
When writing to McQuay for service or replacement parts, refer to the model number and serial number of the unit as stamped
on the serial plate attached to the unit. If replacement parts are required, include the date of installation of the unit and date of
the failure, along with an explanation of the malfunctions and a description of the replacement parts required.
IM-783 Page 15
Page 16

This document contains the most current product information as of this printing. For the most up–to-date product
information, please go to www.mcquay.com.
2005 McQuay International • www. mcquay.com • (800) 432-1342
 Loading...