

MCE Technologies Transport Pro Installation Manual

Transport Pro

1
Thank you for purchasing a new MCE Transport Pro FireWire/
USB Portable Hard Drive Kit! We at MCE are sure that your new
device will enrich your PowerBook com put ing experience.
As you are probably aware, the installation procedure involved
with the Transport Pro FireWire/USB Do-It-Yourself Kit is a
del i cate pro cess and, if not per formed prop er ly, could cause dam-
age to your hard drive or Pow er Book. MCE strongly rec om mends
that the in stal la tion be per formed by a trained tech ni cian. These
in stal la tion in struc tions are given for those who understand these
risks and are con dent in their tech ni cal skills. If performed care-
fully and patiently, these instructions will guide you step-by-step
through a suc cess ful assembly of your new Transport Pro Kit.
If any dif culty is encountered during the installation proce-
dure, you may re ceive technical assistance from an MCE techni-
cian by tele phone at (949)458-0800 or by sending an email to
Note:
If you are installing your PowerBook's original
internal hard drive into the Transport Drive Kit and have
Pass word Pro tec tion enabled on the drive or any vol ume on
it,
you must disable Password Pro tec tion
you must disable Password Pro tec tion
before
before
re mov ing
re mov ing
the drive from your PowerBook
the drive from your PowerBook
Preparing to Assemble the Transport Kit
Preparing to Assemble the Transport Kit
List of Items
Your Transport Pro FireWire/USB Portable Hard Drive Kit should
include the fol low ing components:
Transport Pro FireWire/USB Hard Drive Kit enclosure
!
!
2
4mm metric screws (inside the enclosure)
MCE mini combo screwdriver
Assembling the Transport Pro Kit
Assembling the Transport Pro Kit
You will need a 2.5” IDE hard drive and a little patience to com-
plete this in stal la tion.
Caution:
Electro-Static Dis charge (ESD) can easily dam-
age elec tron ic com po nents. Be fore pro ceed ing, ensure
that you are dis charged of static electricity by touch ing a
ground ed metal object or by using the pro vid ed disposable
grounding wrist strap according to its in struc tions.
Step 1:
Place the hard drive and Kit materials on a table or other
dry, at work area. Orient the enclosure such that its ports are fac-
ing to your right.
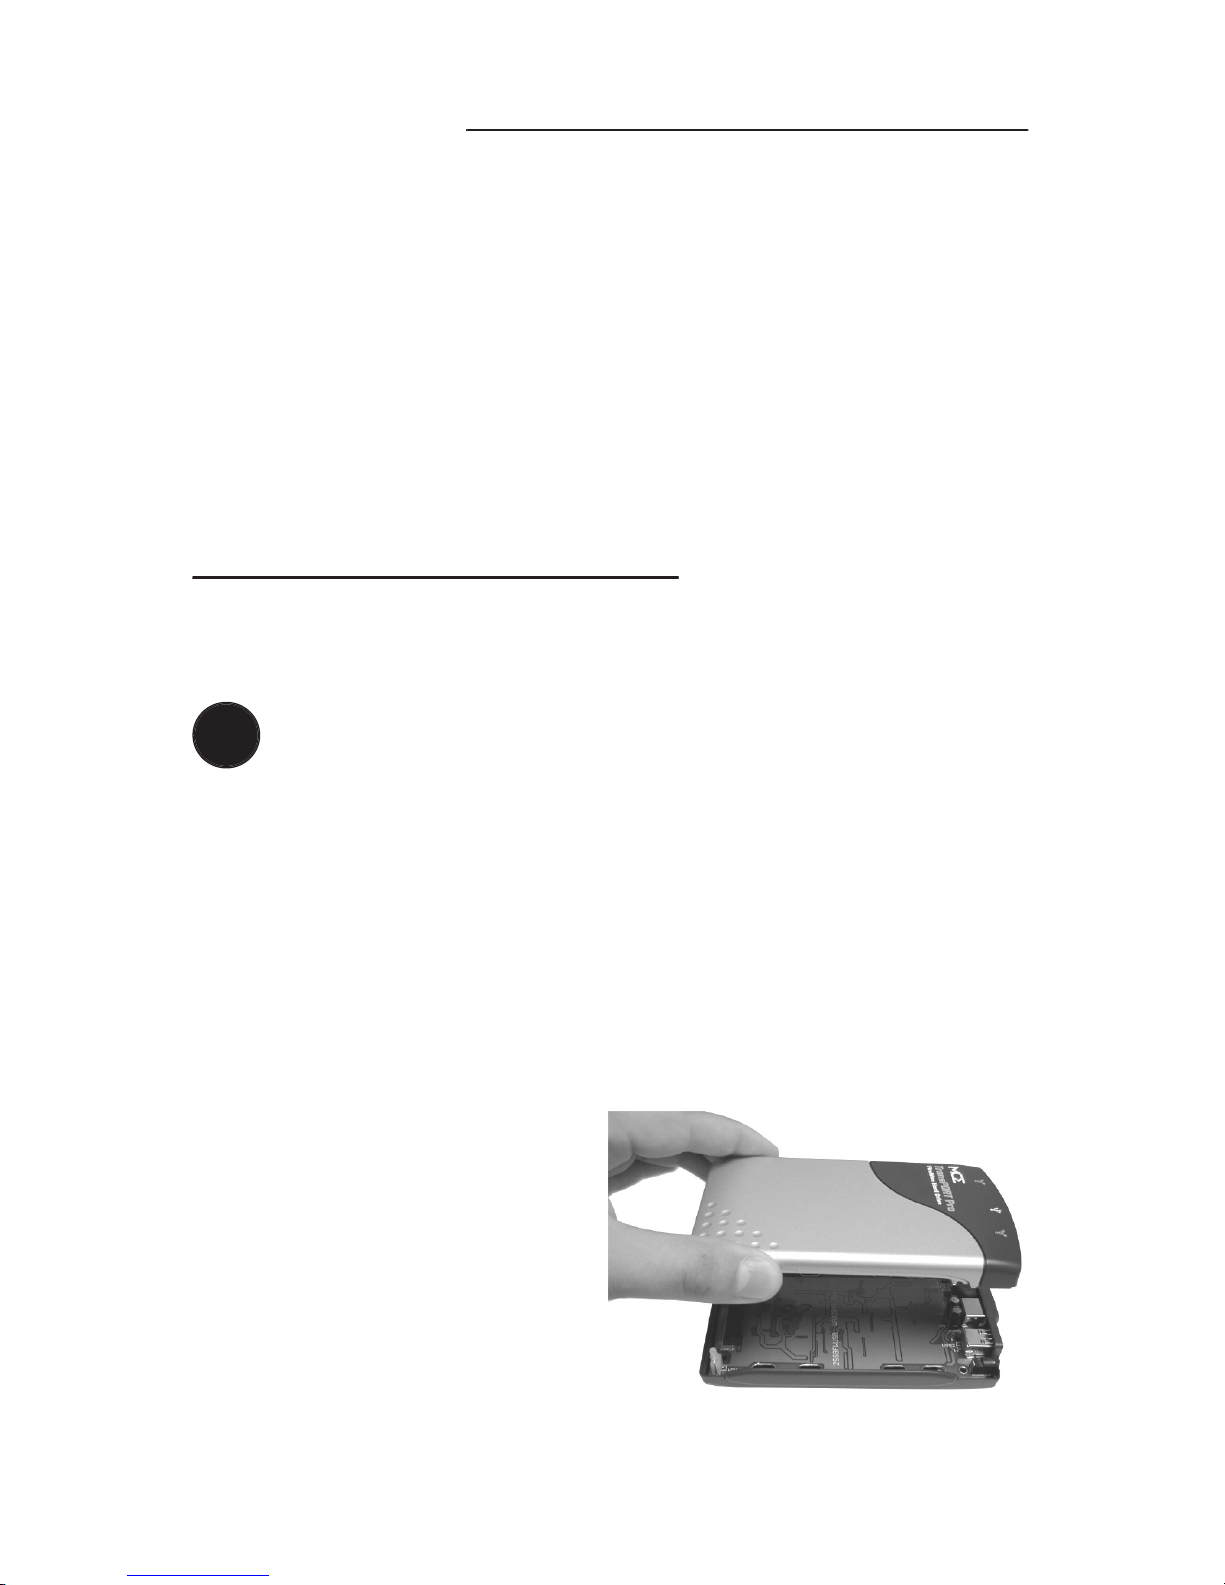
Step 2:
If you have not
already done so, lift the top
cover of the enclosure off of
the base (they are not per ma -
nent ly attached yet) and place
it nearby. Remove the small
bag of screws from inside the
en clo sure and lay them aside.
 Loading...