

Page 1
LEDPAR96
USER MANUAL
Ⅰ SPECIFICATIONS
Item Number: LEDPAR96
Item Name: LED PAR Light
LED Bulbs: Red x 32, Green x 35, Blue x 30
Power Input: 120V 60Hz
Power: 12W
Weight: 2.8Kg
Ⅱ FEATURES
Working modes: AUTO, DMX, MASTER/SLAVE
5 DMX CHANNELS: RED, GREEN, BLUE, DIMMER, STROBE
Ⅲ OPERATING INSTRUCTION
Mode setting
0=OFF 1=ON X=0FF or ON
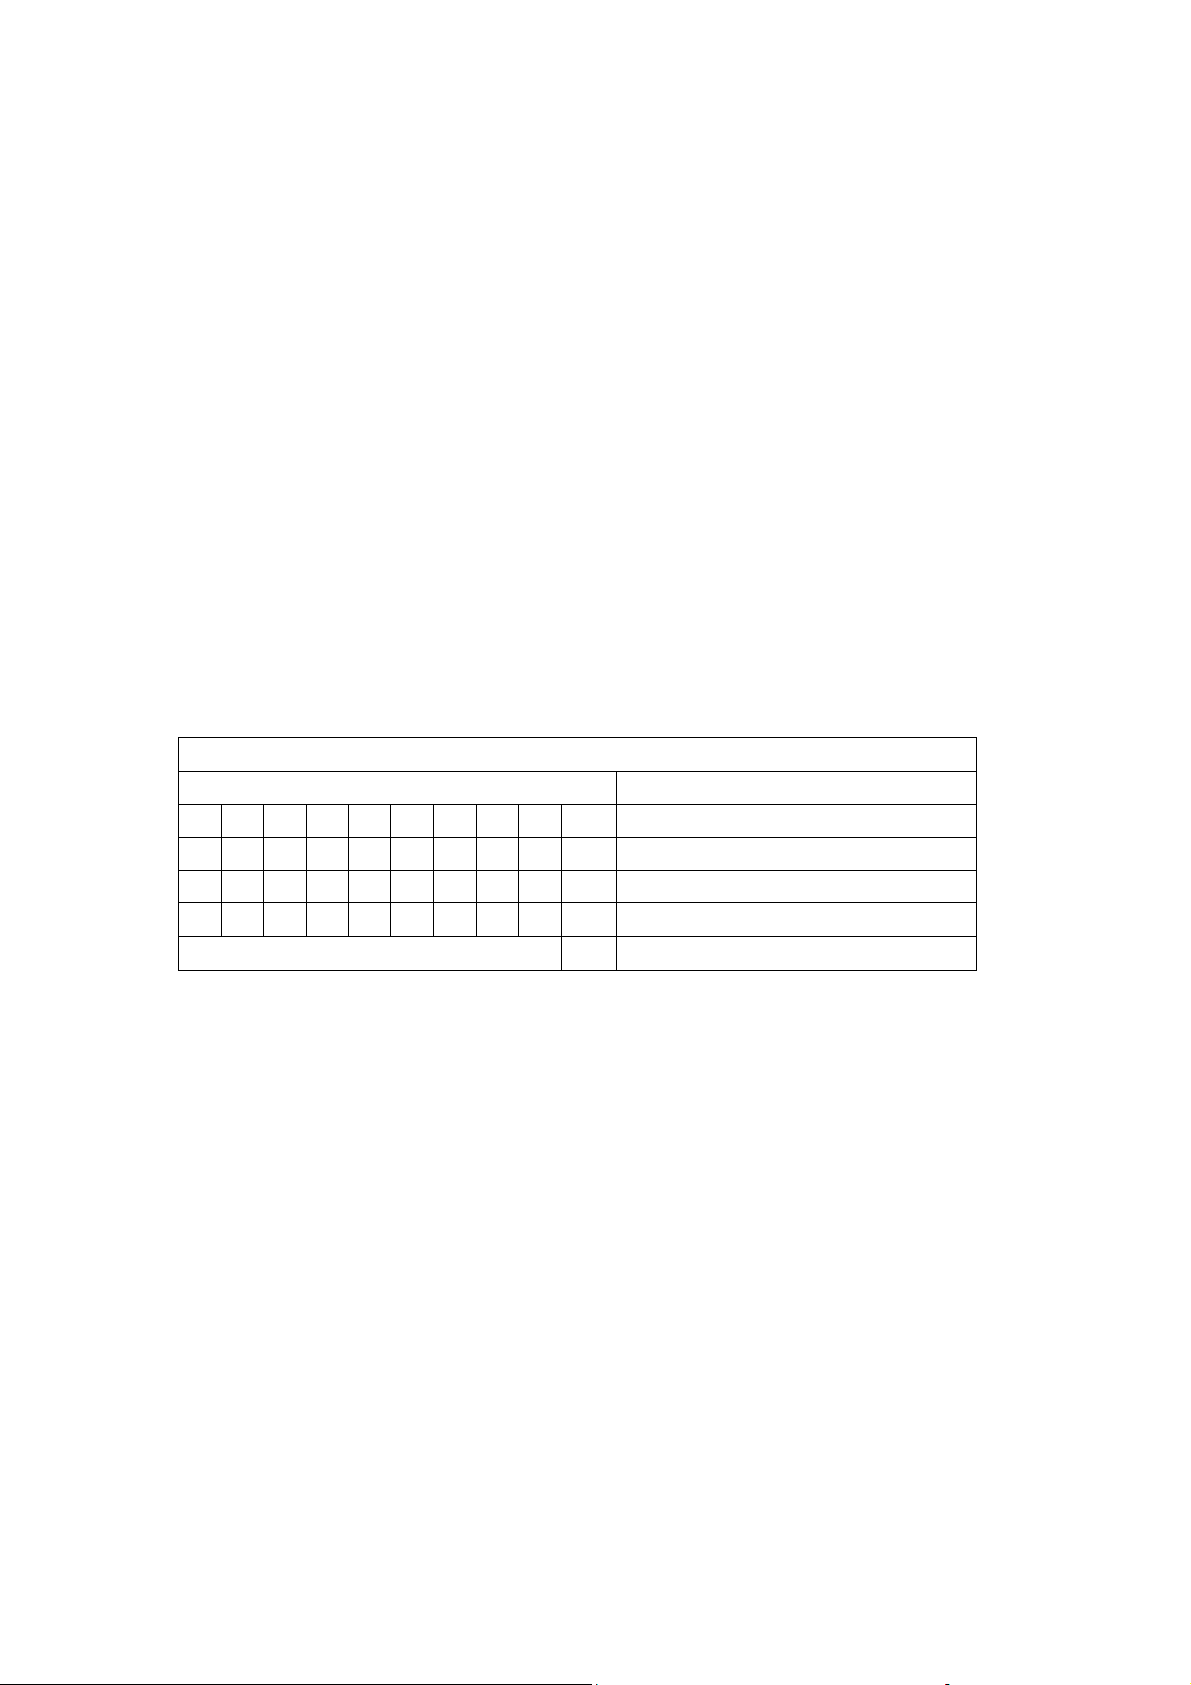
DIPSWITCH CHART FUNCTION
1 2 3 4 5 6 7 8 9 10
X X X X X X X X X 0 AUTO MODE
X X X X X X X X X 0 MASTER MODE
1 0 0 0 0 0 0 0 0 1 SLAVE MODE
SET DMX ADDRESS 1 DMX MODE
1) AUTO Mode
Set the dip switch #10 to OFF, LED PAR Light enters AUTO Mode, running the built-in
programs automatically; the other dip switches 1-9 control the speed of the programs.
2) MASTER/SLAVE Mode
Master: set the dipswitch #10 of one LED PAR Light to OFF; the other dip switches 1-9
control the speed of the programs.
Slave: set all the dip switch #1 & #10 to ON, #2-9 dip switches to OFF
3) LEDC control
One LEDC can control only 4 LED PAR Lights at most. To use LEDC with LEDPAR96,
connect the system using DMX cable, then set address for the LEDPAR96. Each LED
P AR CAN t ake up 5 DMX channels. So, set start channel for the first LED PAR Light to 1st
channel, second LED PAR Light to 6th channel, third LED PAR Light to 11th channel,
fourth LED PAR Light to 16th.
4) DMX Mode
Page 2

Set the dipswitch #10 to ON, LED P AR Light enters DMX Mode; the other 1-9 dip switches
are for addressing.
5) DMX dip switch:
On Off 1 2 3 4 5 6 7 8 9 10
Switch
1
2
4
8
16
32
64
128
Value 256
512
 Loading...