

MBTelehealth Tandberg Edge 95, Tandberg MXP Edge 95 User Manual
`
Tandberg Edge 95
User Guide
Prepared by:
MBTelehealth
April 2009
Updated: N/A

MBTelehealth – Tandberg MXP Edge 95 User Guide
TABLE OF CONTENTS
1.0 OBJECTIVES ......................................................................................................................3
2.0 THE TANDBERG MXP EDGE 95 .......................................................................................3
3.0 GENERAL SETUP AND USE .............................................................................................7
3.1 General Setup.................................................................................................................7
3.2 Mute/Microphone.............................................................................................................8
3.3 Camera Presets ..............................................................................................................8
4.0 PLACING AND RECEIVING A VIDEO CALLS.................................................................10
4.1 Point to Point.................................................................................................................10
4.2 Multi-Point .....................................................................................................................11
5.0 VOLUME............................................................................................................................11
6.0 FAR END CONTROL........................................................................................................12
6.1 Point to Point.................................................................................................................12
6.2 Multi-Point .....................................................................................................................13
7.0 PICTURE IN PICTURE .....................................................................................................13
8.0 DISCONNECTING FROM A CALL...................................................................................13
9.0 LAPTOP/PC CONNECTION.............................................................................................14
10.0 LCD PROJECTOR ............................................................................................................15
10.1 Near End Presentation Through LCD...........................................................................15
10.2 Far End Presentation Through LCD..............................................................................16
10.3 Near End Presentation with Video Splitter....................................................................17
10.4 Near End Presentation w S-Video Out .........................................................................18
11.0 AMD PATIENT CAMERA CONNECTION.........................................................................19
11.1 Connection....................................................................................................................20
11.2 Operation.......................................................................................................................21
12.0 N_SIGHT PATIENT CAMERA ..........................................................................................22
12.1 Connection....................................................................................................................22
12.2 Operation.......................................................................................................................24
13.0 DOCUMENT CAMERA .....................................................................................................25
13.1 Connection....................................................................................................................25
13.2 Operation.......................................................................................................................26
14.0 GLOSSARY OF KEY TERMS...........................................................................................27
15.0 ACKNOWLEDGEMENTS..................................................................................................28
16.0 TROUBLESHOOTING ......................................................................................................28
16.1 Audio Issues..................................................................................................................28
16.2 Video Issues..................................................................................................................28
17.0 ADDITIONAL TRAINING INFORMATION ........................................................................29
APPENDIX A: TANDBERG MXP EDGE 95 CHEAT SHEET ........................................................30
APPENDIX B: VIDEOCONFERENCING ETIQUETTE..................................................................31
Page 2 of 31
MBTelehealth – Tandberg MXP Edge 95 User Guide
1.0 OBJECTIVES
This user guide will provide you with an overview of the Tandberg MXP Edge 95 and the
knowledge to setup and use the videoconferencing equipment.
Learning Outcomes:
After reviewing this guide, you should be able to:
1. Identify and explain the main parts of the Tandberg MXP Edge 95.
2. Use the remote control to navigate through the Tandberg MXP Edge 95 menus, set
camera presets, and access additional video sources.
3. Setup and use the equipment.
2.0 THE TANDBERG MXP EDGE 95
The main components of the Tandberg MXP Edge 95 videoconferencing equipment are
the Camera, Codec, Ethernet Cable, Microphone, Screen/Monitor, Remote Control and
S-Video Cable Connector.
The Equipment at a Glance
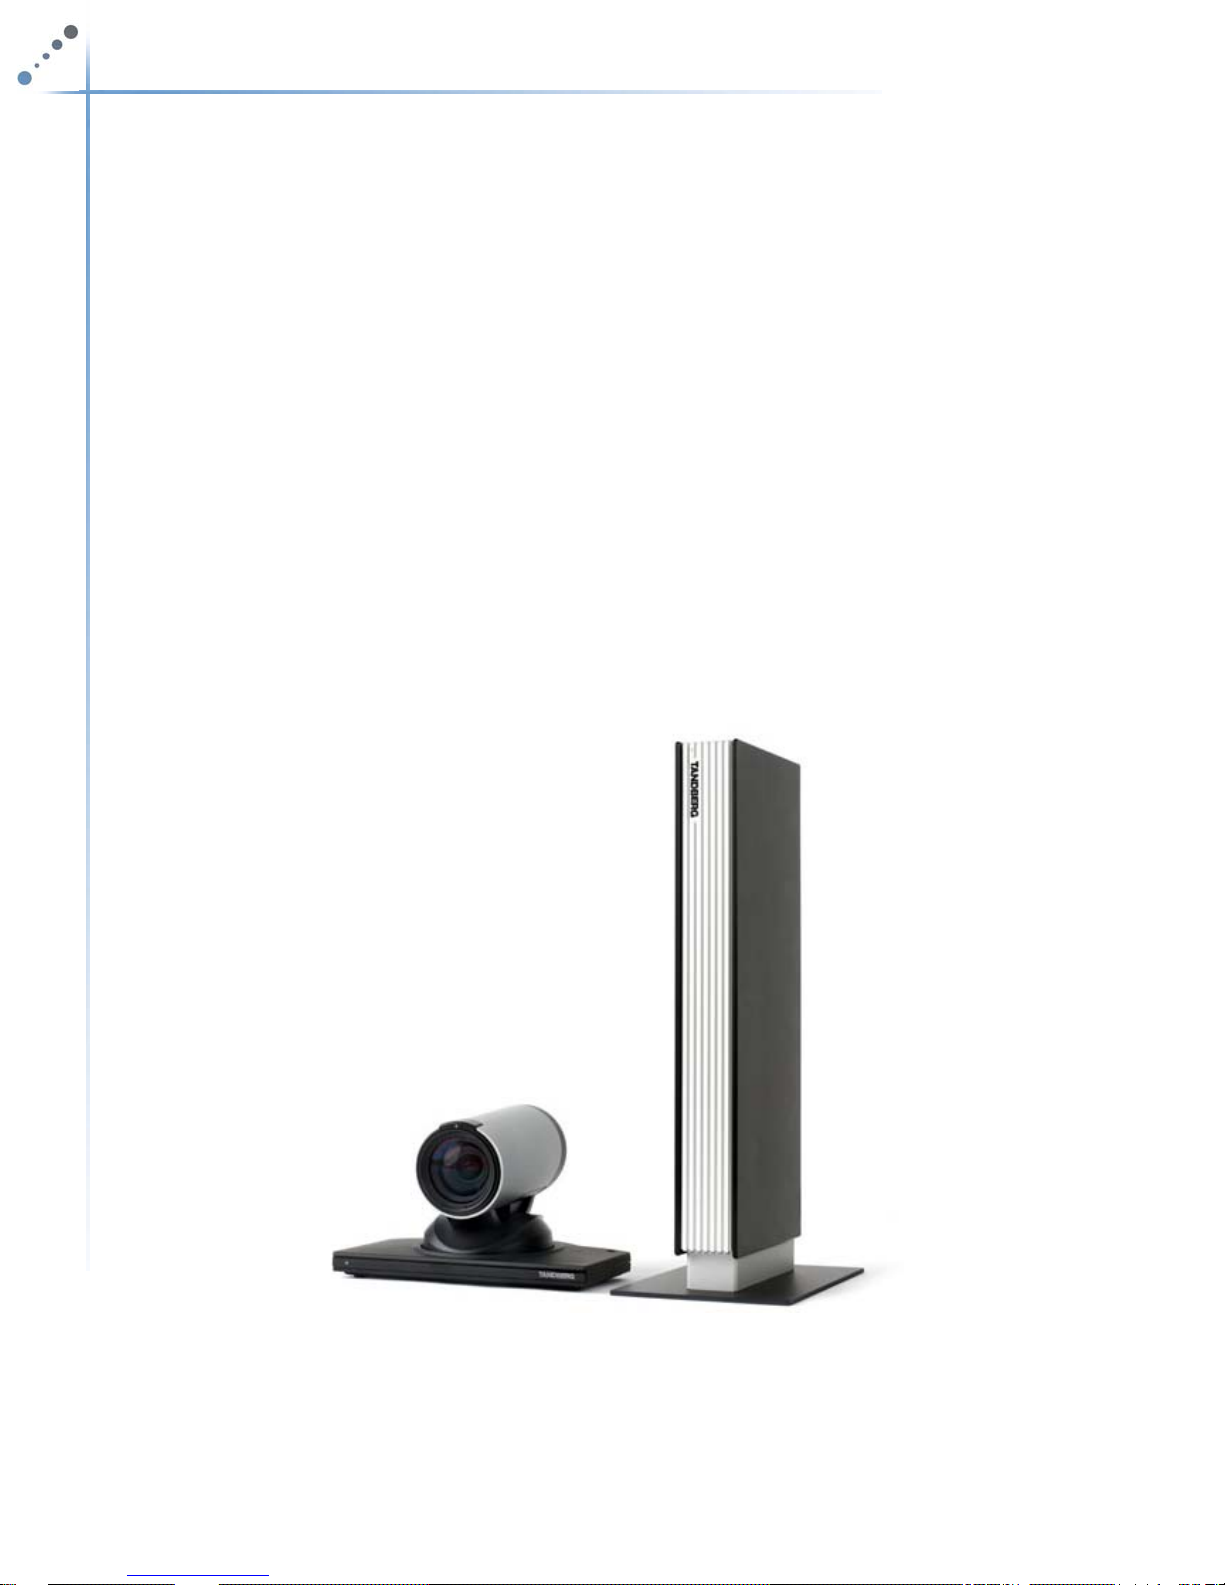
Codec
1. Camera - The built-in camera is a high quality imaging device which transmits
images to the screen/monitor. The camera movements are controlled by a wireless
infra red (IR) remote control that controls a variety of functions, both on the near and
far end.
Camera
Page 3 of 31
MBTelehealth – Tandberg MXP Edge 95 User Guide
2. Codec - The codec is the central part of the videoconferencing equipment. The main
task of the codec is the compression of outgoing video, audio and data, the
decompression of the incoming information and the transmission of this information
between endpoints. The name codec comes from a combination of the two words
compression and decompression.
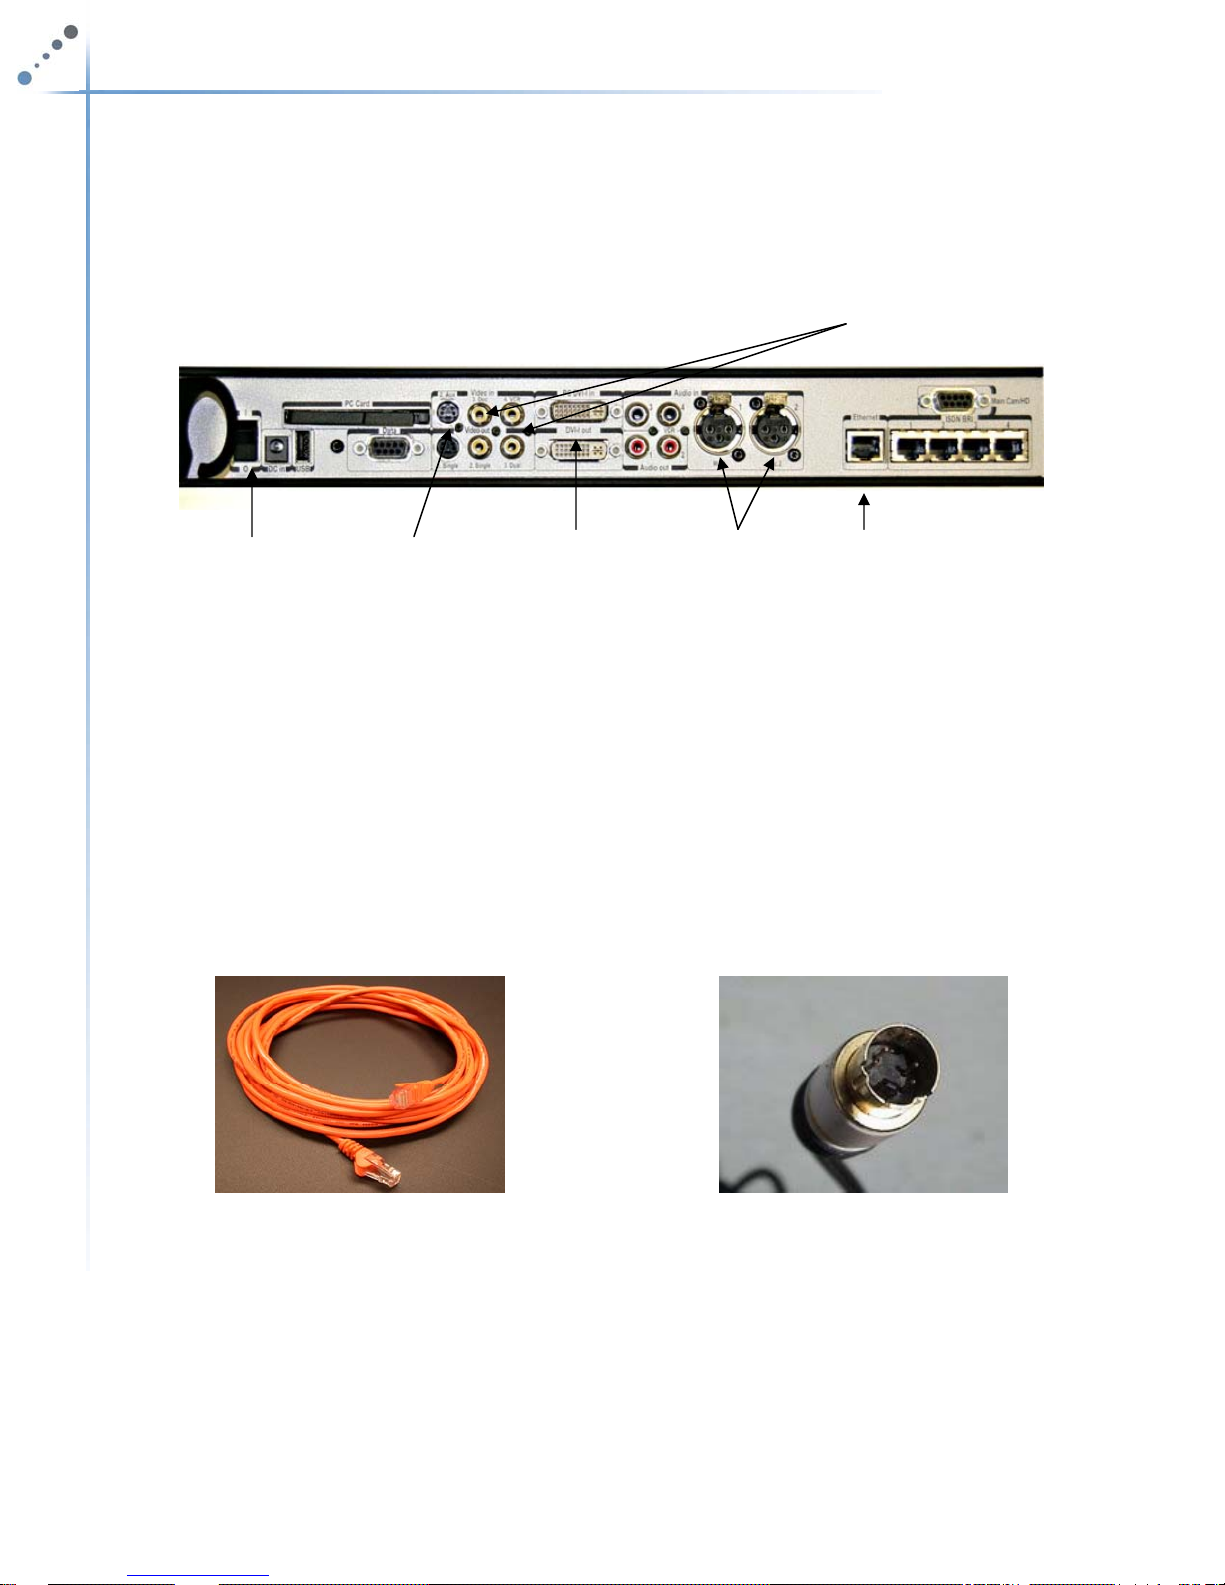
The Codec (rear view)
RCA Inputs/Outputs
On/Off Switch
S-Video
Inputs/Outputs
DVi
Inputs/Outputs
Microphone
Connection
Ethernet
Connection
3. Ethernet cable - This type of cable is similar to the one that connects to the Local
Area Network (LAN). One end is plugged into the back of the codec and the other
end (for MBTelehealth purposes), must be plugged into the specified jack in the wall.
Once the Ethernet cable is plugged in, you will be able to connect, or be connected
to other sites.
4. S-VIDEO Cable - S-Video is short for Super-Video. Video signals are transmitted
through a cable which is divided into two separate signals: one for color
(chrominance), and the other for brightness (luminance).
Standard Ethernet Cable S-Video Cable Connector
5. Microphone - There are two types of microphones that accompany the
videoconferencing equipment. The first may be located on the equipment and the
second is the table microphone which is designed to be located on a flat surface in
front of the participant. The microphone cable should always face towards the
videoconferencing system. The system will automatically equalize sound levels so
that loud and soft voices are picked up and transmitted to the far end at
approximately the same level.
Page 4 of 31
MBTelehealth – Tandberg MXP Edge 95 User Guide
6. Screen/Monitor - The videoconferencing equipment may utilize single or dual
screen/monitor configurations. The screen/monitor displays the far end or the near
end image.
7. Remote Control - The remote control is used to place calls, adjust the volume,
navigate screens and select options. It controls all functions of the videoconferencing
equipment. When the remote control is not in use, it should be locked away; the
equipment will not function without it.
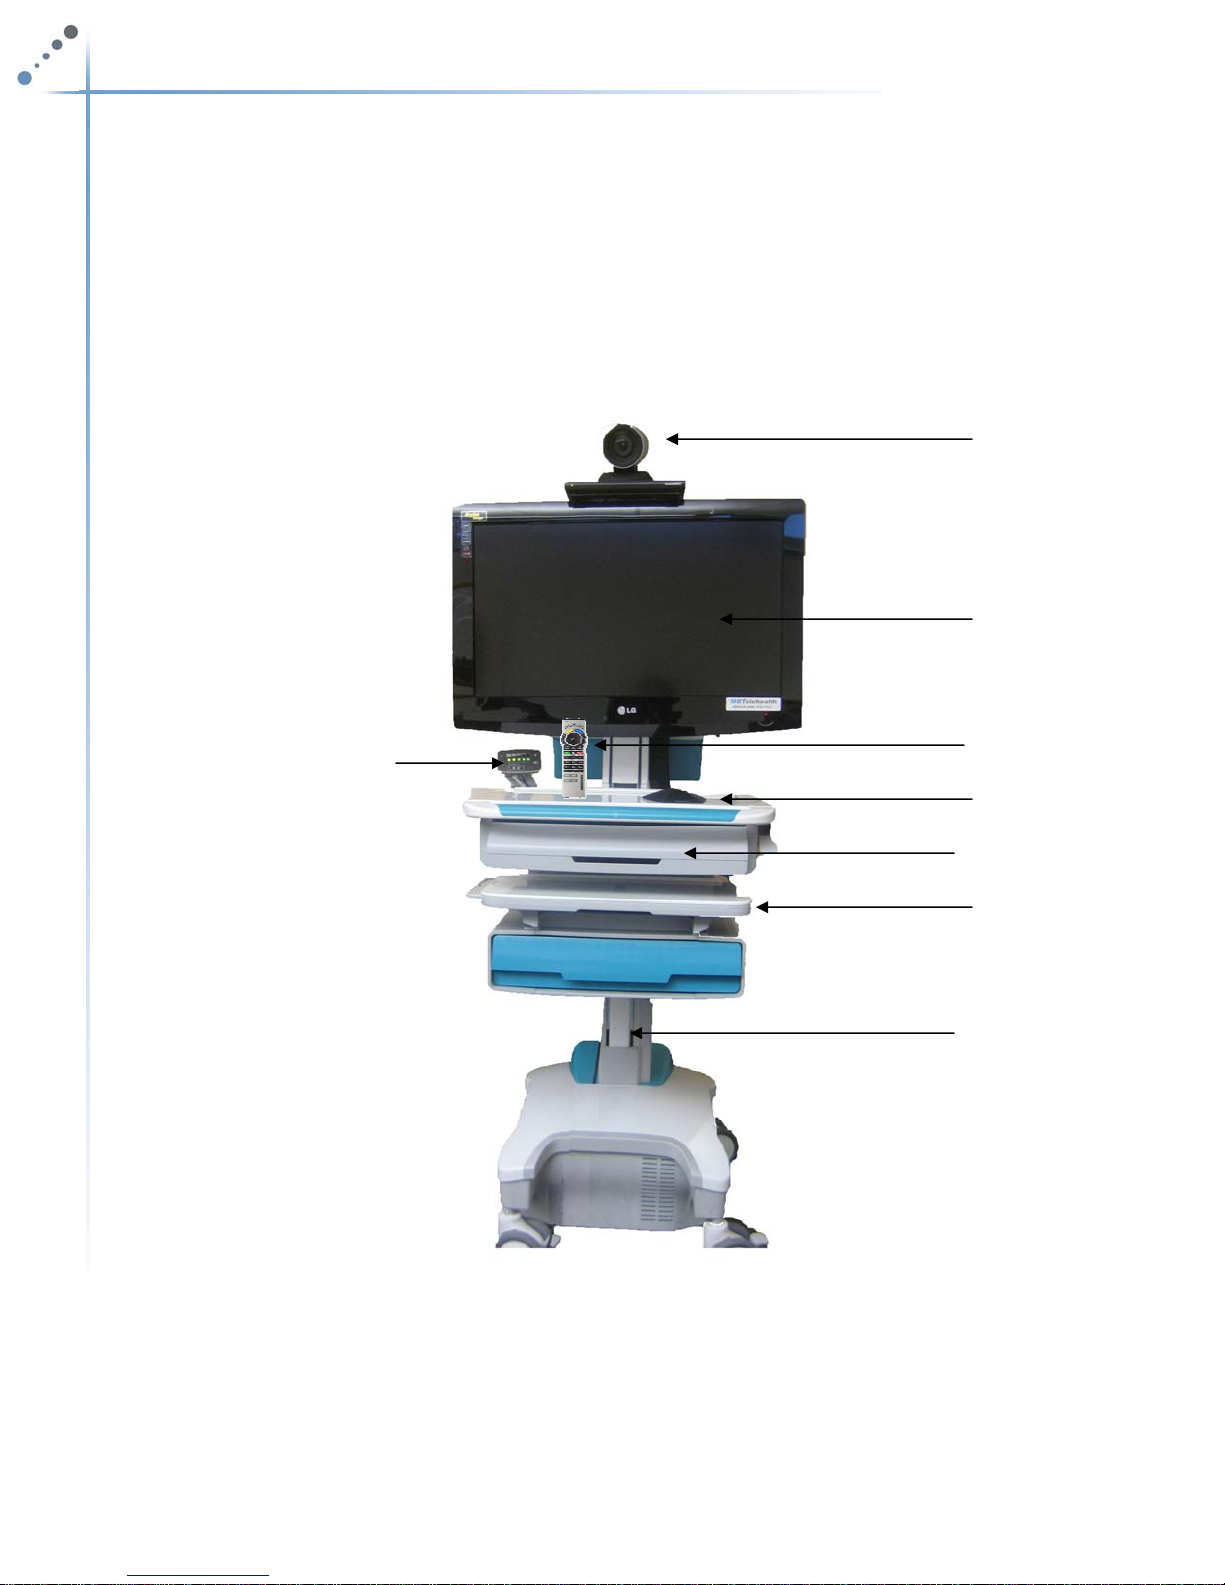
The Tandberg MXP Edge 95 Clinical Cart Solution
Camera
Screen/Monitor
Power
Remote Control
Microphone
Router (in drawer)
Codec (at rear)
StyleView Cart
Page 5 of 31

MBTelehealth – Tandberg MXP Edge 95 User Guide
V
Mic Off turns your microphone
on and off.
Arrow Keys are used for
navigation in the menu and for
moving the camera
olume + and – adjusts the
system volume.
The Layout key toggles
between full screen and
different display layouts.
Press the Call key to place a
call.
Camera Presets define specific
camera positions. Press and
hold a number key for 1 second
to save the current camera
position to that number key. To
activate a preset during a call,
simply press and release that
number key.
.
ARROW KEYS, OK AND MENU BUTTON
To navigate through the menu in the videoconferencing system,
use the arrow keys. To make a selection when in a menu, press
the OK/Menu button. An orange selector on screen shows the
selected item. To bring up the menu, press the OK/Menu button.
CANCEL KEY
In the main menu, pressing Cancel (X) will hide the menu. If the
menu is hidden, you can access it again by pressing the OK
button. In other menus, pressing Cancel (X) will take you back one
step. In an input field, pressing Cancel (X) will delete
characters/numbers to the left.
The Tandberg MXP Remote Control
NAVIGATION BUTTONS
Video Sources switch between Main
Camera, Laptop, Document Camera,
The Presentation key toggles
between the pc and main camera
Press Ok/Menu to show the menu
and to select menu items.
Use Zoom + and – to zoom the
camera in and out.
Selfview displays your outgoing
video.
Use the red End Call key to end the
current call. If you press this key and
you are not in a call, the system will
go into Standby mode.
Store and recall your video contacts
via the system Phone Book for easy
Number/Letter keys function in the
same manner as with a mobile
phone.
Far End allows user to easily take
far end control during a site to site
event or change layouts in a multi-
Page 6 of 31
MBTelehealth – Tandberg MXP Edge 95 User Guide
3.0 GENERAL SETUP AND USE
The following sections will provide instructions for setting up and using your Tandberg
MXP Edge 95 to place and receive video conference calls. A Cheat Sheet is available in
Appendix A for a quick reference on how to set up and use of your video conference
system.
3.1
General Setup
To setup and use the Tandberg MXP Edge 95 videoconferencing equipment:
1. Position the equipment in the specified location/room
2. Plug the power cord into the wall.
3. Connect the free end of the Ethernet cable to the MBTelehealth jack
4. Turn on the codec, the screen/monitor and the router. After approximately 15-20
seconds you will see the startup screen. . (If the Ethernet cable is connected
correctly, you will see a flashing green VPN light on the front of the Cisco 871
router.)
5. Place the microphone on the table in front of the participants. If possible, position
the microphone at least 6.5 feet in front of the system
6. Press Cancel once then position the camera on the participant(s) using the arrow
keys and the zoom + and - keys.
For more information on setting and storing camera positions see section 3.3
Camera Presets
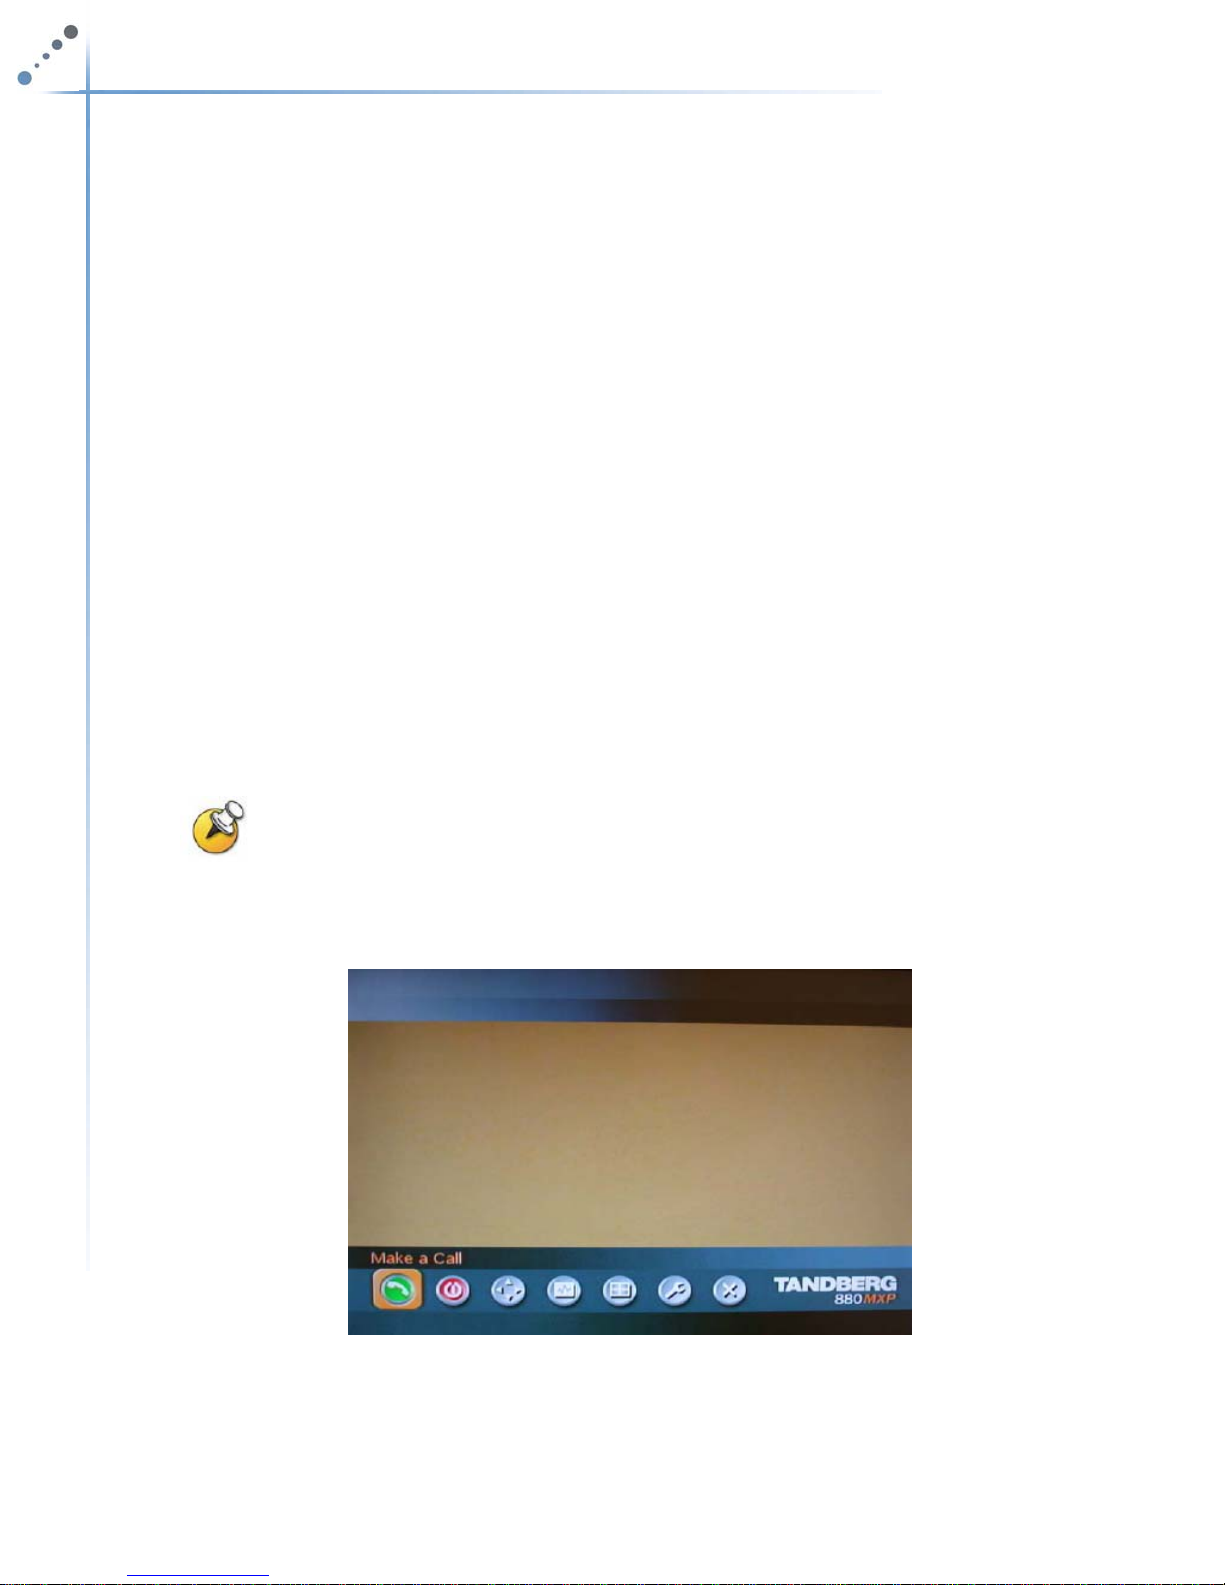
The Startup Screen
Page 7 of 31
MBTelehealth – Tandberg MXP Edge 95 User Guide
3.2 Mute/Microphone
To mute the microphone:
1. Press the Mic Off key on the remote control.
2. An onscreen indicator
will appear when the microphone is off.
3. Press the Mic Off key on the remote control again to turn the mute off. The
onscreen indicator will disappear from the screen.
Make sure your site is on mute before making a call to the far end. Turn
the mute off when you are ready to begin the session.
3.3 Camera Presets
Camera presets are useful when pictures from many different camera positions and
video sources have to be viewed by the far end. Presets are used to switch camera
positions without having to manually move the camera every time.
Presets can be established before or during a call.
The camera presets are available from the number keys on the remote control when in a
call or by using the preset button when not in a call.
3.3.1 Standardized Presets
MBTelehealth recommends setting the following setting the following camera presets for
each video conference event:
1. Sign - The first preset is of a sign with the sites name. This is an off screen
camera view that allows users to move about the room without being on camera
and identifies the sites that are connected. The equipment should always be set
to the sign preset before connecting to an event.
2. You (Presenter/Provider/Patient) – This preset is a close up view of the person or
persons involved in the event. Whether it is the patient, provider or a presenter,
when setting this preset, you want to ensure that the far sites are able see the
person clearly.
3. Room –Part of video conference etiquette includes making the sites you are
connected to aware of everyone involved in the event. By setting a preset of the
entire room, you can easily identify everyone in attendance and then switch back
to preset number 2 as necessary. This preset is also helpful for question and
answer periods.
4. Video Source (PC/Patient Camera/Document Camera) – Video Sources can be
set as presets or accessed used the video source buttons on the remote control.
Setting these presets provides consistency for users and service desk staff for all
telehealth equipment.
Page 8 of 31
MBTelehealth – Tandberg MXP Edge 95 User Guide
3.3.2 Saving Camera Presets
To save a preset from the remote control:
1. Move the camera to the desired position. If storing a video source ensure it is
selected and showing on screen.
2. Press a number key on the remote control (from 0-9) until a message appears
stating the preset has been stored. The new preset will overwrite any existing
camera presets on that number.
To save a preset from the MXP menu:
1. From the startup screen, scroll to the Camera Control icon
and press OK
twice.
2. Move the camera to the desired position. If storing a video source ensure it is
selected and showing on screen. Press OK.
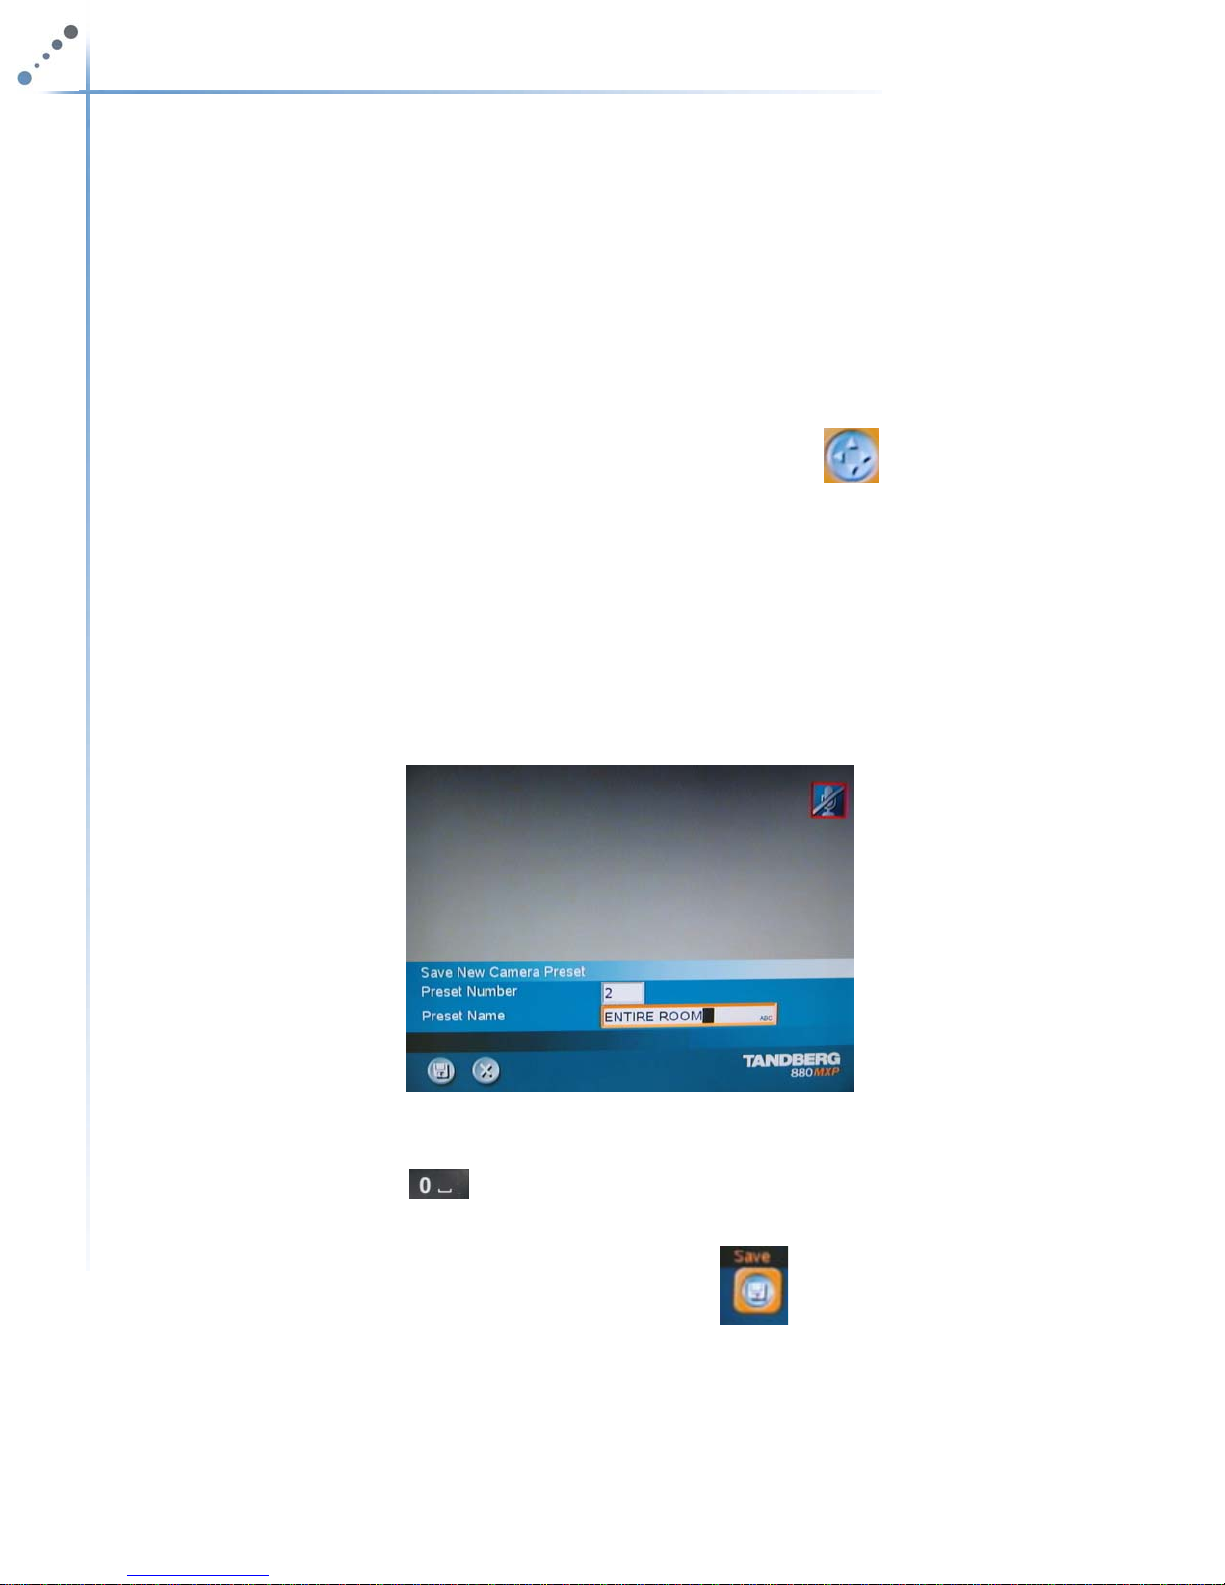
3. Select the Save New Camera Preset icon
4. In the Save New Camera Preset menu, enter the desired preset number in the
Preset Number Field.
Save New Camera Preset menu
5. Using the down arrow key on the remote control, toggle to the Preset Name field.
If desired, type the name of the preset using the keypad on the remote control.
Press the 0 key
letter press the Cancel (X) button.
6. Using the down arrow, toggle to the Save icon. Press the OK.
7. A message will appear on screen indicating that your camera preset has been
saved.
8. Repeat the process as required.
to enter spaces between words. To go back or delete a
Page 9 of 31
MBTelehealth – Tandberg MXP Edge 95 User Guide
Presets do not require names, however if they will be consistently the same, it is
a good idea to name them so other users are aware.
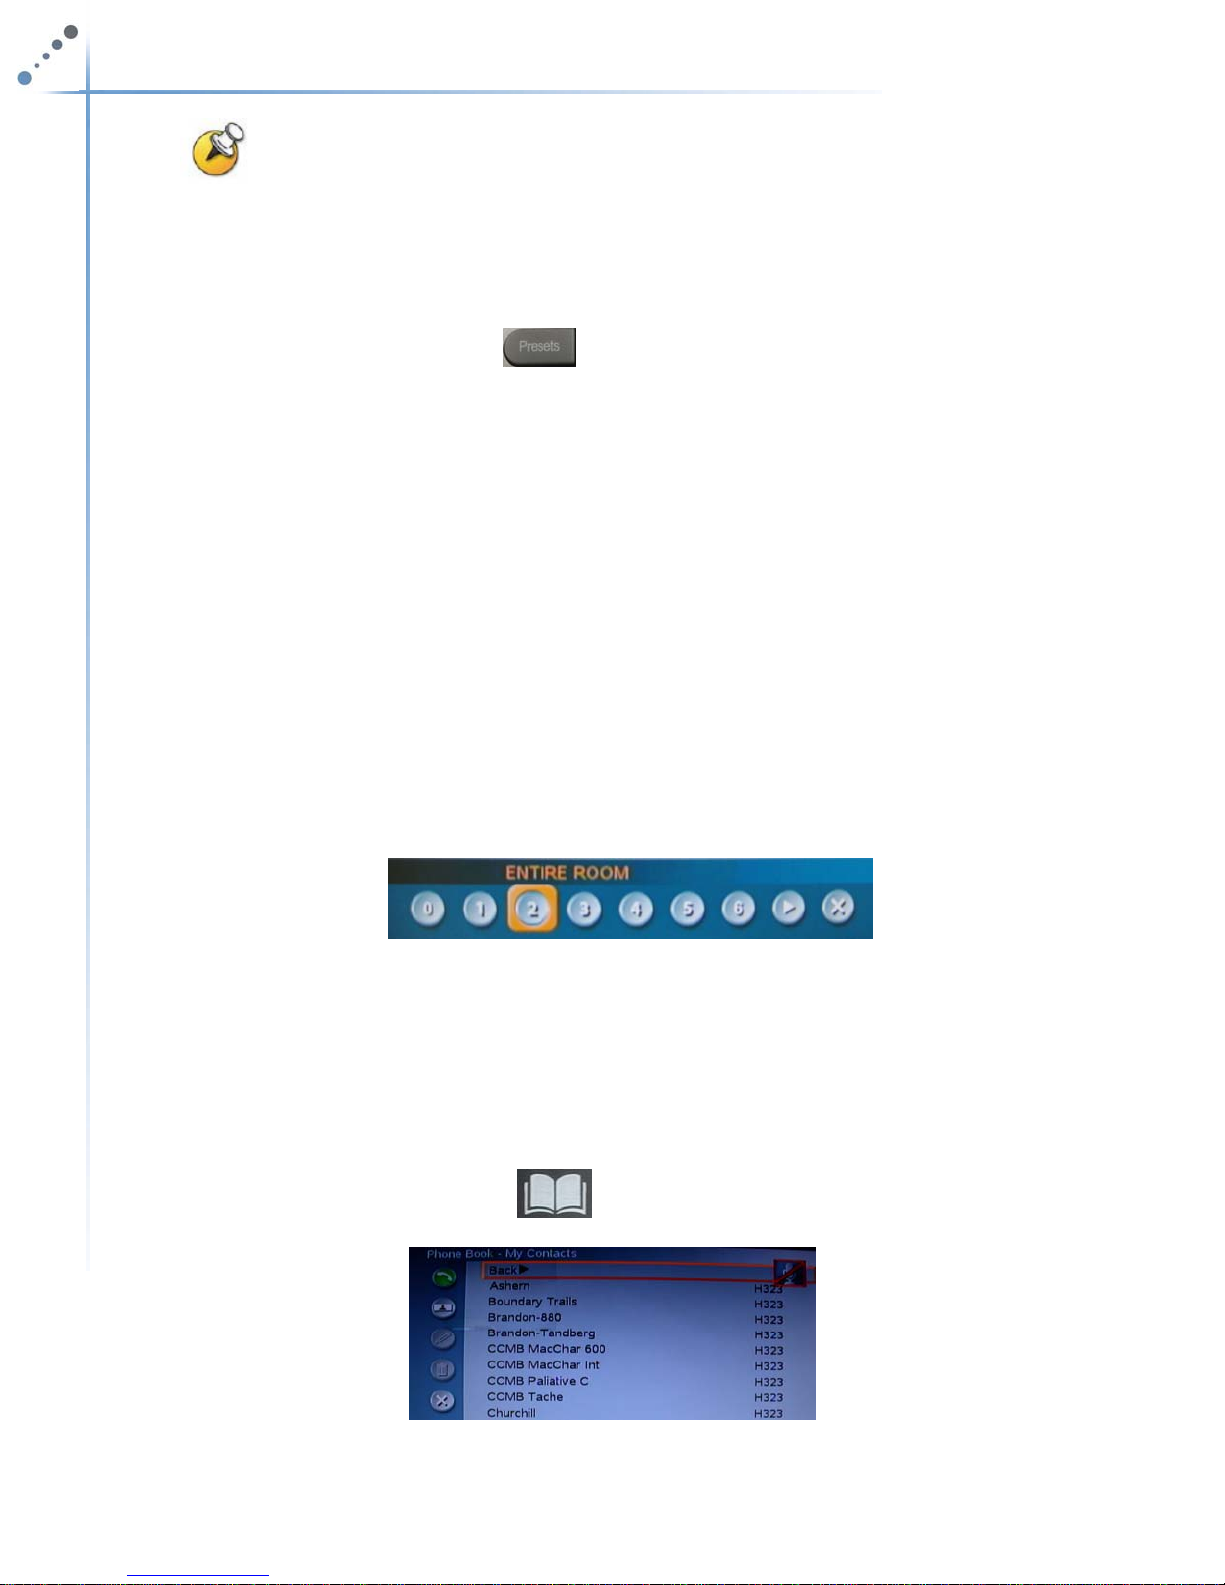
3.3.3 Using Camera Presets
To use camera presets:
1. Press the Presets button on the remote control. A message will appear
on the screen saying Presets 0-9
2. Press the number on the remote control that corresponds with the desired
camera position, or video source.
To review saved camera presets from the MXP Menu:
1. From the startup screen, select the Camera Control icon in the toolbar.
2. Press the OK on the remote control.
3. Use your right arrow key to toggle to the Display Preset icon.
4. Press the OK on the remote control
5. Use the arrow keys to toggle back and forth to view the number and names of
the presets stored.
Number and Names of Presets Stored
6. Press Cancel twice to return to the main toolbar.
4.0 PLACING AND RECEIVING A VIDEO CALLS
4.1 Point to Point
To place a video call:
1. Press the Phone Book key
on the remote control.
Page 10 of 31
 Loading...