

MBTelehealth DX80 User Manual

MBTelehealth - DX80 Touchscreen User Guide
DX80 Touchscreen
User Guide
07Mar2018
Page 1 of 16

MBTelehealth - DX80 Touchscreen User Guide
Table of Contents
Table of Contents
GENERAL USE ...................................................5
Site to Site Calls ..............................................................6
Connecting to an MBT Site ............................................................ 6
Add a Site to Favorites ............................................................... 6
Connecting to a site outside the MBT Network ............................................ 7
Far End Camera Control .......................................................7
Sharing Presentation: Site to Site ...................................................... 8
Screen Layout: Presentation - Site to Site ............................................... 8
Recent Calls and Favourites ....................................................9
Multi-Site Event Calls (MCU) ....................................................10
Connecting to a Multi Site (MCU) Call ................................................... 10
Screen Layout/Far End: No Presentation - Multi-Site ....................................... 11
Sharing Presentation: Multi Site ....................................................... 11
Screen Layout: Presentation - Multi Site ................................................ 12
Receiving and Ending Video Calls ................................................13
DUAL VIDEO ENABLED EQUIPMENT ..................................14
TROUBLESHOOTING ..............................................15
ADDITIONAL TRAINING INFORMATION ................................16
VIDEOCONFERENCING ETIQUETTE ..................................16
Page 2 of 16
MBTelehealth - DX80 Touchscreen User Guide
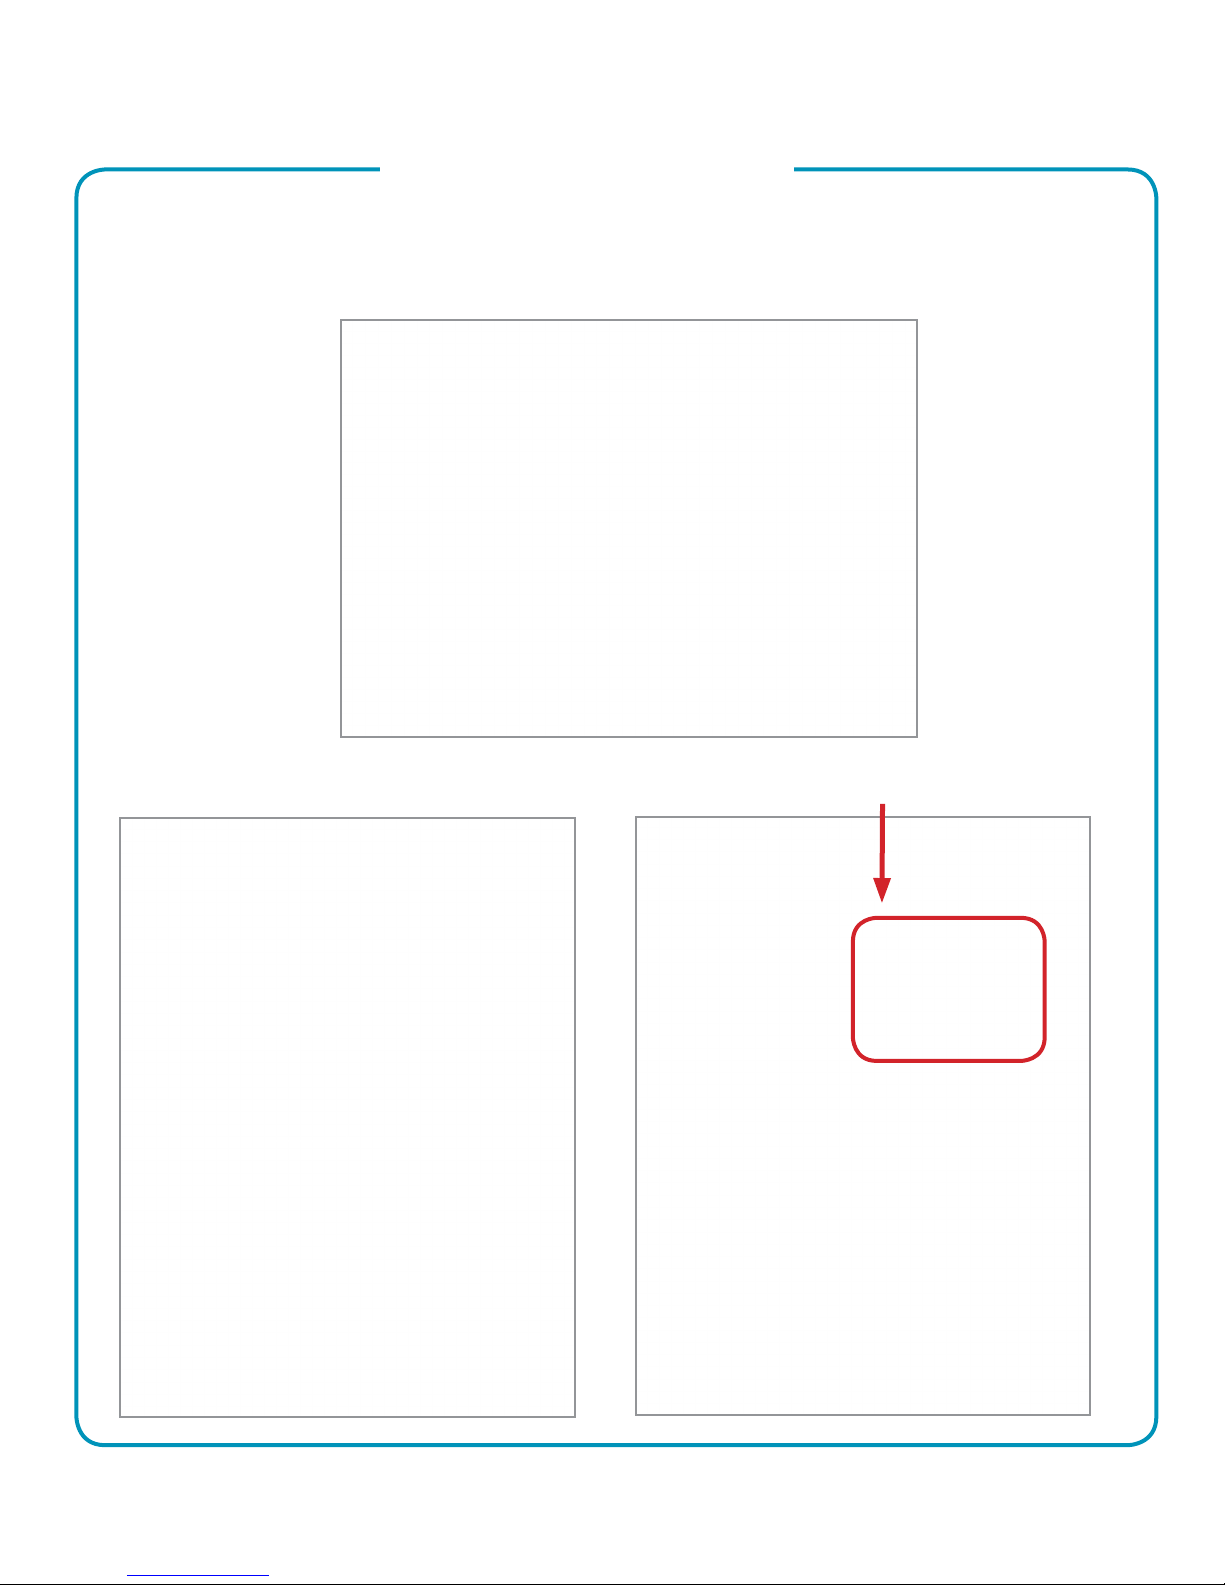
Main Components of the DX80
The monitor of the DX80 is an all-in-one touchscreen unit and does not require a remote control. This unit is
available in the following congurations as shown on the next page: desktop unit, mobile unit, and xed unit
(mounted to the wall).
Note: other than in this section, the screenshots used in this guide are shown on a DX80 desktop unit.
Camera with privacy shutter, turn counter-
1
clockwise to shut and clockwise to open
2
Microphone mute button, loudspeaker volume
controls and USB socket on the right side of the
unit.
3
Power On/OFF
Loudspeaker
4
Microphone in each leg
5
Use as a PC monitor by using an HDMI cable to connect your computer to the HDMI socket PC (see below) .
Switch between PC monitor and Video screen by tapping the screen. If you do not see all of the menu items along
the bottom of the screen, this may indicate that the monitor is in sleep mode. Move the mouse or press a key on the
keyboard to wake it up. This only applies when using the unit as a PC monitor.
Incoming calls will appear as usual, irrespective of whether the screen is on PC or video.
1
Power supply socket
Back of DX80 unit
2
USB computer connection
HDMI computer connection
3
HDMI external monitor connection (not in
4
use)
5
SD card slot and Kensington lock
6
USB ports
7
LAN expansion connection. Connect
your computer LAN here to let your Cisco
DX80 and computer share a common LAN
connection
8
LAN connection
Page 3 of 16
MBTelehealth - DX80 Touchscreen User Guide
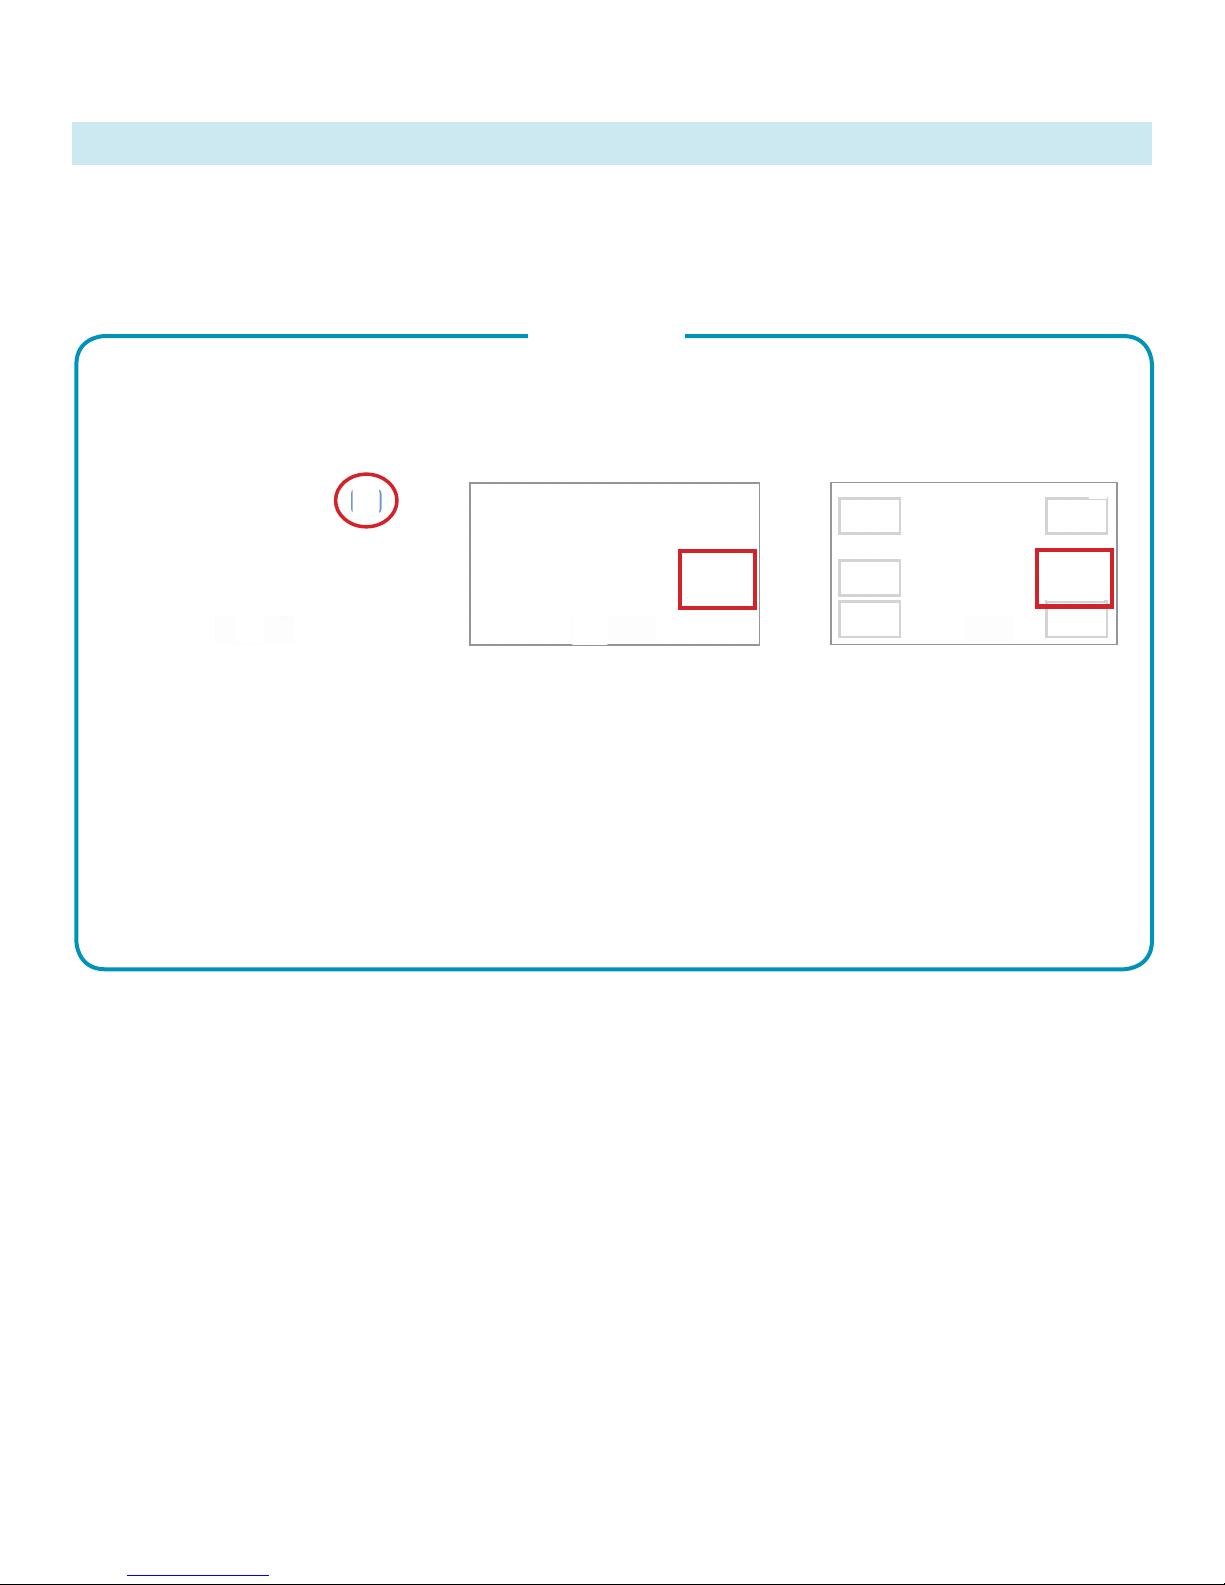
DX80 Conguration Options
This unit is available in the congurations shown below: desktop unit, mobile unit, xed unit/mounted to the
wall.
Desktop
The monitor
height can be
adjusted
Mobile Fixed/wall mounted
Page 4 of 16
MBTelehealth - DX80 Touchscreen User Guide
GENERAL USE
The following sections will provide instructions for using your DX80 Touchscreen solution to place and
receive videoconference calls.
Selfview
Before the meeting starts we recommend that you check the selfview. Selfview shows what others see from
your video system. You will normally use it to conrm that the other site/s see what you want them to see.
The selfview appears as a PIP (Picture-in-Picture).
Selfview
Tap Selfview to turn it on and off.
Tap anywhere outside the menu to exit.
When using a mobile cart, you will need to plug the unit in and turn on the power.
Tap and hold the Selfview image.
You will see the alternate positions
available for the selfview image.
Keep holding the image and drag it
to the new position, lift your nger to
release it.
Page 5 of 16
 Loading...