

MBS TP400 Instructions Manual
TP400
Carriage
Assembly
Instructions
Congratulations
You’ve purchased a roofing hoist manufactured by TIE DOWN ENGINEERING. All of hoist products
are easy to assembly and is solidly built in USA and tested to ensure years of service.
Before You Begin
We’ve included this easy to use instruction sheet to ensure quick, easy assembly of your carriage
platform. Be sure to read the instructions (a time saver in the long run). Identify all parts and hardware.
Questions?
We’re here to help, just call 800-241-1806. For faster service, have your model and serial number
ready when calling.
Instruction #08237
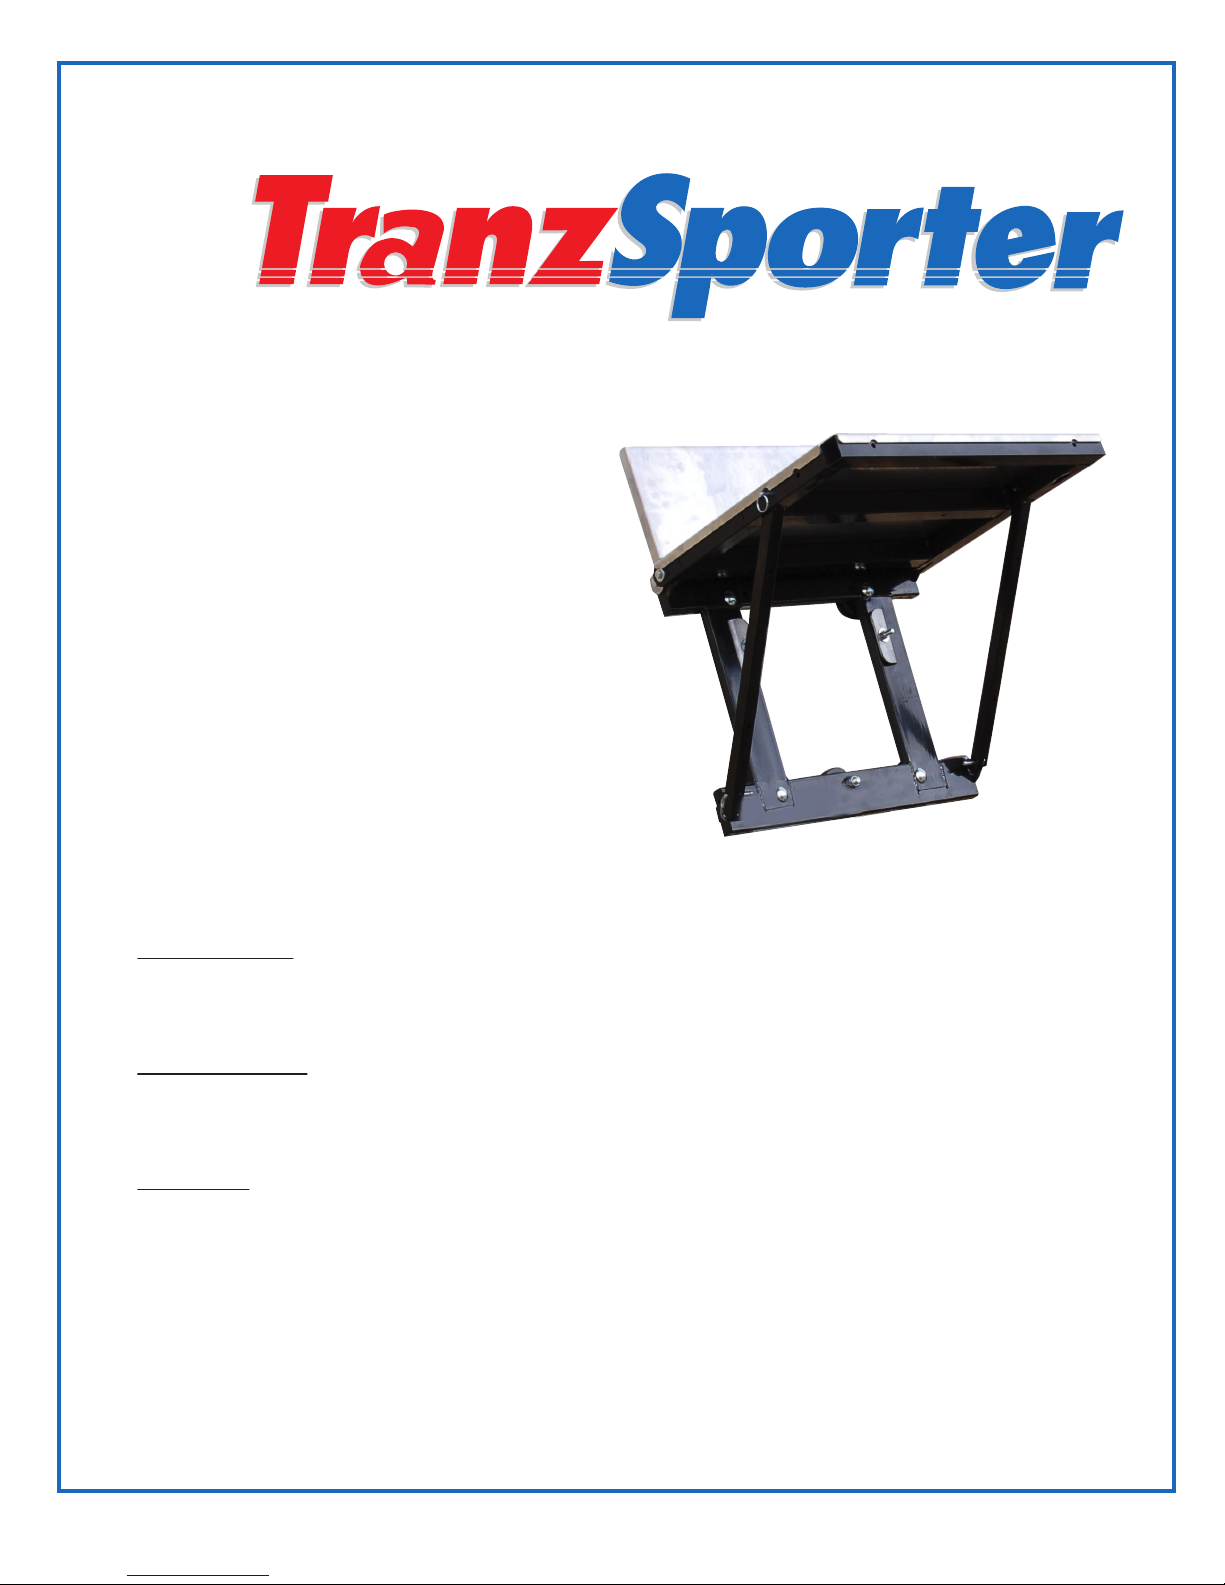
TP400 Carriage Parts Description List
Platform Back/Flap
Carriage Base
Description Qty.
Platform Base
Platform Back Flap 1
Platform Base 1
Carriage Base 1
Support Struts w/Pins 2
Plywood Brackets w/Pins 2
5/16”-18 x 2” Bolt 2
5/16”-18 x 1” Bolt 2
5/16” Nyloc Nuts 4
Support
Strut
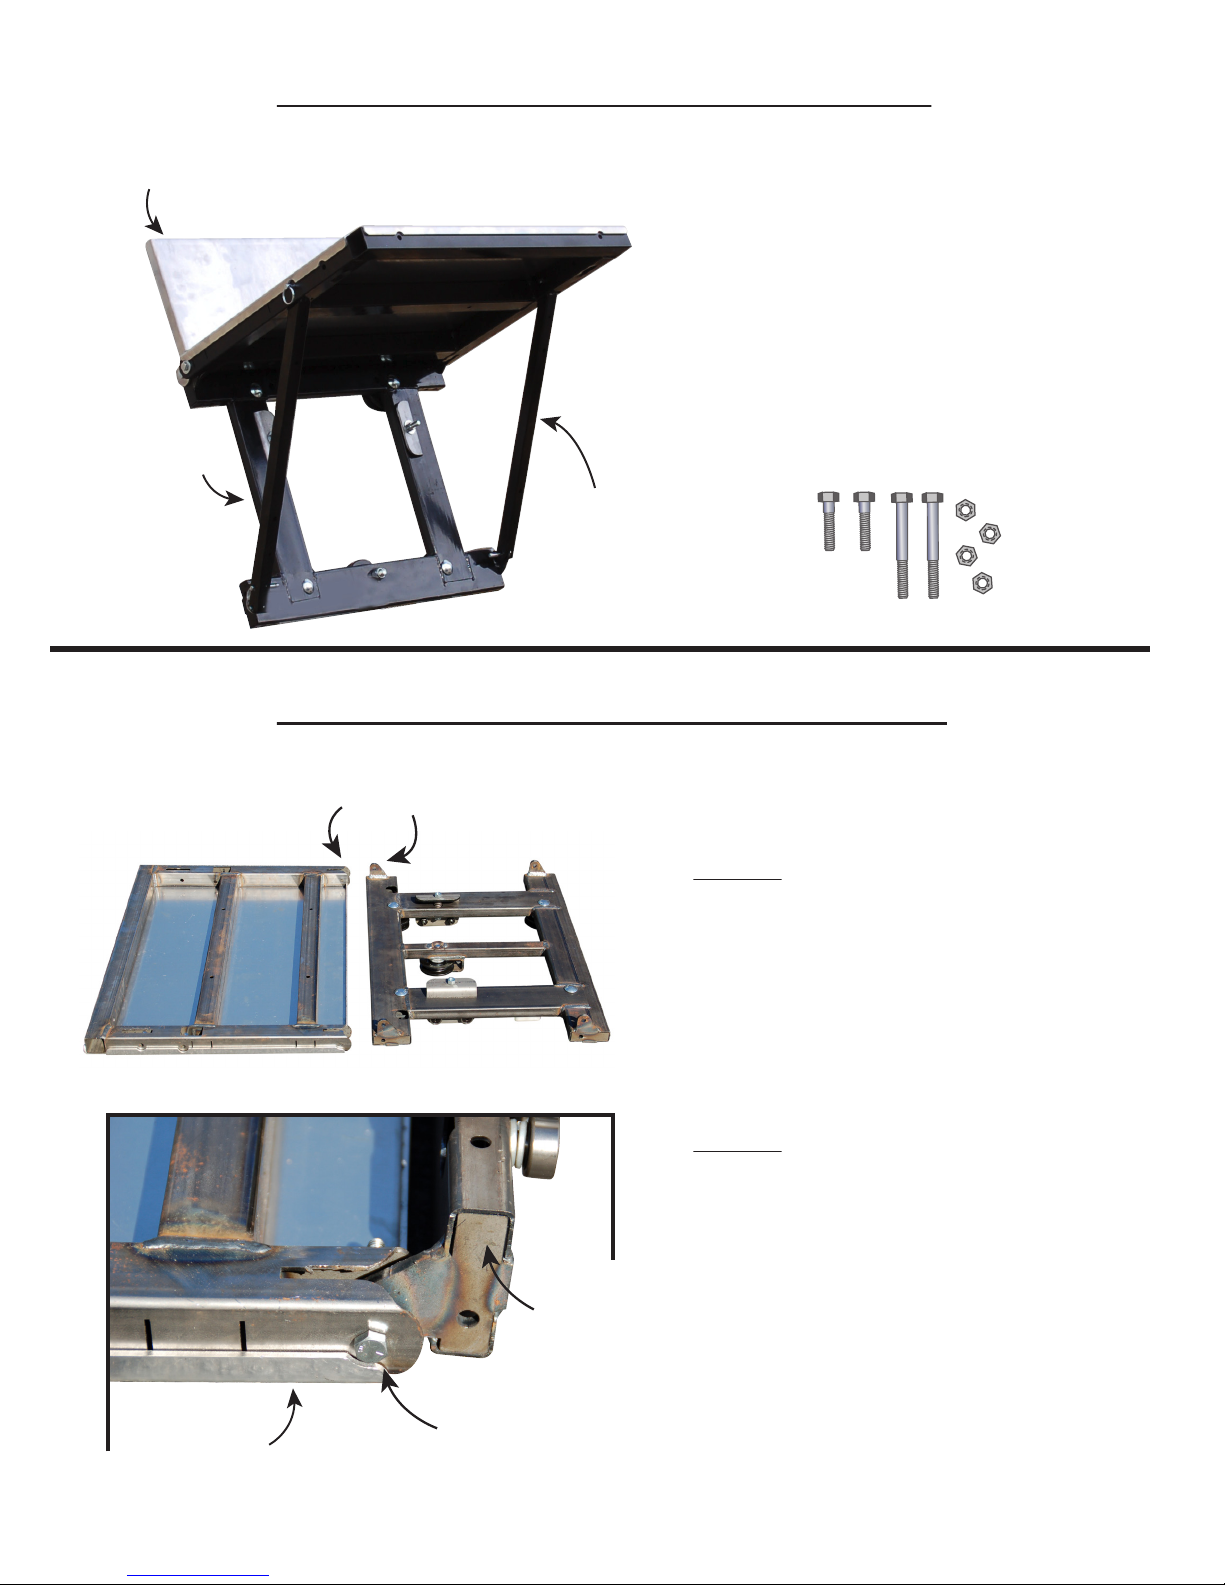
TP400 Carriage Assembly Instructions
Platform Base
Pivot
Tab Holes
Lift This
Side
Step #1
Place the Carriage Base (wheels down)
and Platform Base (Smooth flat top down)
on a hard flat surface. Lift carriage base on
one end (shown left) so the pivot tab holes
align with each other.
Carriage Base
Step #2
Insert 5/16” x 2” Bolt through platform and
carriage base tab holes Tighten nyloc nut with
the bolt; not so tight as to prevent free movement.
Repeat opposite side.
Carriage Base
Platform Base
Platform
base/Carriage, Pivot
Tab Holes
 Loading...