

MBL 1621A Owner's Manual
ENGLISH
DEUTSCH
unique high end audio
mbl 1621 A
1
Caution!
The mbl 1621 A CD transport is a Class1 laser product. It uses a visible laser beam which
could cause hazardous radiation. Do not stare directly into laser beam when CD lid is
open. Always pull the plug before you open the cabinet.
Important Information!
Attention! Keep the CD transport away from high humidity, vibration, excessive dust and
direct sunlight. Excessive heat or cold will aect the CD transport´s functionality. The
allowable operating temperature is 10°C to 40°C (50°F up to 104°F). Avoid extreme
variations in temperature. Do not operate the CD transport near other electric appliances
(for instance neon lights and motors). The CD transport should not be opened without the
assistance of a qualified technician!
KETI, CE-Marking
This product conforms to the requirements of the EMC and low-voltage directive. Your
MBL component complies with the household power and safety requirements in your
area.
Warranty
Please pay attention to the details given in the warranty card which accompanies the CD
transport. The warranty card must be sent back for the warranty to take eect.

mbl 1621 A
mbl 1621 A
unique high end audio
2
Page
3 Scope of Delivery
4 mbl 1621 A Views
4 mbl 1621 A Front View
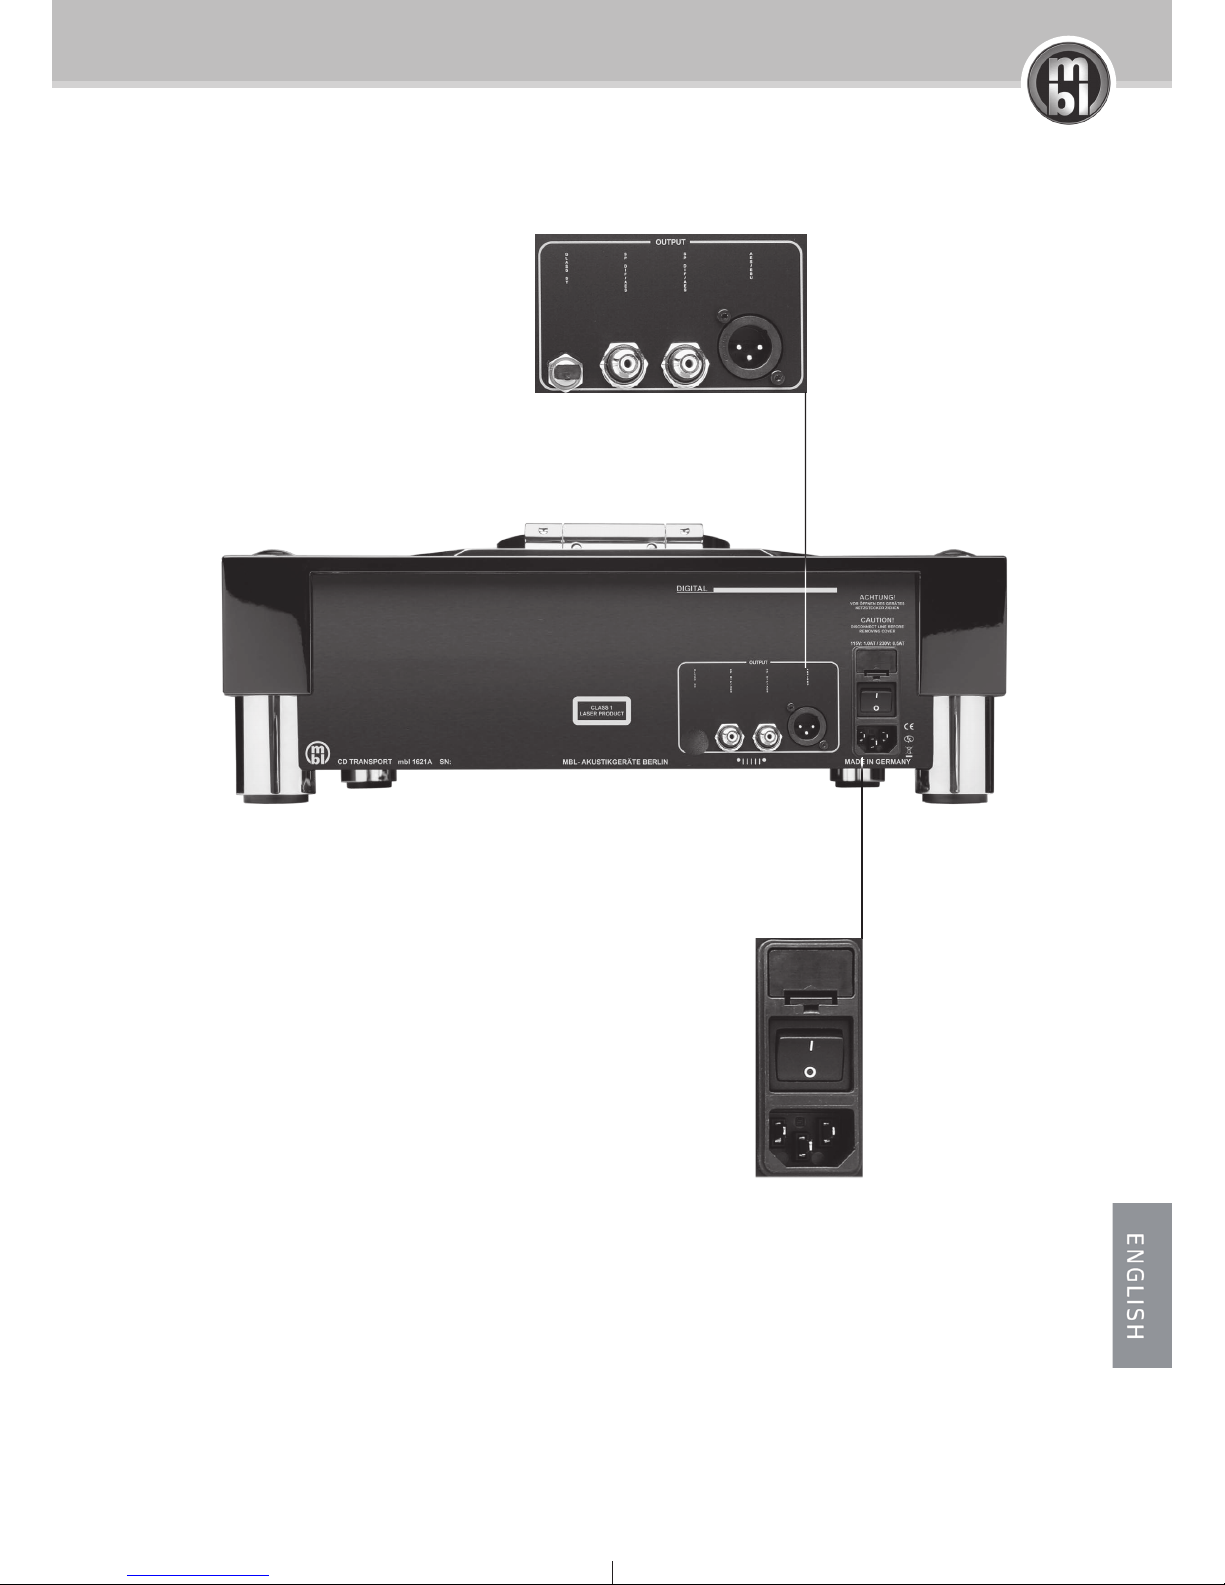
5 mbl 1621 A Rear View
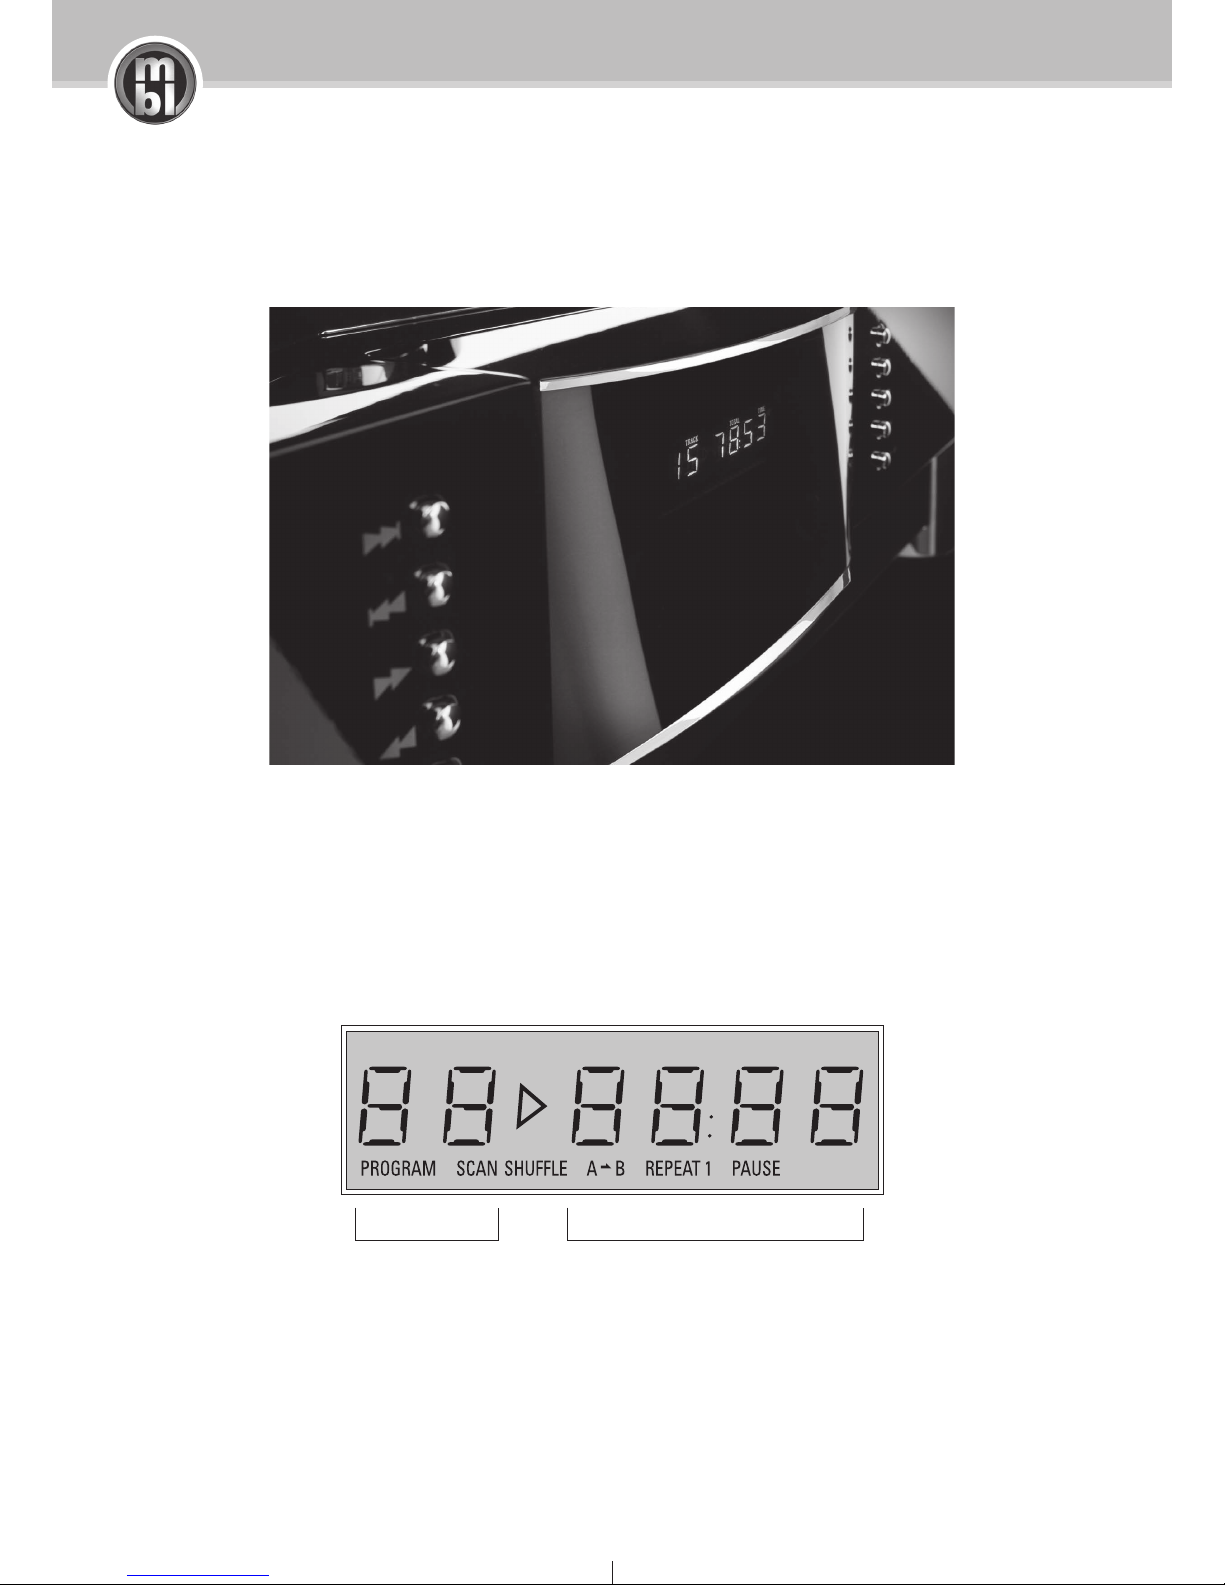
6 Display
7 1. Copyright Notice
7 2. General Precautions
8 3. Operating the Transport
8 a) Connecting the Transport to the Wall Outlet
8 b) Basic Connections
9 4. Basic Functions
9 a) Turning the Power on and Inserting a CD
9 b) Playing a CD
9 c) Pause Playback
10 d) Skipping Tracks
10 e) Locating a Desired Passage
10 f) Repeat Play (single track or CD)
11 g) Stop Playback
11 h) Removing a CD and Turning the Transport o
11 i) Switching the Display o
11 j) The Lid, the Stabilizer ...and Shock
12 5. Remote Control Basic Functions
12 6. Remote Control Advanced Functions
12 a) Numeric Buttons
12 b) Programming
13 c) Program Play
14 d) Program Stop and Deleting Program
14 e) Time Display Modes
14 f) Repeat Playback
15 g) Shue
Page
16 7. Cleaning the Transport
17 8. Troubleshooting
17 a) No power, no display
18 b) The CD fails to rotate, display is on
18 c) The CD is rotating, but no music is heard
18 d) The sound drops out or noise is heard
19 e) The disc stops in mid-operation
19 f) CD is dirty
19 g) Remote control operation is not possible
20 mbl 1621 A Specifications
20 a) General
20 b) Digital Outputs
21 c) CD Mechanism
21 d) Media
unique high end audio
mbl 1621 A
3
mbl 1621 A CD transport
A/C power cord
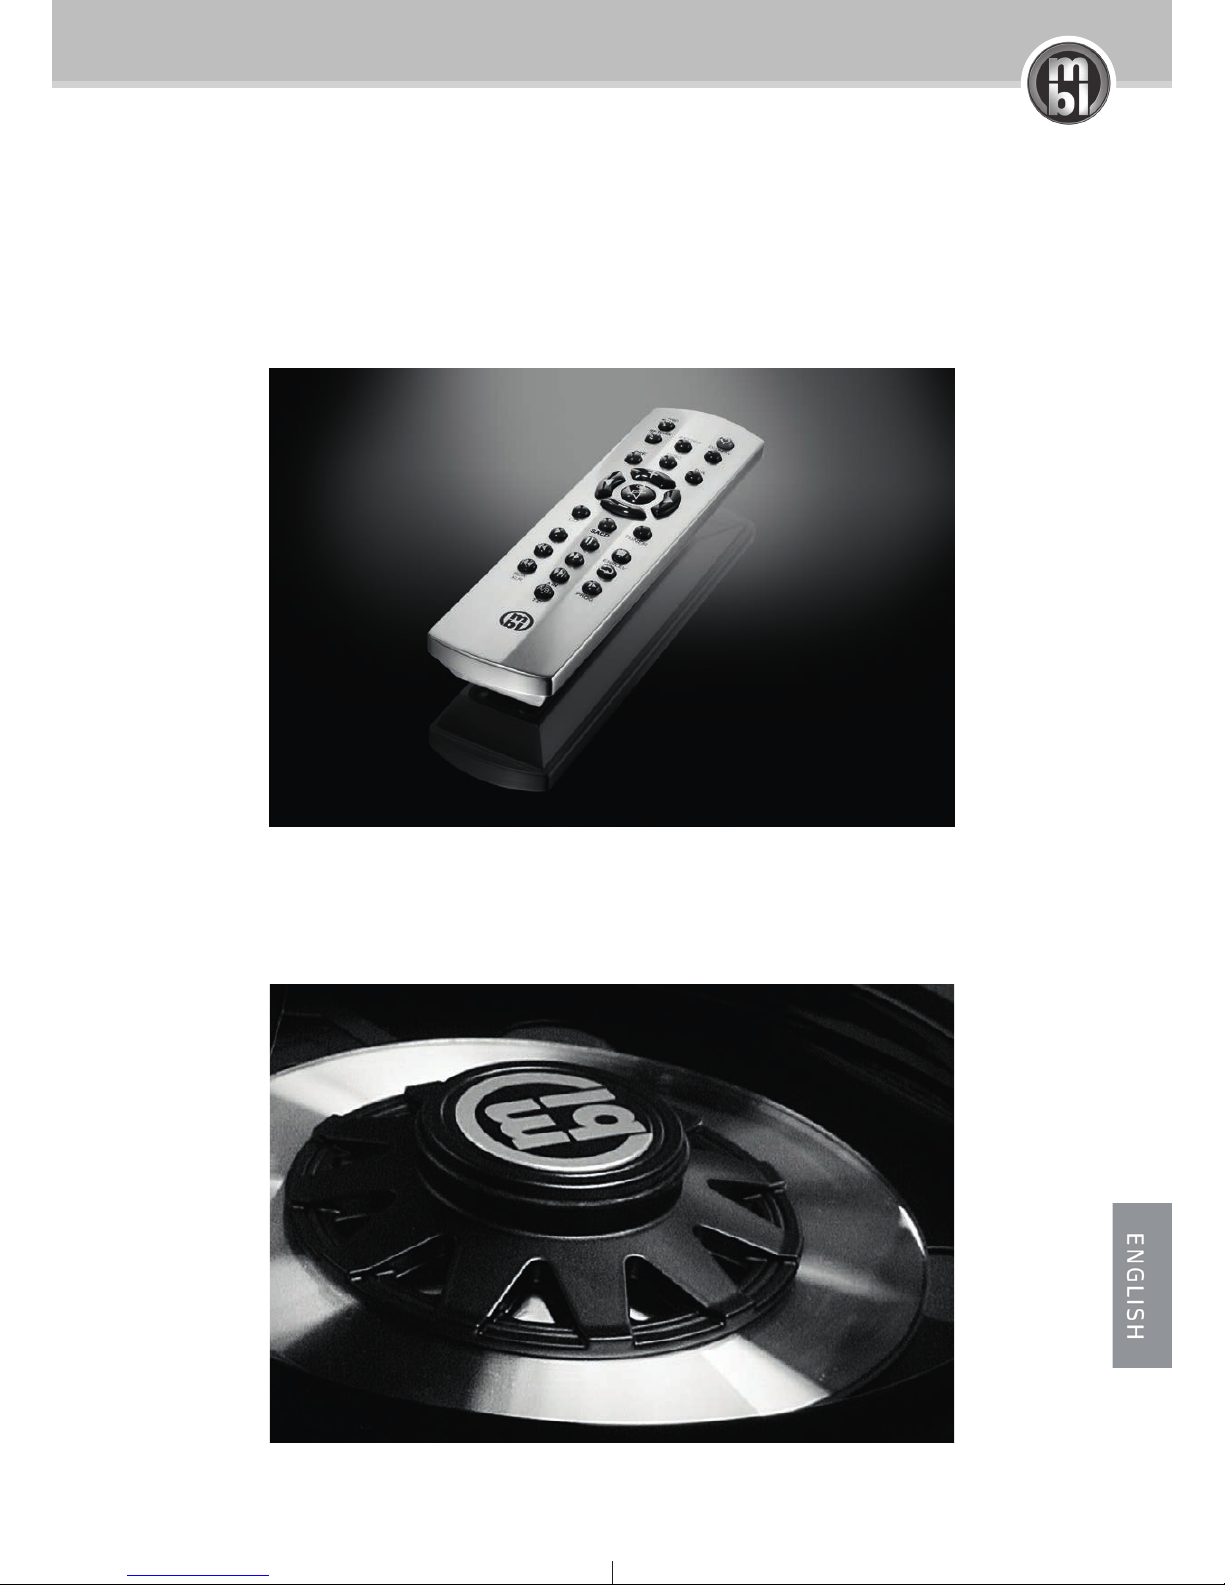
High End Stabilizer
mbl system remote control SFBG 1
(batteries included)
System Remote Control SFBG 1
High End Stabilizer
mbl 1621 A
mbl 1621 A
unique high end audio
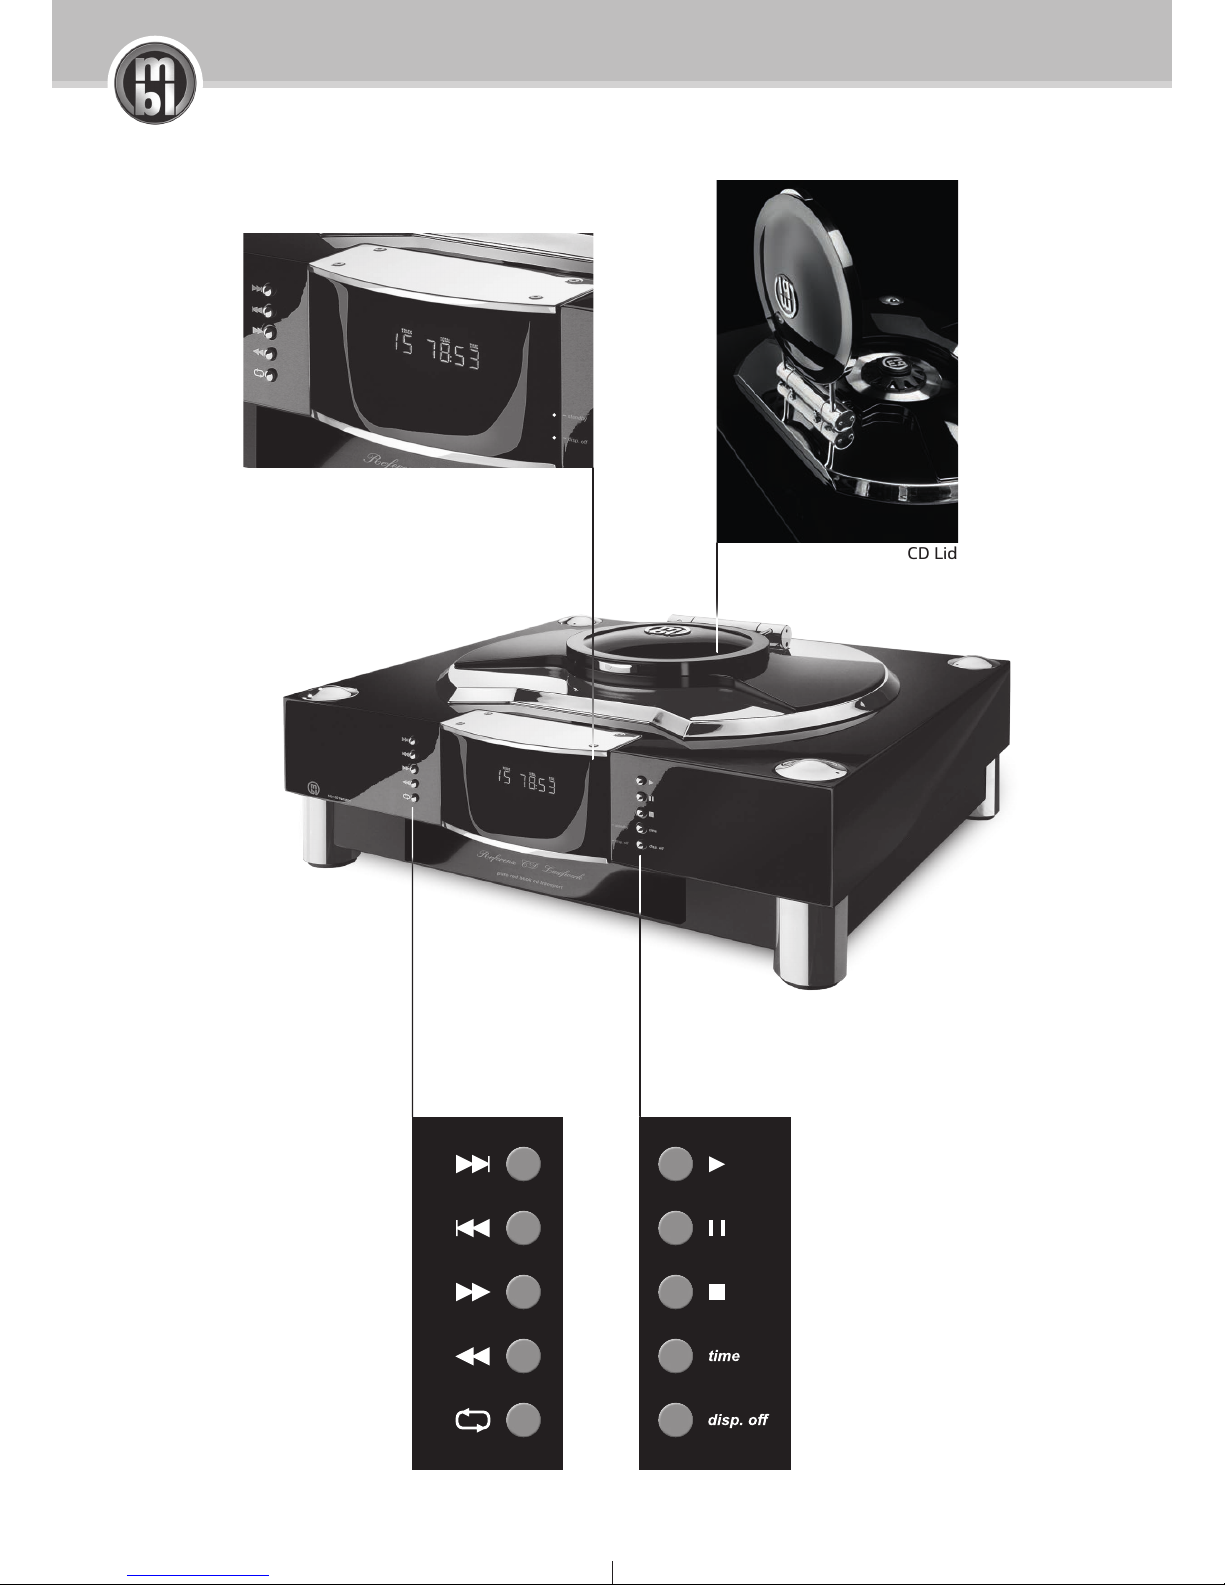
Function keys left
skip forward
skip back
fast forward
fast backward
repeat
Function keys right
play
pause
stop
time
display off
Display
CD Lid
4
Standby LED
Disp.o LED
unique high end audio
mbl 1621 A
fuse holder
power switch
power connector
outputs
Glass ST RCA RCA XLR
(optional)
5
mbl 1621 A
mbl 1621 A
unique high end audio
Title Time
TRACK TOTAL REM TIME
6

unique high end audio
mbl 1621 A
7
1. Copyright Notice
Be advised that most discs contain copyright material; these discs are identified by the copyright marking ©, the date and the
name of the copyright owner. Recording and playback of this material may require permission. For additional information, refer
to the following:
- 1956 Copyright Act
- 1958 Dramatic and Musical Performers Act
- 1963 and 1972 Performers Protection Acts
- any subsequent statutory enactments and orders.
2. General Precautions
· The mbl 1621 A CD transport is a reference class component. The best materials and the latest production methods guarantee
that you will enjoy superb music reproduction for many years to come. Therefore, you should take the following precautions
when installing the transport:
· Do not expose the unit to excessive humidity. Do not use it near air conditioners or in bathrooms. Relative humidity during playback or storage should be between 10 and 90 %, provided there is no condensation buildup within the transport itself. Direct exposure to water should be avoided. Water does not only damage the transport, but may pose a sxerious health hazard as well.
· Very high (above 40° C) or low (below 10° C) temperature may cause the transport to malfunction or suer damage. Do not
expose the transport to direct sunlight or place it near a radiator (heater). The maximum temperature during playback is 40° C;
do not use the component at temperatures below 10° C. The transport may be stored at temperatures between -10 and 40° C.
· Condensation: Moisture may form on the lens when the transport is moved from a cold to a warm environment. If moisture
forms inside the transport, it may not operate properly. In this case, do not connect the unit to a power source - wait 3 hours
or longer before operation.
· Do not install the transport in areas with exposure to frequent and severe variations in temperature or humidity. The resulting
condensation buildup may cause damage to the transport.
· Place the transport on a vibration-free surface. Frequent shock may cause malfunctioning or direct damage to the transport.
· The device should not be placed in areas which are exposed to dust, and it should be kept at a distance of at least 2 meters
from appliances that may cause interference, such as fluorescent lamps or engines.
· The surface for the device must be stable, level and even.

mbl 1621 A
mbl 1621 A
unique high end audio
8
3. Operating the Transport
Connecting the Transport to the Wall Outlet
Your transport is equipped with a high-quality toroidal power transformer. It operates at either AC 230 V, 50 Hz or 115 V,
50-60 Hz. We have pre-adjusted the transport to the voltage requirements of the country of purchase.
If you plan to use the component in a country with a dierent voltage, be sure to consult a qualified engineer to adjust the voltage. For safety reasons, the voltage selector has been placed inside the transport itself. It is also necessary to replace the fuse
when selecting a new operating voltage: At 230 V, a 0.5-AT fuse is required, at 115 V, a 1.0 AT fuse is required.
Please note: If you connect the device to a wall outlet and the voltage setting is incorrect, the transport may be seriously damaged. Such damage is not covered by the warranty. A change of voltage by a qualified engineer is equally not covered by the
warranty.
Caution: Disconnect the transport from the wall outlet before opening the cabinet to prevent a serious health risk including loss
of life.
Basic Connections
Your CD transport has been designed for connection to a Digital-Analog-Converter like our mbl 1611 F.
To connect it to a D/A Converter, the mbl 1621 A is equipped with the following connectors (located at the back of the transport):
• one XLR connector (AES/EBU)
• two RCA connectors (SP DIF/AES)
Optional the CD transport can be equipped with a Glass ST connector.
Connect your CD-transport (output) to a suitable D/A-Converter (input) via a suitable cable. Your mbl authorised dealer will help
you choose the right cable for your purpose – do not hesitate to ask about the advantages and disadvantages of certain connector types.
Please note that only corresponding connectors on each side (input/output) may be connected.
Glass fiber cables must not be bent. The ST glass fiber connector is equipped with a bayonet mount. To connect, insert the plug
into the connector and twist it clockwise.
a
b

unique high end audio
mbl 1621 A
9
4. Basic Functions
Turning on the Power and Inserting a CD
If you have properly connected the transport to the D/A-Converter and to the wall outlet,
turn the power on with the power switch. The power switch on the mbl 1621 A is located
on the left side of the rear panel.
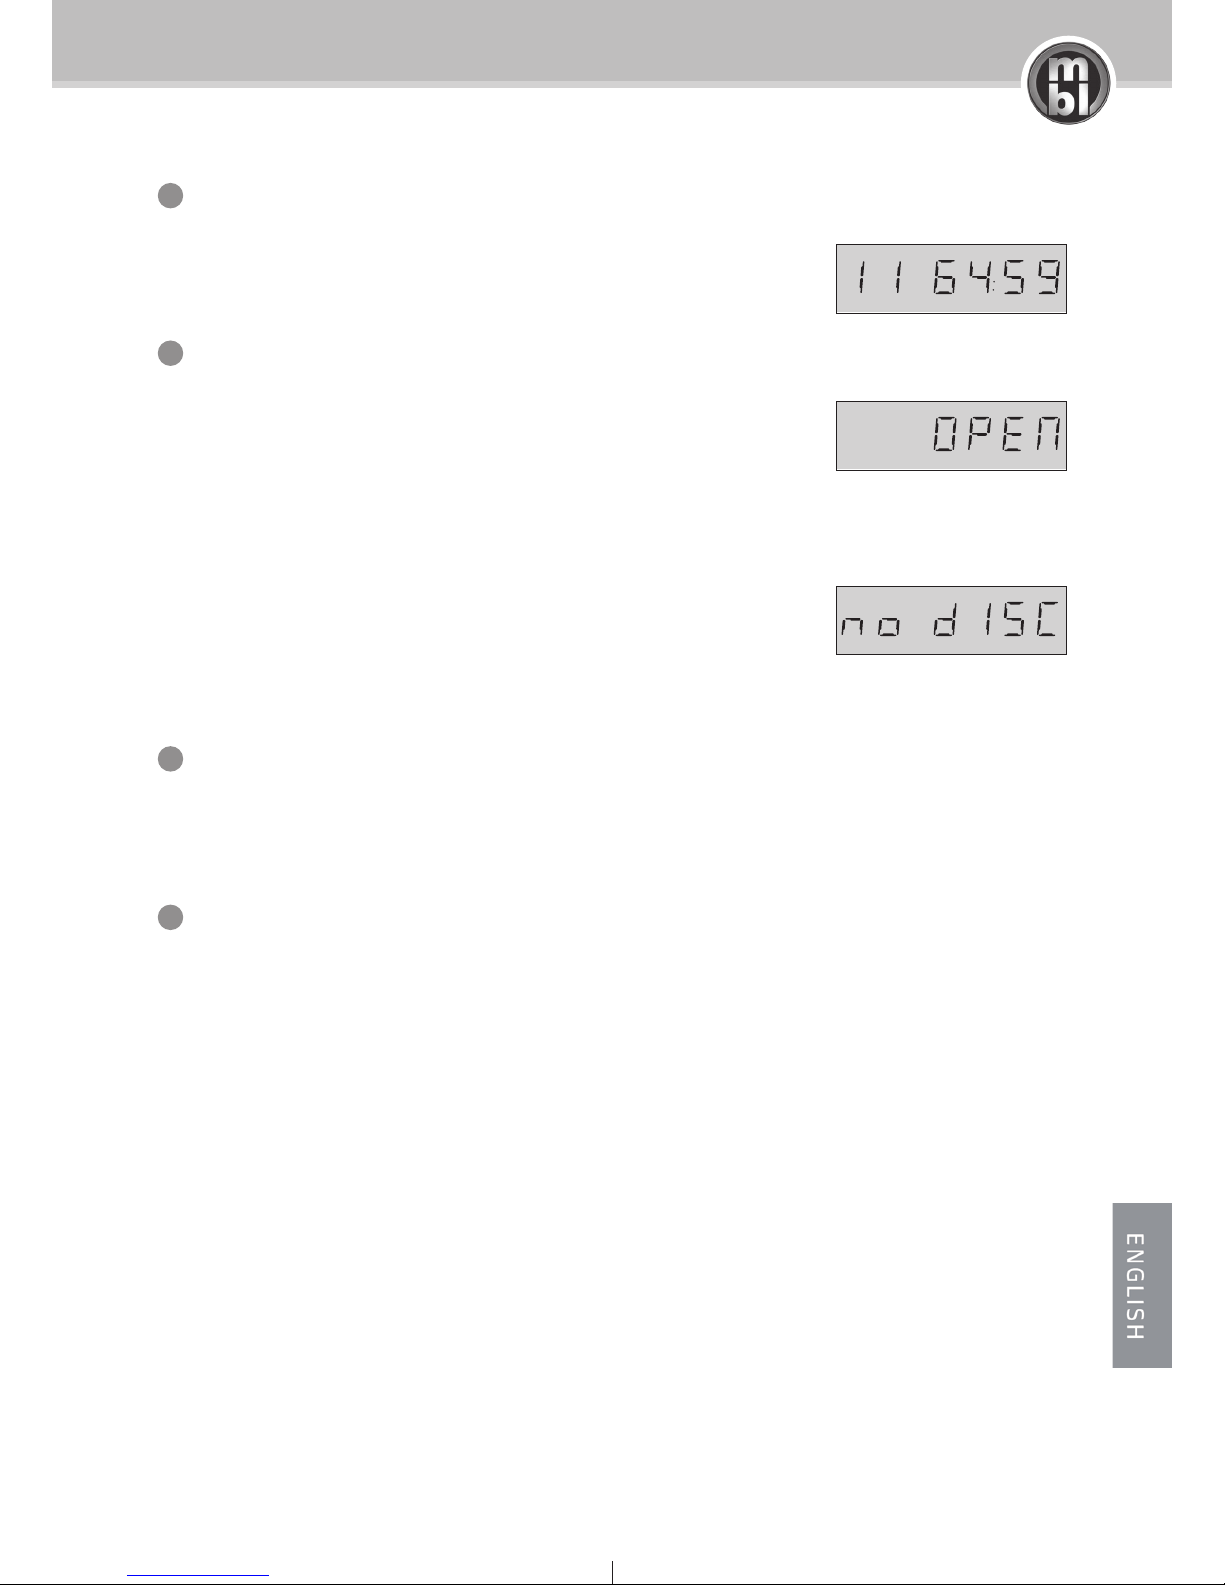
The display will now flash for a few seconds. If no CD is in the transport, the signal “no
disc“ will appear on the display.
To insert a CD open the lid of the transport. The display will now show the word “open“.
Now insert the CD into the transport with its printed surface upwards. The shiny surface,
on which the actual data is stored, must face downwards. Then put on the stabilizer and
close the lid. Note that you cannot play a CD without the stabilizer.
The display will now flash for a few seconds, and then it will show the number of tracks
and the total playing time of the CD.
The CD transport is now ready for playback.
Playing a CD
Press the play button to start playback. After a few seconds, the display will show the
number of the track that is playing, the triangular symbol for playback and the elapsed
playing time of the track.
The transport counts minutes and seconds upwards, beginning with 0:00 of each track.
If you have properly connected the mbl 1621 A CD transport to the other components
of your home stereo system, you will now hear the music. If not, please refer to our
troubleshooting section.
If you press the play button during playback, the current track will restart at the beginning (0:00).
Pause Playback
If you intend to interrupt your listening pleasure for a moment, but want to carry on
from the same position, press the pause button: The time counter stops, and the display
shows “pause“.
To resume playback from the same position, press the pause button again. The transport
returns to the playback mode.
TRACK TOTAL TIME
TRACK TIME
TRACK TIME
no disc inserted
lid open
CD DATA
play
play pressed twice
pause
TRACK TIME
display flashes
a
b
c
mbl 1621 A
mbl 1621 A
unique high end audio
10
Skipping Tracks
To skip one or more CD tracks press the skip forward button once (1 x) for each track you
want to skip until you have reached the desired track.
To skip to any previous track, press the skip back button. Press the button once (1 x) to return to the beginning of the track that is currently playing. To play a previous track, press
the button again once (1 x) for each track to skip back. In both cases, the desired track will
start to play at the beginning. While pressing the skip buttons, you will hear no music.
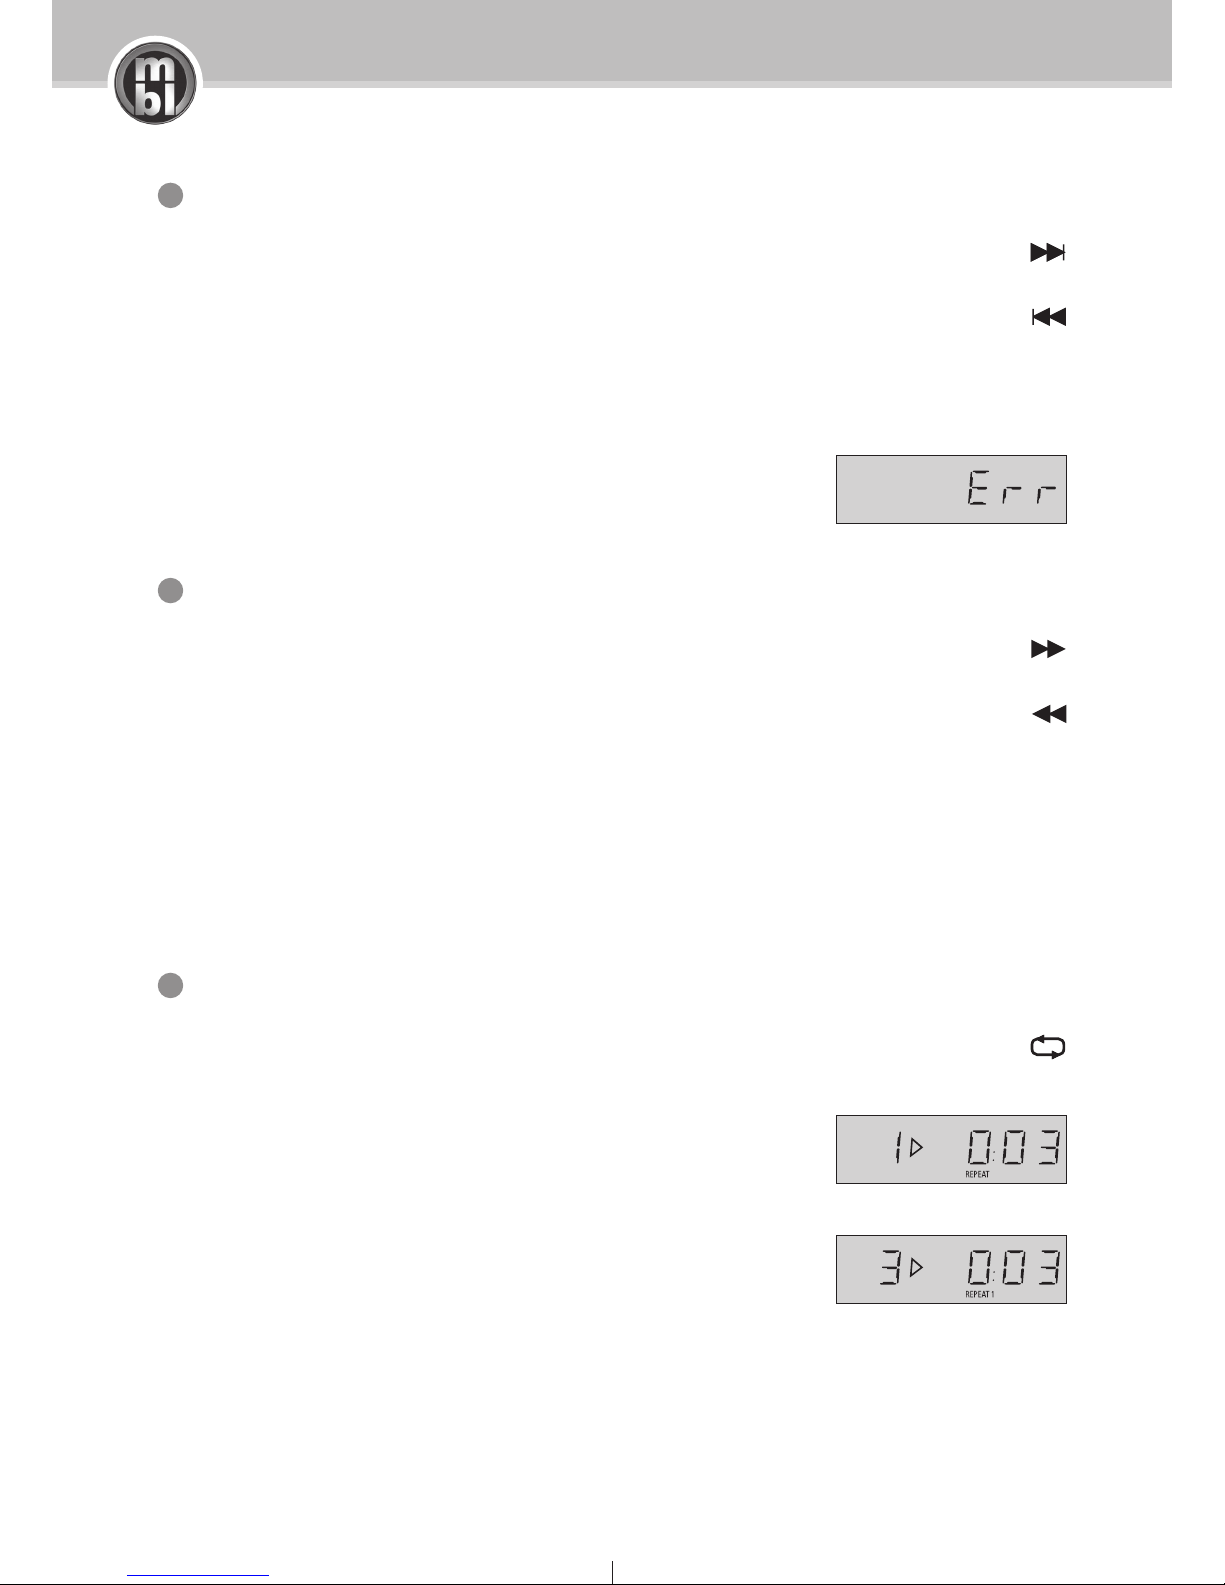
If you specify a track number that does not exist on the CD, or if you have reached the first
track and press skip back again, “Error“ will appear on the display. Note that this is not an
error in the strict sense and in no case a malfunction of the transport.
Locating a Desired Passage
To find a specific passage of a track during playback, you may scan the track by using
either the fast forward or the fast backward button. To find a passage located after the
current position, press (and hold) the fast forward button. To find a passage located before the current position, press (and hold) the fast backward button.
The scanning is carried out at slow speed, if you hold the button for up to 5 seconds;
after that, the scanning is carried out at high speed. You will hear music at both speeds.
During scanning, the display will continue to show the track number and elapsed track
time, which will count upwards or downwards corresponding to the scanning mode and
speed.
Repeat Play (single track or CD)
To continuously repeat the playback of all tracks of a CD, press the repeat button once (1
x) during playback. The display will show “Repeat“.
To repeat the current track, press the repeat button twice (2 x) The display will now show
“Repeat 1“ to specify that only one track (the current one) will be repeated.
Press the repeat button three times (3 x) to cancel the repeat mode and return to normal
playback. The repeat indicator on the display will disappear.
skip forward
skip back
fast forward
repeat
TRACK TIME
TRACK TIME
repeat current track
repeat all
fast backward
Error
d
e
f
unique high end audio
mbl 1621 A
11
Switching the Display o
If you do not want to see the disc data during playback, you can switch o the display by pressing the displ. o („display o“)
button. In this case a blue LED lights up on the display. Pressing the same button again re-activates the display.
The Lid, the Stabilizer ...and Shock
To prevent dust and dirt from entering the transport mechanism you should not leave the lid open for an extended period of
time.
Please take care to re-insert the stabilizer into the transport after each playback to prevent stabilizer loss or damage.
Vibration and shock may aect the playback and cause damage to the transport and the CD.
Stop Playback
To stop the playback, press the stop button. The display will again show the number of
CD tracks and the total playing time.
Removing a CD and Turning the Transport o
If you wish to remove a CD from your mbl 1621 A transport, simply open the lid. If you
open the lid during playback, the transport stops automatically. “Open“ appears on the
display.
First remove the stabilizer and then the disc from the transport. If you wish to insert a
new CD, please remember to apply the stabilizer again. Close the lid.
If you do not insert another CD and close the lid, “no disc“ will appear on the display. Otherwise, the display will show the track number and total playing time of the new CD.
To turn o the transport, press the power button.
no disc inserted
lid open
TRACK TOTAL TIME
CD stop
g
h
i
j

mbl 1621 A
mbl 1621 A
unique high end audio
12
5. Remote Control Basic Functions
You can also control your mbl 1621 A by using the remote control. You can use the following functions without leaving the comfort of your favorite armchair:
• CD playback
• CD stop
• skip forward
• skip back
• fast forward
• rewind
• repeat (single track)
• repeat (CD)
• standby
The function symbols on the remote control are identical to those on the front panel of your transport.
6. Remote Control Advanced Functions
Note: The following functions require a remote control with a numeric keypad.
Numeric Buttons
The 10 numeric buttons on the remote control enable you to choose individual titles on your CD directly. For track numbers 1–9,
simply press the corresponding button and then press play for the playback to start.
For tracks with a number higher than 9, press the button for the first digit and then for the second. If the CD does not include
the track number you have specified, “Error“ will appear on the display.
Example: If you want to play track “14“ on your CD, press the “1“ first and then the „4“. Press play to start the track.
Programming
Apart from playing the complete CD or any number of its tracks in their chronological order, the program function allows you
to program a playback order for you Audio CD in a desired sequence. This can be done by entering track numbers in the order
desired.
Note: The transport must be in stop mode for programming.
a
b
unique high end audio
mbl 1621 A
13
The order of programming is identical to the order of playback. Note that when you delete a track from the middle of the program and enter a new one, it will be played at the end of the program.
Example: If you want to play track 6, 3, 1, 8 and 12 in that order, use the numeric buttons on your remote control and enter “6“.
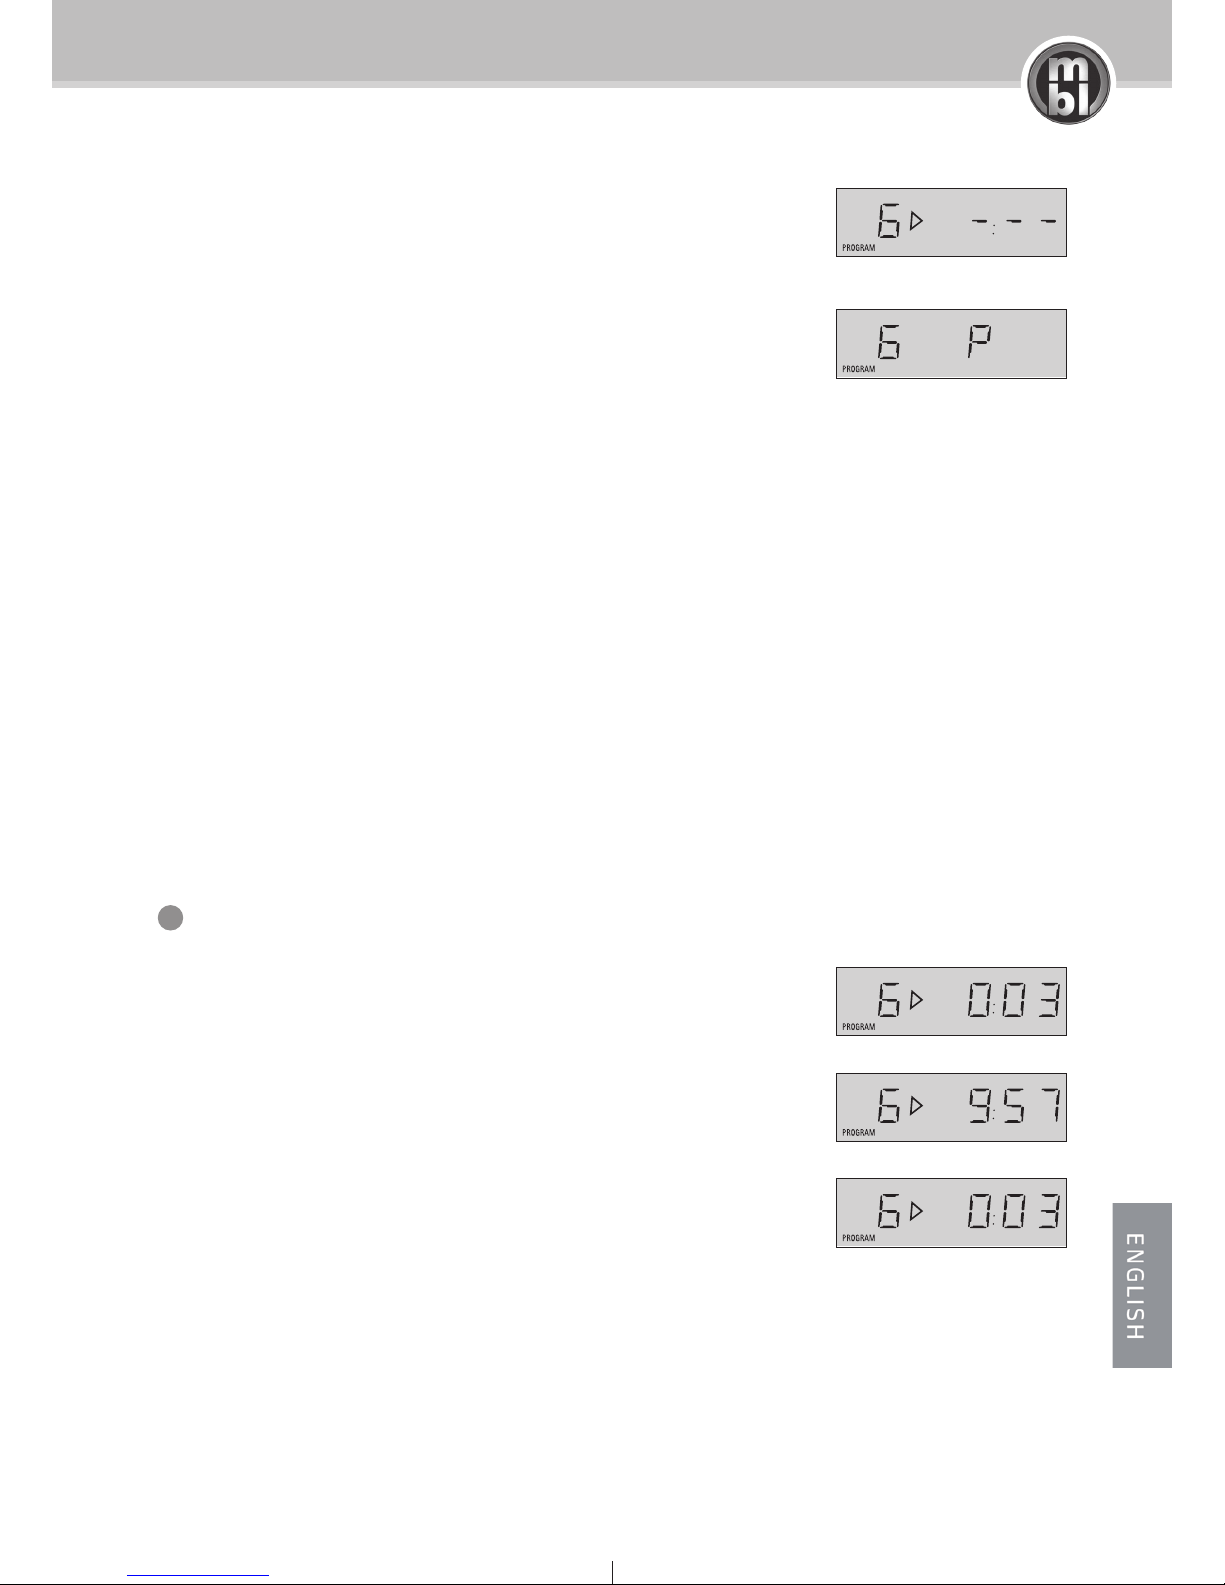
After that, press “Prog“ immediately. The display will show the number of the track and the message “Program“.
Now enter the next track by pressing the button for “3“ on your remote control, and then “Prog“. “3“ and “Program“ will appear
on the display.
After that, press “1“ and “Prog“, then “8“ and “Prog“, and finally “1“ and “2“ and “Prog“ for the remaining tracks in your program.
If you have accidentally pressed “5“ while trying to enter “1“ and “2“ (for track 12), press “5“ again and then “Prog“ to delete the
track from the program. You may now continue by entering “1“, “2“ and then “Prog“ for track 12.
To complete programming, press „Prog“ again. The display will now show the number of programmed tracks in the order of
playback.
Simply press the corresponding button on the remote control for the track you want to
listen to, then press the “Prog“ (short for “program“) button. After you have entered the
last track, press “Prog“ again to confirm the program.
If you have accidentally entered the wrong track and want to delete it, enter the track
number again, then press “Prog“. The track has now been deleted from the program.
Please note: You can only enter the same title once, within one given program.
track 6 programmed
deleting a track
TRACK TOTAL TIME
TRACK
Program Play
To start the playback of a confirmed program, press the play button.
During the play mode, the display will show only the number of the current track.
After pressing the “time“ button on your remote control once (1 x), the display will show
the total remaining time (note the “REM“ for “remaining“ on the display) of the program.
By pressing the “time“ button again, you will see the elapsed time of the current track.
During the program playback, titles can be skipped by pressing the skip forward and skip
back buttons, just as you do during normal playback.
TRACK TIME
TRACK TOTAL REM TIME
TRACK TIME
program play
1x time
2x time
c
mbl 1621 A
mbl 1621 A
unique high end audio
14
Program Stop and Deleting Program
If you want to interrupt the program playback, press the stop button once (1 x). You may now change the program by adding or
deleting tracks. After that, you may re-start the program by pressing the play button.
To end the program playback, press the stop button twice (2 x).
Attention: Pressing the stop button twice will delete the program.
Time Display Modes
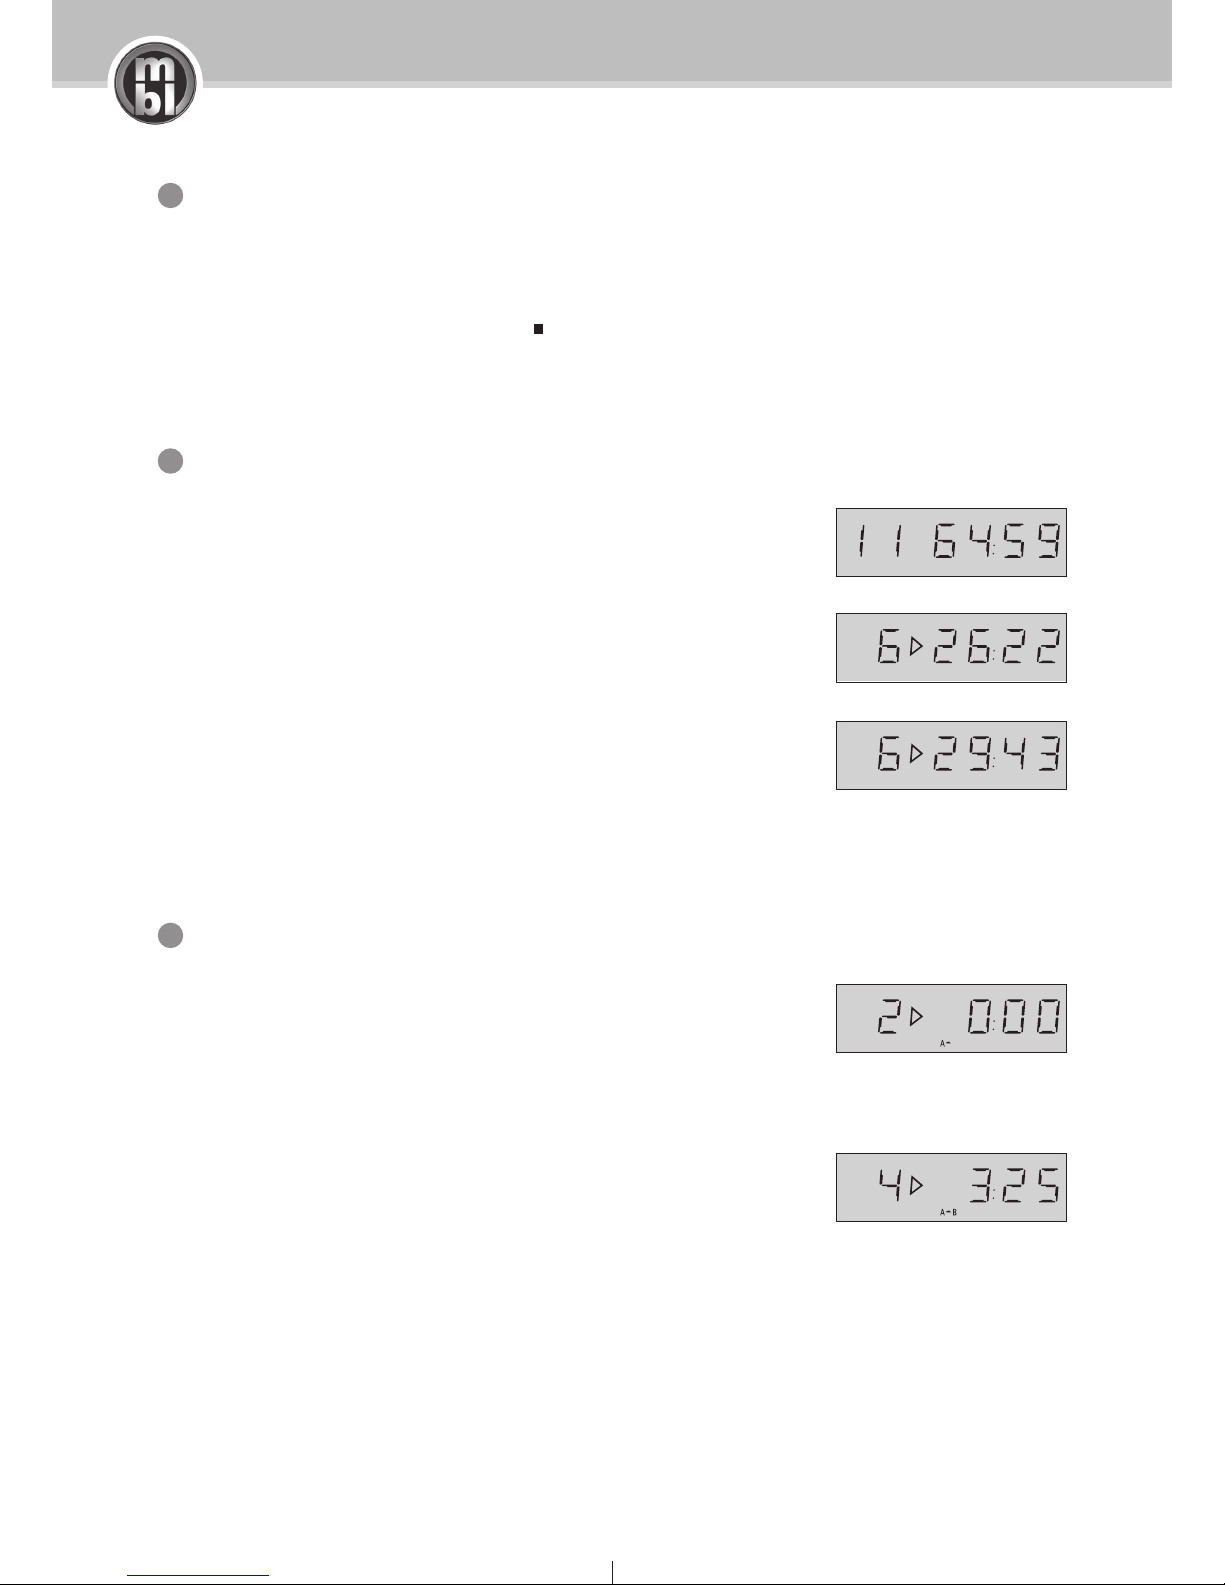
In the stop mode, the display shows the number of tracks on the CD as well as the total
playing time. During normal playback, the number of the current track and the elapsed
time for this track will appear.
You can change the time display mode by pressing the “time“ or “OSD” button on your
remote control. After pressing the button once (1 x), the display will show the total
elapsed time of your CD.
By pressing the “time“ or “OSD” button twice (2 x), you will see the total remaining time
on your CD. “REM“ can be seen on the display. The time counter will now count down the
remaining minutes and seconds.
Note that the mbl 1621 A has an additional time button installed on its front panel. The
functioning is identical to the on the remote control unit.
A → B Repeat Playback
By using the “A/B“ button on the remote control, you can identify passages for repeat
playback.
Note: This button only works during playback.
After having entered the beginning and the end of a passage, the transport will begin to
repeat that same passage over and over.
The display will show “A→ “ for the beginning and “A→B“ for the end of the marked
passage.
TRACK TOTAL TIME
TRACK TOTAL TIME
TRACK TOTAL REM TIME
TRACK TIME
TRACK TIME
total playing time
elapsed time
remaining time
passage start
passage end
d
e
f
 Loading...