

Page 1
IMPORTANT SAFETY INSTRUCTIONS
To reduce the risk of fire, electric shock, or injury when using your freezer, follow these basic precautions:
WARNING:
Plug into a grounded 3 prong outlet.
Do not remove ground prong.
Do not use an adapter.
Do not use an extension cord.
Disconnect power before servicing.
Replace all parts and panels before operating.
Use nonflammable cleaner.
Keep flammable materials and vapors, such as gasoline, away
from freezer.
Use two or more people to move and install freezer.
Keep key away from children.
Remove doors or lid from your old freezer or refrigerator.
Disconnect power before installing ice maker (on ice maker kit
ready models only).
SAVE THESE INSTRUCTIONS
State of California Proposition 65 Warnings:
WARNING: This product contains one or more chemicals known to the State of California to cause cancer.
WARNING: This product contains one or more chemicals known to the State of California to cause birth defects or other reproductive harm.
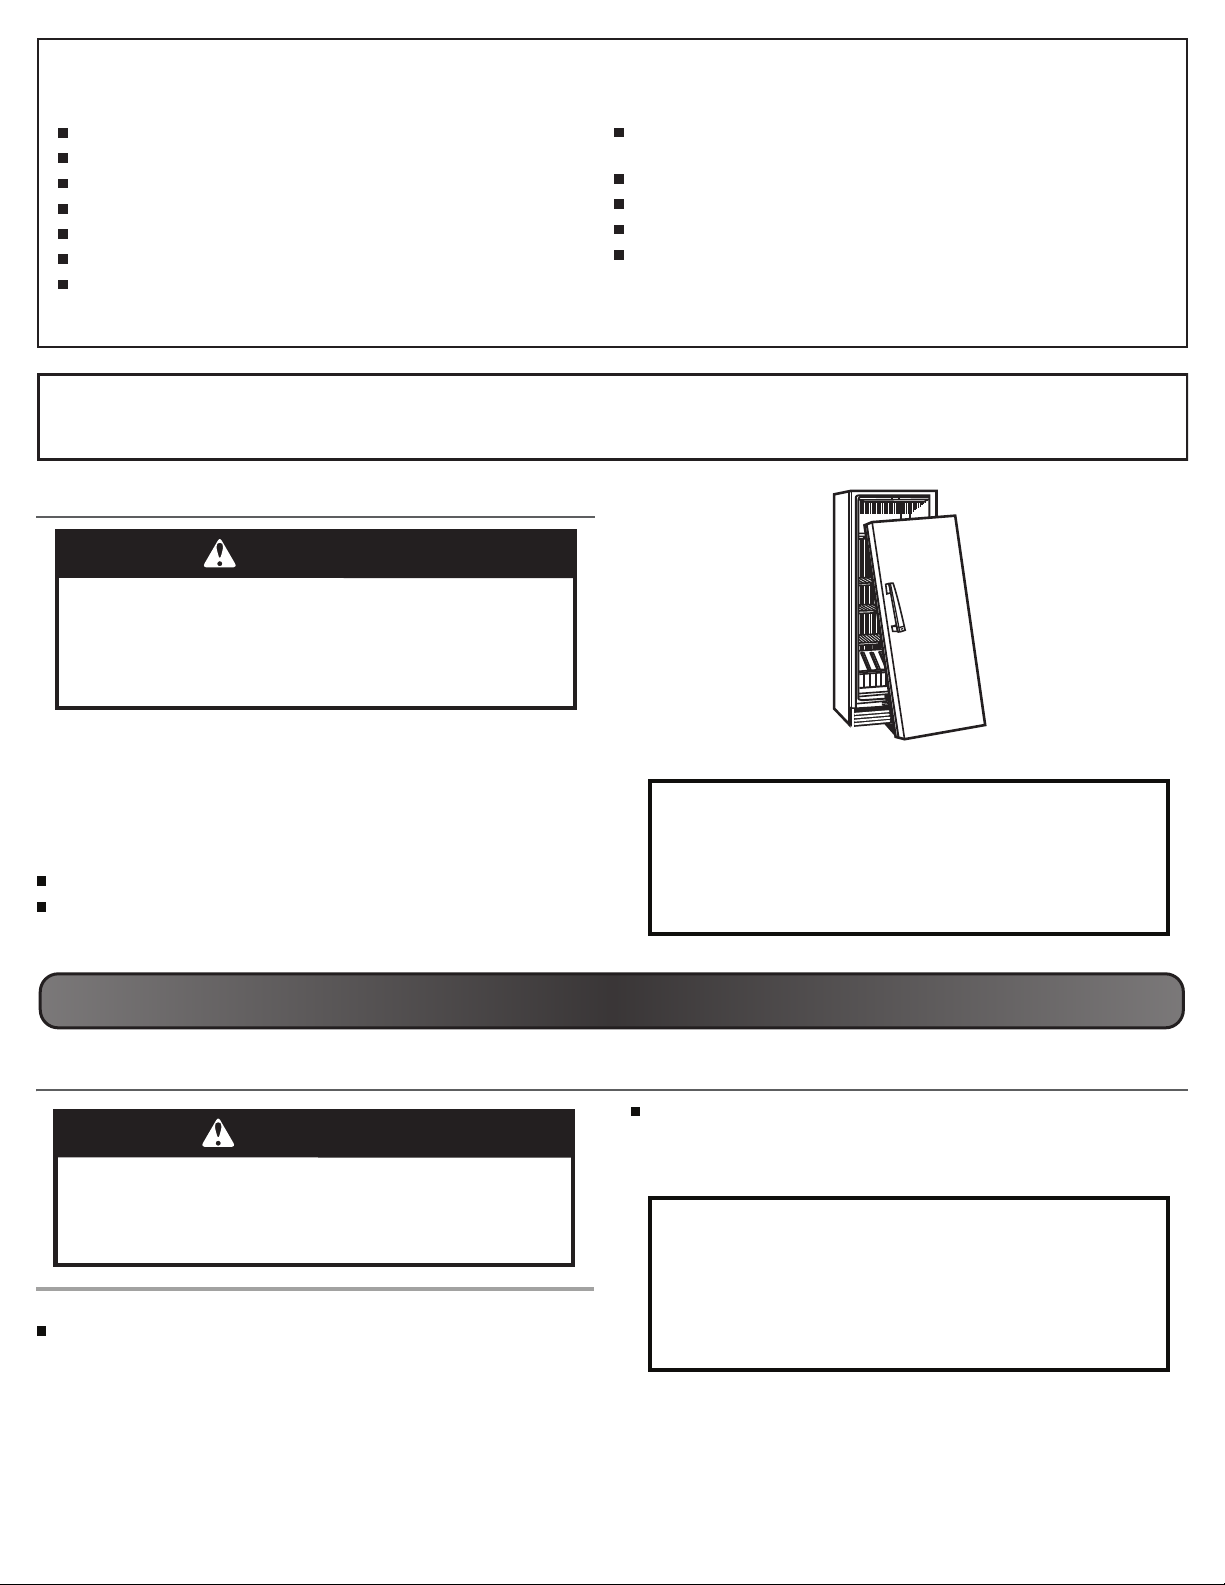
PROPER DISPOSAL OF YOUR OLD FREEZER OR REFRIGERATOR
WARNING
Suffocation Hazard
Remove doors or lid from your old freezer or
refrigerator.
Failure to do so can result in death or brain damage.
IMPORTANT: Child entrapment and suffocation are not problems
of the past. Junked or abandoned freezers or refrigerators are still
dangerous — even if they will sit for “just a few days.” If you are
getting rid of your old refrigerator or freezer, please follow these
instructions to help prevent accidents.
Before You Throw Away Your Old Freezer or Refrigerator:
Take off the doors or lid.
Leave the shelves in place so that children may not easily climb
inside.
INSTALLING YOUR FREEZER
Unpacking
WARNING
Excessive Weight Hazard
Use two or more people to move and install freezer.
Failure to do so can result in back or other injury.
Remove Packaging Materials
Remove tape and glue residue from surfaces before turning on the
freezer. Rub a small amount of liquid dish soap over the adhesive
with your fingers. Wipe with warm water and dry.
Important information to know about disposal of
refrigerants:
Dispose of freezer in accordance with Federal and Local
regulations. Refrigerants must be evacuated by a licensed,
EPA certified refrigerant technician in accordance with
established procedures.
Do not use sharp instruments, rubbing alcohol, flammable fluids, or
abrasive cleaners to remove tape or glue. These products can
damage the surface of your freezer. For more information, see
“Safety.”
When Moving Your Freezer:
Your freezer is heavy. When moving the freezer for
cleaning or service, be sure to cover the floor with cardboard
or hardboard to avoid floor damage. Always pull the freezer
straight out when moving it. Do not wiggle or “walk” the
freezer when trying to move it, as floor damage could occur.
2
Page 2
Clean Before Using
After you remove all of the packaging materials, clean the inside of your
freezer before using it. See the cleaning instructions in “Caring for Your
Freezer.”
Important information to know about glass shelves
and covers:
Do not clean glass shelves or covers with warm water when
they are cold. Shelves and covers may break if exposed to
sudden temperature changes or impact, such as bumping.
Tempered glass is designed to shatter into many small,
pebble-size pieces. This is normal. Glass shelves and covers
are heavy. Use both hands when removing them to avoid
dropping.
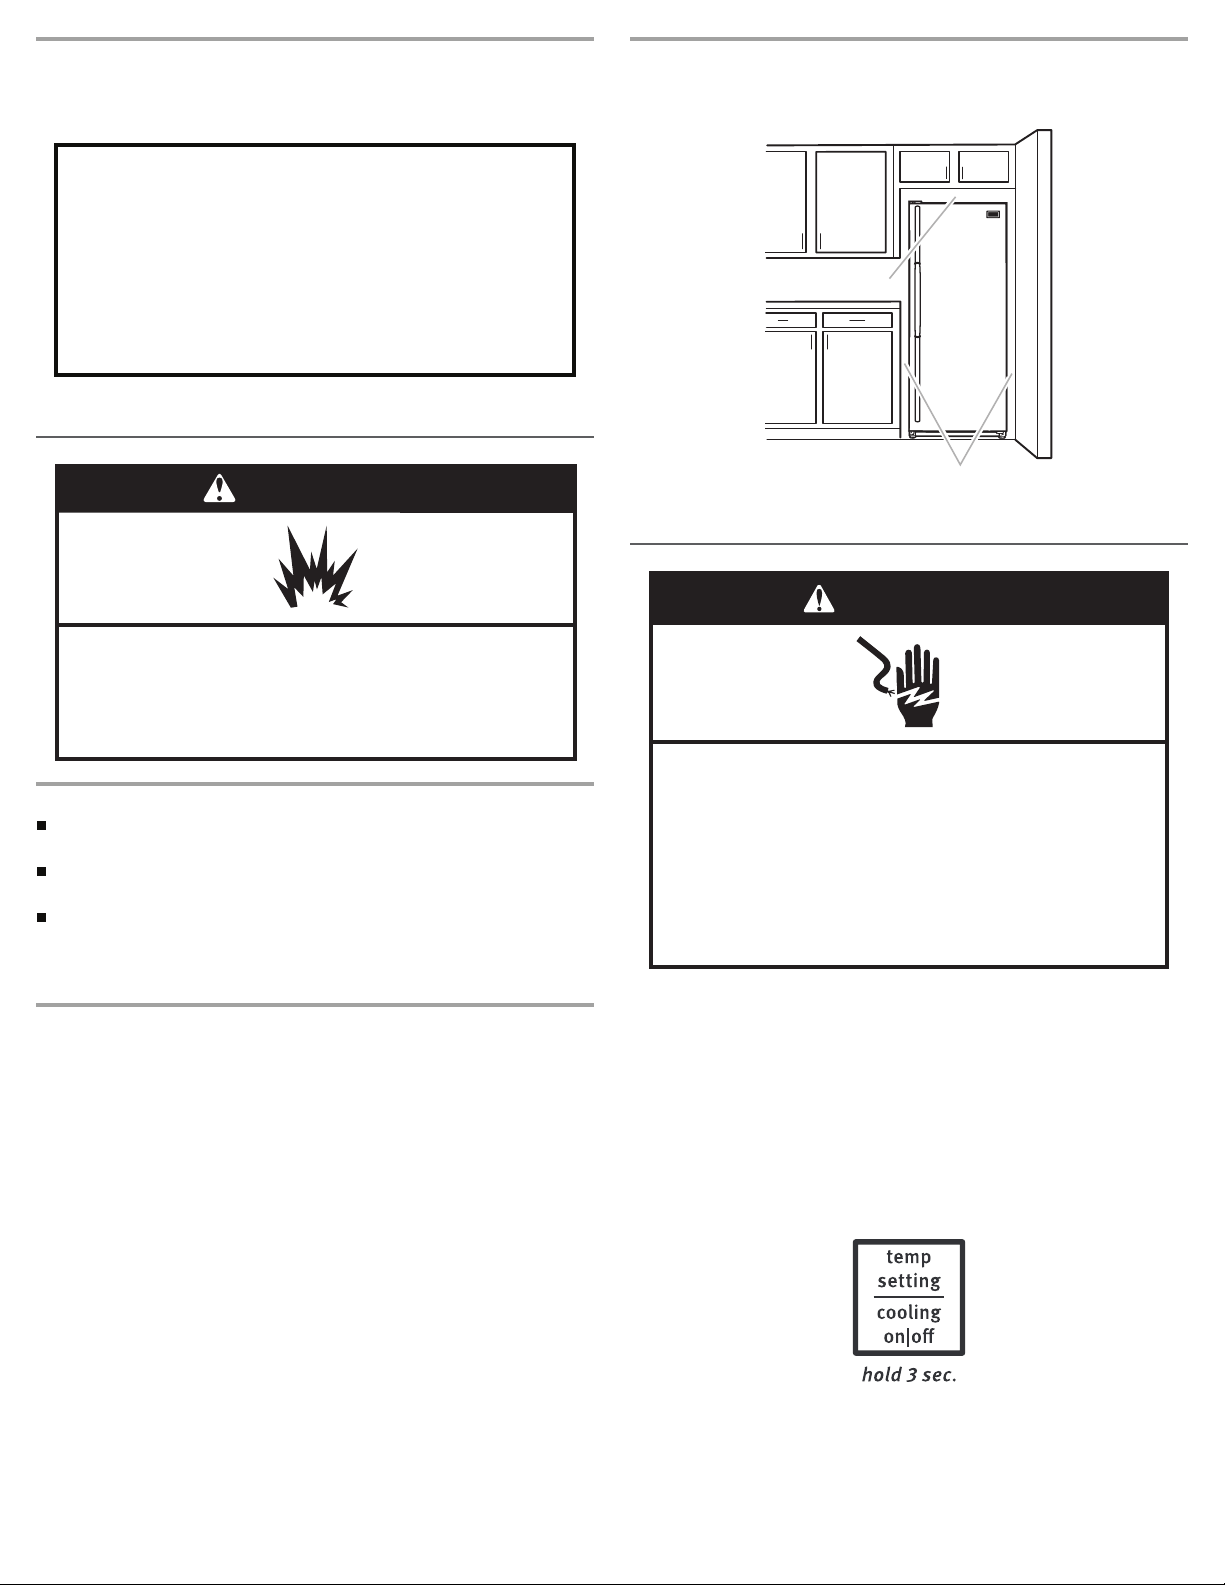
Location Requirements
WARNING
Upon Moving to Final Location
NOTE: Allow for a 3" (7.5 cm) clearance at the top and sides and a ¹⁄₄"
(6.4 mm) clearance between the appliances.
3" (7.5 cm)
3" (7.5 cm)
Electrical Requirements
WARNING
Explosion Hazard
Keep flammable materials and vapors, such as
gasoline, away from freezer.
Failure to do so can result in death, explosion, or fire.
Ventilation and Clearance
Keep flammable materials and vapors, such as gasoline, away from
freezer.
Do not cover the freezer with items such as blankets, sheets,
tablecloths, etc. This reduces air circulation.
Allow at least 3" (7.5 cm) of air space at the top and on both sides
of the freezer and 1" (2.5 cm) between the back of the freezer and
the wall. If the freezer is to be next to a fixed wall, leave extra space
on the hinge side so the door can open wider.
Temperature
Your freezer operates most efficiently when located in an area where
the temperature will not fall below 40°F (5°C). Place your freezer in a
location where the temperature will not fall below this recommended
temperature.
Electrical Shock Hazard
Plug into a grounded 3 prong outlet.
Do not remove ground prong.
Do not use an adapter.
Do not use an extension cord.
Failure to follow these instructions can result in death,
fire, or electrical shock.
Before you move your freezer into its final location, it is important to
make sure you have the proper electrical connection.
Recommended Grounding Method
A 115 Volt, 60 Hz., AC only, 15- or 20-amp fused, grounded electrical
supply is required. It is recommended that a separate circuit serving
only your freezer be provided. Use an outlet that cannot be turned off
by a switch. Do not use an extension cord.
NOTE: Before performing any type of installation, cleaning, or removing
t bulb, press and hold TEMP SETTING for 3 seconds to turn off
a ligh
cooling, and then disconnect the freezer from the electrical source.
3
Page 3

Freezer Door
Tools Needed: ⁵⁄₁₆" hex-head socket wrench, ³⁄₈" hex-head socket
wrench, flat 2" putty knife.
IMPORTANT:
All graphics referenced in the following instructions are included
later in this section after “Final Steps.” The graphics shown are for a
right-hand swing door (hinges factory installed on the right).
If you only want to remove and replace the door, see the “Remove
Door and Hinges” and “Replace Door and Hinges.”
Before you begin, press and hold TEMP SETTING for 3 seconds to
turn off cooling, and remove food and adjustable door or utility bins
from door.
Remove Door and Hinges
Hinge screws
1. Unplug freezer or disconnect power.
2. Keep the freezer door closed until you are ready to lift it free from
the cabinet.
NOTE: Provide additional support for the door while the hinges are
being moved. Do not depend on the door magnets to hold the door
in place while you are working.
3. Remove the parts for the top hinge as shown in Top Hinge graphic.
4. Lift the freezer door free from the bottom hinge and cabinet and set
aside.
5. Remove the four hex-hea
assembly. See Bottom Hinge graphic.
d hinge screws and bottom hinge
Door
1. Remove the hinge hole plug from the top of the door.
2. Remove the door stop from the bottom of the door.
3. Move the door stop to the opposite side making sure that the hole
in the door stop bracket is aligned perfectly with the hole in the
door for the bottom hinge pin.
4. Using
5. Tighten all screws. Set aside the door until the bottom hinge is in
the screws removed in Step 2, fasten the door stop bracket
to the bottom of the door.
place.
Replace Door and Hinges
NOTE: Graphic may be reversed if door swing is reversed.
1. Replace the parts for the bottom hinge as shown and tighten
screws. See Bottom Hinge graphic. Replace the freezer door.
NOTE: Provide additional support for the door while the hinges are
being moved. Do not depend on the door magnets to hold the door
in place while you are working.
2. Assemble the parts of the top hinge as shown in the Top Hinge
graphic. Do not tighten the screws completely.
Final Steps
1. Check all holes to make sure that hole plugs and screws are in
place. Reinstall top hinge cover. See Top Hinge graphic.
2. Using the provided decals, cover the remaining holes located on
the side opposite the bottom hinge.
WARNING
Reverse Door (optional on some models)
IMPORTANT: If you want to reverse your door so that it opens in the
opposite direction, continue with “Reverse Door (optional on some
models)” instructions. If you are not reversing the door, see “Replace
Door and Hinges.”
Cabinet
1. Remove the cabinet hinge hole plugs from the cabinet top and
move them to the opposite side hinge holes as shown in
Graphic 2.
2. Remove the bottom hinge pin from the hinge bracket.
3. Remove the decals covering the holes on the opposite side of the
bottom h
4. Reinstall the bottom hinge pin in the alternate hole in the hinge
bracket. See Graphic 3.
5. Reinstall the hinge bracket to the cabinet with the four hex-head
hinge screws.
inge.
Electrical Shock Hazard
Plug into a grounded 3 prong outlet.
Do not remove ground prong.
Do not use an adapter.
Do not use an extension cord.
Failure to follow these instructions can result in death,
fire, or electrical shock.
3. Plug into a grounded 3 prong outlet.
4. Reset the control. See “Using the Control.”
5. Return all removable door parts to door and food to freezer.
4
Page 4

A. Cabinet Hinge Hole Plugs
A
Door Removal &
A. Top Hinge Cover
B.
5
/16"
Hex-Head Hinge Screws
C. Top Hinge
A
B
B
C
A. Hinge Pin
B.
3
/8"
Hex-Head Hinge Screws
A
B
A. Hinge Pin
B.
3
/8"
Hex-Head Hinge Screws
A
B
Replacement
Door Swing Reversal (optional)
Top Hinge
Bottom Hinge
2
3
Freezer Leveling and Door Closing
Style 1—Without Grille
1. Locate the two front leveling legs taped among the packing
materials.
2. Screw these legs into the front holes on the bottom of the freezer.
The back of the freezer rests on two fixed supports.
3. Adjust the front legs enough to lift the cabinet up off the floor.
4. Place a leveling tool on top of the freezer first side to side, then
front to back. Turn leg count
clockwise to lower a corner.
5. Repeat Step
6. After freezer is fully loaded with food, recheck with level as in
4 until freezer is level.
Step 4.
erclockwise to raise a corner. Turn leg
Style 2—With Grille
Your freezer has two front adjustable legs — one on each side.
The back of the freezer rests on two fixed rollers. The base grille covers
the adjustable brake feet and roller assemblies located at the bottom of
the freezer below the freezer door. Before making any adjustments,
remove the base grille and move the freezer to its final location.
Tools Needed: ¹⁄₄" hex driver, Phillips head screwdriver
1. Remove the base grille screws. Grasp the grille firmly and pull it
toward you. Open the freezer door to access the brake feet.
NOTE: To allow the freezer to roll more easily, raise the brake feet
by turning them counterclockwise. The front rollers will be touching
the floor.
5
 Loading...