

Maytag 120-volt 60-Hz Installation Manual
Write down the modeland serial numbers before installing washer.
Both numbersare listed on themodel/serial rating plate located
under the lid.
Model# _______________________________
Serial #_______________________________
Date of Purchase _______________________
Prendrenote des numérosdemodèleetdesérie avant d'installer
la laveuse.
Les deux numéros sont indiqués surla plaquesignalétique sous
le couvercle.
Numéro de modèle_______________________________
Numéro de série_________________________________
Date d’achat____________________________________
W10135312B
www.maytagcommerciallaundry.com
INSTALLATION INSTRUCTIONS
COMMERCIAL WASHER
120-volt, 60-Hz Models
INSTRUCTIONS D’INSTALLATION DE LA
LA VEUSE COMMERCIALE
Modèles 120V,60Hz
2
You can be killed or seriously injured if you don't immediately
You can be killedor seriously injured if you don't
follow
Allsafetymessages will tell you what the potential hazardis, tell you how to reducethe chanceofinjury, and tell youwhat can
happenifthe instructions are not followed.
Your safetyand the safetyofothers are very important.
We haveprovided many important safety messages in this manual and on your appliance. Always read and obey all safety
messages.
This is thesafety alert symbol.
This symbol alerts youto potential hazards that cankill or hurt you and others.
Allsafetymessages will follow thesafety alertsymbol and either the word “DANGER” or “WARNING.”
These words mean:
followinstructions.
instructions.
DANGER
WARNING
TableofContents
WASHER SAFETY ........................................................................ 2
INSTALLATION REQUIREMENTS .............................................. 3
Tools and Parts ...........................................................................3
Location Requirements.............................................................. 3
Drain System.............................................................................. 4
ElectricalRequirements ............................................................ 5
INSTALLATION INSTRUCTIONS ............................................ 6
Remove Shipping Strap ............................................................6
Connect the Hoses ....................................................................6
Levelthe Washer ...................................................................... 7
Complete Installation ................................................................8
ELECTRONIC CONTROLS SETUP ..........................................10
WARRANTY ................................................................................14
Table des matières
SÉCURITÉ DE LA LAVEUSE .................................................... 15
EXIGENCESD’INSTALLATION ................................................ 16
Outillage et pièces ..................................................................16
Exigences d’emplacement ...................................................... 16
Systèmedevidange ................................................................17
Spécifications électriques........................................................ 18
INSTRUCTIONS D’INSTALLATION........................................ 19
Enleverlasangled'expédition ................................................ 19
Raccordement des tuyaux ......................................................19
Réglage de l’aplombdela laveuse ........................................ 20
Achever l’installation ................................................................21
RÉGLAGE DE LA COMMANDE ÉLECTRONIQUE..................23
GARANTIE....................................................................................27
WASHER SAFETY
3
Location Requirements
IMPORTANT : Do not installorstore the washer whereit will be
exposed to the weather.Donot storeor operate the washerin
temperaturesator below 32°F(0°C). Some water can remainin
the washer and can cause damage in low temperatures.
Proper installation is your responsibility.
INSTALLATION REQUIREMENTS
Toolsand Parts
Gather the required tools and parts before starting installation.
Toolsneeded
Level
Utility knife
Scissors
8" or 10" adjustable wrench
Flat-bladescrewdriver
Pliers
Bucket
Partssupplied
Remove parts bag from washer .Check that all parts were
included.
1 hose clamp
2 inlet hoses
4flat waterhosewashers
2front-leveling legs with nuts
1drain hose
Youwill need:
Awater heaterset to deliver 120°F(49°C) water to the washer.
Agrounded electrical outlet located within 4ft (1.2 m) of where
the power cord is attached to thebackof the washer.
See“Electrical Requirements.”
Hot and cold water faucets located within 4ft(1.2m)ofthe
backof the washer, and providewater pressure of 10-100 psi
(69-690kPa). Apressurereduction valve should be used in
the supply line whereinlet pressure entering the building
exceeds 100 psi (690 kPa) to prevent damage to the washer
mixing valve.
Alevel floor with amaximum slopeof1"(25 mm) under entire
washer.
Asturdyfloor to support the washer weight (washer, water,
and load) of 315lbs (143 kgs).
A 12" (300 mm)minimum risertoprovide an air cushionand
prevent noise and damage to valves forasingle washer
installation.
Afloor drain should be provided under the bulkhead.
Prefabricated bulkheads with electrical outlets, water supply
lines and drain facilities should be used only where local
codes permit.
NOTE: Front access to the pumpareais available by removing
2No. T20 TORX
®
†
security screwsand then removing the front
panel.
®TORXisaregistered trademark of AcumentIntellectual Properties, LLC.
IMPORTANT SAFETY INSTRUCTIONS
SAVE THESE INSTRUCTIONS
Read all instructions beforeusing the washer.
Do not washarticles that have been previously cleaned
in, washed in, soaked in, or spotted with gasoline,
dry-cleaning solvents, other flammable, or explosive
substances as they giveoff vapors that could igniteor
explode.
Do notadd gasoline, dry-cleaning solvents, or other
flammable, or explosive substances to the wash water.
Thesesubstances giveoff vaporsthat could igniteor
explode.
Under certain conditions,hydrogen gas maybe
producedinahot water system that has not been used
for2weeksormore. HYDROGENGAS IS
EXPLOSIVE. If the hot water system has not been
used forsuchaperiod, beforeusing thewashing
machine, turn on all hot water faucets and let the water
flow from eachfor severalminutes.This will release
any accumulated hydrogen gas.Asthe gas is
flammable, do not smoke or usean open flame during
this time.
Do notallow children to play on or in the washer. Close
supervision of children is necessary when thewasher is used
near children.
Before the washer is removed from service or discarded,
remove the door or lid.
Do notreach into thewasher if the drum, tub or agitator is
moving.
Do not install or store the washer where it will be exposed to
the weather.
Do nottamper with controls.
Do notrepair or replace any partofthe washer or attempt any
servicing unlessspecifically recommended in this manual or in
published user-repair instructions that you understand and
havethe skills to carry out.
See “Electrical Requirements” for grounding instructions.
WARNING: To reducethe risk of fire, electric shock, or injury to persons when using the washer, follow basic precautions,
including thefollowing:
†
4
DrainSystem
Standpipe Drain System
The standpipedrain requires aminimum diameter standpipe of
2" (50 mm). The minimum carry-away capacity canbeno less
than 17 gal. (64L) per minute.
Thetop of thestandpipe must be at least39" (990 mm) high and
no higher than 72" (1.8m)fromthe bottom of the washer.
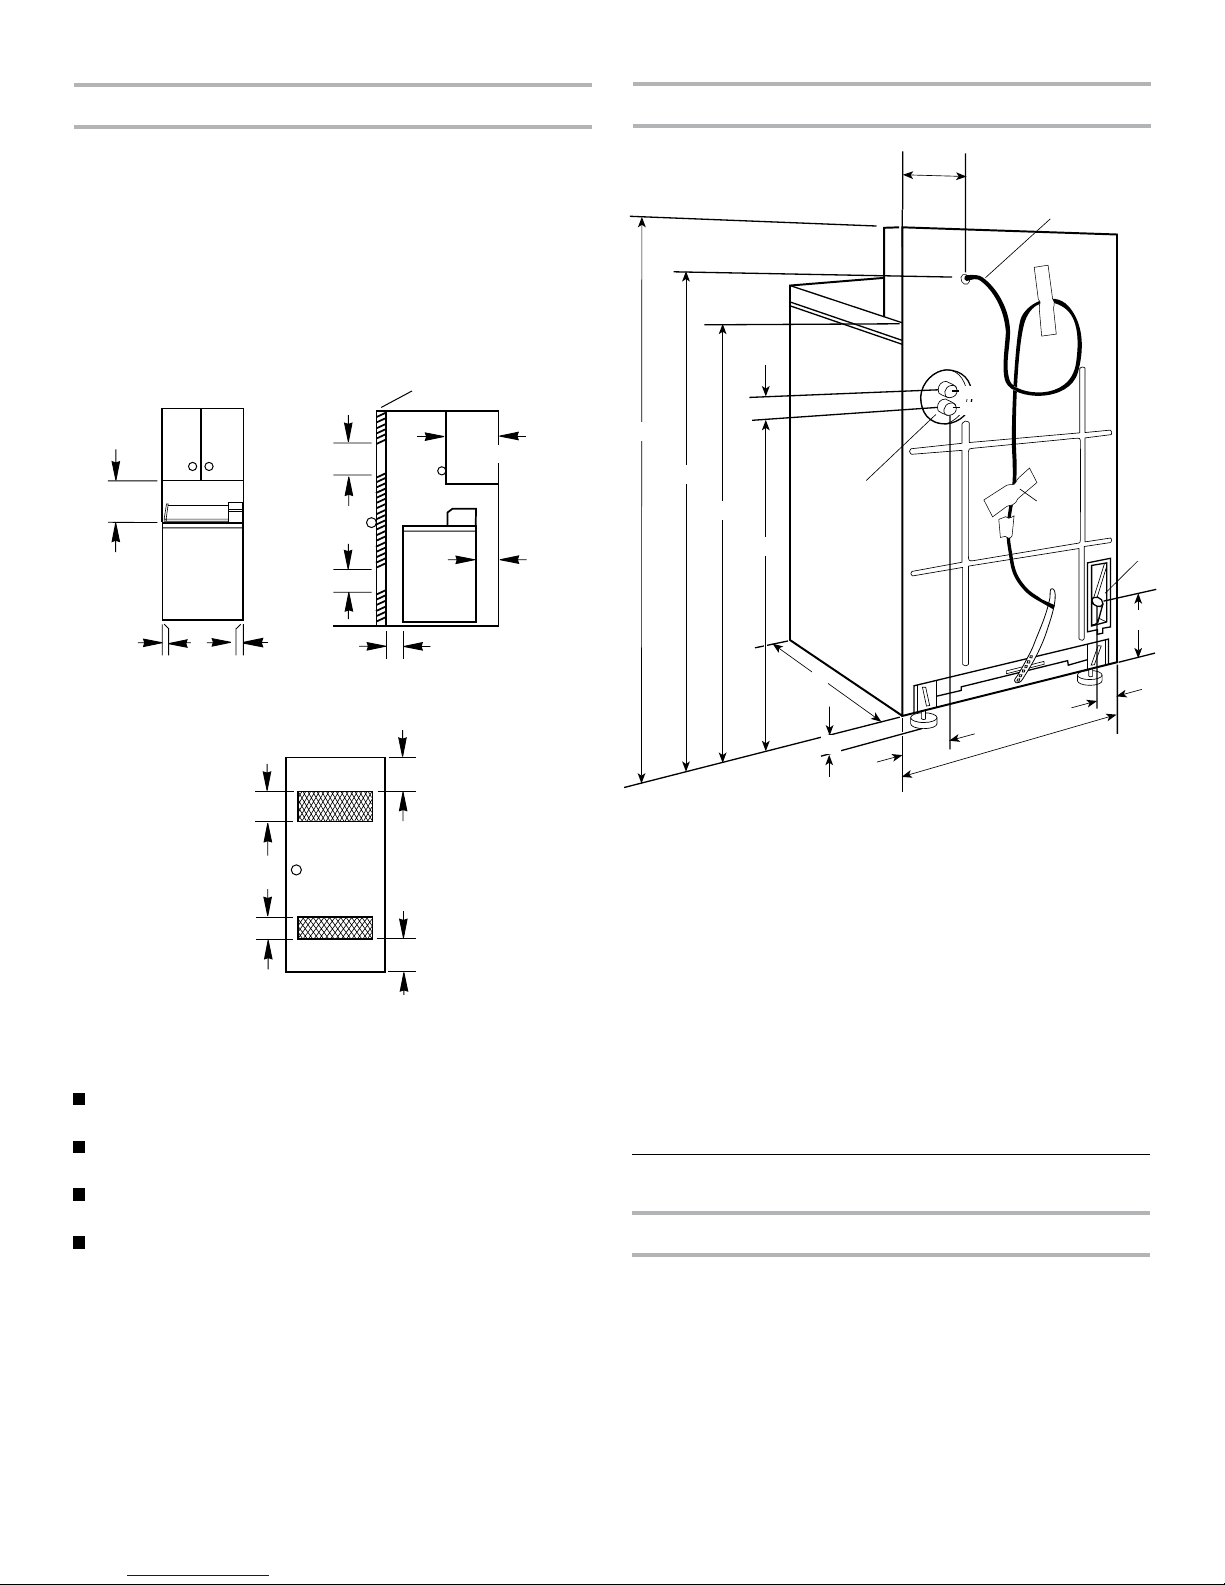
Recessed Area and Closet InstallationInstructions
This washer may be installed inarecessed area or closet.
The installation spacing shown is in inches and is the minimum
allowable. Additional spacing should be considered for ease of
installation, servicing, and compliance with local codes and
ordinances.
If closetdoor is installed, theminimum unobstructed air openings
in the top and bottom arerequired. Louvered doors with
equivalent air openingsare acceptable.
Recessed front view Closet sideview
Minimum Installation Clearances
Closet
door
Front view
3" (76 mm)
3" (76mm)
24"
2
(1,55m2)*
48"
2
(3,10m2)*
24"
2
(1,55m2)*
48"
2
(3,10m2)*
*Openingis the minimum for acloset door.
Louvereddoorswithequivalent air openingsare acceptable.
ProductDimensions
0"
(0 mm)
0"
(0 mm)
Closet door
17"
(432 mm)
14"
(356 mm)
max.
4"
(102 mm)
min.
1" (25 mm)
min.
Cold
Hot
A
B
C
E
D
F
G
I
J
K
L
M
H
43" (1090 mm)
38¹⁄8"(970mm)
35" (890 mm)
1¹⁄2"(38 mm)
27¹⁄
4" (705 mm)
25¹⁄
2" (650 mm)
Waterinlets
7" (180 mm)
Power supply cord
Drainhose connector
Label
27"(685 mm)
5¹⁄
4"(133 mm)
1" (25 mm)
5" (127 mm)
A.
B.
C.
D.
E.
F.
G.
H.
I.
J.
K.
L.
M.
N.
O.
Additional spacing shouldbe considered for the ease of
installation and servicing.
Additional clearances may be required forwall, door, and floor
moldings.
Additional spacing of 1" (25 mm)onall sides of the washer is
recommended to reduce noise transfer.
Companion spacing shouldalsobe considered.
N
O
H
5
Electrical Requirements
IMPORTANT : The washermustbe electricallygrounded in
accordance with local codes and ordinances or,inthe absenceof
local codes,with the National Electrical Code, ANSI/NFPA 70,
latest edition.
If codes permit andaseparate ground wireis used, it is
recommended that aqualified electrical installer determine
thatthe ground path is adequate.
Do not ground to a gas pipe.
Do not have a fuse in the neutral or ground circuit.
Acopyof the above code standards can be obtained from:
National Fire Protection Association
One Batterymarch Park,Quincy, MA 02269
A 120 volt,60 Hz, AC only, 15- or 20-amp, fused electrical
circuit is required.Atime-delay fuse or circuit breakeris
recommended. It is recommended that a separate circuit
serving only this washer be provided.
The washer is equipped with a power supply cordhavinga
3prong grounding plug.
To minimize possible shock hazard, the cord must be plugged
into a mating, 3prong, grounding-type outlet, grounded in
accordance with local codes andordinances. If amating
outlet is not available, it is the personalresponsibility and
obligationof the customer to have the properly grounded
outlet installed by aqualified electrician.
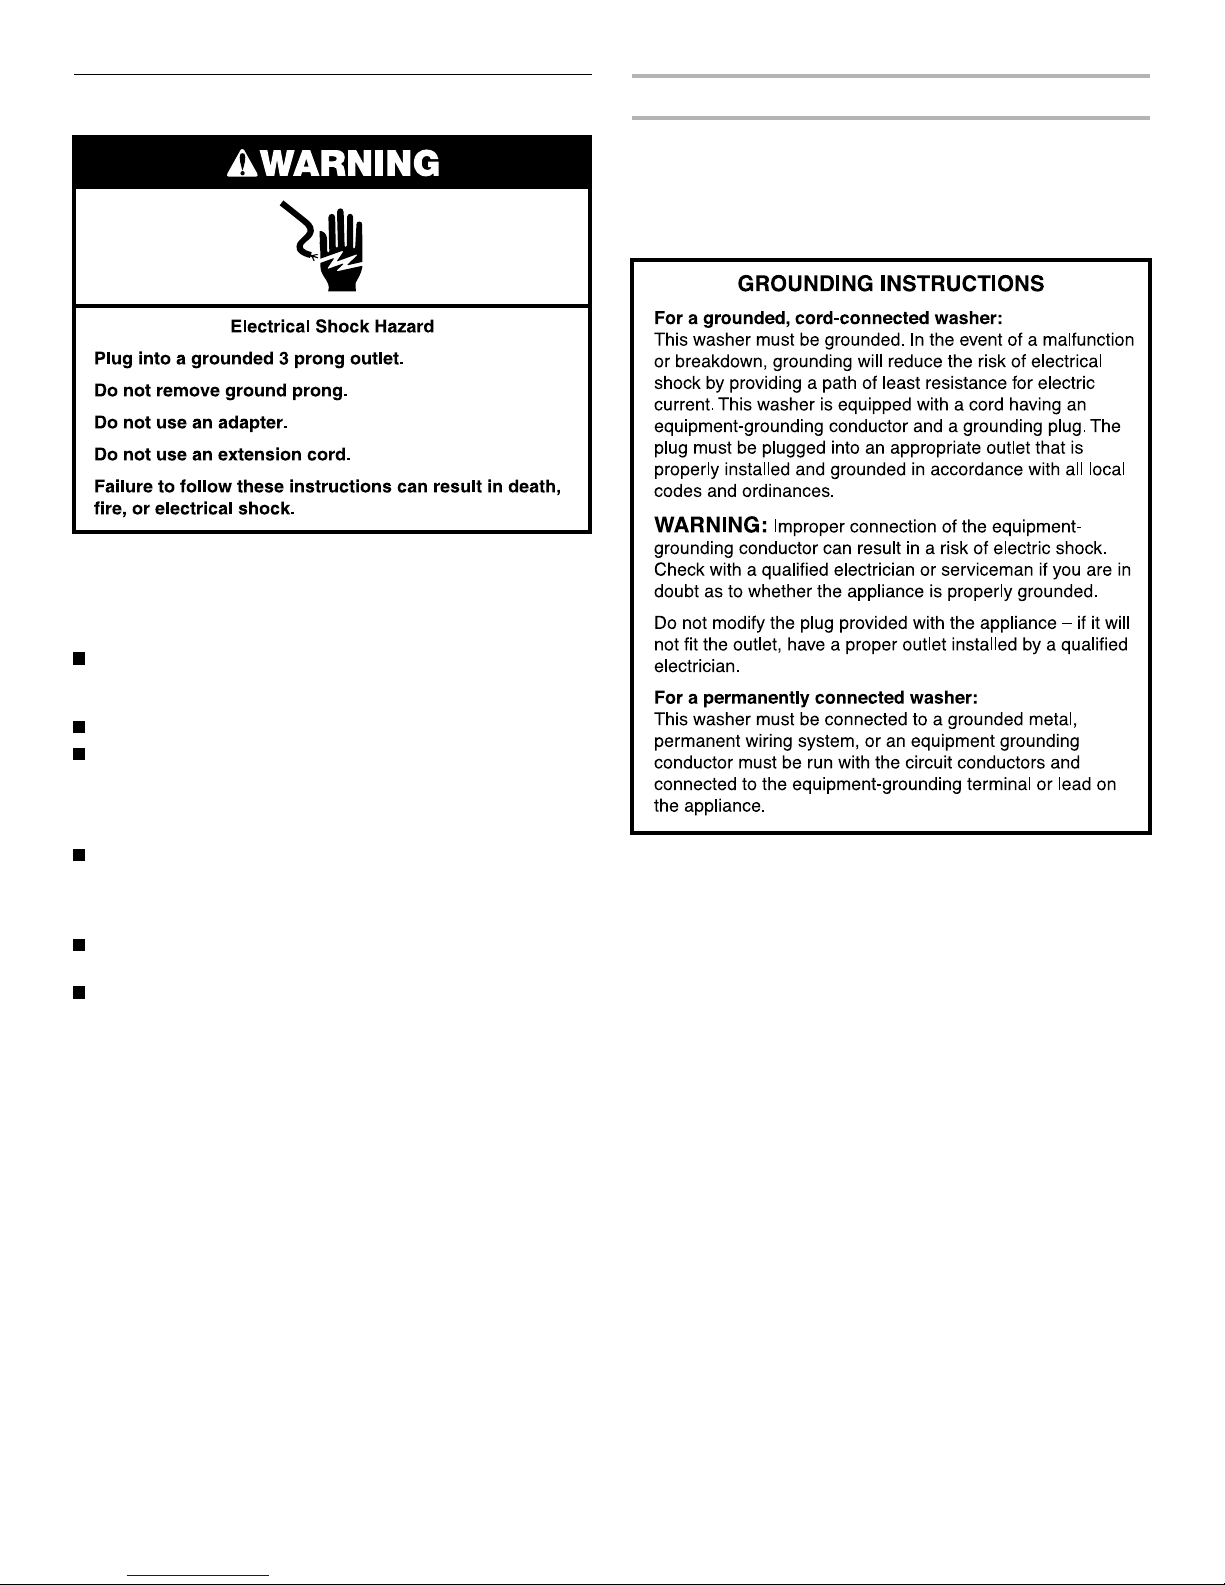
Electrical ShockHazard
Plug into agrounded3prong outlet.
Do not remove ground prong.
Do not useanadapter.
Do not usean extension cord.
Failure to followthese instructions canresult in death,
fire, or electrical shock.
WA RNING
RecommendedGround Method
The washer,when installed,mustbeelectrically grounded in
accordance with local codes, or in theabsence of local codes,
with the National ElectricalCode, ANSI/NFPA70, latest edition,
and alllocal codes andordinances.
 Loading...