

Maysound Music Player User Manual
Brugervejledning User manual
Music Player


English
User Guide Page 2-21
Dansk
Brugervejledning Side 22-41
User Guide version 1.2
© 2007 Maysound ApS. All rights reserved.

4
English
Music Player User Guide
Maysound Music Player
Dear customer
Congratulations on your new Maysound Music Player. To make it as easy as possible for you to start using your Maysound Music Player, we recommend that you
read this User’s Guide. Should you have any questions or problems after having
read the User’s Guide, please contact Maysound ApS on:
www.maysound.com/support
The information in this User’s Guide can be changed without notice.
Maysound ApS is not liable to pay damages in the event of technical inaccuracies, typographic errors or lacking information in this User’s Guide, nor in the
event of damage or indirect defects caused by the use of this material.
This User’s Guide contains information protected under Danish copyright legislation. No parts of this User’s Guide may be copied or reproduced without the
prior consent of Maysound ApS.
Product names in this User’s Guide may be trademarks and/or registered trademarks of the relevant enterprises.
Register your product on our website www.maysound.com/register to ensure
that you will receive free software updates for your product.
Kind regards,
Maysound
All information in this User’s Guide was correct at the time of its publication. As we continuously update
and improve our products, the software may dier in content and appearance. Its functionality may
have changed as compared to the functionality described in this User’s Guide. An updated version of
the User’s Guide can be downloaded on: www.maysound.com/guide
Copyright © 2007. All rights reserved. Printed and published by Maysound ApS

5
English
4
5
5
6
7
8-9
10
10
11
11
12
13
14
-15
16
-17
18
-19
20
-21
Contents
1. Introduction
Scope of delivery
Accessories
Extra treatment programs
2. Get to know your Player
Control panel
Back panel
Back-light display
3. Getting started/installation
Charging the battery
Inserting/replacing the SD Card
Installing the Player on a pillow/chair
On/o, change track, sound volume
Setting the timer
Connecting an external sound source
4. Safety and cleaning
Removing the power supply,
avoiding hearing damage etc.
5. Technical specications
Formats, battery life etc.
6. Updating your Maysound Music Player
Purpose, Guide
7. Handling, approvals and disposal
Important information
6
English
Music Player User Guide
1. Introduction
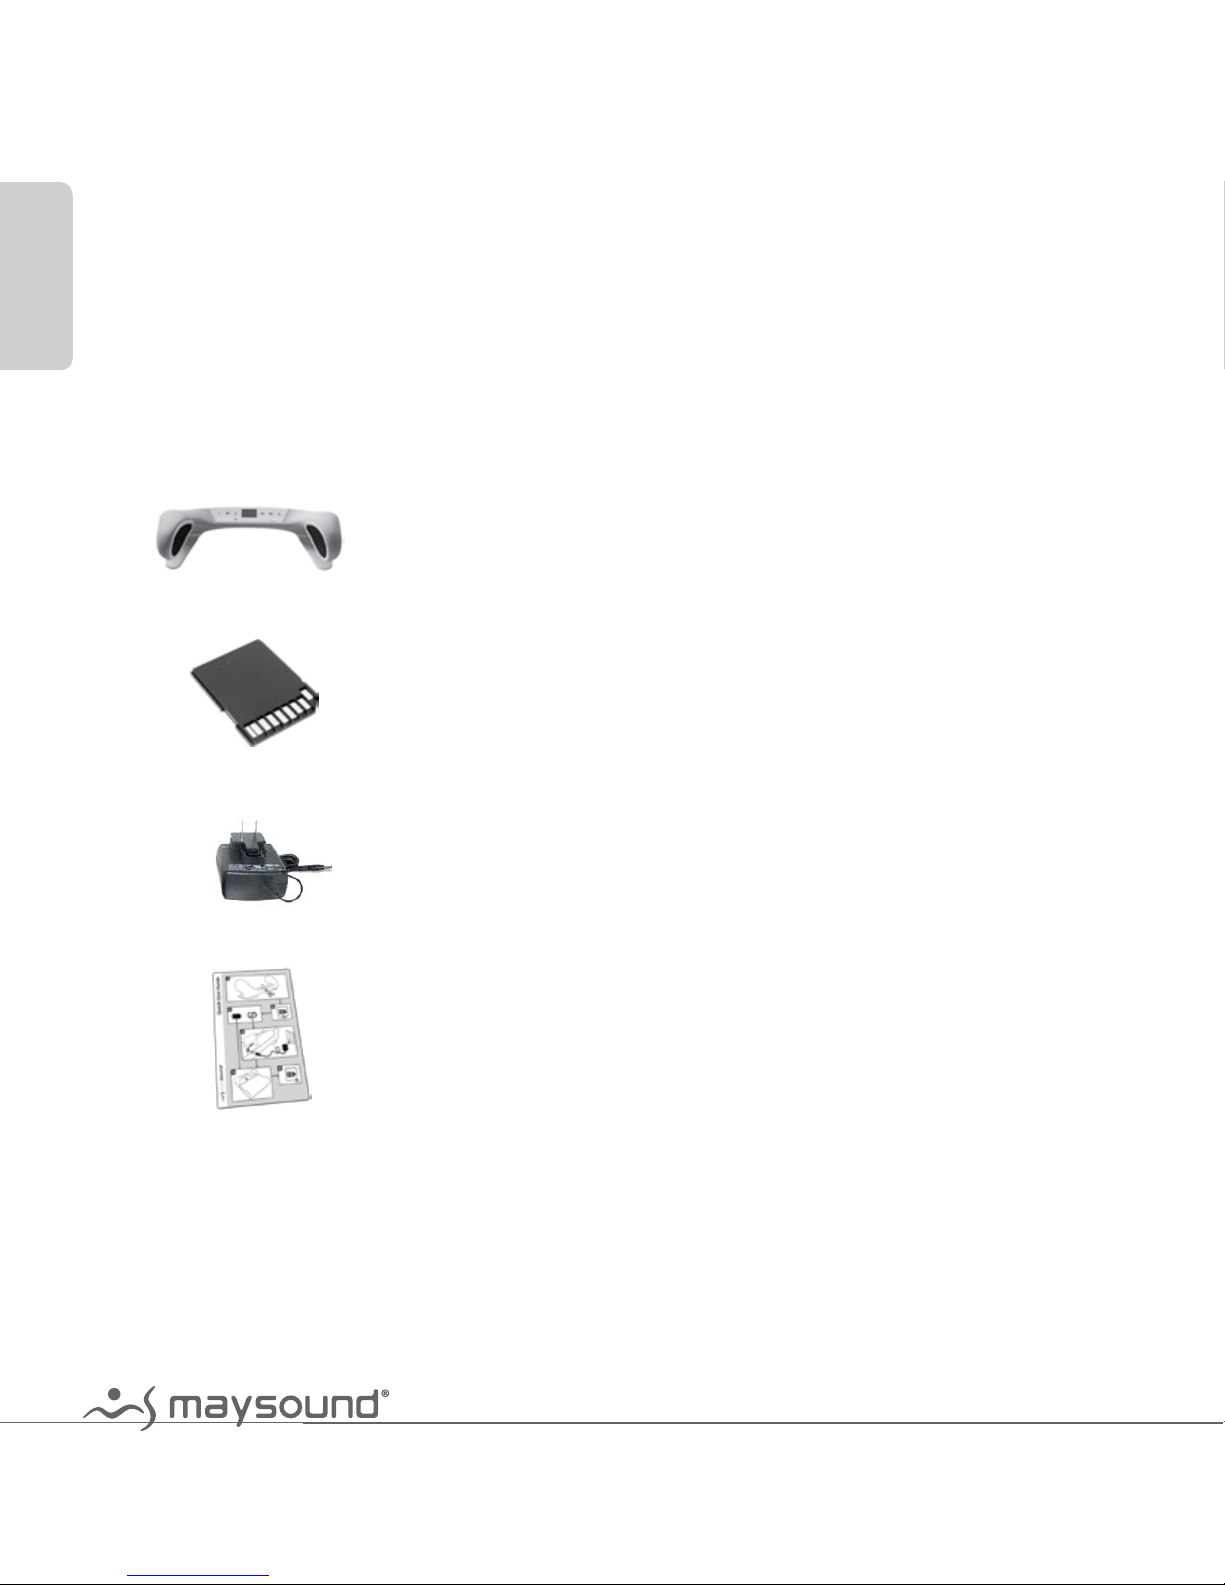
Scope of delivery
Check that the delivered accessories/scope of the delivery corresponds to the
items listed/illustrated below. In the event of missing accessories, please contact
the distributor/supplier immediately.
Maysound Music Player
Maysound SD Card with treatment music
Maysound Power Supply (Medico Class 2-approved)
Maysound Music Player Quick User’s Guide
TIP: Save the packaging. The box can be used for transport or storage. If you need to
send Maysound Music Player by mail, the box provides the best packaging.
7
English
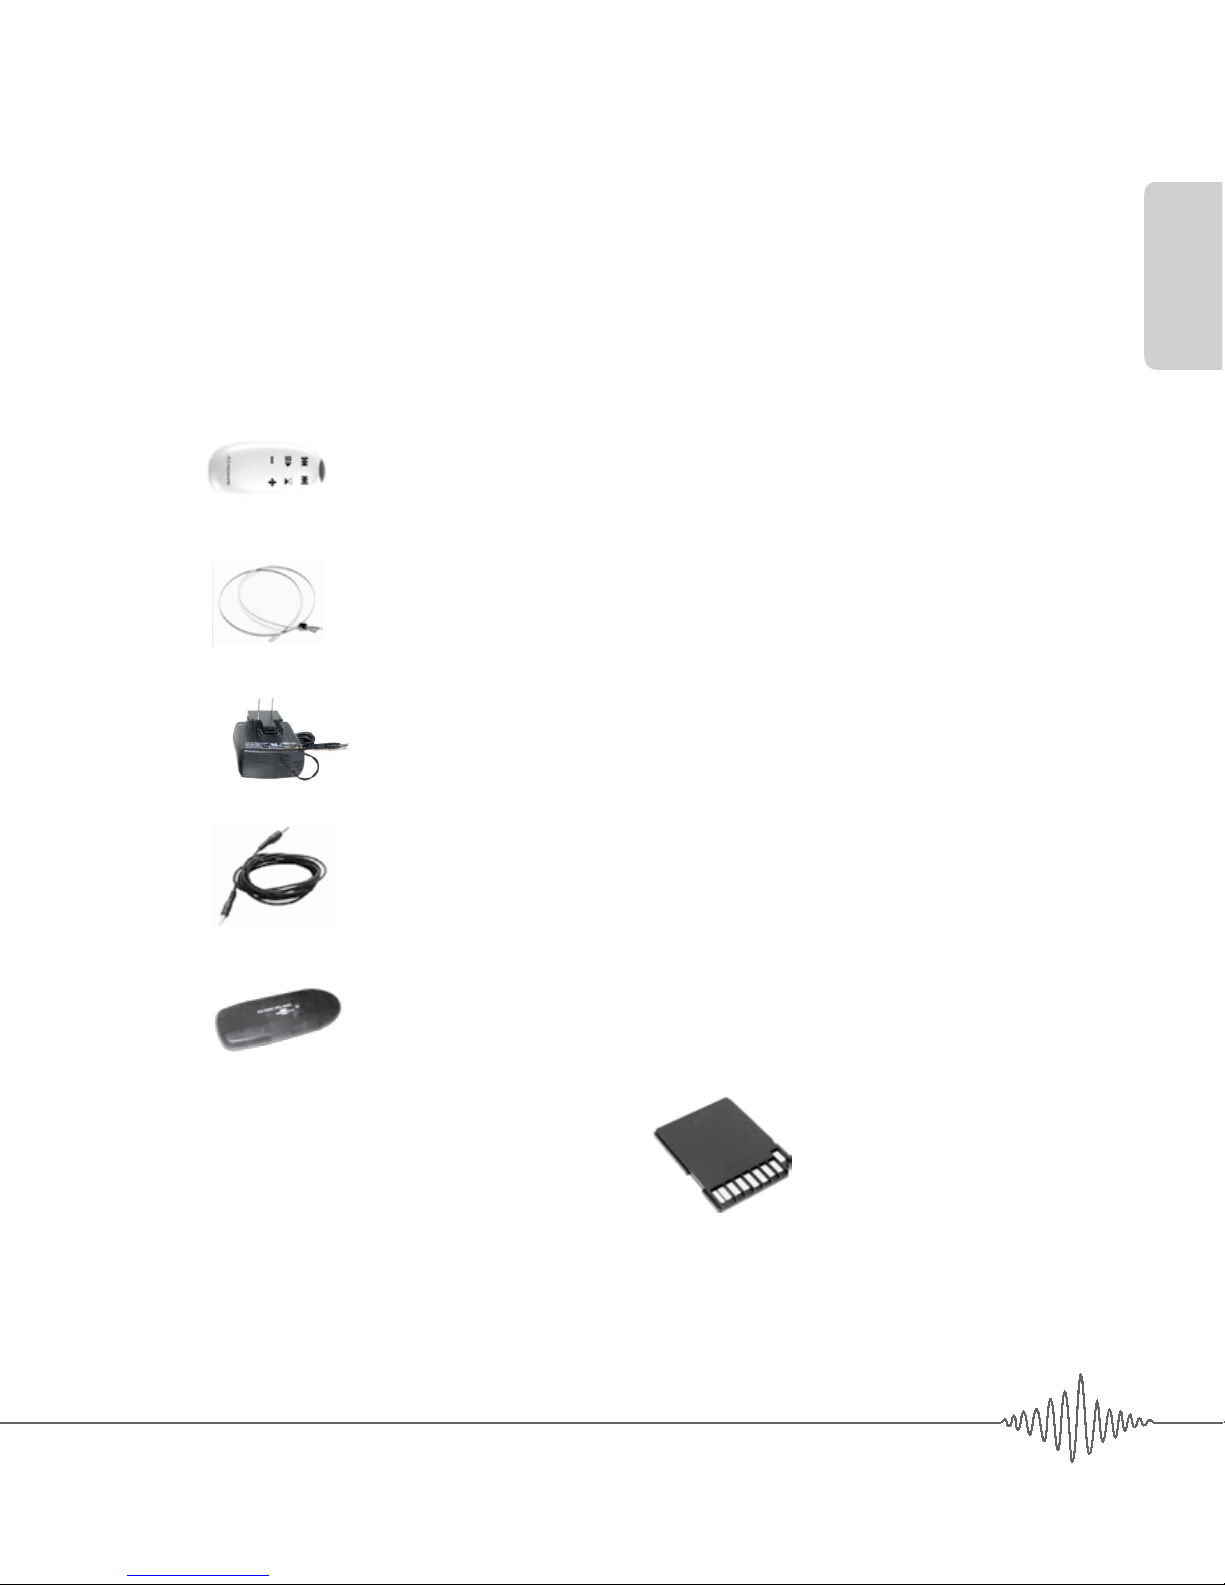
Accessories
The below accessories are available from Maysound resellers,
for more information: www.maysound.com
Maysound Remote Control
Maysound WireLock (anti-theft protection)
Maysound Power Supply (Medico Class 2-approved)
Maysound Audio Cable (for external sound source)
Maysound SD Card Reader (transfer MP3 les to SD Card)
Extra treatment programmes
New treatment programmes will be published regularly on SD Cards for your
Maysound Music Player. The treatment programmes are available from Maysound reseller, for more information: www.maysound.com
8
English
Music Player User Guide
2. Get to know your Player
Your Maysound Music Player is constructed for easy and intuitive use.
The controls are large and light up when operated. The display is easy to read –
even in the dark. The ergonomically correct remote control from Maysound (extra
accessory) makes it easy for the user to operate the player.
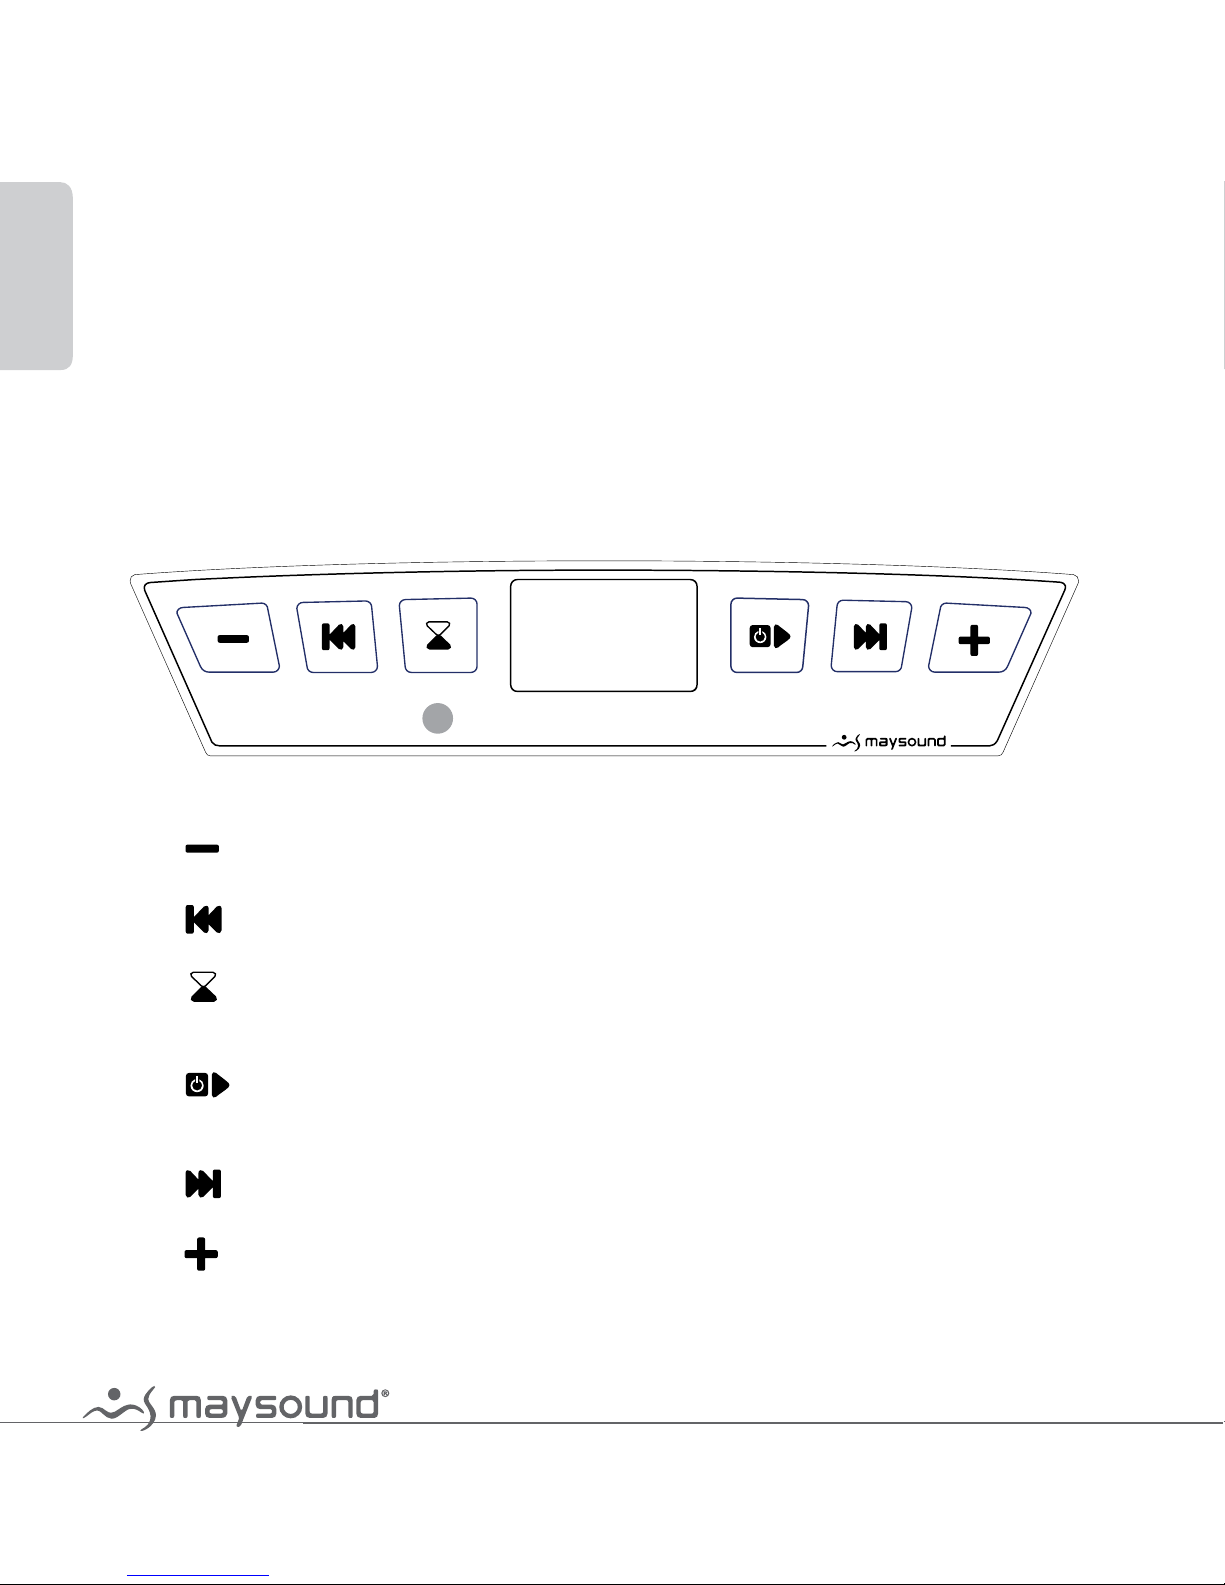
Control panel
Volume down – press the control to turn the volume down.
Change to previous track – press once for each track.
Timer – set the Player to turn on/o after 15, 30, 45, 60, 120 minutes.
Hold the control for ve seconds to reset.
Start/stop – turns Player on, changes between play and stop.
Hold the control for two seconds to turn the Player o.
Change to next track – press once for each track.
Volume up – press the control to turn the volume up.
9
English
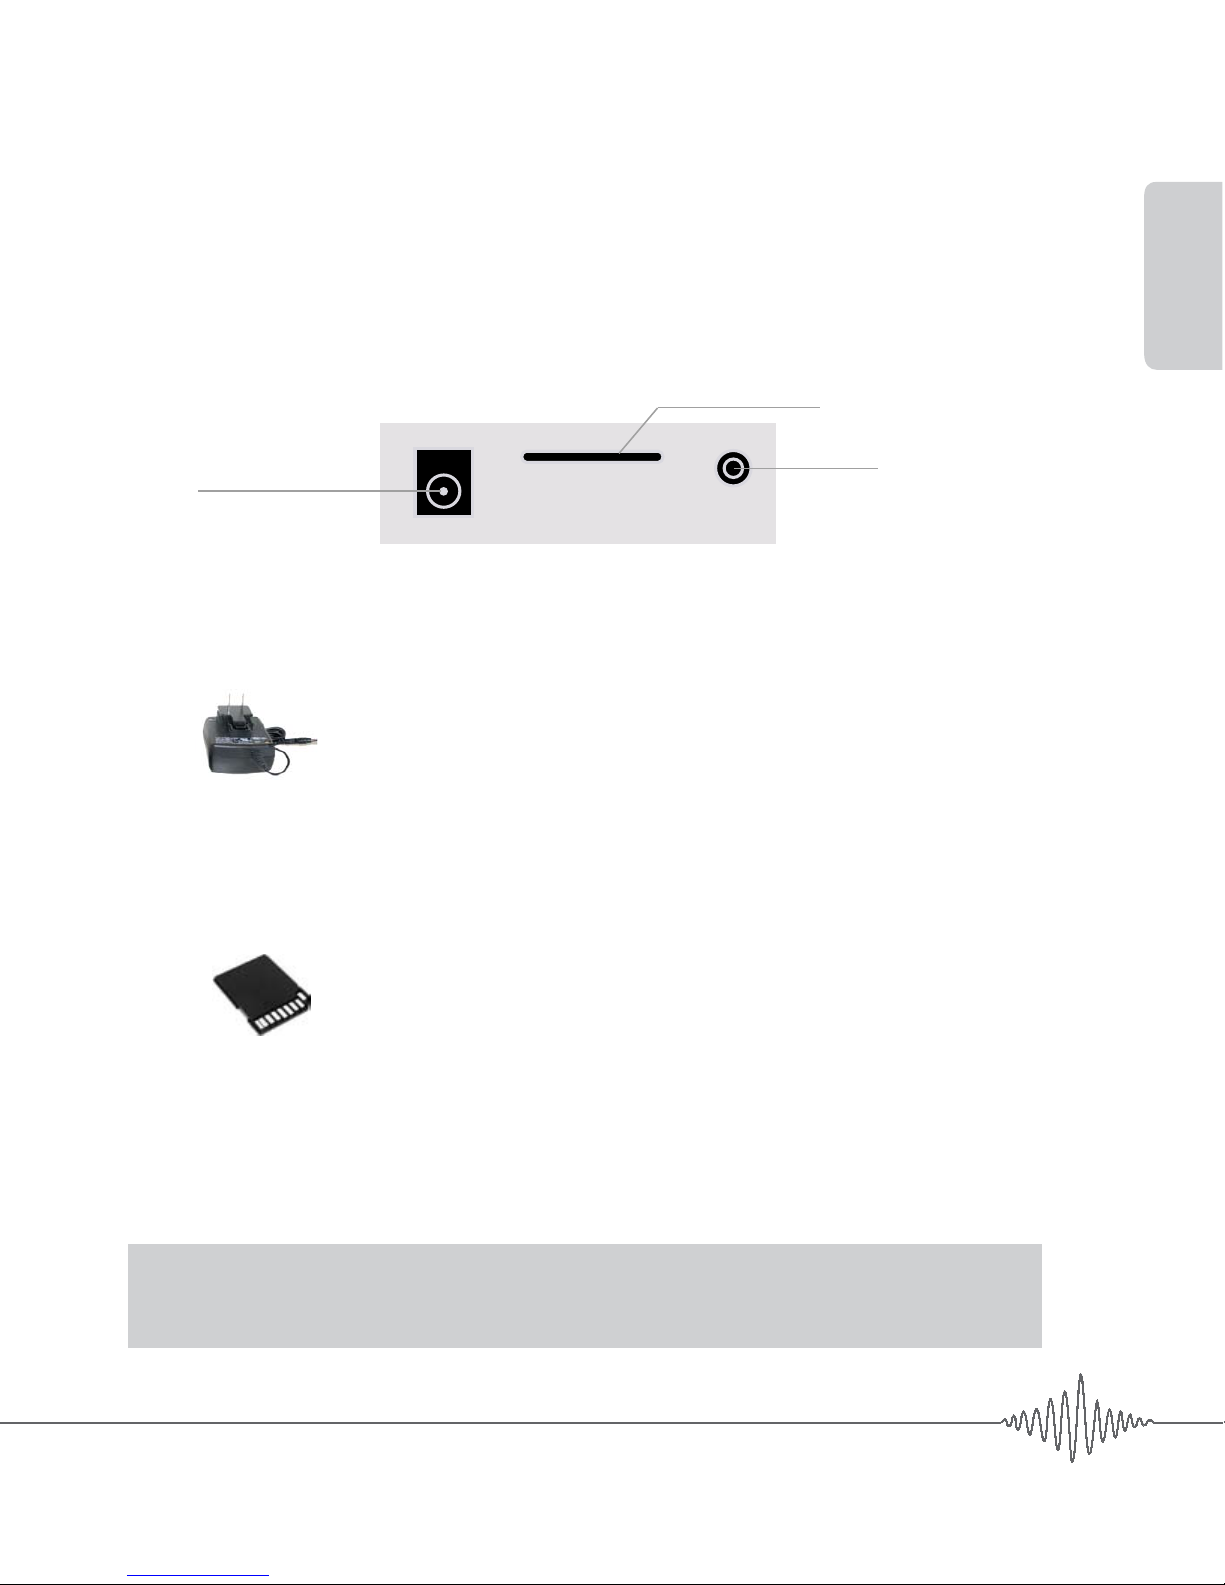
Back panel
Behind the hygiene ap on the back of the player, the following options are
available:
1. Power in – charging the battery.
Maysound Power Supply (Medico Class 2) – used for
charging the internal rechargeable lithium battery.
2. SD Card in – insert the supplied SD Card or another SD Card with sound les
with the label up.
Maysound SD Card with treatment music.
3. External sound source in (AUX-in) – connection with Maysound Audio
Cable for e.g. MP3 player, television or other external sound source (Maysound
Audio Cable is available as extra accessory). The volume is adjusted using the
connected unit.
IMPORTANT: A Maysound Audio cable must be used. The cable must
have a maximum length of two metres.
3. AUX-in
2. SD Card
1. Power supply
10
English
Music Player User Guide
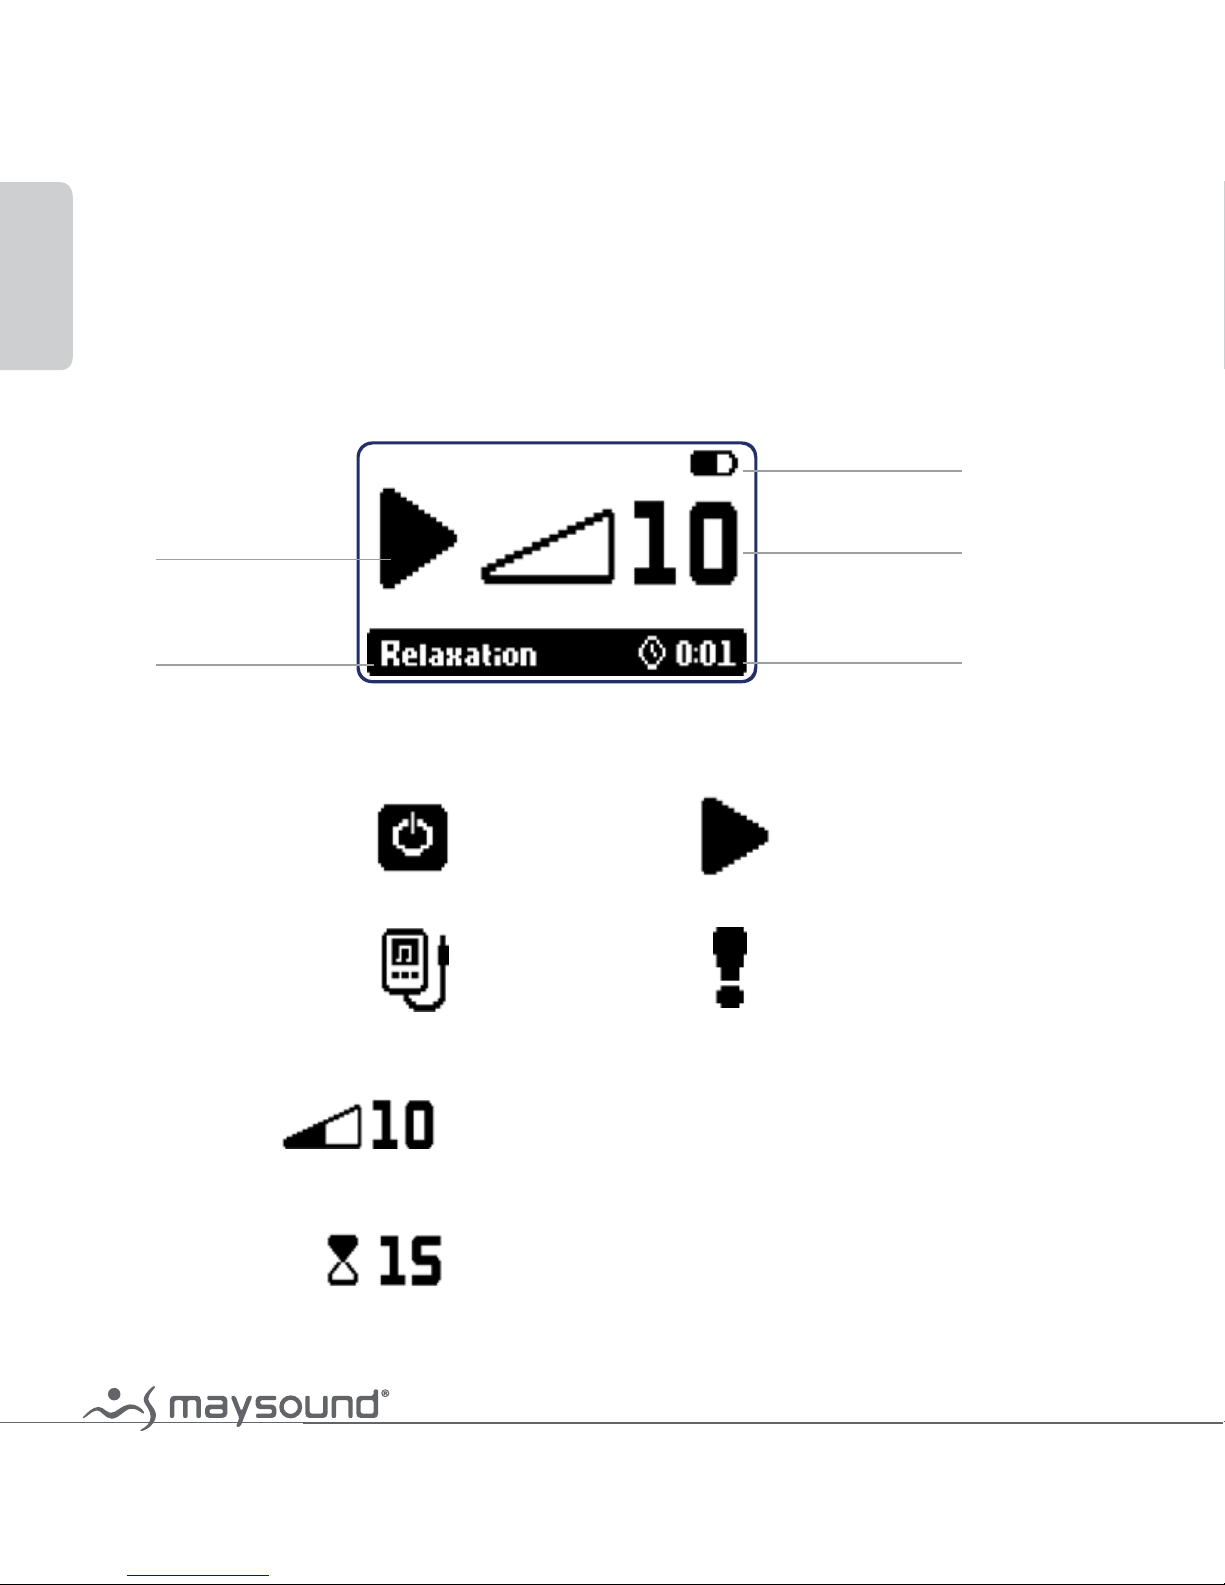
Back-light display
The back-light display and controls are activated using any control. The light
turns o after 15 seconds without activation of controls.
Mode:
Stop Play
Line-in Update
Settings:
Volume selection/indicator (0
-20)
Timer selection
Power indicator
Settings
Mode
Description
Timer

11
English
Timer:
Total playing time
Time to timer function (on or o) being activated
(0
-120 minutes)
Power indicator:
Battery needs charging
Battery is half charged
Battery is fully charged
Charger connected and charging
Charger connected and charging completed
Description:
Title of current music track
12
English
Music Player User Guide
3. Getting started/installation
Before using the Player for the rst time, you should charge the built-in battery.
Charge the battery for six hours the rst time to use it optimally.
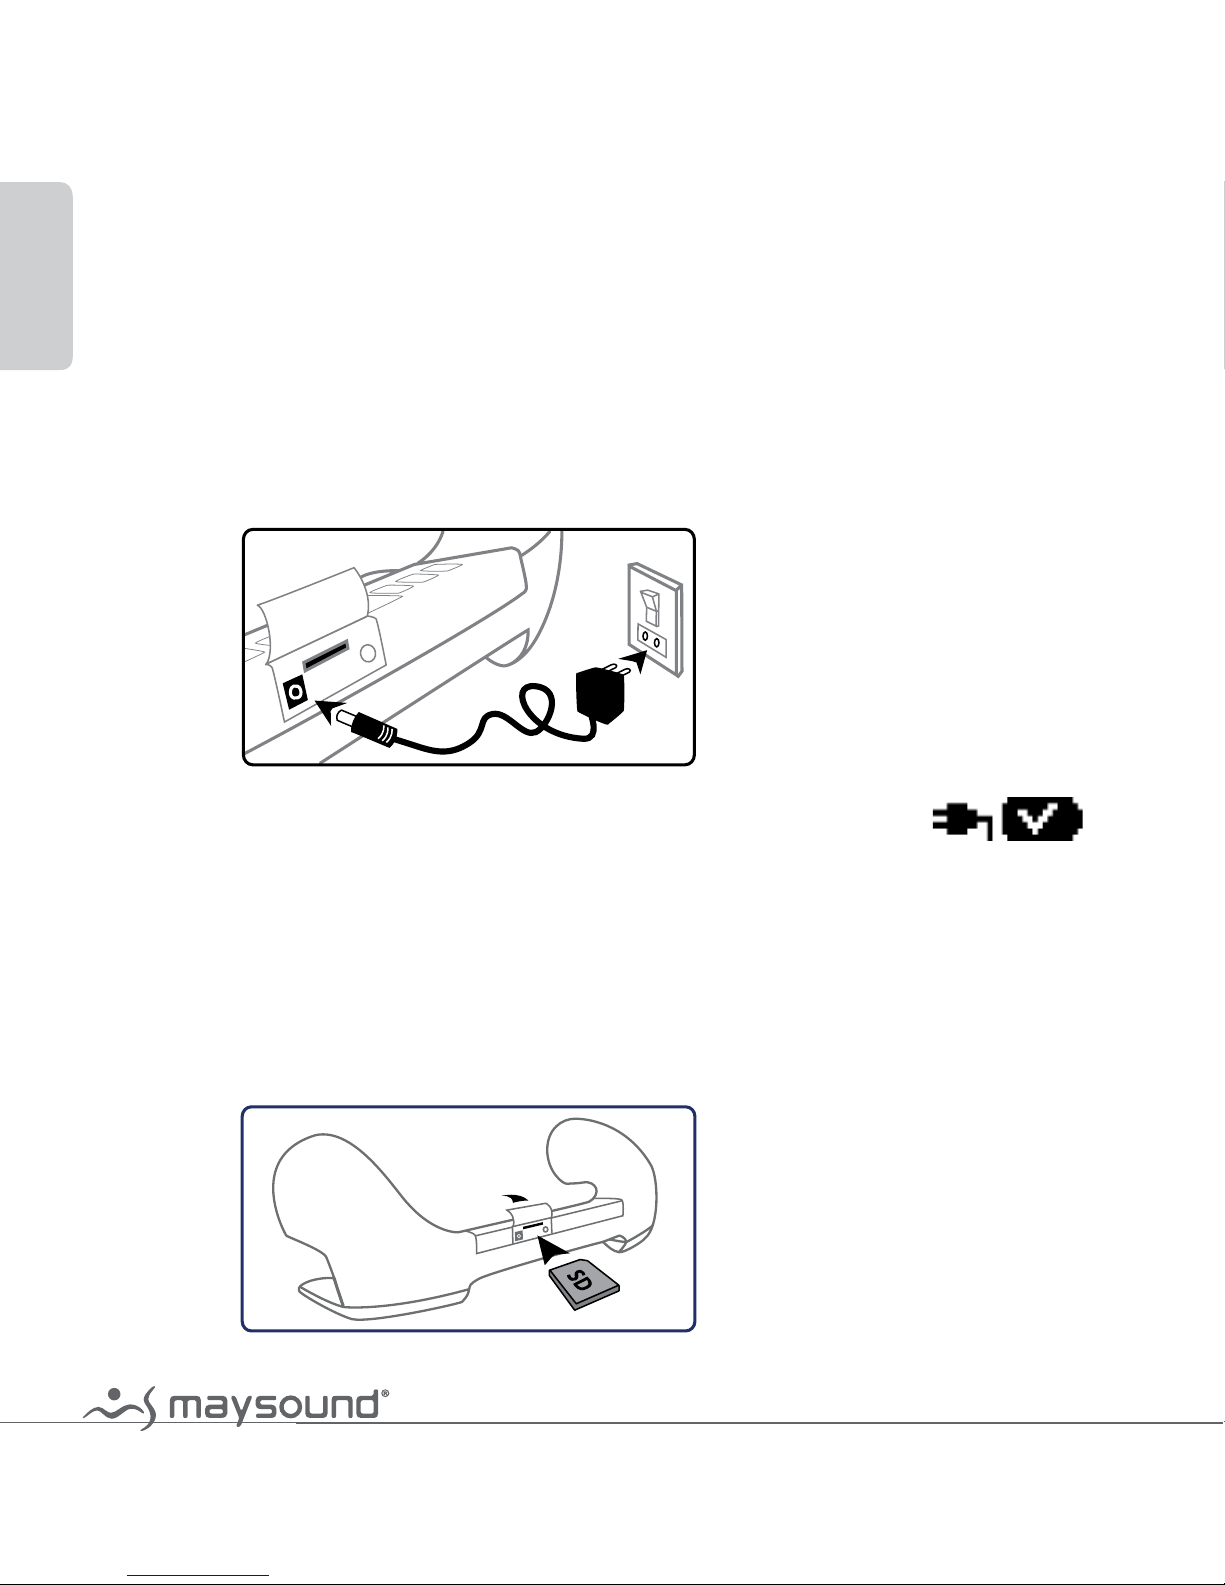
1. Charging the battery
Plug the charger into the back panel and then into the outlet. The display power
indicator shows that the battery is charging.
When the battery is full, the following icon is shown on the display:
2. Inserting/replacing the SD Card
The treatment program is encrypted in the supplied SD Card. It is possible to save
your own MP3 music/sound les on an SD Card and play them on your Maysound
Music Player. Insert the SD Card in the Player.
13
English
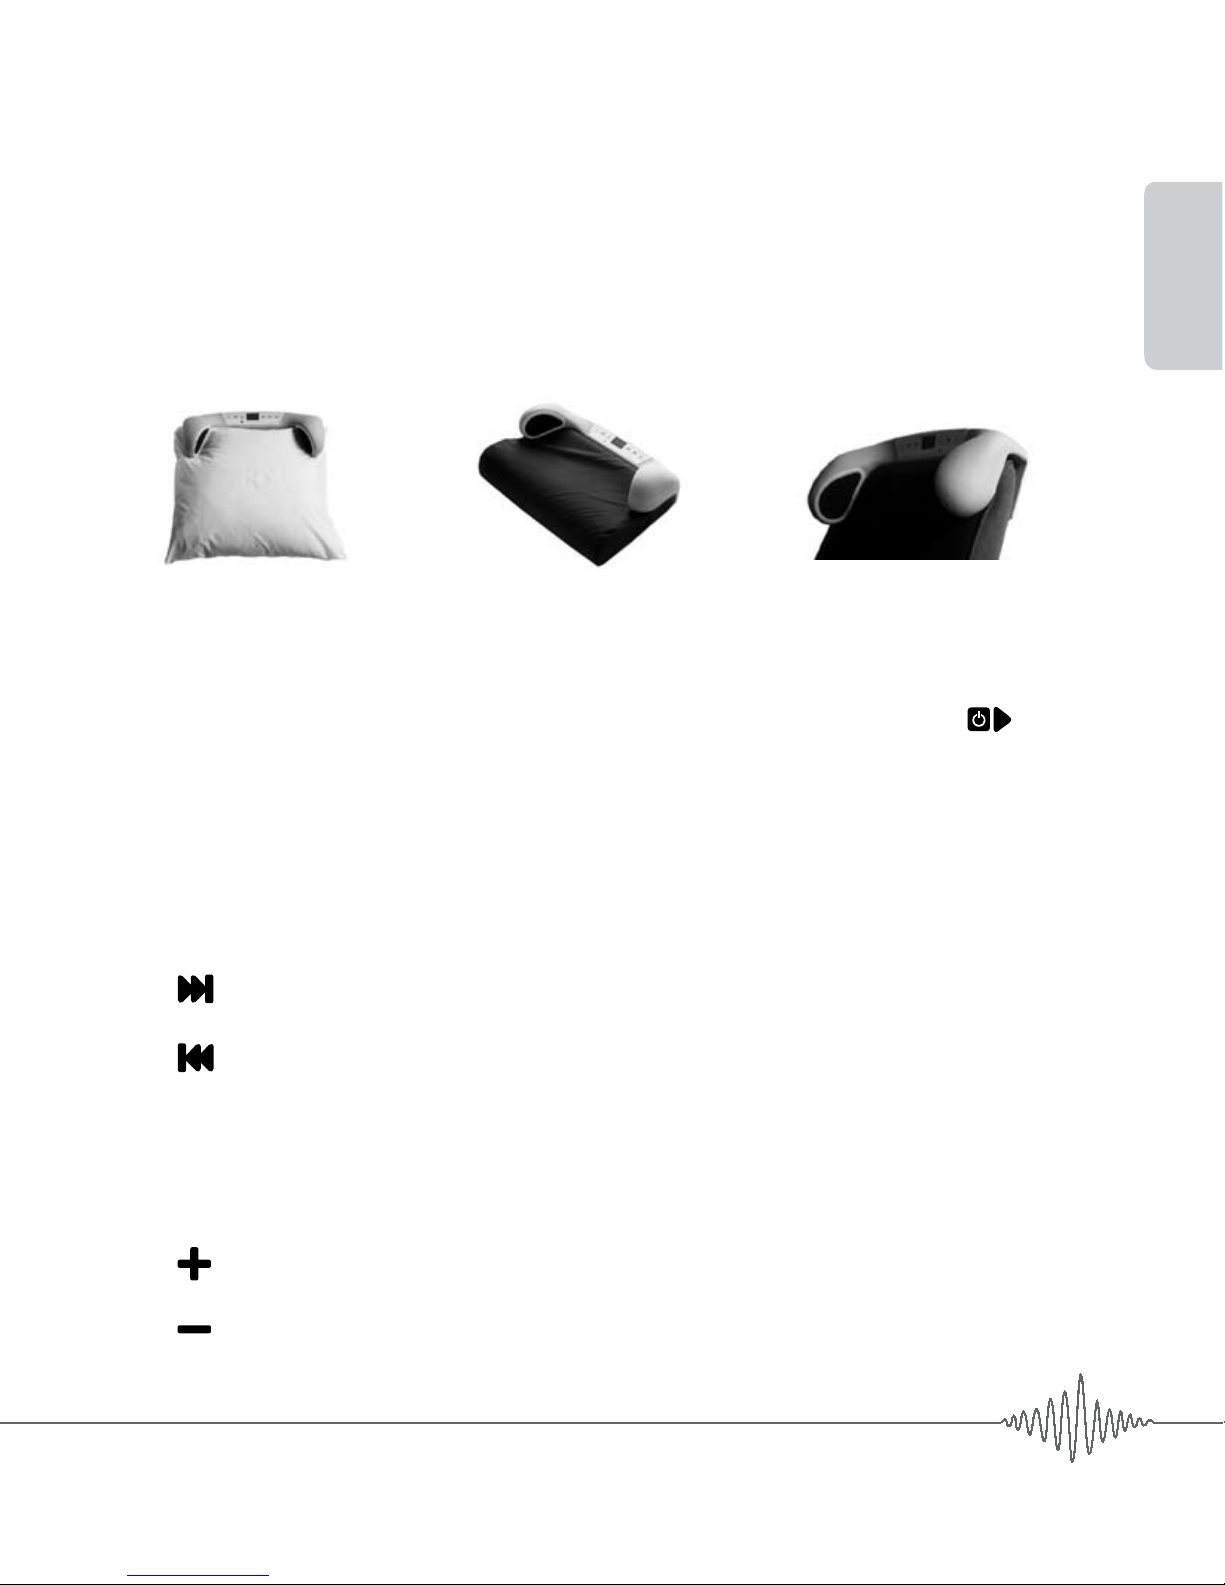
3. Positioning your Player
Your Maysound Music Player can be placed on many dierent pillows, mattresses and chairs, e.g.:
Normal pillow Moulded pillow Chair back
4. Turning on/o the Player
Turn your Maysound Music Player on by pressing the Start/Stop control
Turn it o by pressing and holding the Start/Stop control for two seconds.
When the Maysound Music Player has stopped, it turns o automatically after
two minutes.
Changing tracks
Change to next track
Change to previous track
Adjusting the volume
The volume can be adjusted to 20 dierent levels.
Turn up the volume
Turn down the volume

14
English
Music Player User Guide
Setting the timer
The timer function can be used in two ways:
Postponed start
This function is particularly suitable for waking up.
When the Player is in pause mode, pressing the timer control will activate
postponed start. Each time the control is pressed, the start will be postponed by
15 minutes and up to 120 minutes.
Setting the timer to 0 will deactivate the postponed start. The Player will slowly
turn up the volume when the set time has expired.
Example: Turn on the Player and then press the timer until the requested number of minutes until start is
shown on the display. After the selected number of minutes, the music will start quietly and slowly turn
up the volume until the requested volume has been reached (within two minutes).
Postponed stop
This function is particularly suitable for falling asleep.
When the Player is in play mode, pressing the timer control will activate the
postponed stop. Each time the control is pressed, the stop will be postponed by
15 minutes and up to 120 minutes.
Setting the timer to 0 will deactivate postponed stop. The Player will slowly turn
down the volume when the time has expired.
Example: Turn on the Player, press start and then the timer until the requested number of minutes until
stop is shown on the display. Two minutes before the selected time, the music will slowly fade and
nally stop.
 Loading...