

Page 1
1
INSTRUCTION MANUAL
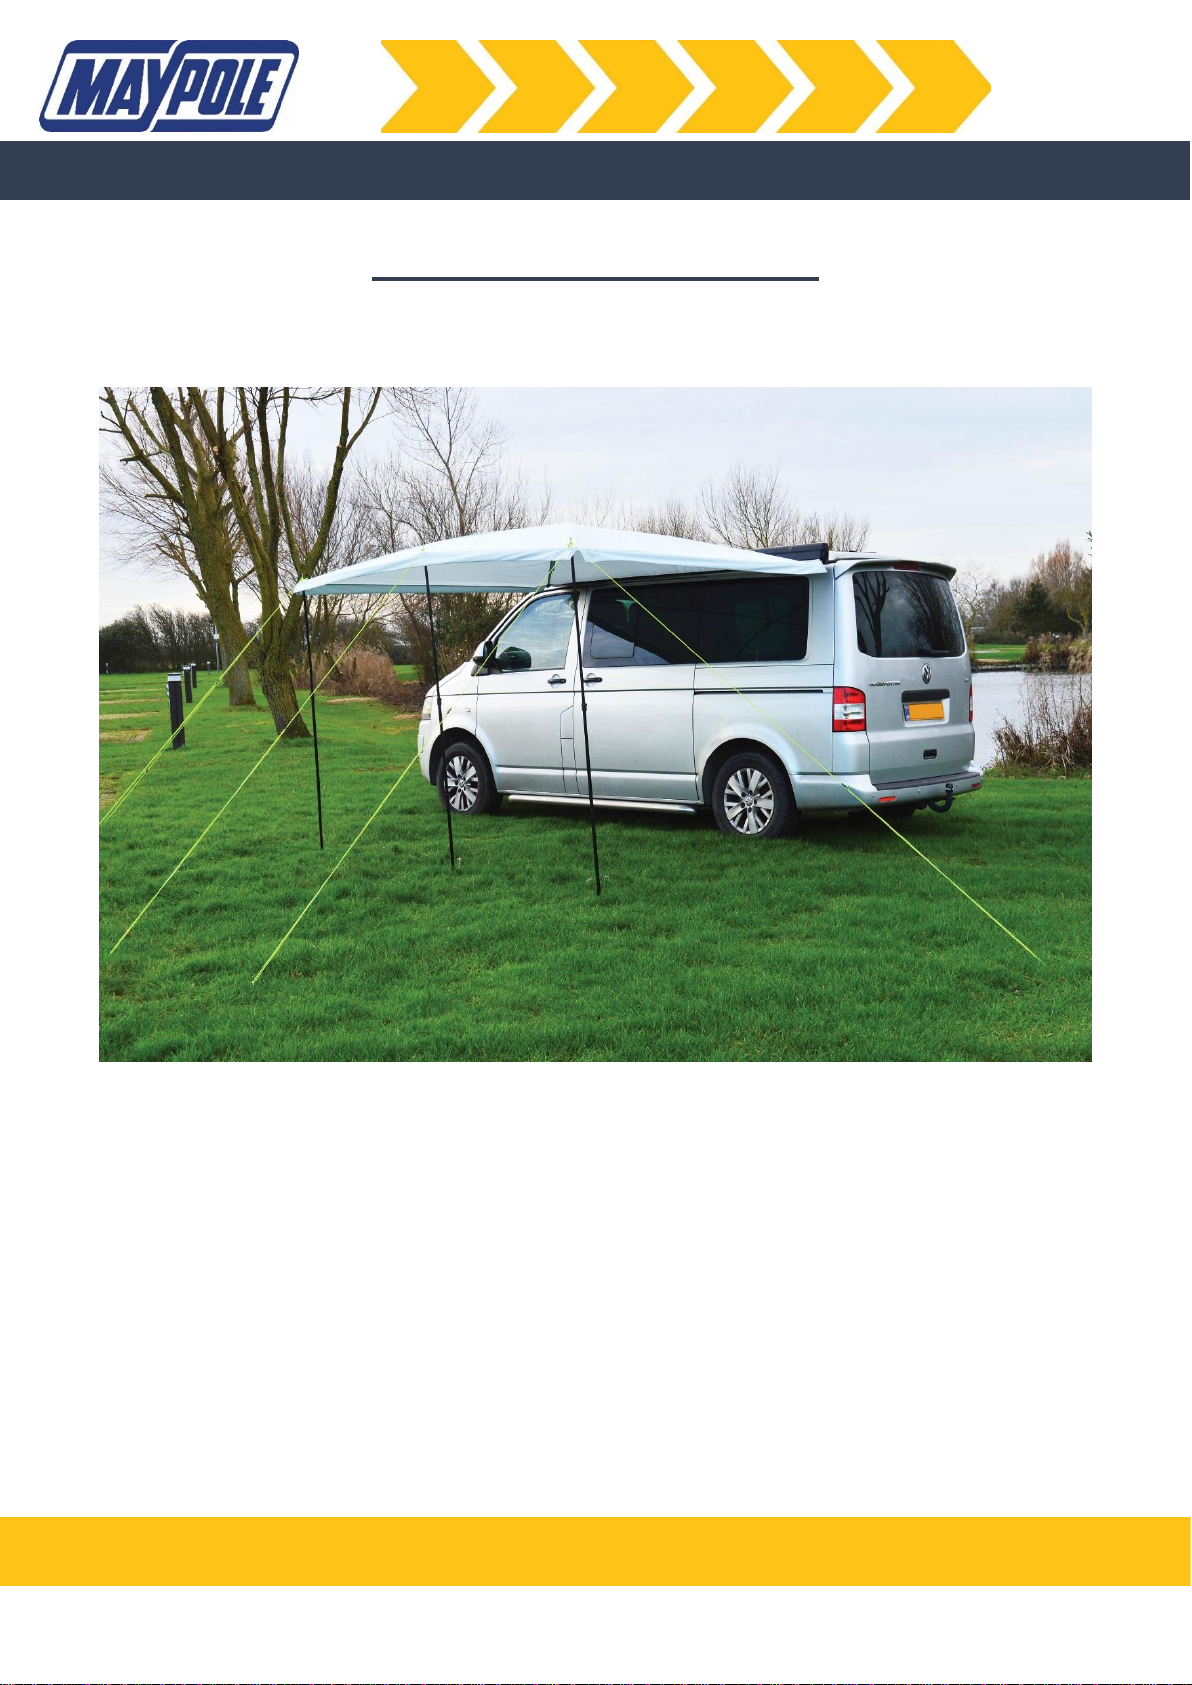
Please read this instruction manual before fitting this Sun Canopy to your vehicle.
Follow these instructions carefully and keep for future reference.
UNIVERSAL SUN CANOPY : MP9513
Page 2

2
WARNING – GENERAL SAFETY
• Not to be used in strong winds and extreme weather conditions
• Do not drive with the Sun Canopy attached to your vehicle
• If using stepladders or a platform to fit this sun canopy you will be working at height &
should carefully follow the stepladder / platform manufacturer’s safety instructions. You
should not attempt to fit the sun canopy from the ladder but only to use the ladder if
required to assist people on the ground.
CARE OF YOUR SUN CANOPY
• Allow material to dry completely before storing in the storage bag provided.
• Remove dirt with a soft sponge and warm water. DO NOT use detergent.
• DO NOT expose to sparks, flames or other sources of ignition.
CONTENTS
Sun Canopy x 1
Steel Leg Poles x 3
Fibreglass roof poles x 2
Plastic spike caps x 3
Guy Lines x 5
Guy Pegs x 12
Carry Bag x 1
Page 3
3
FITTING INSTRUCTIONS
Recommended 2 person assembly.
• Open the suncanopy and carefully insert either the 4mm or 6mm beading strip into the
full length of the awning channel on your vehicle.
• Pre assemble each steel leg in order 1 to 5 according to the pre labelled components.
• Draw out the canopy away from the vehicle and insert a steel leg pole into the middle
eyelet. Slide a plastic cap over the top spike to hold the Canopy in place during windy
conditions. Peg the foot into the ground with 2 pegs. Loosely secure the middle leg with
a guy rope and peg.
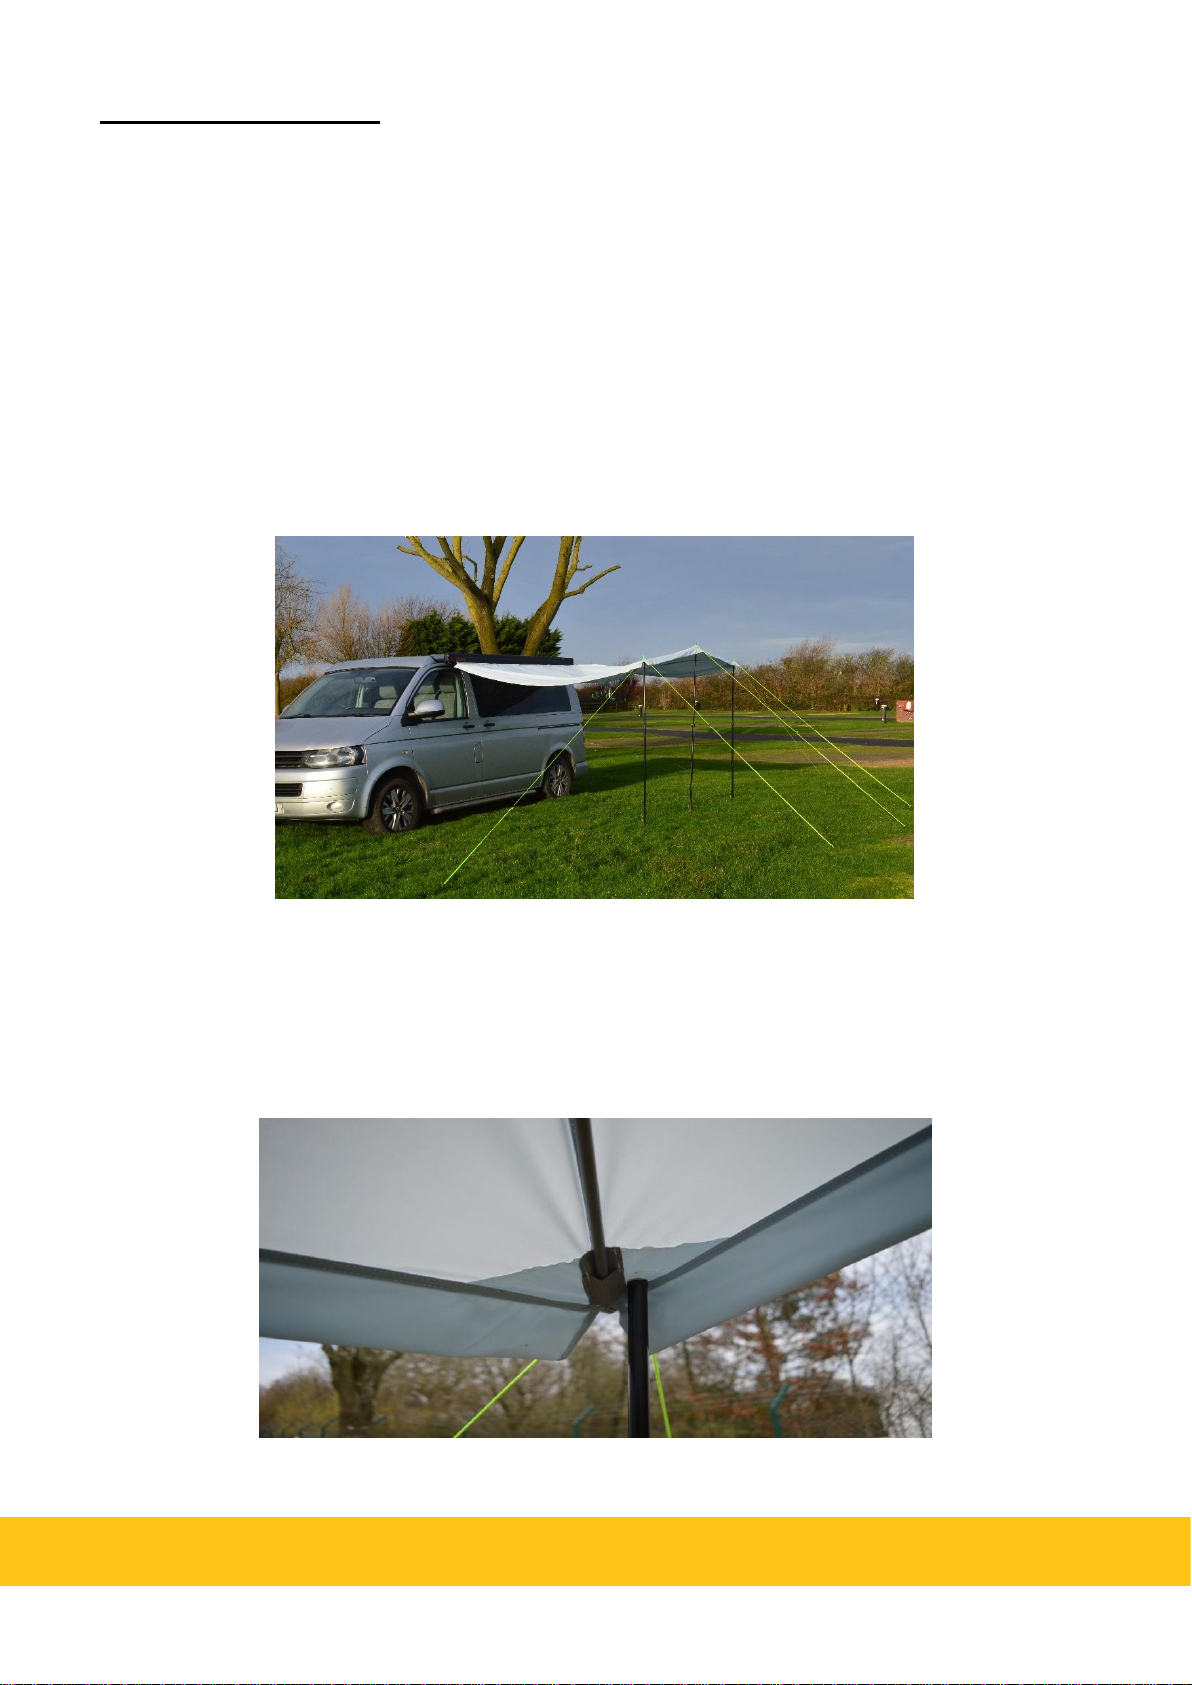
• Repeat the process for the 2 outside leg poles. The Sun Canopy should now support
itself as show below:
• Assemble the 2 fibreglass roof poles.
• From the front corner of the Sun Canopy, insert a roof pole through the roof sleeves.
Then ensure it is securely fixed into both corner pockets as shown below:
Page 4
4
• Repeat the process with a second roof pole to form a cross shape in the middle of the
canopy.
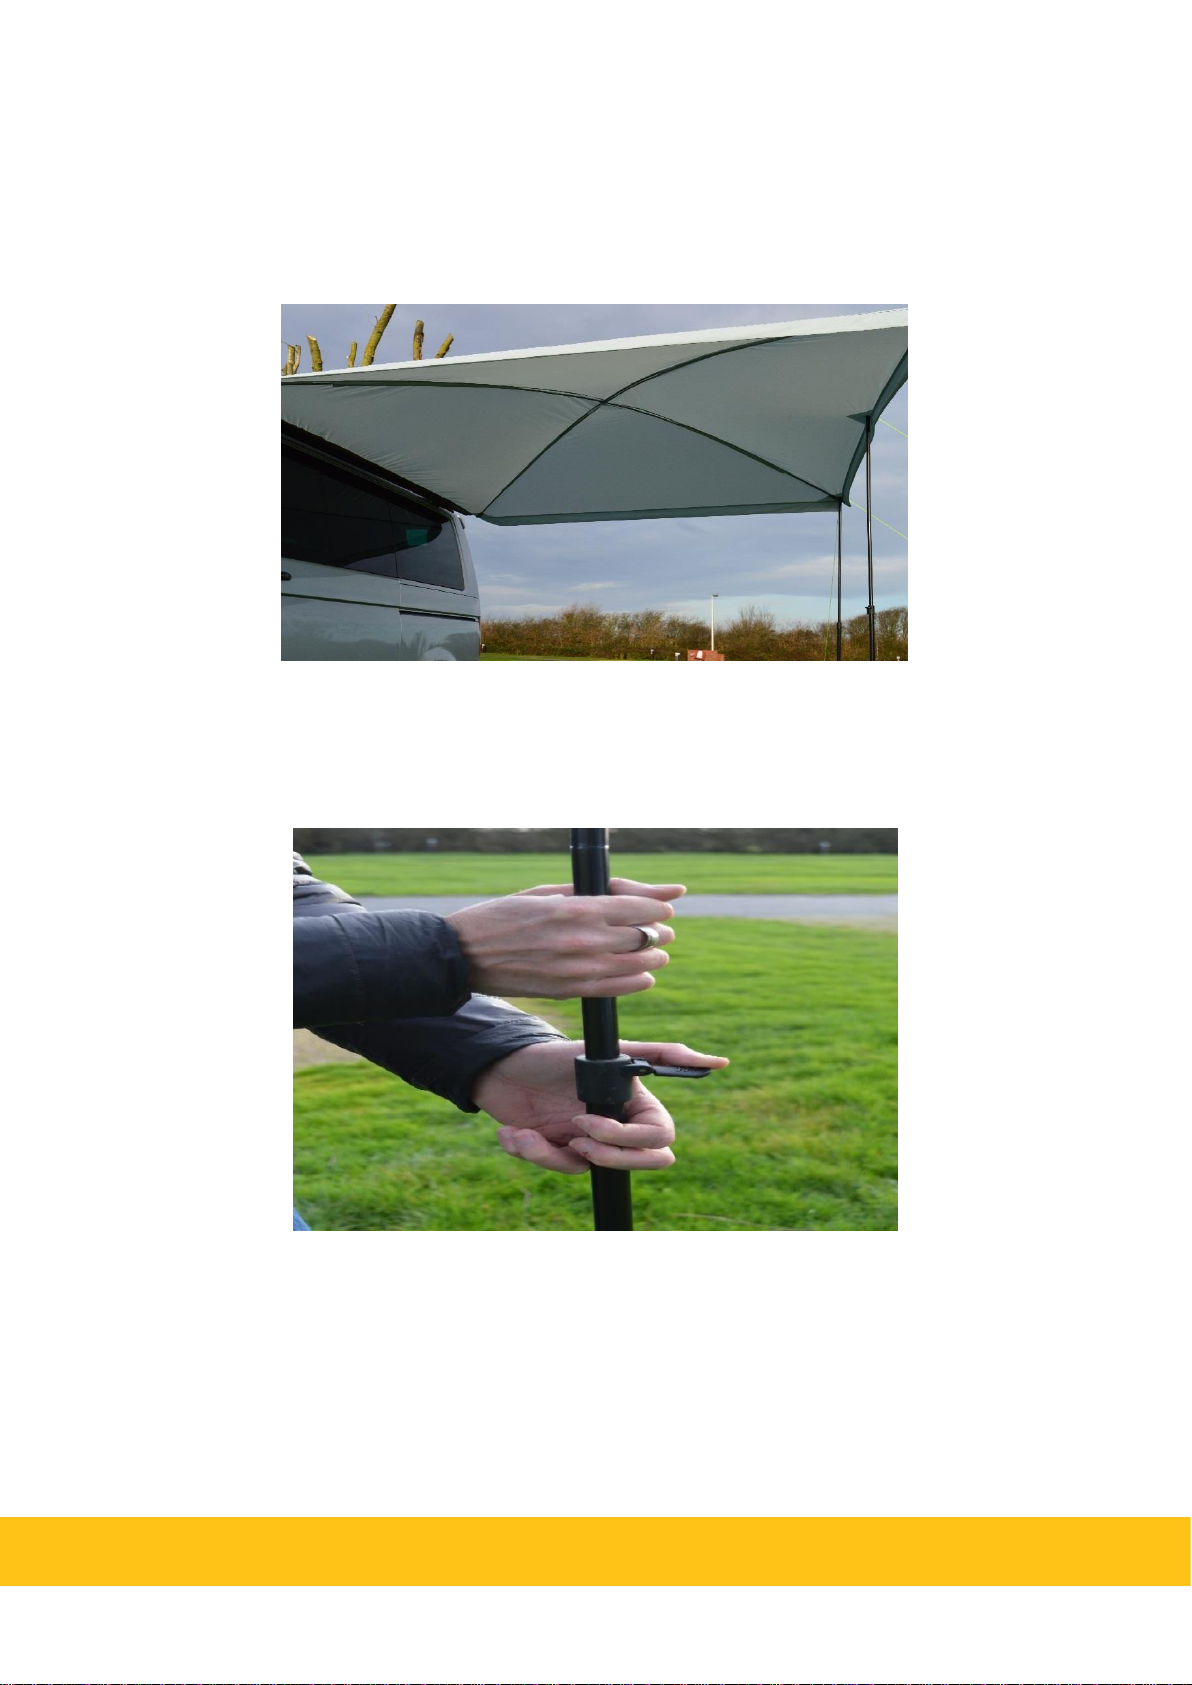
• Tie the roof poles together at the middle point of the cross with the straps provided.
From underneath the roof; push the roof poles upwards maximising the length of the
poles. This will create a dome shape as shown below:
• Adjust the height of each leg to suit the ground level to achieve a level height. It is
recommended the height of each leg should be approximately the same level as the
awning channel on the vehicle. Adjustment can be made by using the leg pole adjuster
as shown below:
Page 5

5
• Once you have achevied the correct height tension each guy rope using the guy
adjusters as shown below:
• Securely peg each foot & guy rope at 45 degrees away from the leg poles to achieve
maximum stability.
Technical Manager Maypole Ltd December 2018
Email: [email protected]
Web: www.maypole.ltd.uk
 Loading...