

Page 1
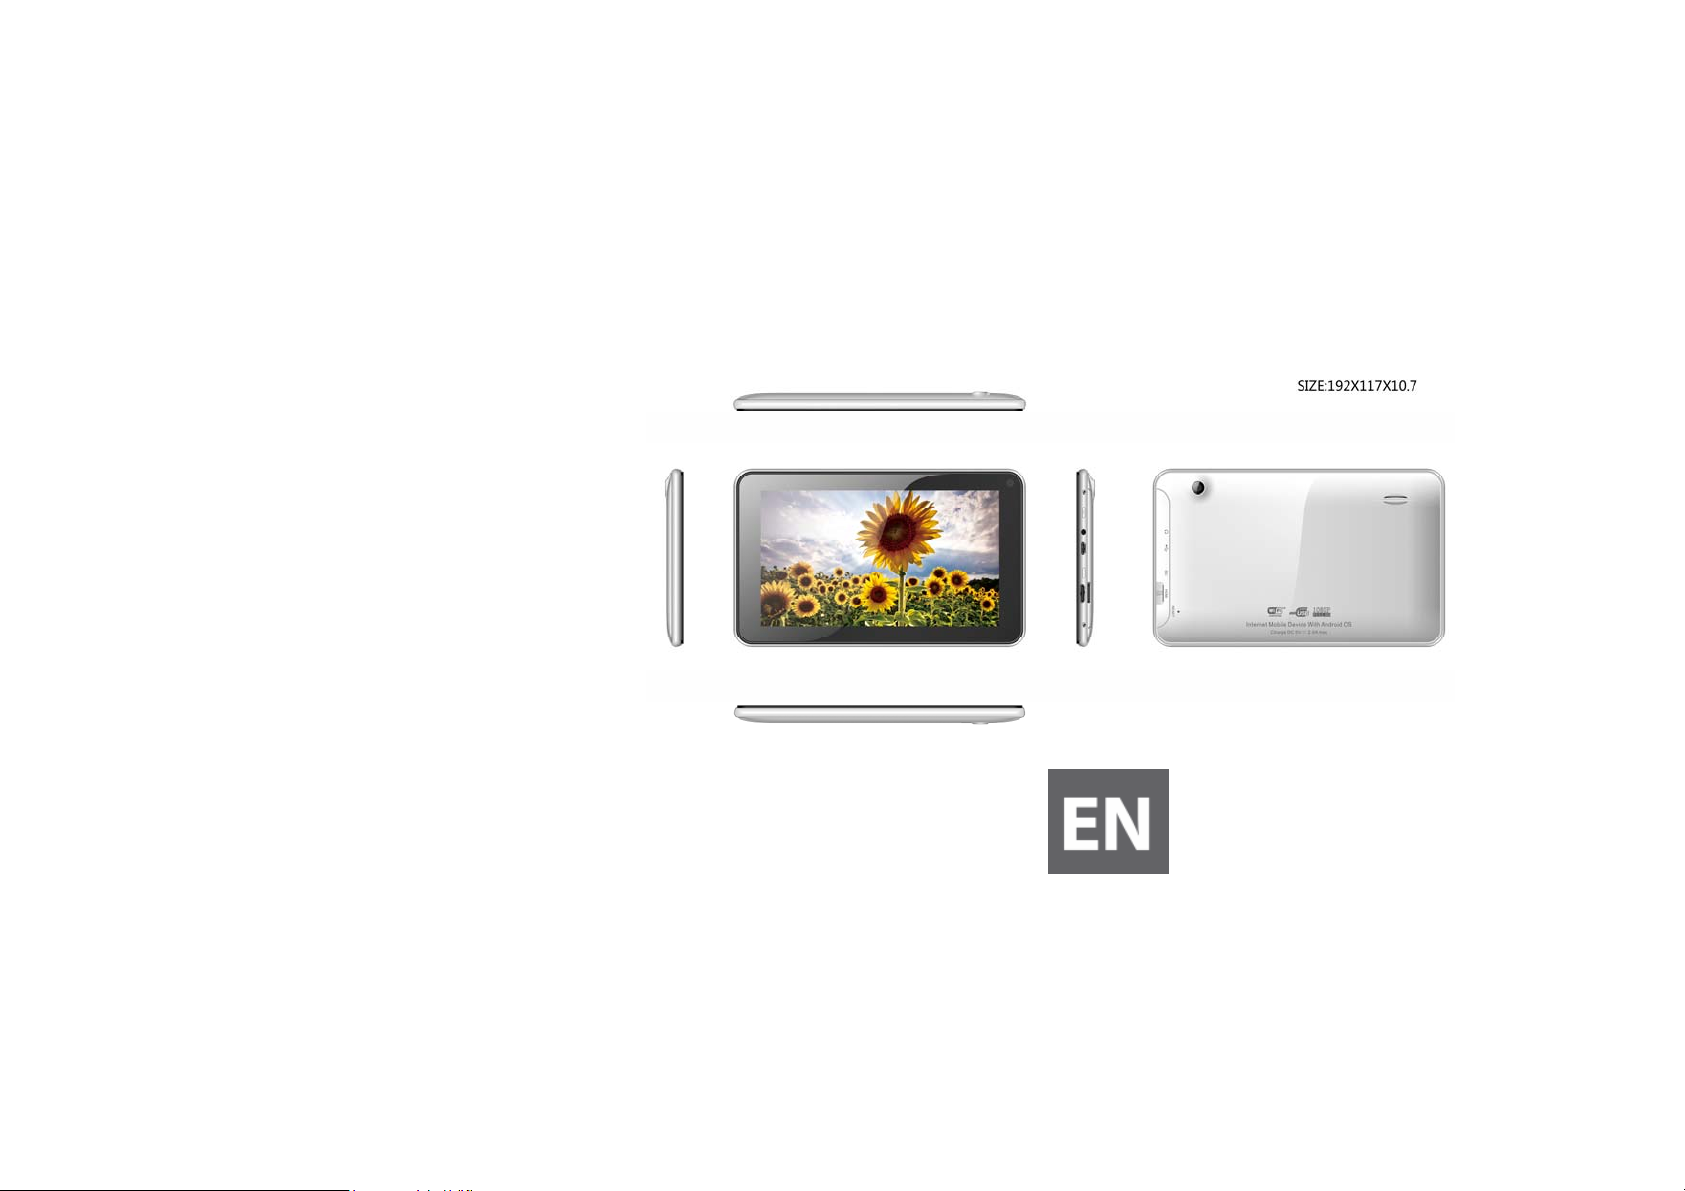
M-295
UserManual
Page 2
This manual contains important safety precautions and information of correct use.
Please be sure to read this manual carefully before use so as to avoid any accidents.
Do not place the product in hot, wet or dusty environment, especially in summer, do not leave the
product inside a car with all windows closed.
Avoid dropping, impacting or shaking the product violently, otherwise it may cause damages or
malfunctions. Select a proper volume to avoid ear problem when using earphones.
Be sure to use the provided chargers and accessories in the package.
Be sure to charge the product when the following situations take place,
- The battery icon shows lower or empty.
- Operation keys do not respond properly.
- The device shows
on the top right corner.
Page 3
specification
Hardware
7”TFT LCD Touch Screen(800x480 pixe)
Capacitive multi-touch (10 touch) point function
CPU: Dual Cortex-A7 Core
RAM : DDR3 512M (3D accelerator possible for 3D games)
Wi-Fi (IEEE802.11 b/g/n) for internet connection
USB host for OTG function
G-sensor
Micro SD card slot recognizing up to 32GB
Built-in speaker & Built-in MIC
5V DC power adapter
keyboard ,mouse,Earphone
Software
Andriod 4.2 ICS
Google browser
Wi-Fi connection
e-Book function (all e-book formats supported by application)
VoIP phone function with Wi-Fi connection
Video: AVI, RM/ RMVB, FLV, MPG4 – 1, MPEG – 2 etc.
Audio: MP3, WMA, AAC, WAV etc.
Photo: JPEG, BMP, GIF, PNG, TIFF
Page 4
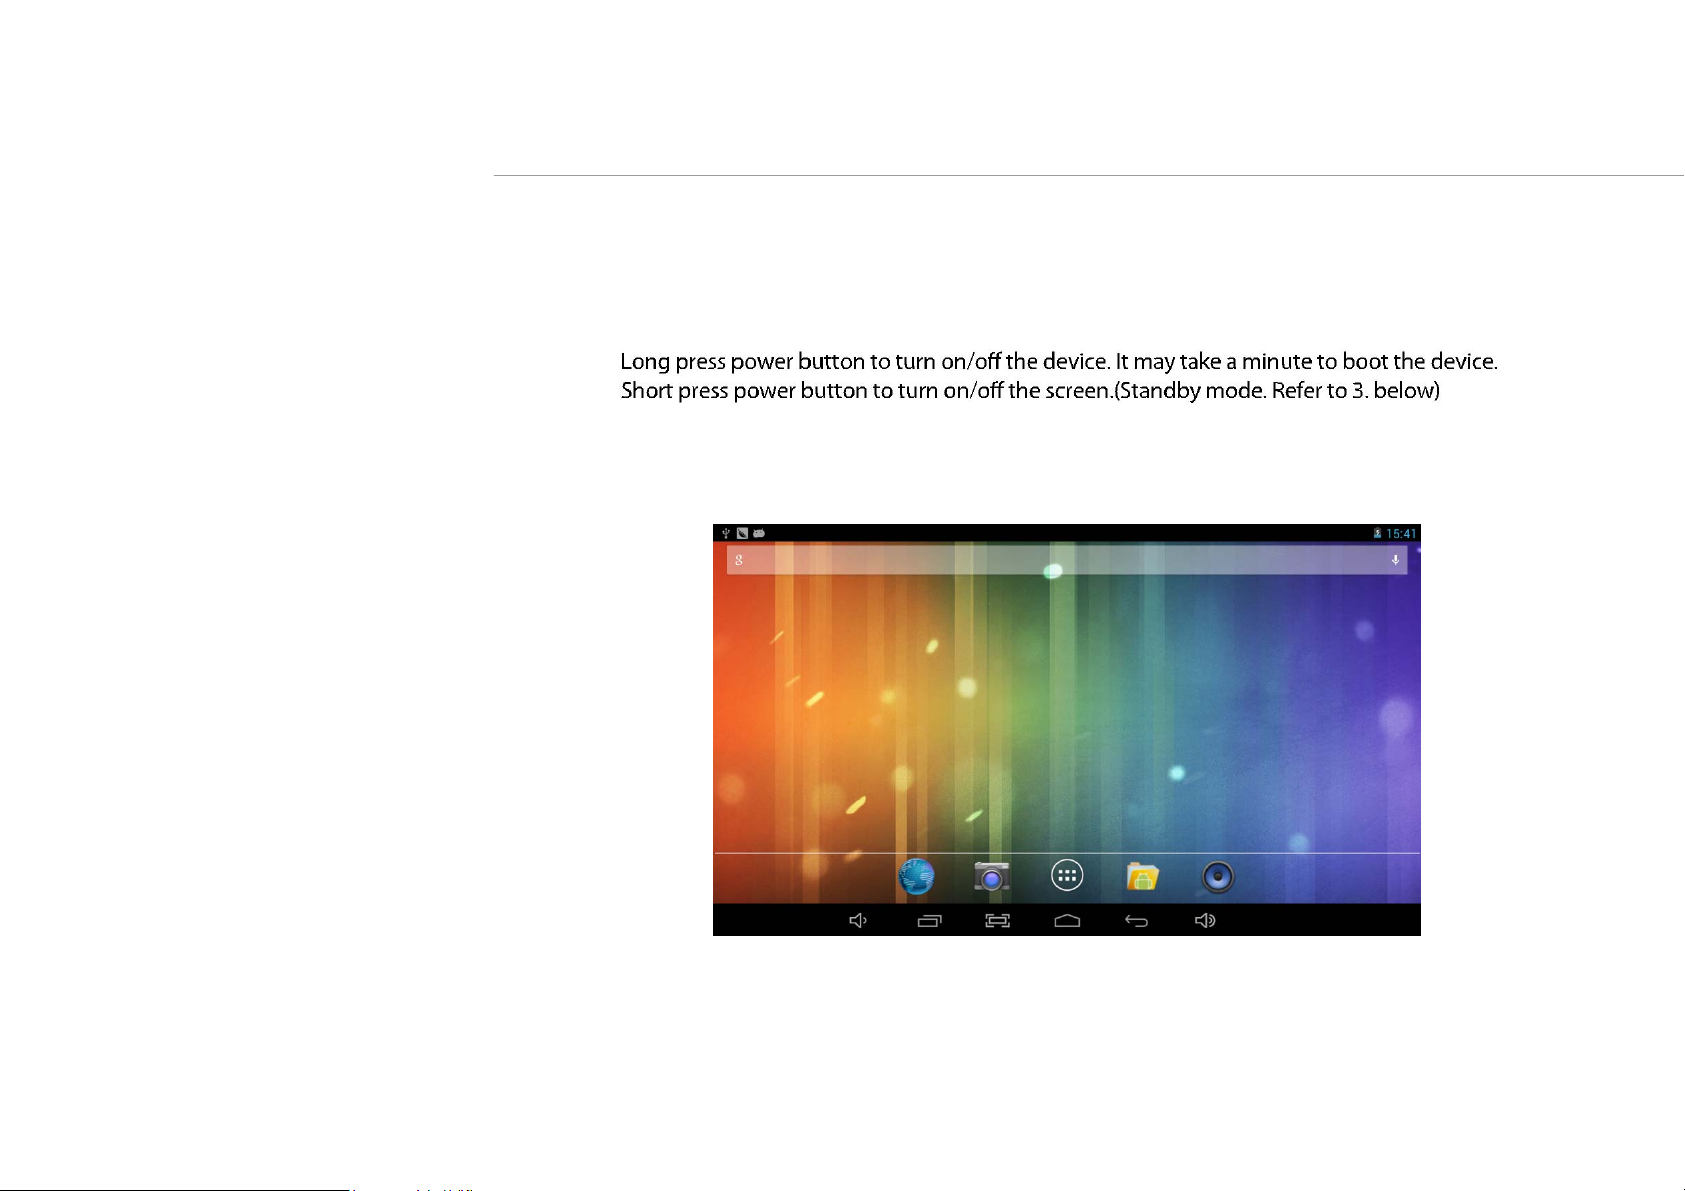
1. Power On/Off
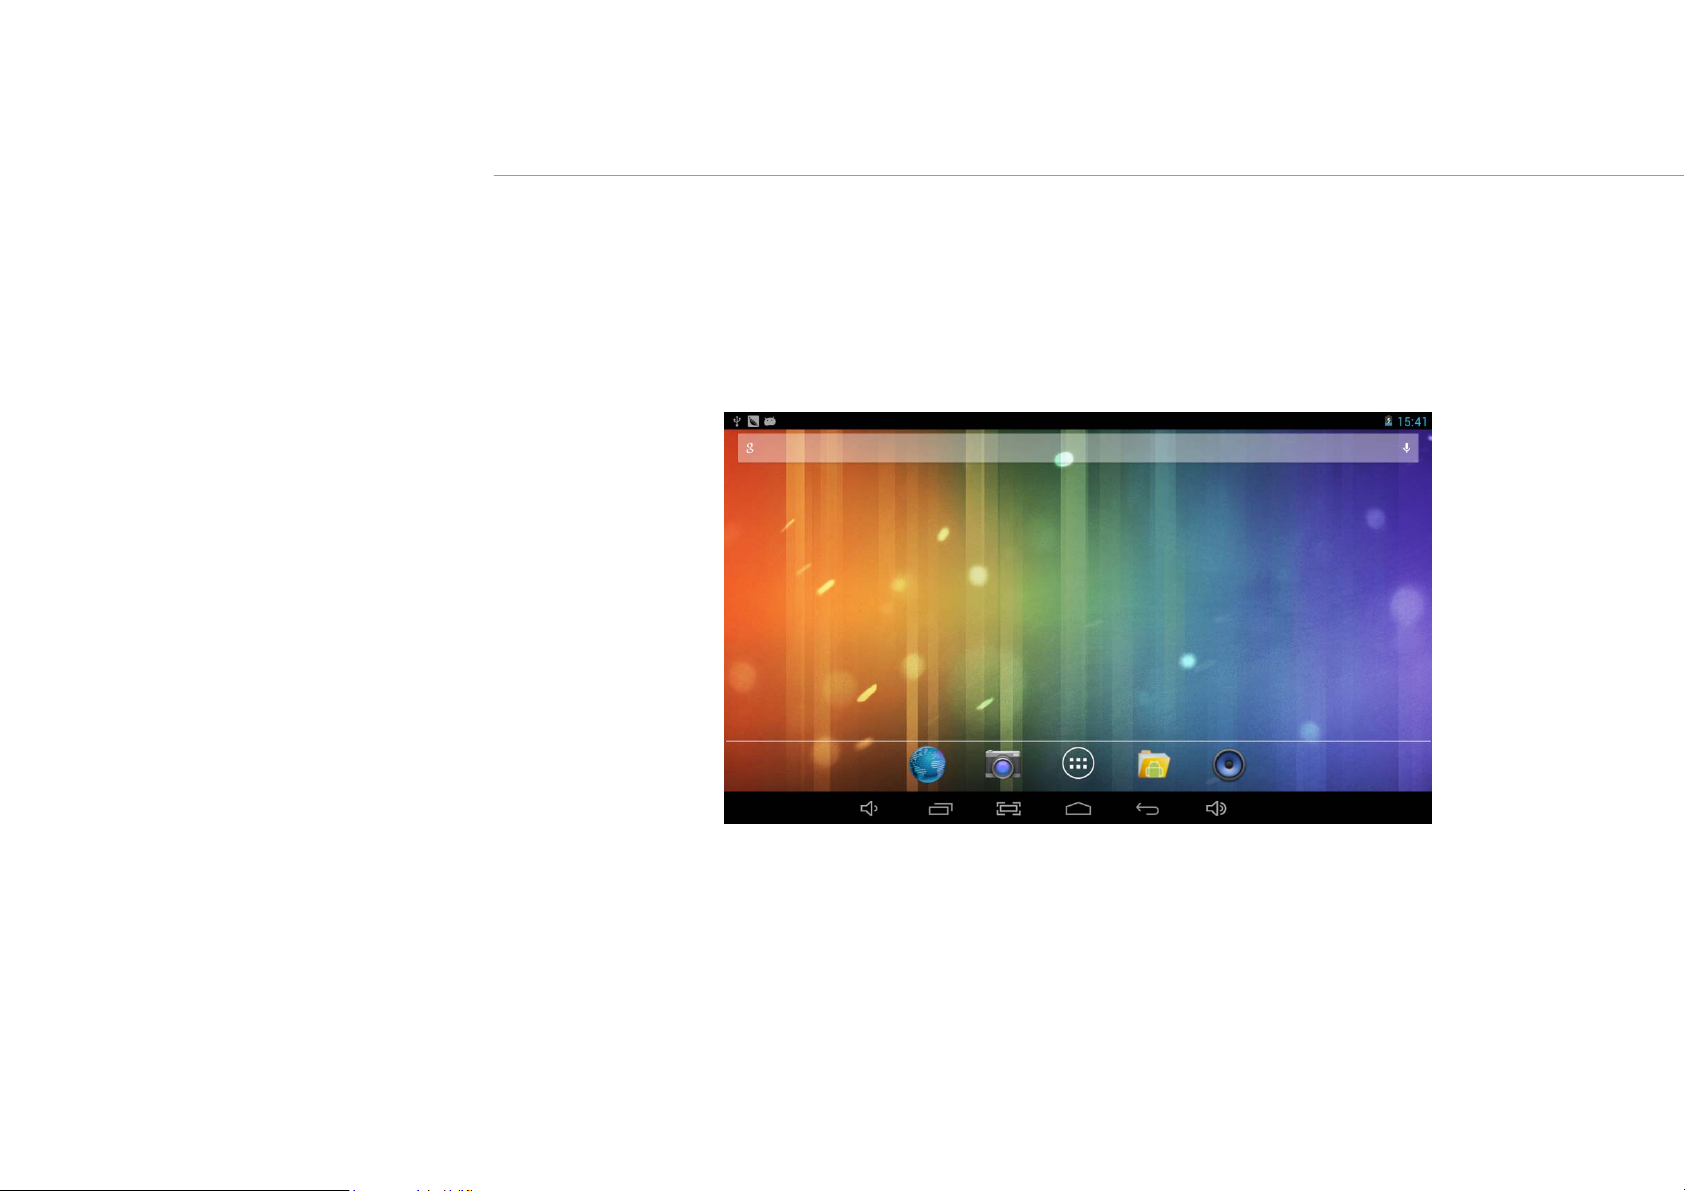
2. Desktop
After turning on the device, desktop displays with shortcut icons and arrow panel at the right side
Page 5
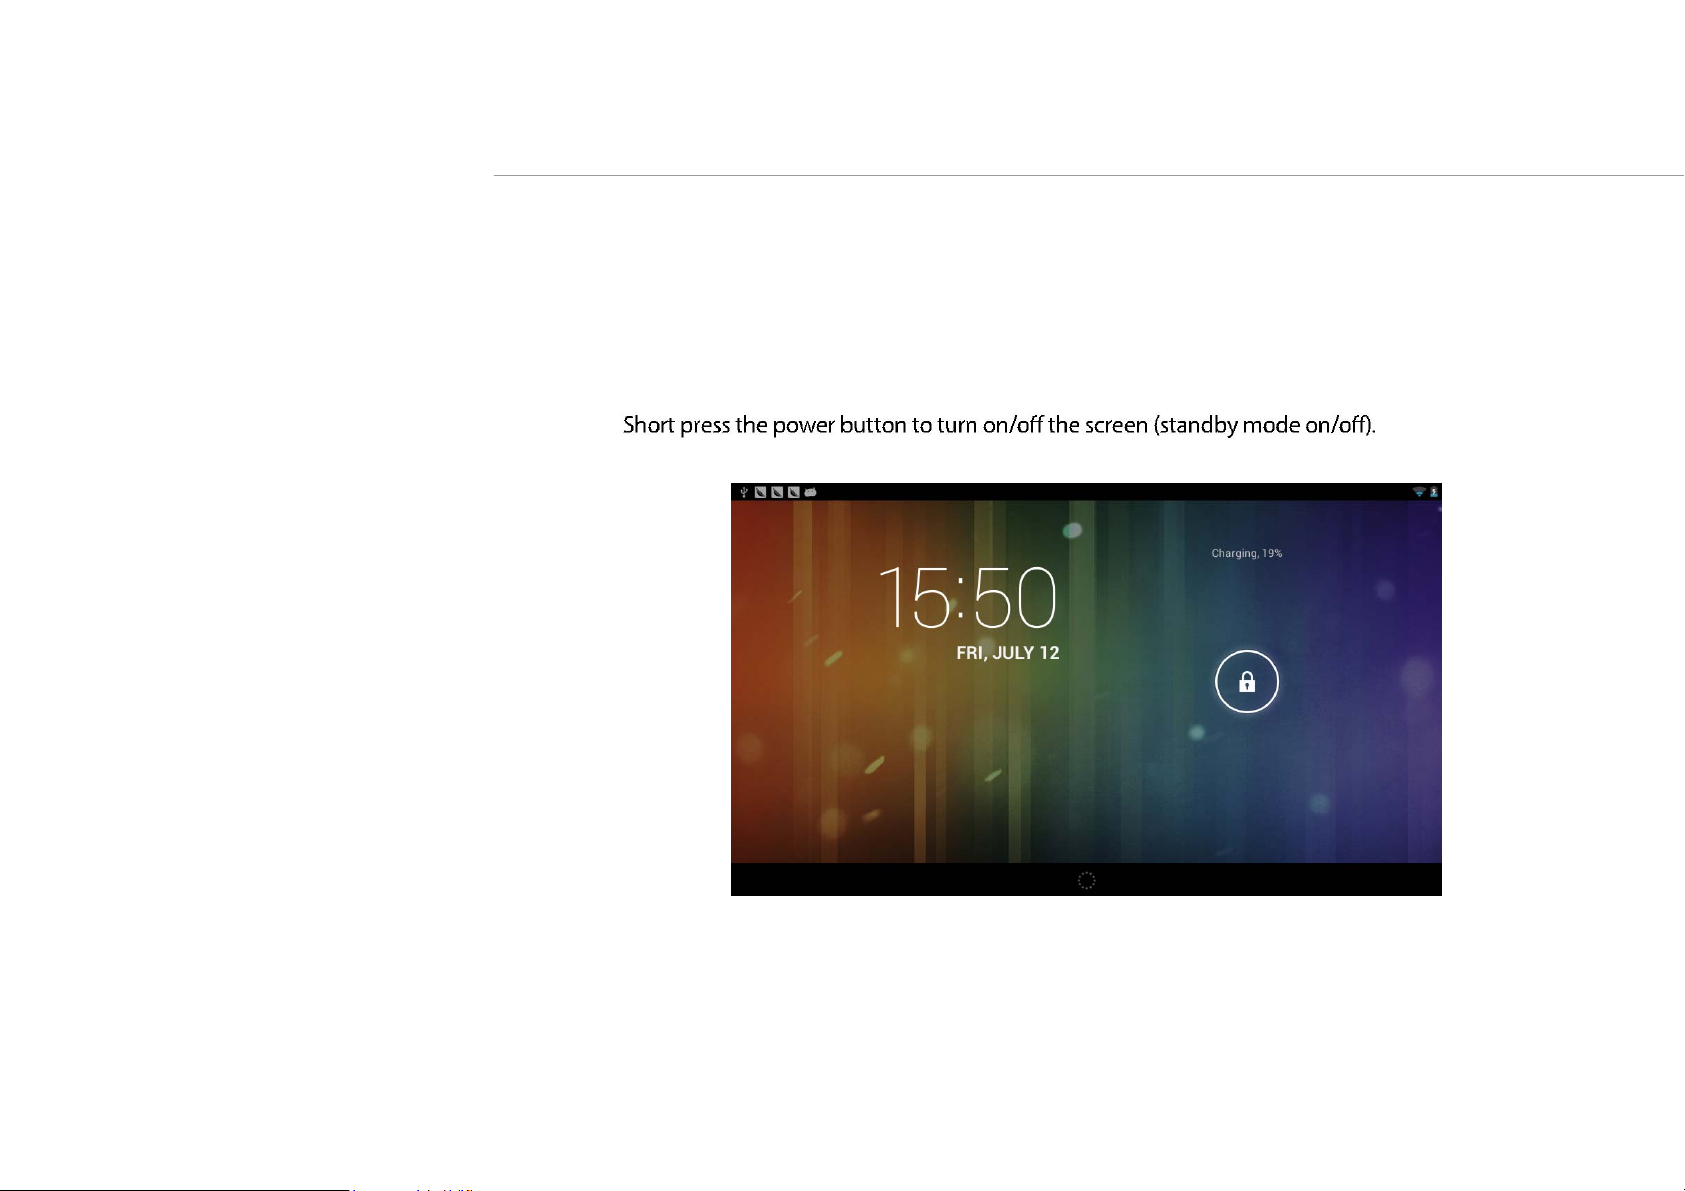
3. Standby mode(Screen off mode) /
Unlock the screen
After standby mode o , slide the lock icon in order to unlock the screen.
Page 6
4. System settings
On the desktop, press menu button and select system settings.
Page 7
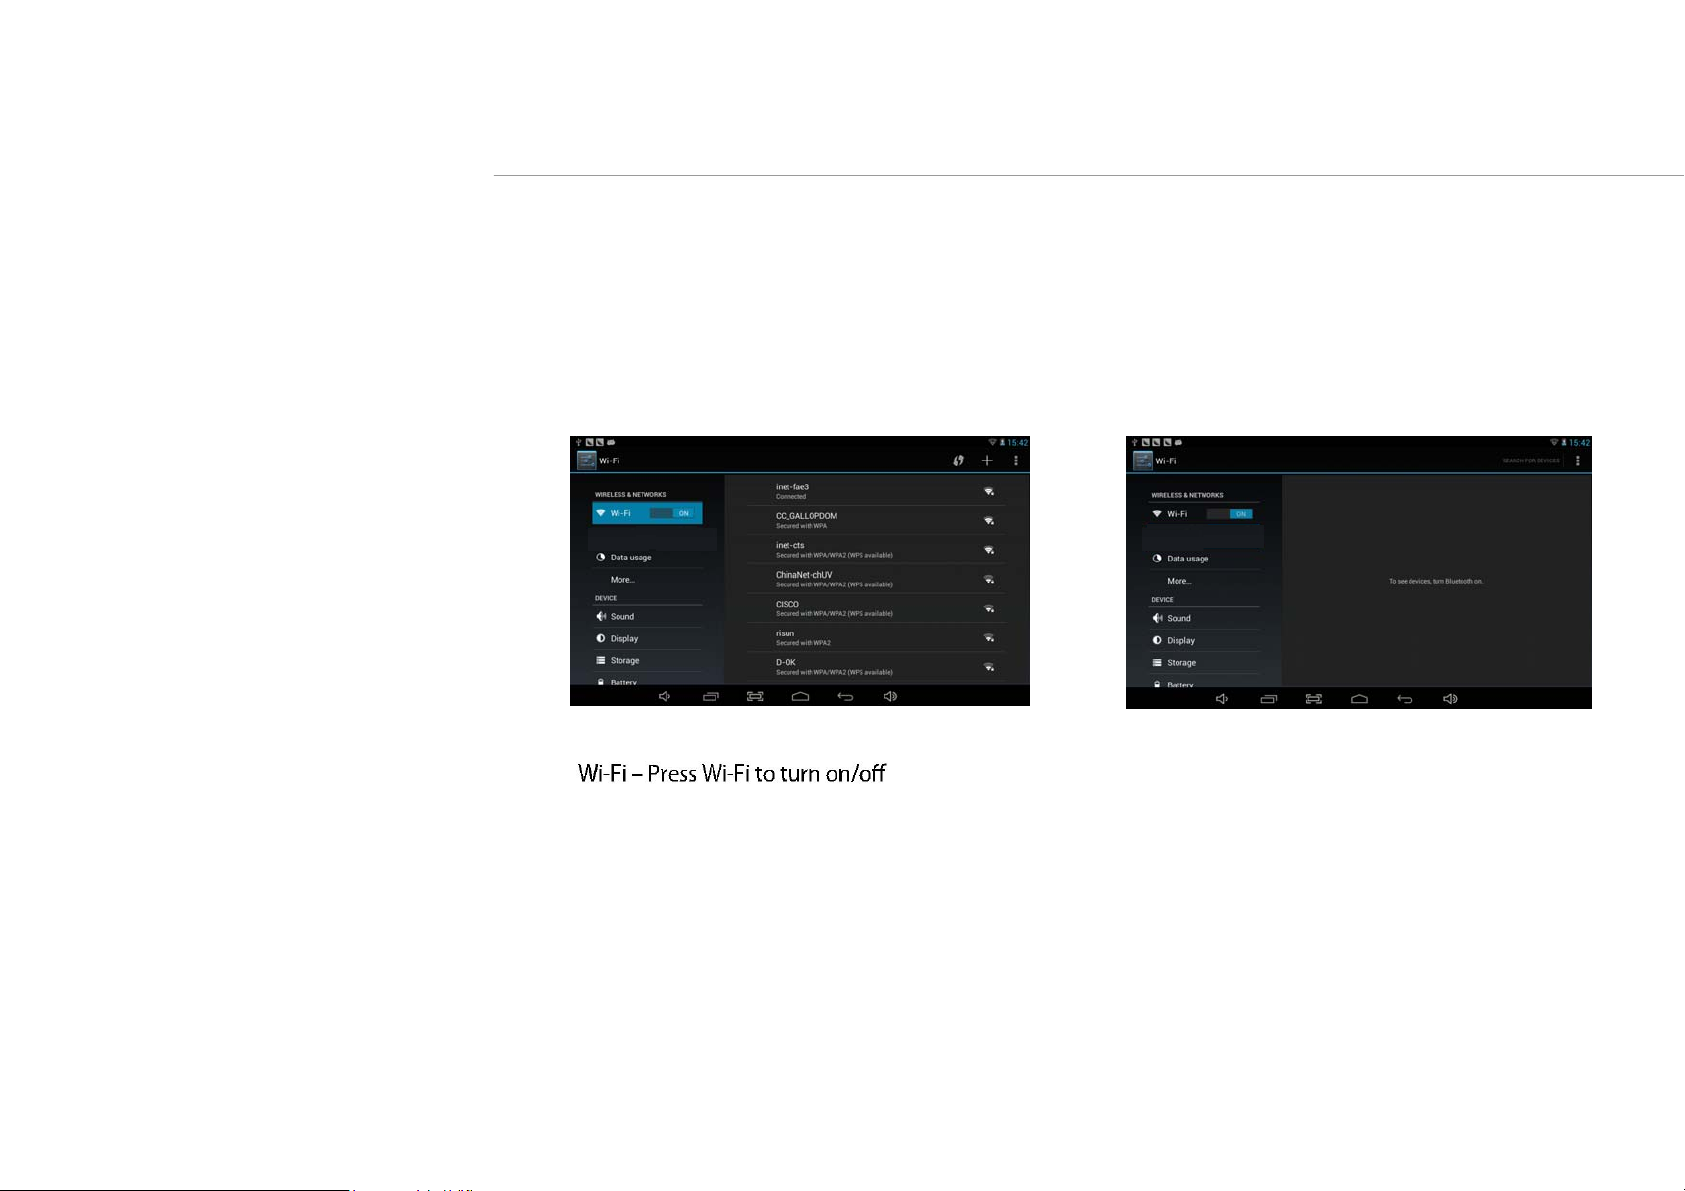
Press System Settings
1.Wireless & networks and bluetootr
Set up each setting as you like. Wi-Fi settings - Press Wi-Fi
settings, then the device
will automatically search the available Wi-Fi signals. Select the network
you want to connect with.
Page 8
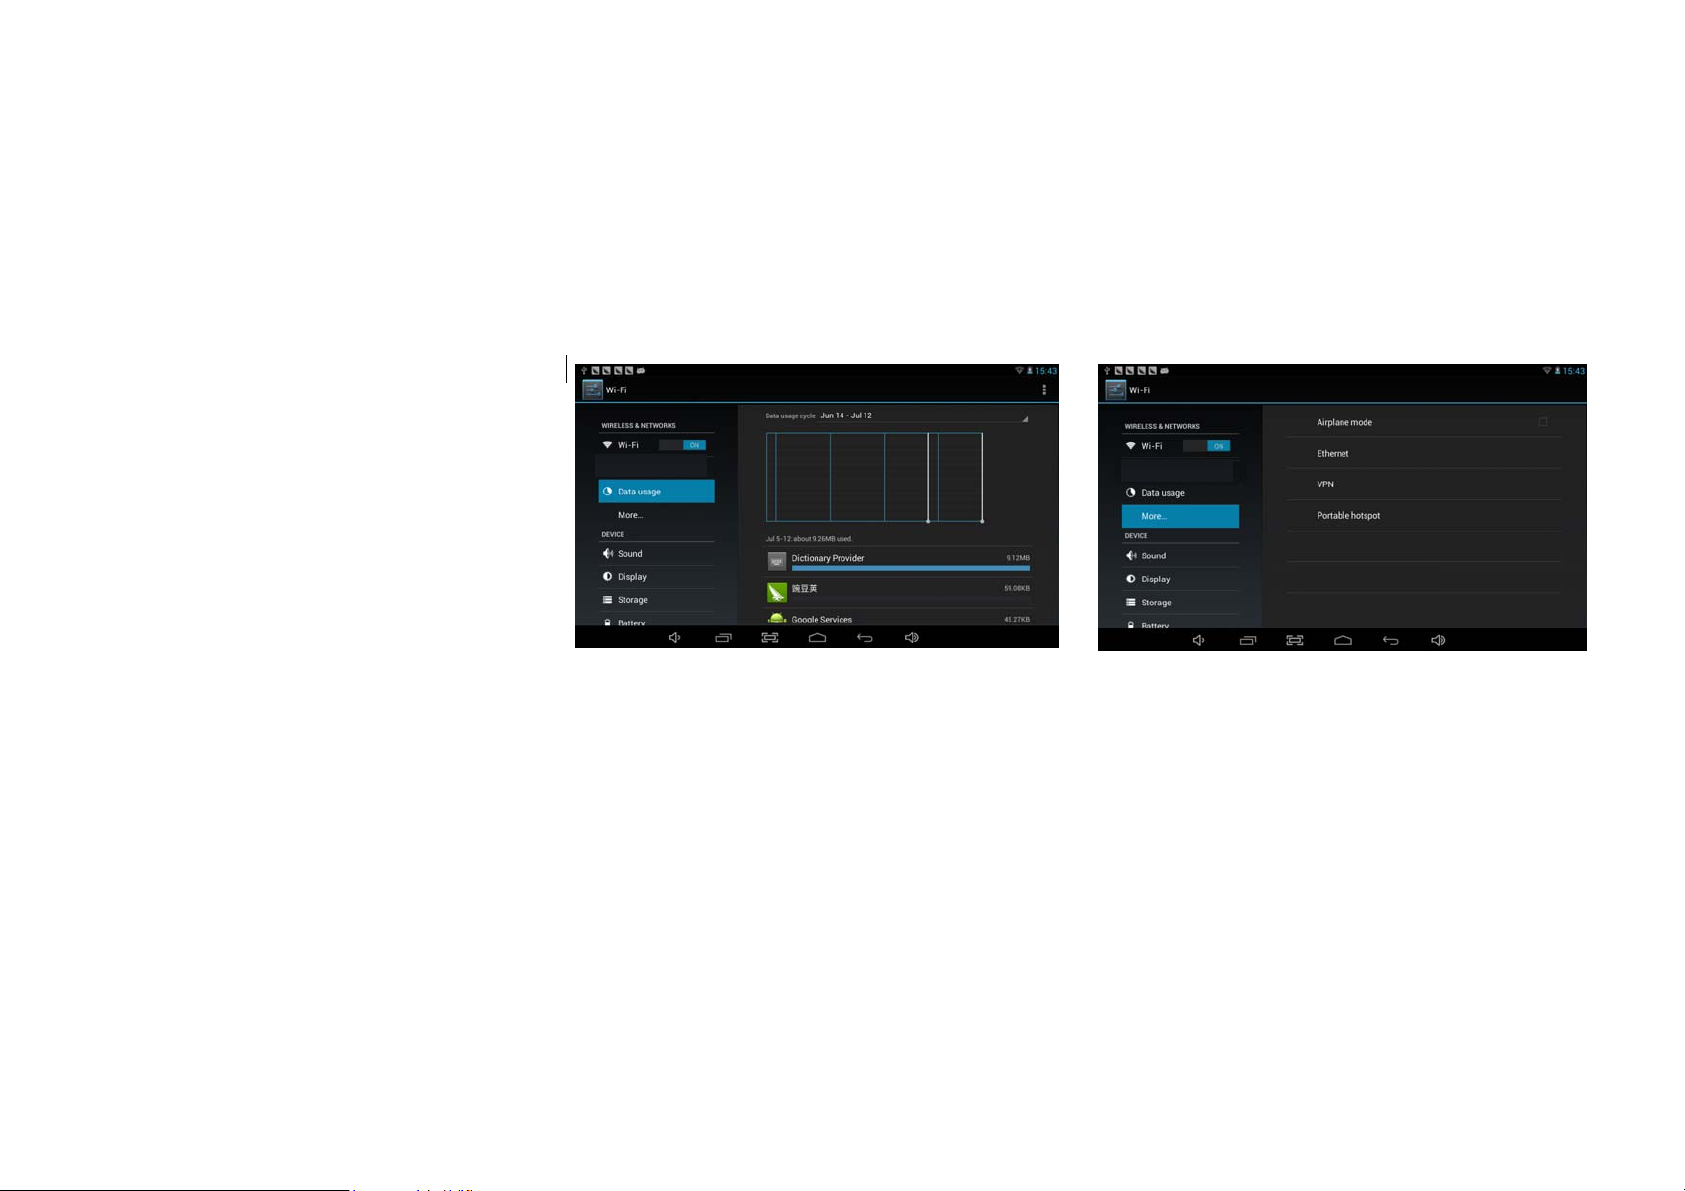
2.Data usage 3.More…
Page
Slide mobile data switch to select open or close
the flow usage.
Page 9
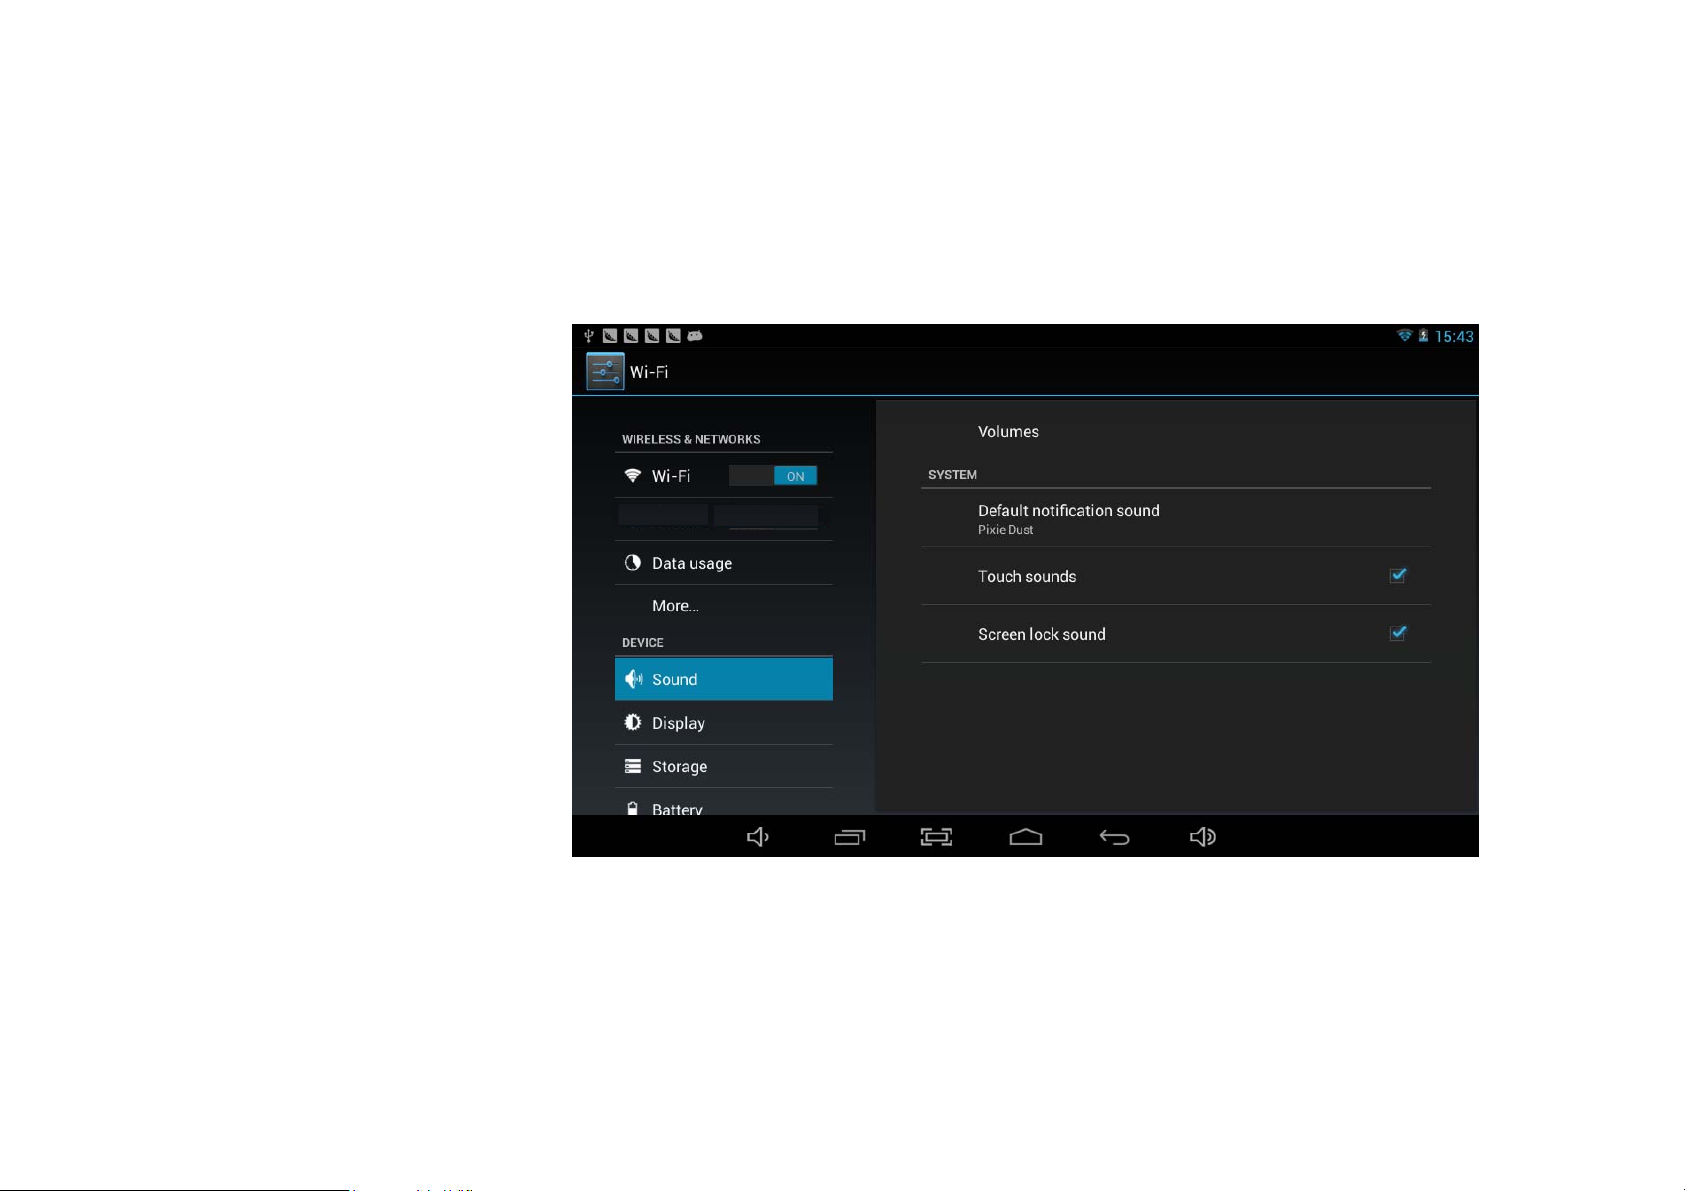
4. Sound
Page 10
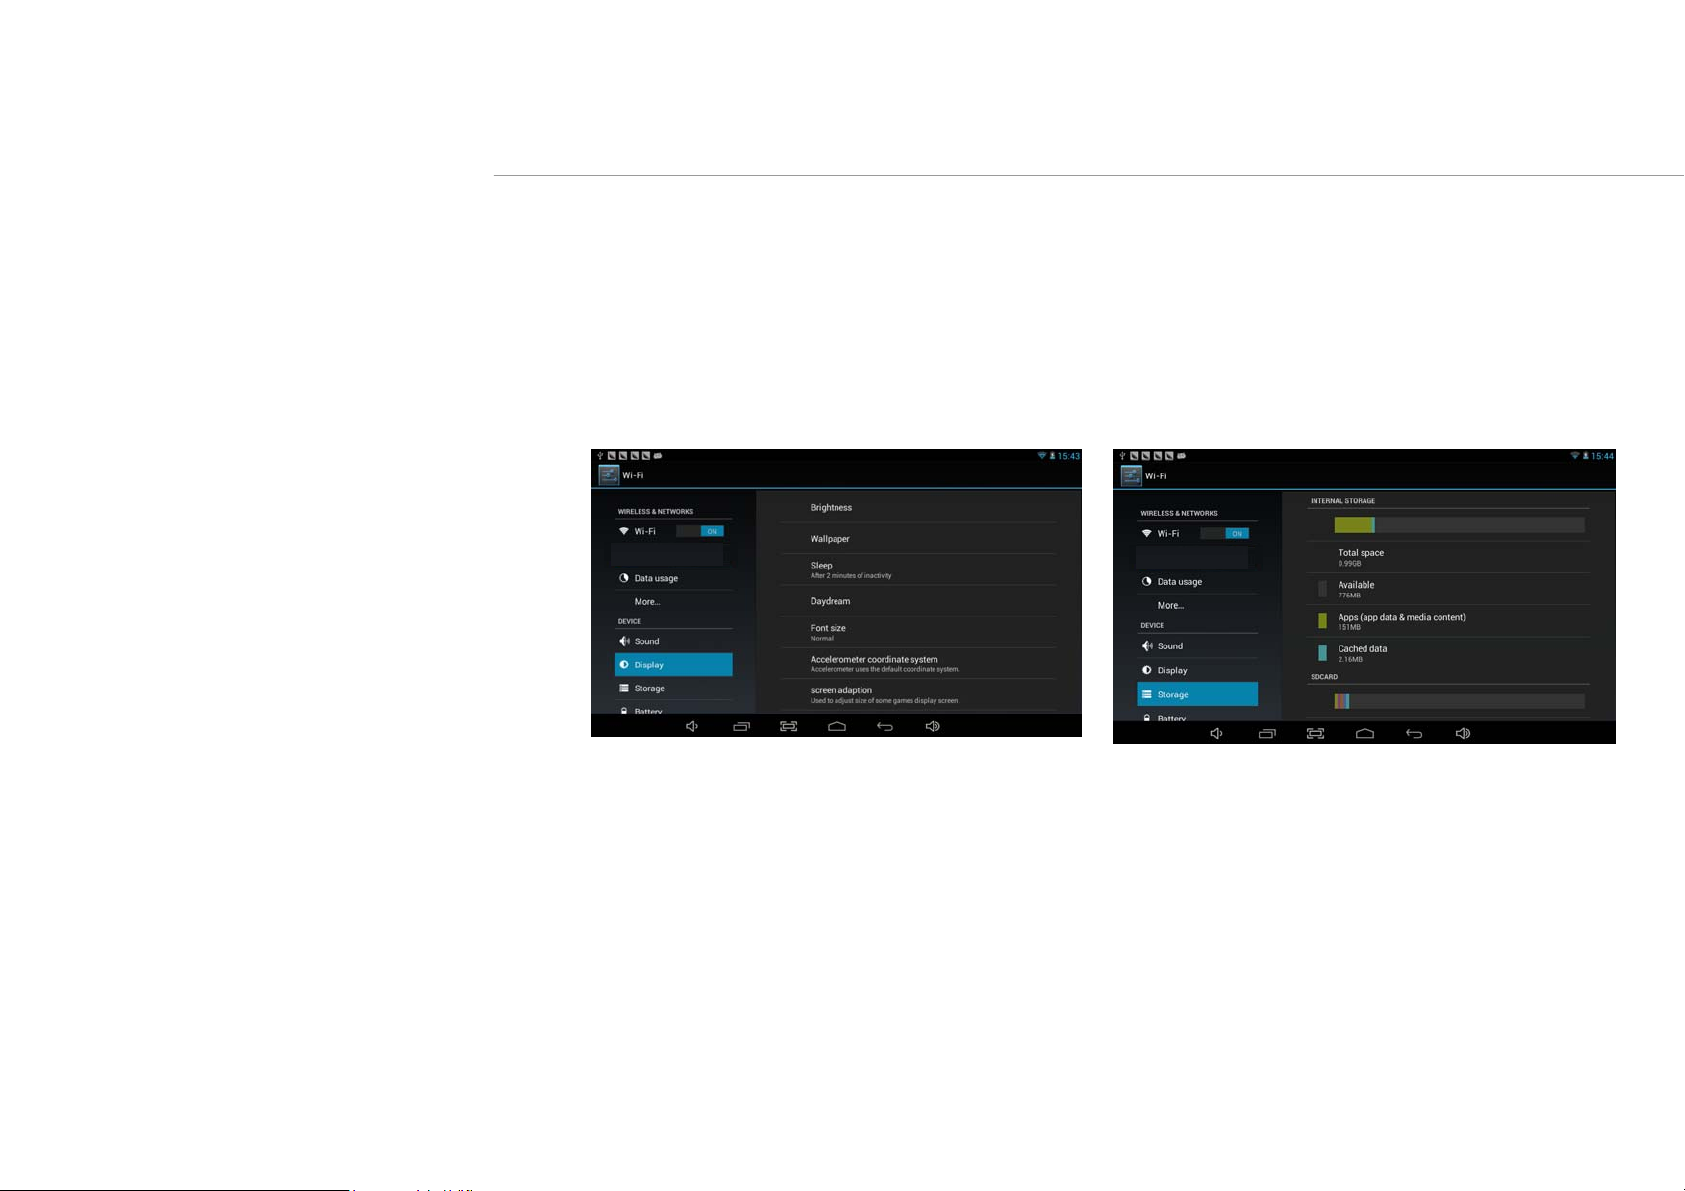
5. Display
Set up each setting as you like.
6. Storage
Check device memory and microSD card status.
Unmount SD card – Unmount the SD card for
safe removal.
Page 11
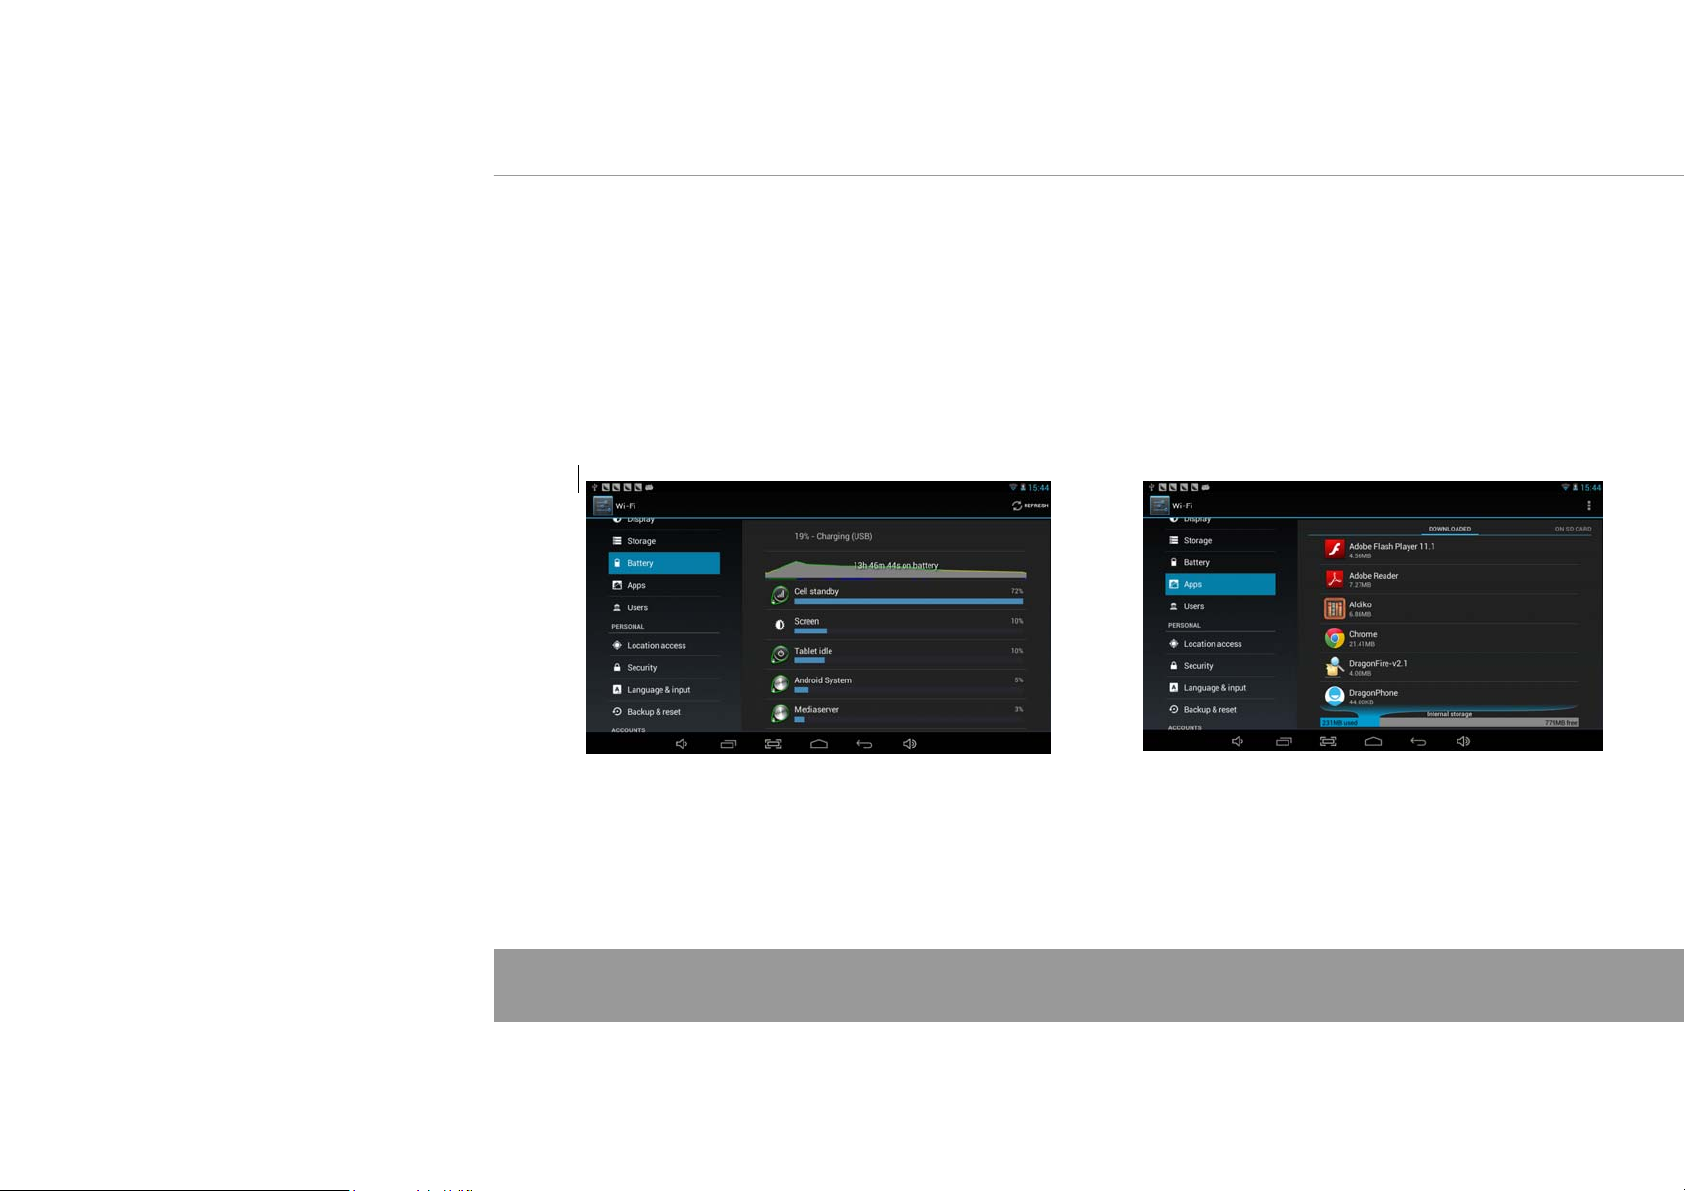
7. Battery
Check battery usage status.
8. Apps
Manage downloaded or running applications.
Downloaded
All installed application are listing.
Page 11
Page 12

9. Account & sync
Create your account. After connecting Wi-Fi network, the e-mailing system synchronizes
your account with the device. Emails are automatically downloaded into the device.
10. Location services
Google’s location service - Let apps use data from sources such as WiFi and mobile networks
to determine your approximate location
Page 13
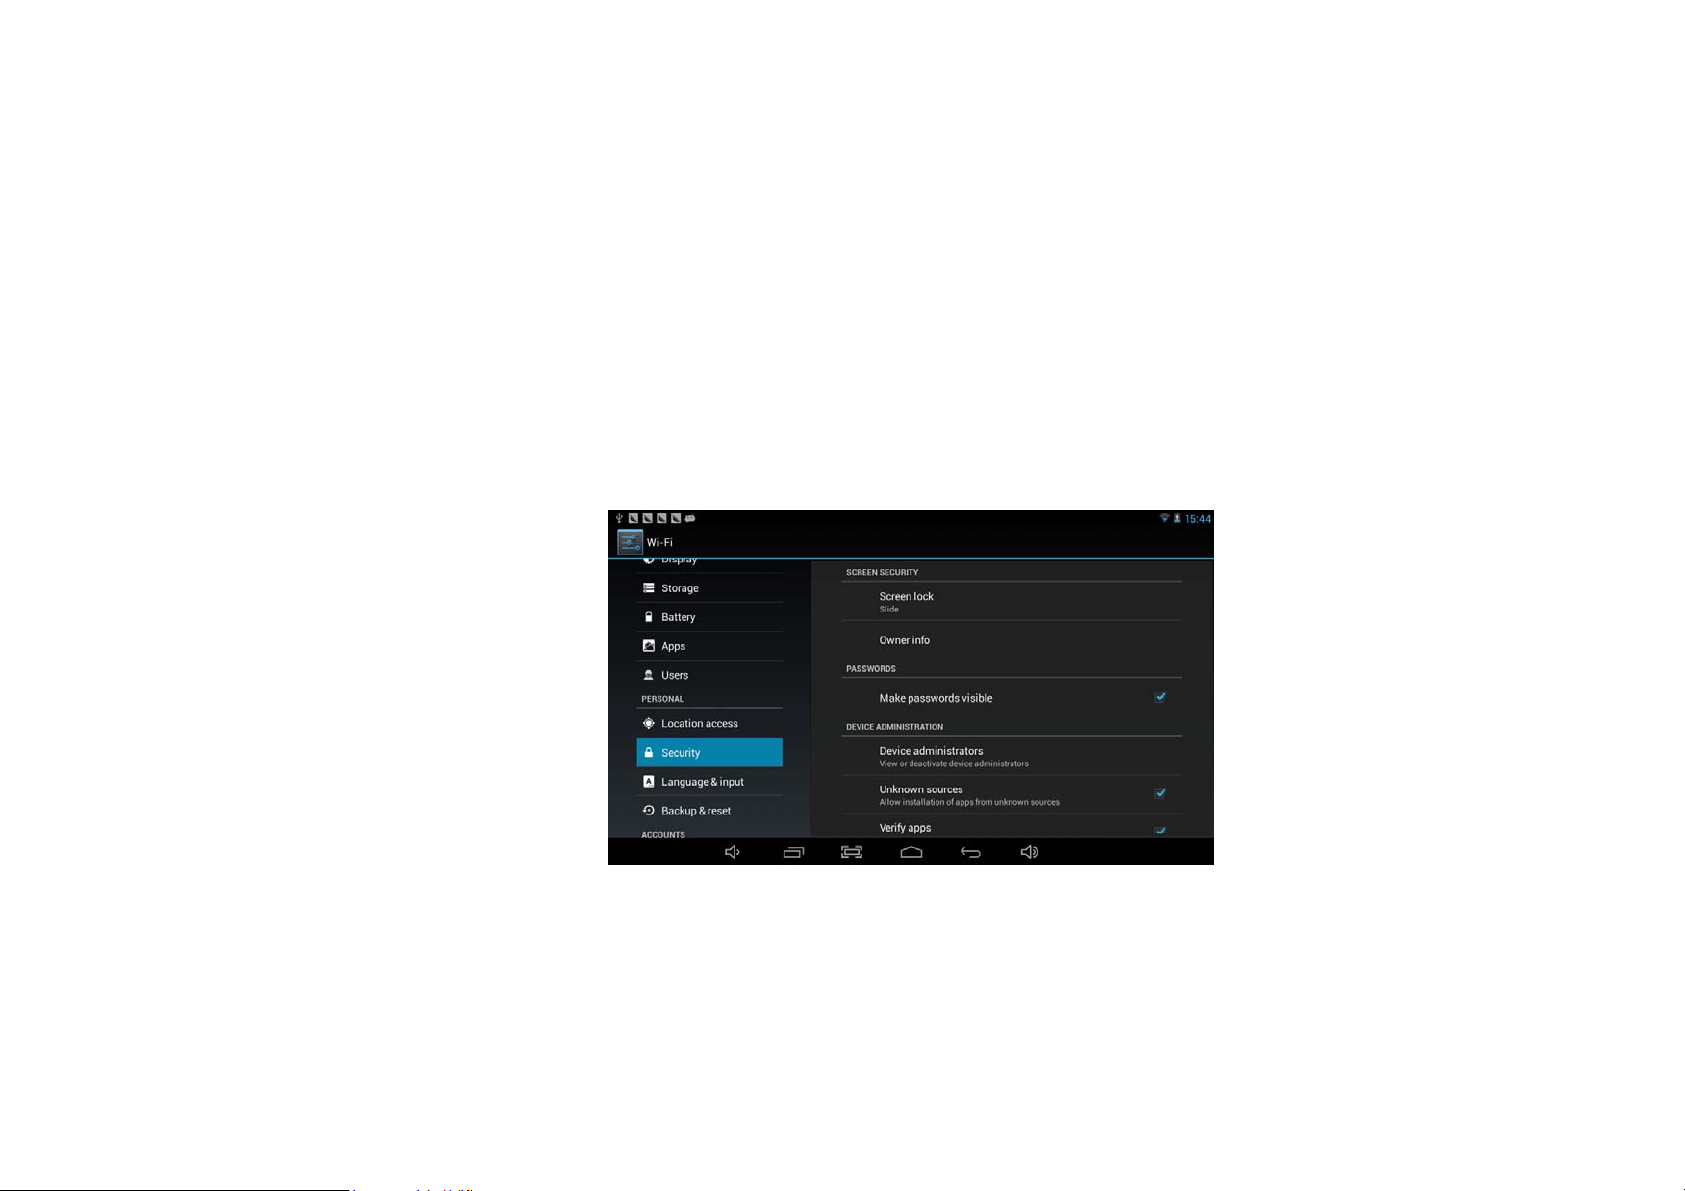
11. Security
Screen lock – Protect your device from unauthorized use by creating a personal screen
unlock pattern. Make passwords visible – Show password as you type.
Unknown sources - If you want to allow installation of non-Market
Applications, Press Unknown sources and presses OK.
nstall from SD card – Install encrypted certi cates from SD card.
Page 14
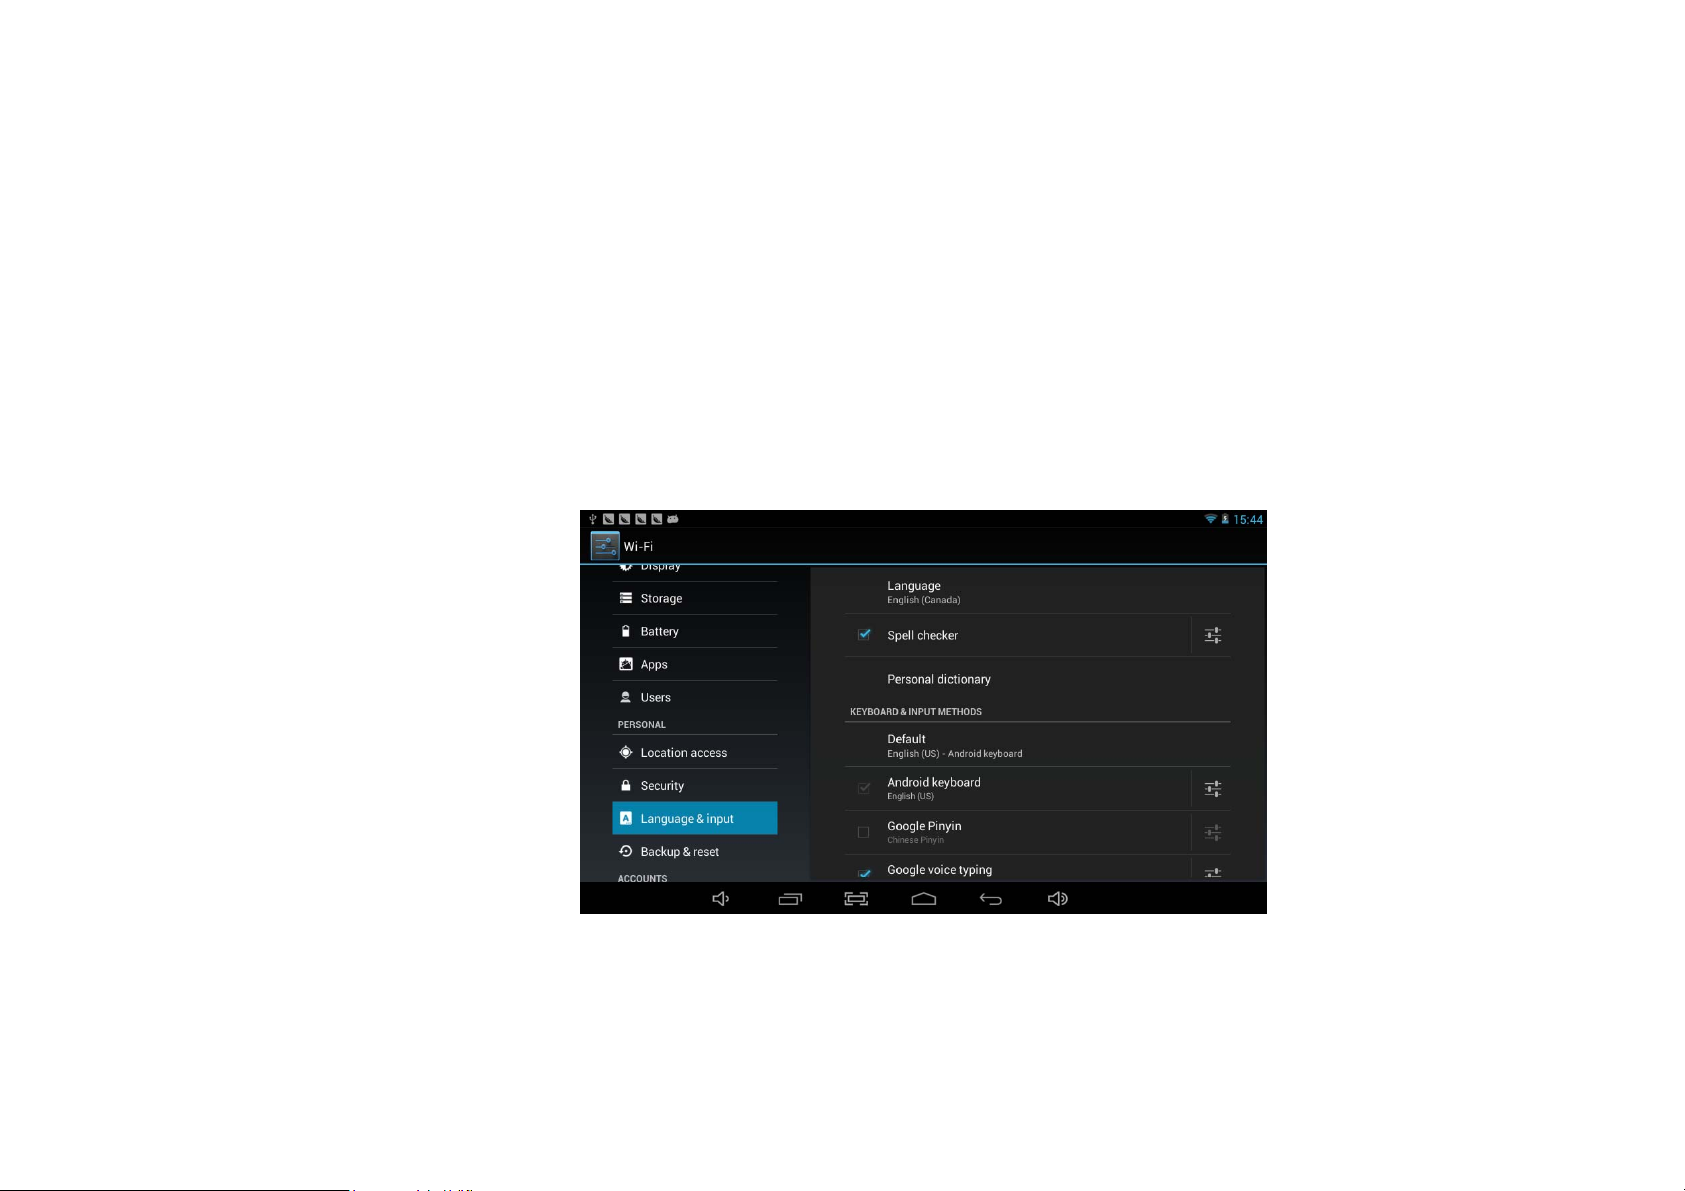
12. Language & input
Language – Choose your preferable language.
Keyboard & input method – Change keyboard & keyboard settings.
On Language & input settings, if you need other languages besides English on keyboard,
press the relevant keyboard and enter the chosen Keyboard settings, select Keyboards,
press the language you need.
Page 15
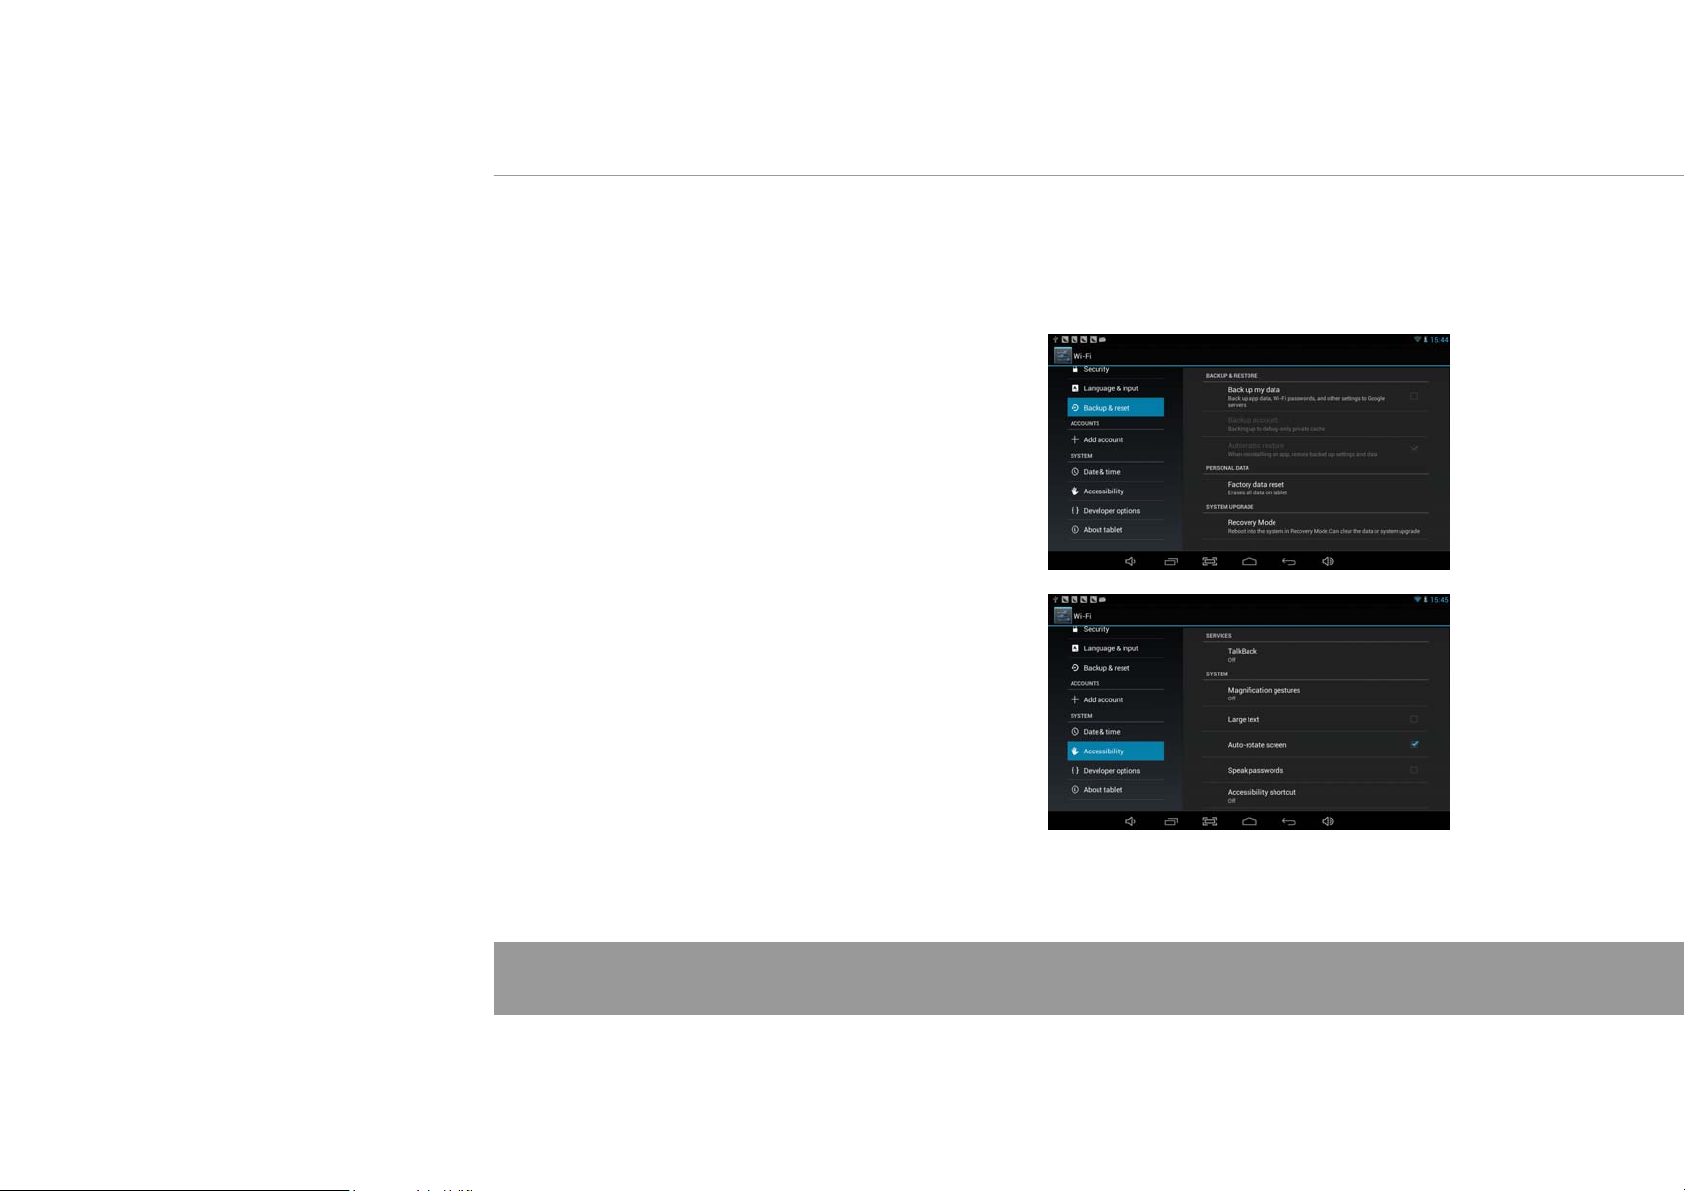
13. Backup &Reset
14. Date&time
Set date & time and format
15. Accessibility
Set date & time and format
16. Developer options
Set options for application development
17. About tablet
See status, legal information, ETC
Page 16
Page 16
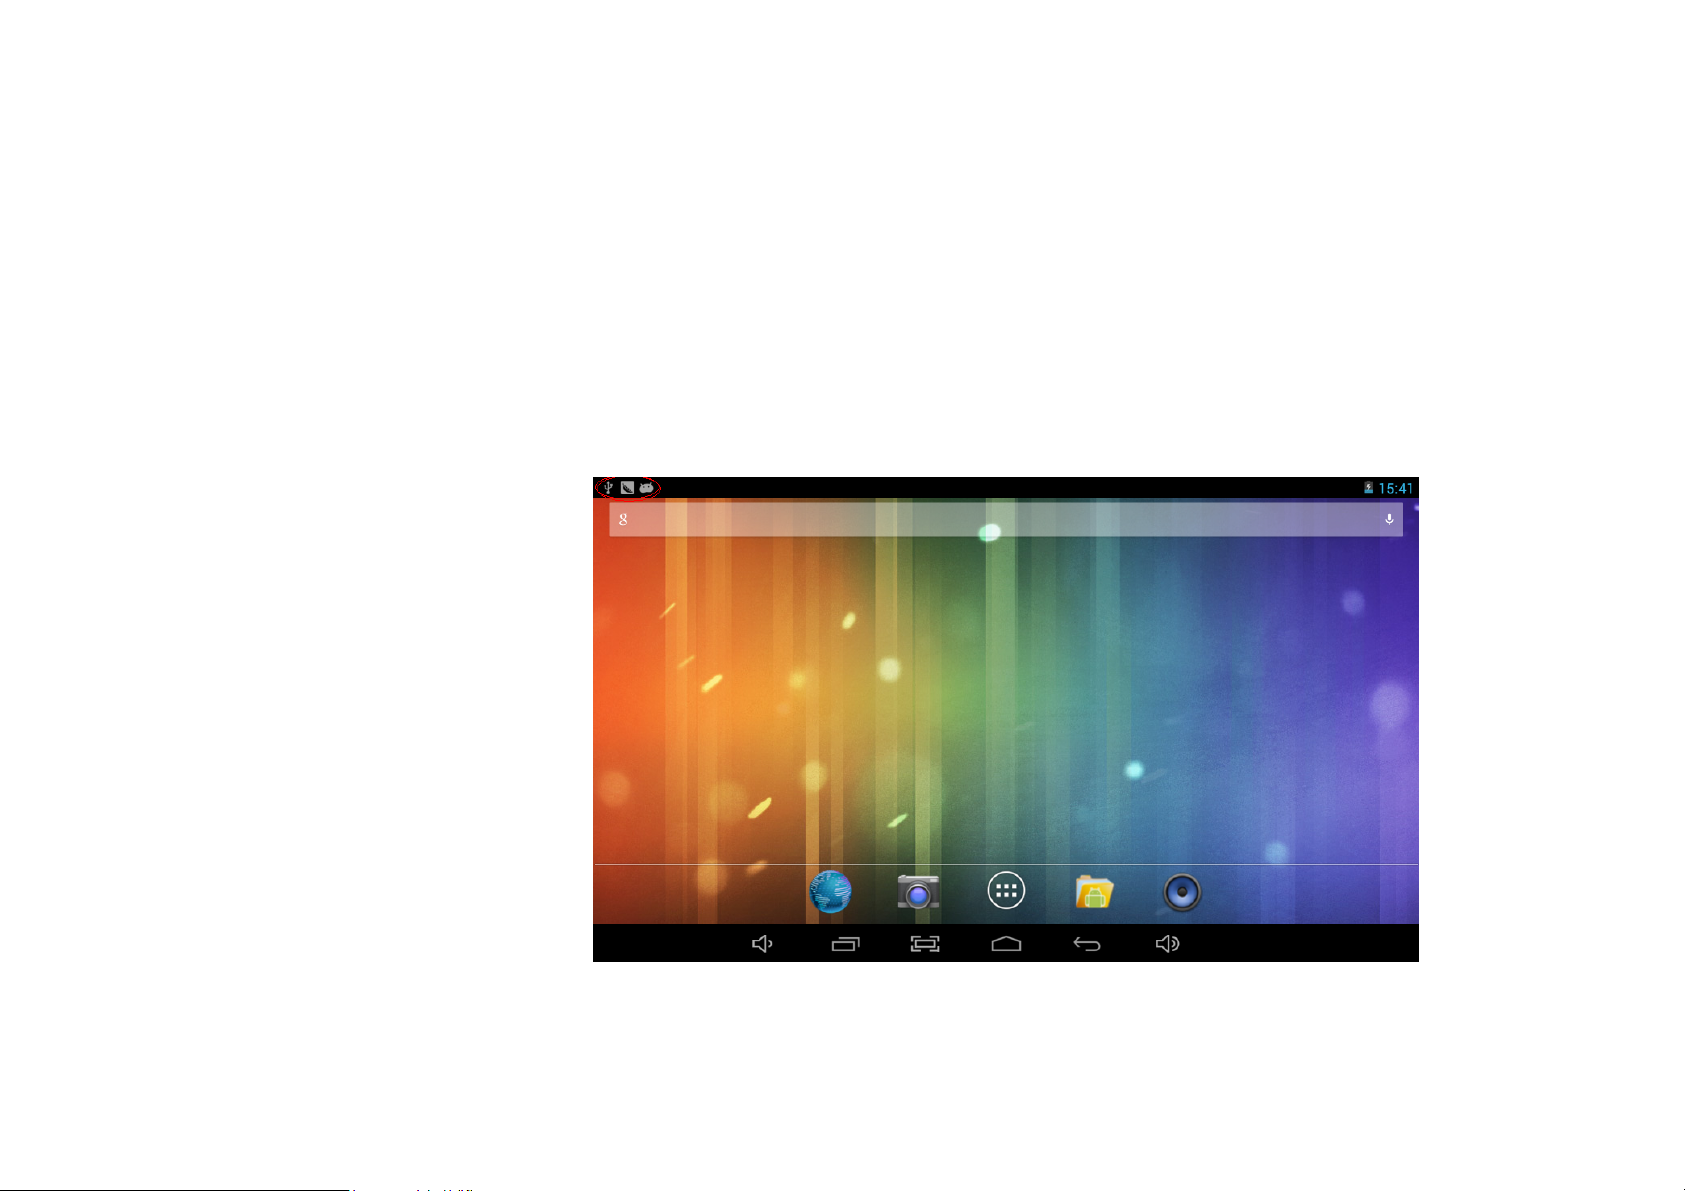
How to connect/disconnect the device
with/from the computer
On main desktop, connect the device with the PC,
touch right side of the status bar on the bottom of desktop
Page 17
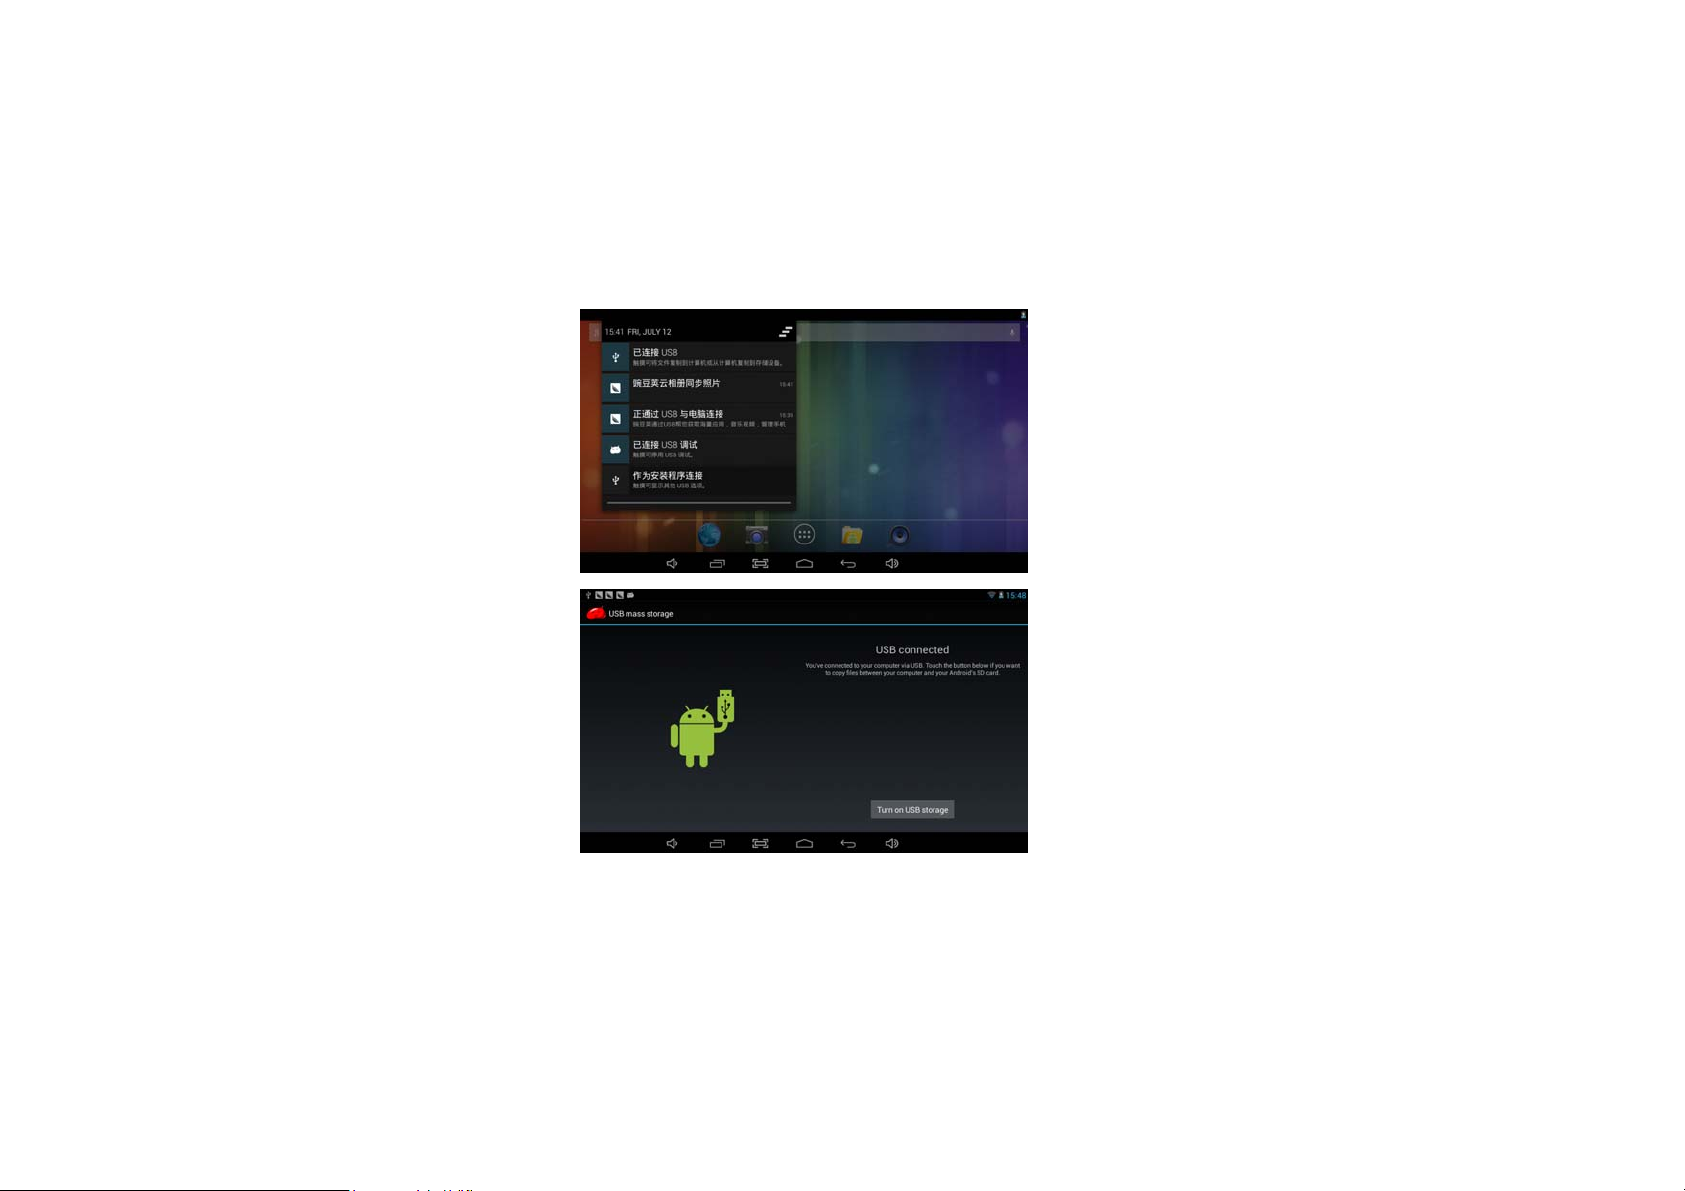
Press “USB connected”, select “Turn on USB storage”.
The device is recognized at Explorer of the computer.
Now you can use it as an external storage.
A
r
t
e
Afterfinishingyourwork,
Press“TurnonUSBstorage”tounmountit.
r
Page 18
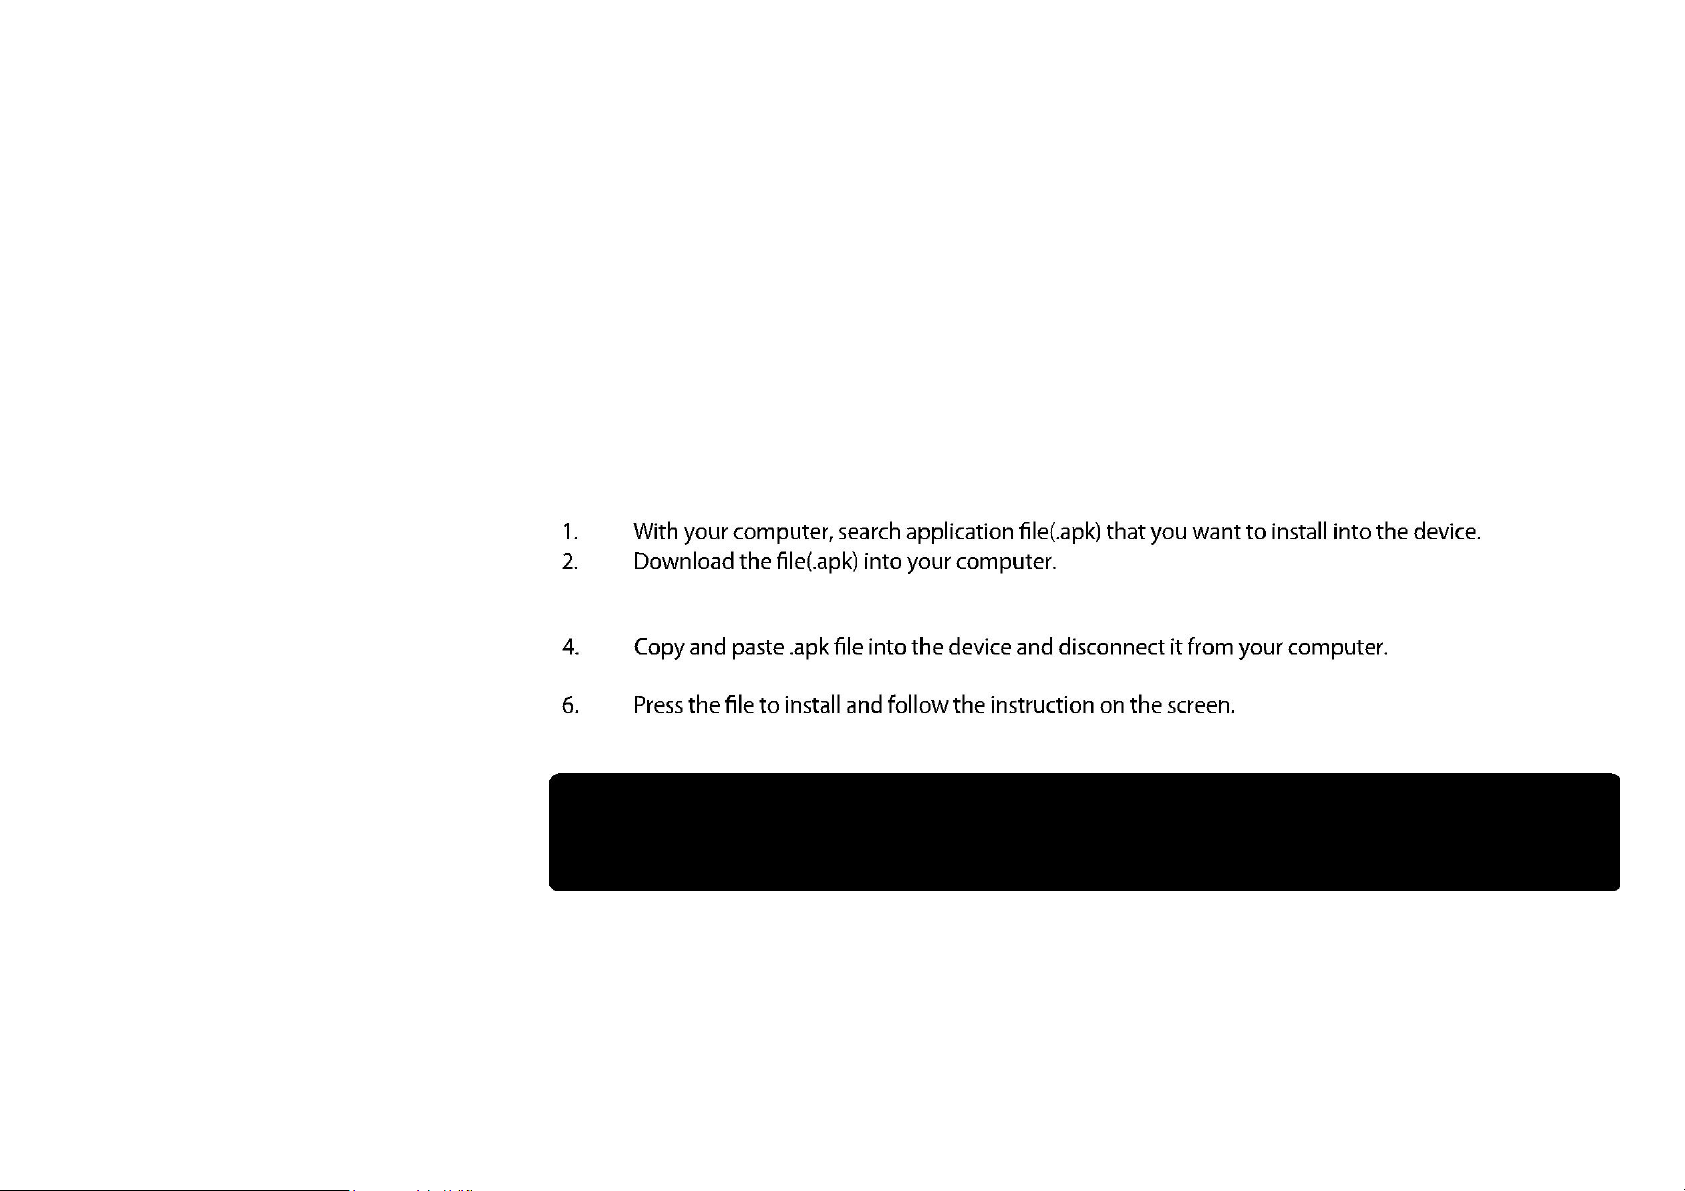
How to install Applications(.apk file) into the device
Method 1.
1. Connect the device with internet. See above [1.Wireless & networks] in order to connect internet.
2. Run “Getjar” and search the applications you want to install.
3. Follow the instruction on the screen for installation.
Method 2.
3. Connect the device with your computer.
See above [How to connect/disconnect the device with/from the computer.]
5. Run “File browser” and nd .apk le that was copied into the device.
Note
You may only download adult applications if you are at least 18 years of age, or at least the age of majority in the jurisdiction where you reside or from which
you download adult applications. If you do not meet these requirements, then you do not have permission to download adult applications.
In case of any problems including legal issues from the breach by end-user’s own decision, the manufacturer shall not be responsible.
Page 19
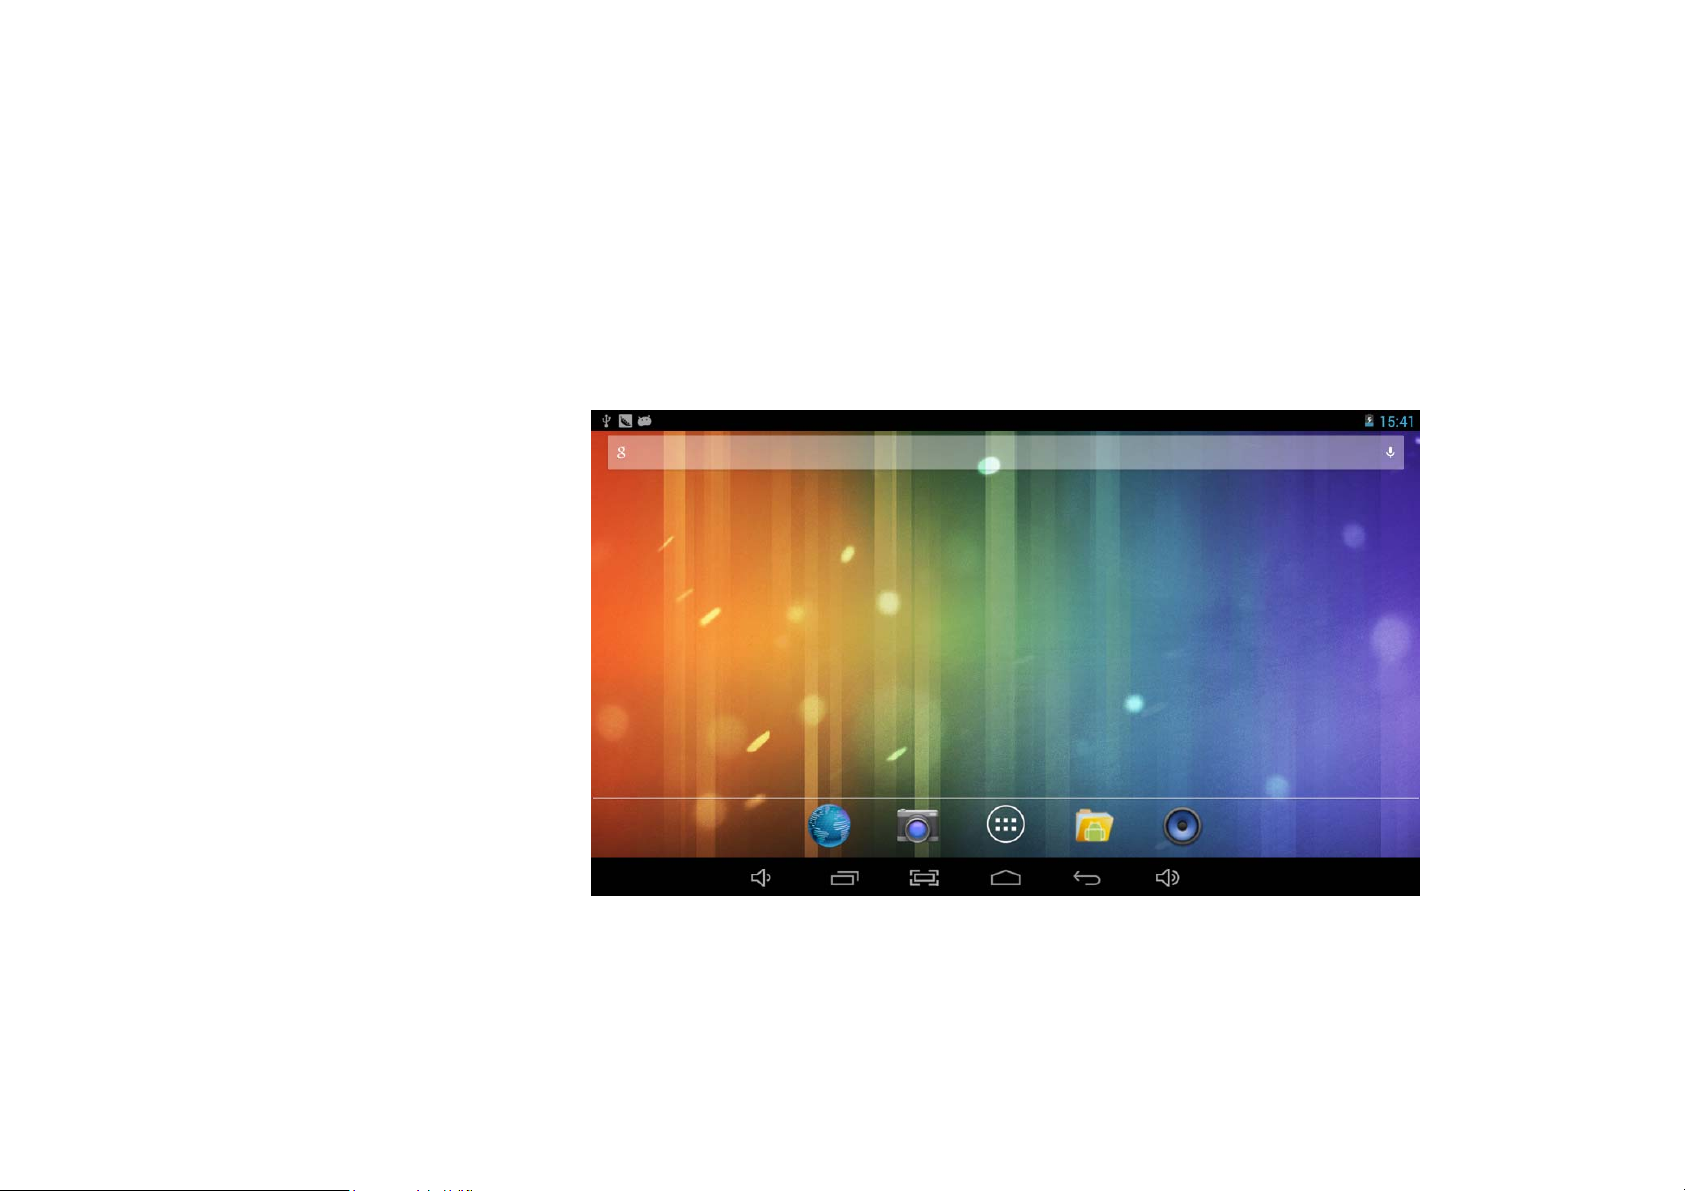
How to make desktop icons
Press the upper right side icon of desktop, the pop-up displays.
Page 20
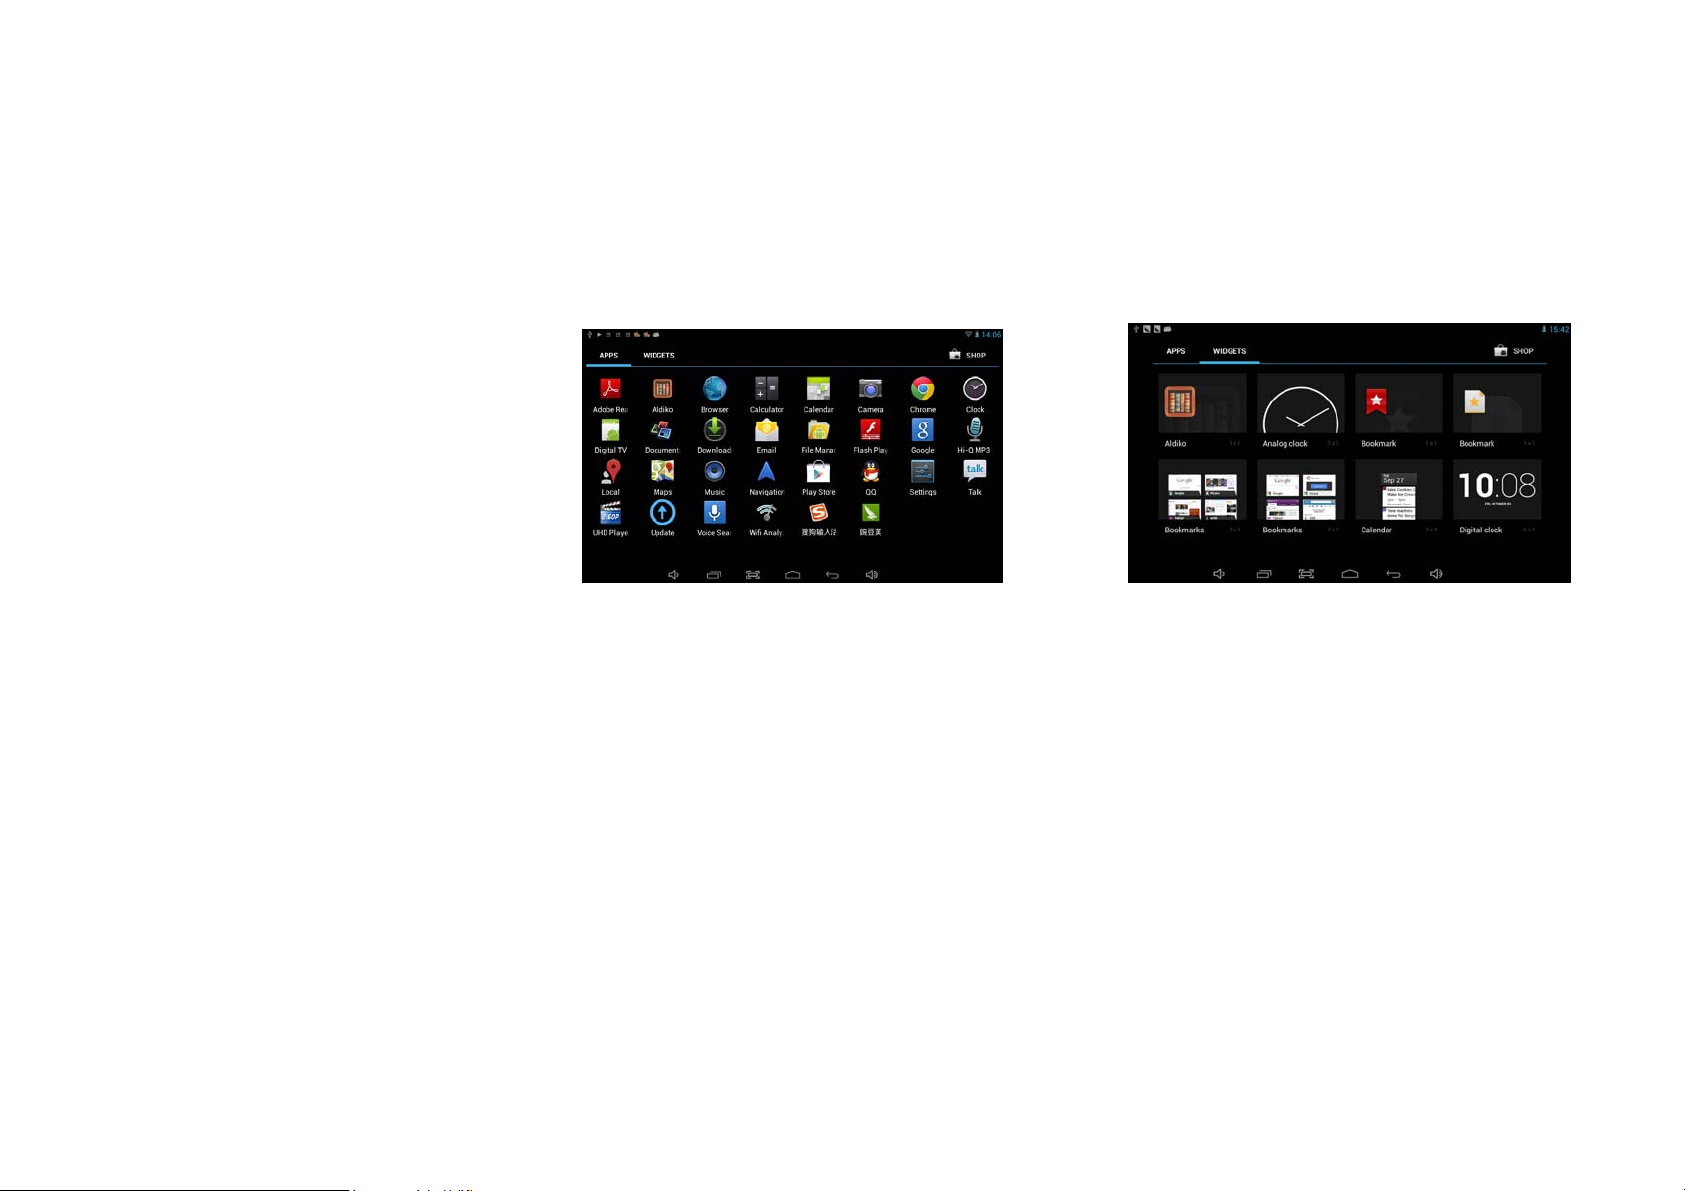
Shortcuts
Long press your desired APK icon and
put it on the desktop.
Widgets
Press Widgets and press your desired icon to
put it on the desktop.
Wallpaper
Long press the desktop, press Wallpapers and
select one of categories of wallpaper.
Select one you desire and press Set wallpaper
Page 21

Specification
os
CPU
SDRAM
Display
Android 4.2 ICS
Dual Cortex-A7 Core
DDR3 1G (3D accelerator possible for 4D games)
7" TFT 1024*600 Capacitive touch panel
Multi-touch
screen
Yes : 5 point multi-touch
4 / 8 / 16/32GB
Audio port 3.5ø earphones
1 x 5pin micro USB port (support USB host and
USB port
OTG)
DC port 5V, 2A
IO PORTS
Micro SD Micro SD card
OTG port Same with USB port
Button Power, VOL-, VOL+, reset,
1.5W, Frequency response : 20Hz – 20k Hz, N/S :
Speaker
G-sensor
Camera
Wi-Fi
Power
Battery
Dimension
>85%
Yes
0.3M pixel (front)+2.0M pixel(back)
802.11b/g/n
Adaptor 5V -2A
3.7V Li-Polymer
11.5*165*263mm
by
Charging time
charger approx. 4~8hours
Page 22

FCC Information and Copyright
This equipment has been tested and found to comply with the limits for a Class B digital device,
pursuant to part 15 of the FCC Rules.
These limits are designed to provide reasonable protection against harmful interference in a residential
installation. This equipment generates,
uses and can radiate radio frequency energy and, if not installed and used in accordance with the
instructions, may cause harmful interference
to radio communications. However, there is no guarantee that interference will not occur in a particular
installation. If this equipment does
cause harmful interference to radio or televi si on rece pt i on , whi ch can be determined by turning the
equipment off and on, the user is
encouraged to try to correct the interference by one or more of the following measures:
—Reorient or relocate the receiving antenna.
—Increase the separation between the equipment and receiver.
—Connect the equipment into an outlet on a circuit different from that to which the receiver is
connected.
—Consult the dealer or an experienced radio/TV technician for help.
15.19 Labelling requirements.
This device complies with part 15 of the FCC Rules. Operation is subject to the
following two conditions:
(1)This device may not cause harmful interference, and
(2) this device must accept any interference received, including interference that may
cause undesired operation.
changes or modifications not expressly approved by the party responsible for compliance could
void the user's authority to operate the equipment.
FCC RF warning
requirement , The device can be used in portable exposure condition without restriction.
statement: the device has been evaluated to meet general RF exposure
 Loading...