

Page 1
ASSEMBLY INSTRUCTIONS
When ordering components, specific color and/or size information may be required.
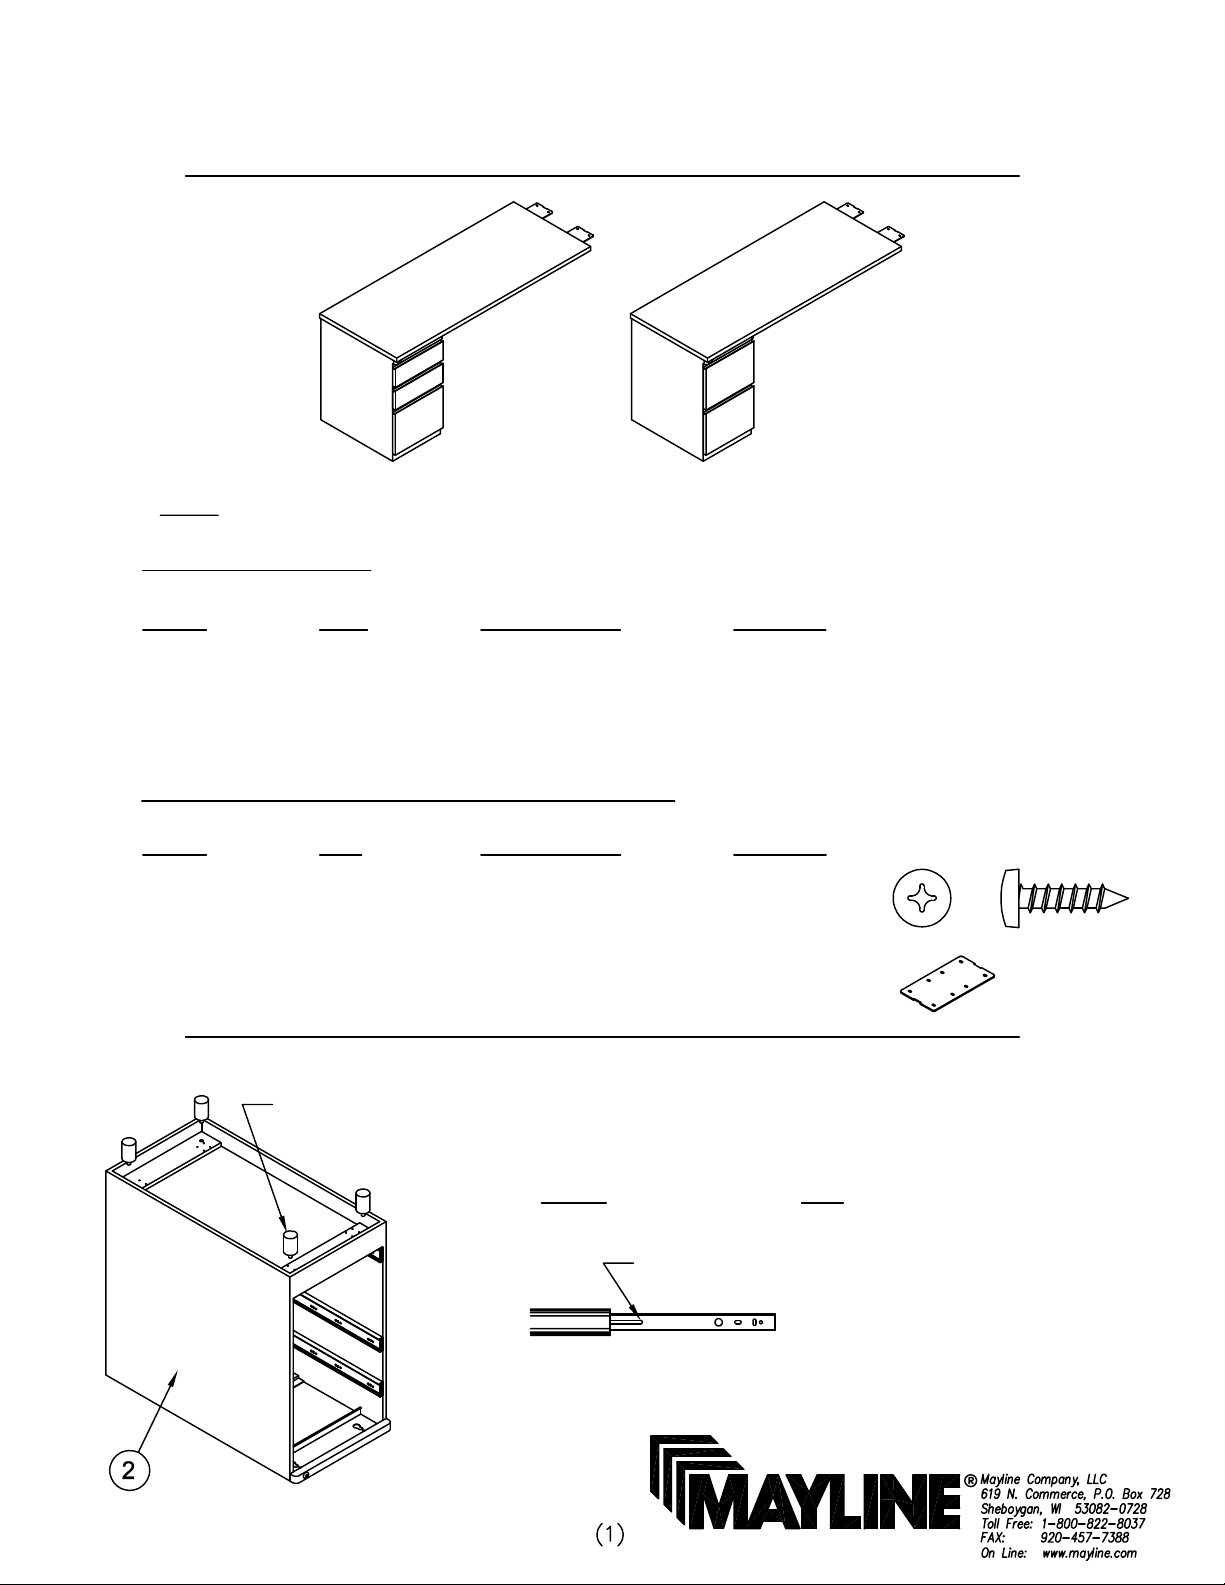
TRANSACTION PEDESTAL RETURN
NOTE: Please count and inspect all pieces before disposing of any carton or packing materials.
COMPONENTS:
REF. # QTY. DESCRIPTION PART No.
1 1 WORK SURFACE CALL~~**
2 1 PEDESTAL CALL**
HARDWARE BAG (PART No. A8098)
REF. # QTY DESCRIPTION PART No.
E1 21 #10 X 3/4 SCREW X11*
E2 2 JOINING PLATE B7522
Pedestal
Glide
Contact a Mayline Customer Service Representative. 1-800-822-8037
** Denotes Color Code
~~Denotes Size
*for individual item, order that part number
1. Remove the Pedestal (2) from carton.
2. Remove all drawers from the Pedestal by pulling drawers out to the
full extent. Locate the drawer slide release tab on each drawer slide.
Press DOWN on the Right tab and LIFT the Left tab. Pull drawer forward
to remove.
Drawer Slide release tab
3. Turn the Pedestal upside down and install four Glides into threaded
holes on bottom of Pedestal.
Page 2
Assemble as shown for LEFT HAND Pedestal
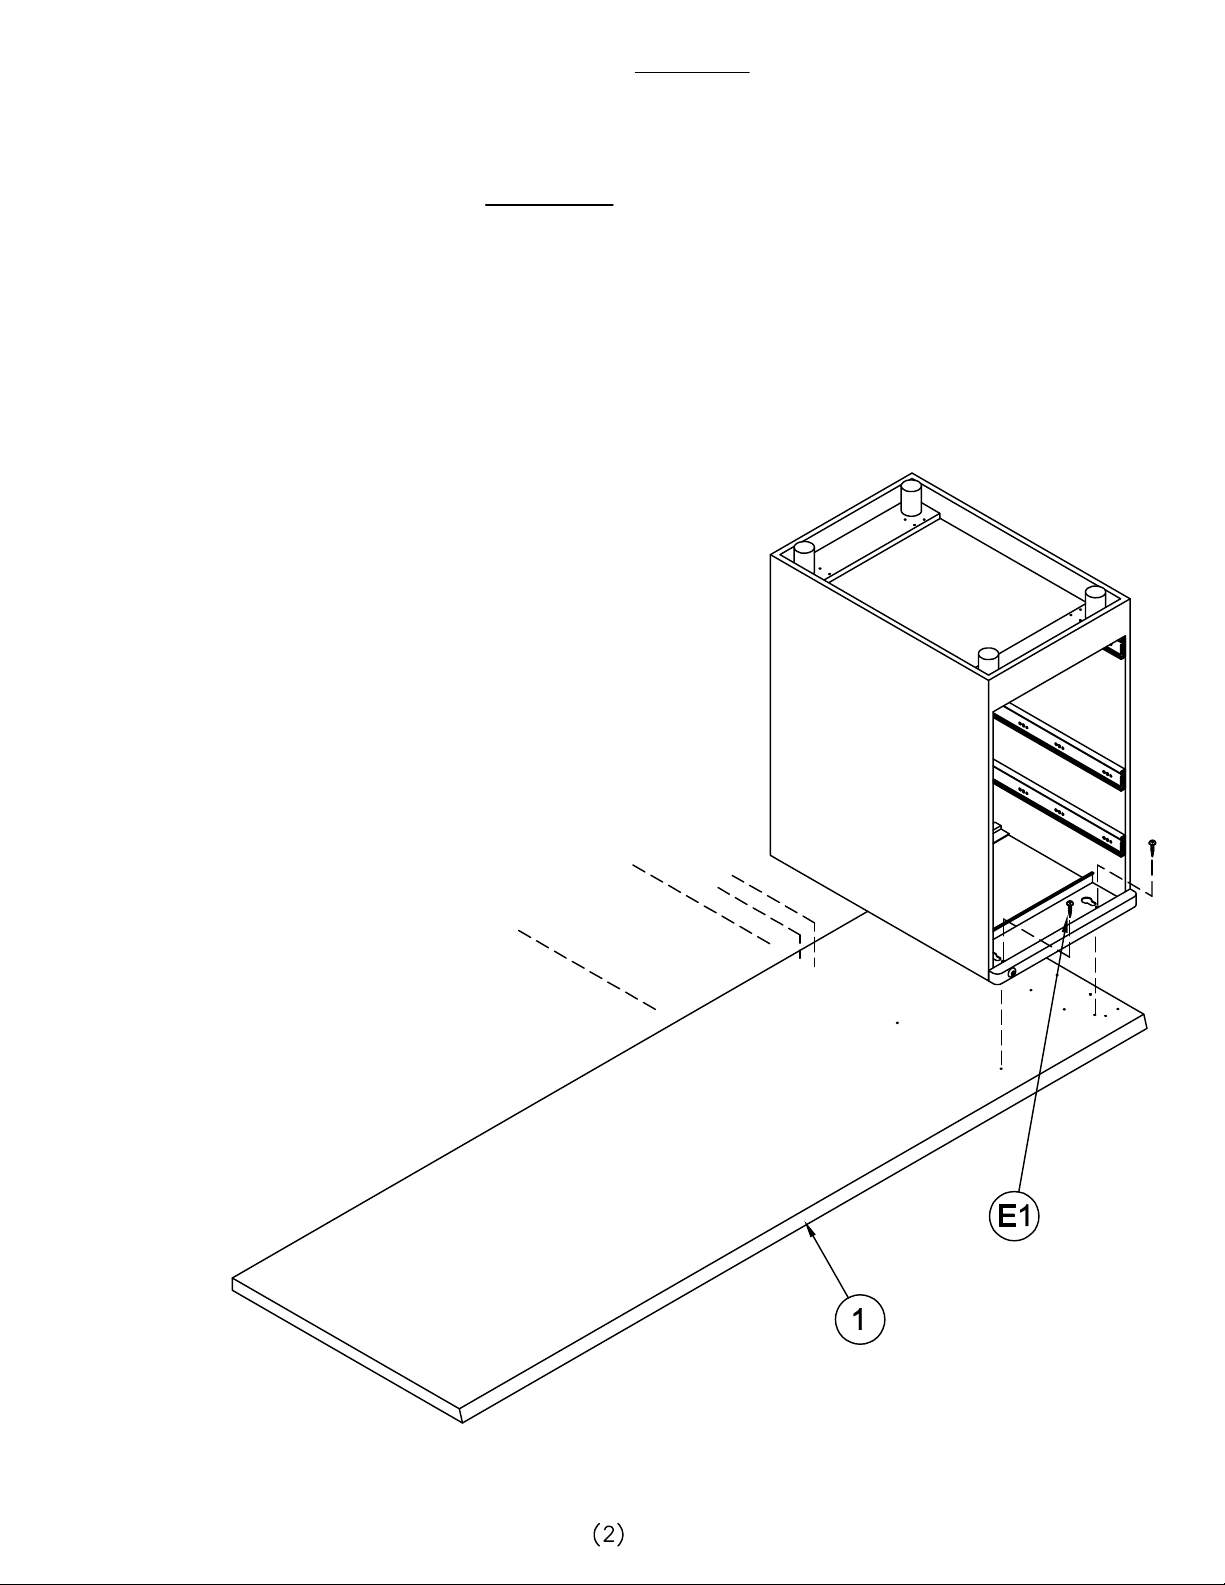
4. Place the Work Surface (1) face down onto a clean, protected surface.
5. Position Pedestal (2) approximately 3/16 from the edges and align the Pedestal holes with the
pre-drilled holes in the Work Surface (NOTE: DO NOT USE keyhole slots). Attach the Pedestal to
Work Surface with four Screws (E1).
Page 3

6. Align the holes in the two Joining Plates (E2) with the
pre-drilled holes in the underside of the Adjacent table
Work Surface. Attach each Joining Plate (E2) using four
Screws (E1).
7. Place the assembled Return in the upright position.
MAYLINE recommends that a minimum of two people
perform this task.
8. Lay the assembled Return onto the Joining Plates (E2).
Align the pre-drilled holes in the underside of the Return
with the slots in the Joining Plates (E2) and secure the
Return in place with four Screws (E1).
9. Level the assembly by adjusting all glides.
10. Return all drawers to the pedestal at this time.
 Loading...