

Page 1
ASSEMBLY INSTRUCTIONS
When ordering components, specific color and/or size information may be required.
BETTER FOR YOUR BUSINESS
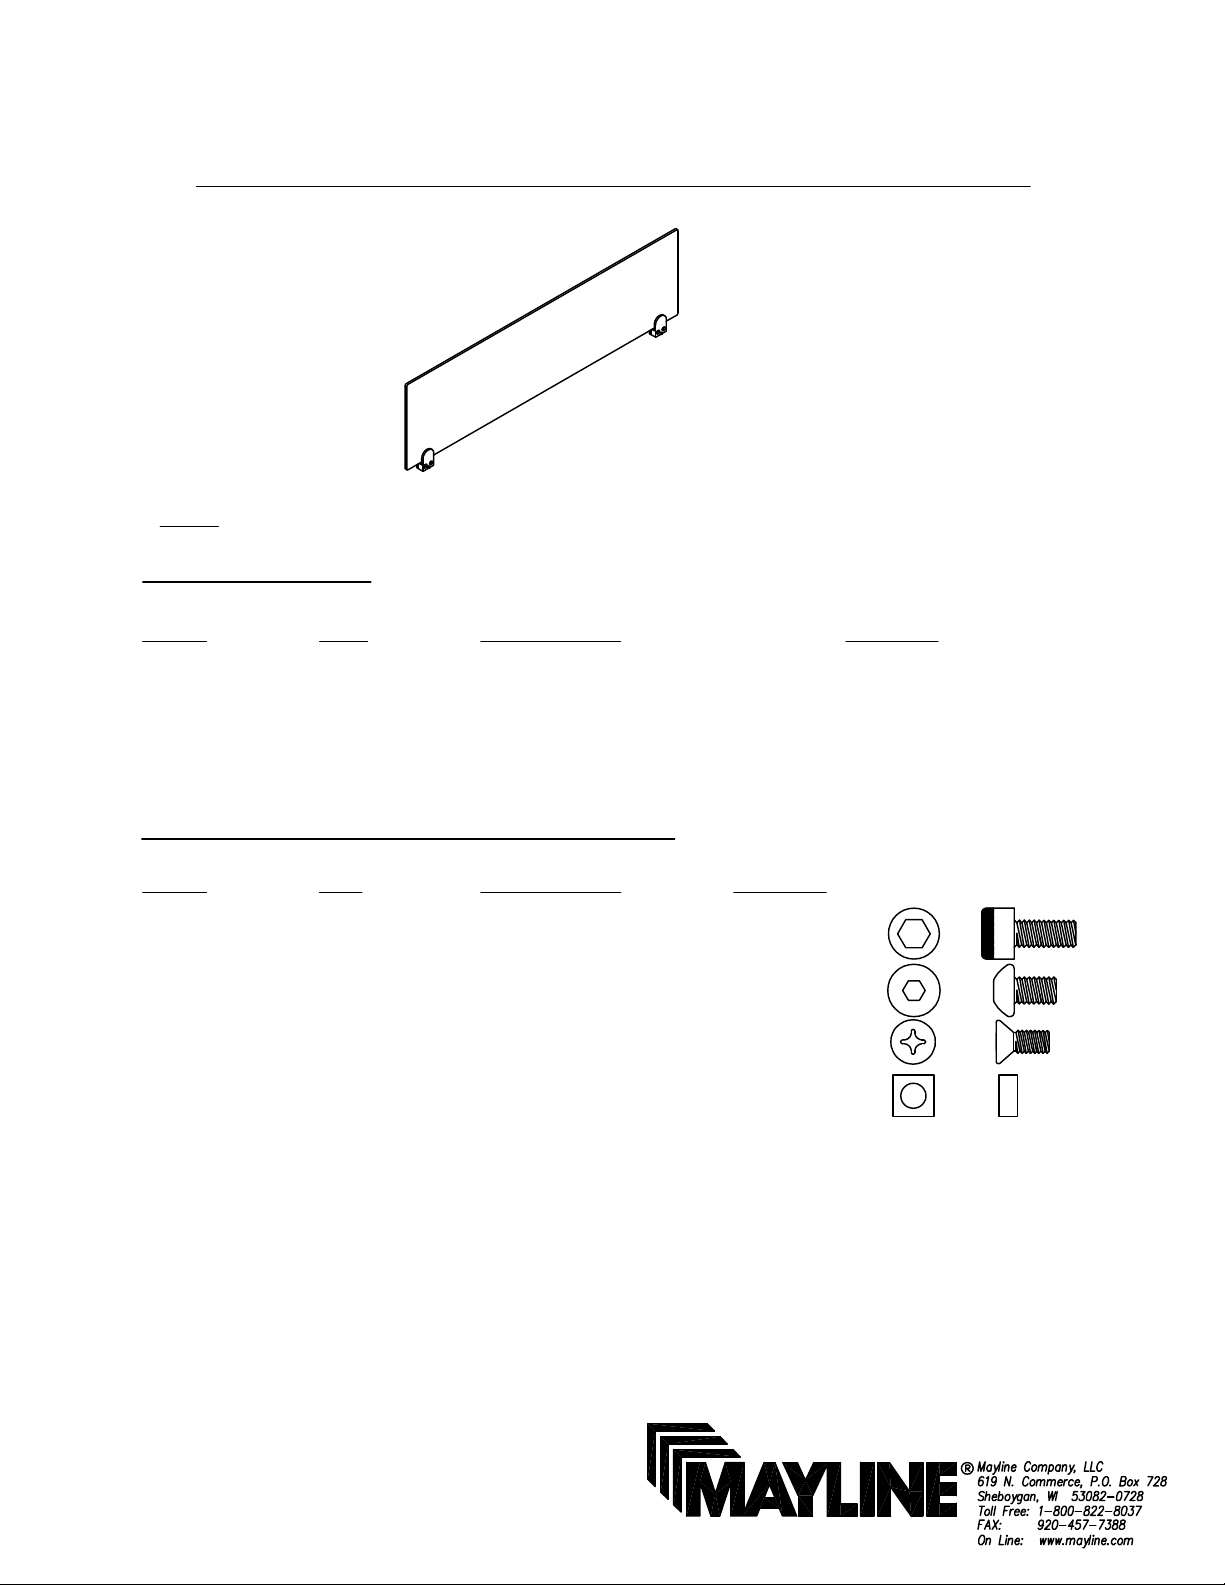
TRANSACTION LATERAL ACRYLIC
PANELS
NOTE: Please count and inspect all pieces before disposing of any carton or packing materials.
COMPONENTS:
REF. # QTY. DESCRIPTION PART No.
1 1 ACRYLIC PANEL CALL~~**
2 2 CLAMP ASSEMBLY A8058**
HARDWARE BAG (PART No. A8111)
REF. # QTY DESCRIPTION PART No.
E1 2 5/16-18 x 5/8" X440*
E2 1 5/16-18 x 3/8" X385*
E3 1 1/4-20 x 5/8" X404*
E4 1 1/4-20 T12*
Contact a Mayline Customer Service Representative. 1-800-822-8037
** Denotes Color Code
~~Denotes Size
*for individual item, order that part number
(1)
Page 2
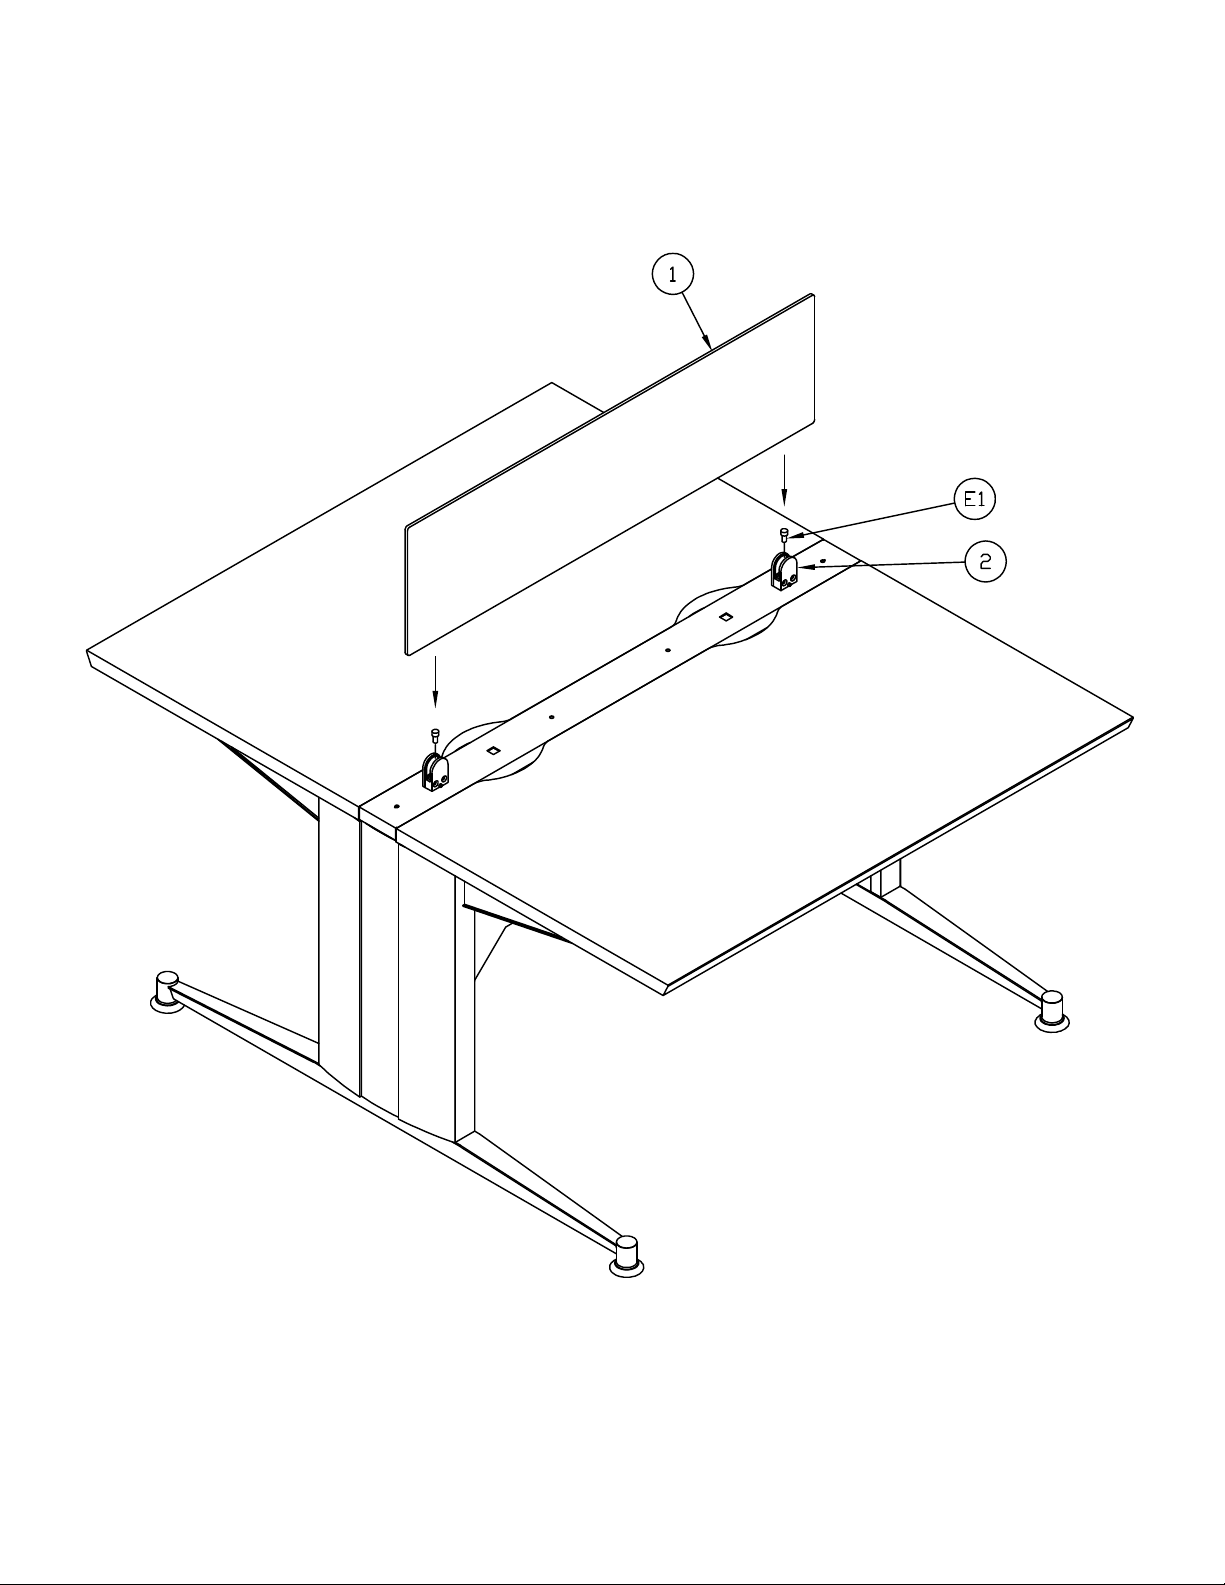
1. With clamp screws loose, attach Clamps (2) to table
beam using Screws (E1) in the desired locations.
2. Slide Acrylic Panel (1) into Clamps (2).
3. Secure panel by tightening clamp screws.
(2)
Page 3

ASSEMBLY INSTRUCTIONS
When ordering components, specific color and/or size information may be required.
TRANSACTION ACRYLIC DIVIDER PANELS
NOTE: Please count and inspect all pieces before disposing of any carton or packing materials.
COMPONENTS:
REF. # QTY. DESCRIPTION PART No.
1 1 ACRYLIC PANEL CALL~~**
2 1/2 CLAMP ASSEMBLY J24
3 1 OFFSET PLATE B8356**
HARDWARE BAG (PART No. A8111)
REF. # QTY DESCRIPTION PART No.
E1 2 5/16-18 x 3/8" X385*
E1 2 5/16-18 x 3/8" X385*
E1 2 5/16-18 x 3/8" X385*
Contact a Mayline Customer Service Representative. 1-800-822-8037
** Denotes Color Code
~~Denotes Size
*for individual item, order that part number
E1 2 5/16-18 x 3/8" X385*
(3)
Page 4

1. Attach Clamp Assemblies (2) to each end of the
Acrylic Panel (1) at notch by sliding panel into Clamp
Assembly (2) and tightening screws.
Next steps vary depending on location of panel.
For table end location:
For table seam location:
2. Attach center Clamp Assembly (2) to Offset Plate
(3) using Screw (E3) and Nut (E4). Note: Clamp
Assembly screws may need to be loosened to allow for
screw to fit into Clamp assembly and attach to the
beam.
2. Attach center Clamp Assembly (2) to table beam
using screws (E1). Note: Clamp Assembly screws
may need to be loosened to allow for screw to fit into
Clamp assembly and attach to the beam.
3. Slide Acrylic Panel (1) into Clamps (2).
4. Secure panel by tightening clamp screws.
3. Attach Clamp and Plate assembly to table beam
using Screw (E2).
3. Slide Acrylic Panel (1) into Clamps (2).
4. Secure panel by tightening clamp screws.
(4)
 Loading...