

Maycom VOICE MAGIC Operation Manual
DIGITAL VOICE RECORDER
VOICE MAGIC
OPERATION MANUAL

2
Information to the user
This equipment has been tested and found to comply with the limits for a Class B digital device
pursuant to part 15 of the FCC Rules. These limits are designed to provide reasonable protectio n
against harmful interference in a residential installation. This equipment generates, uses and can
radiate radio frequency energy and, if not installed and used in accordance with the instructions,
may cause harmful interference to radio communications. However, there is no guarantee that
interference will not occur in a particular
installation. If this equipment does cause harmful interference to radio or television
reception, with can be determined by turning the equipment off and on, the user is
encouraged to try to correct the interference by one more of the following measures:
- Reorient or relocate the receiving antenna.
- Increase the separation between the equipment and receiver.
- Connect the equipment into an outlet on a circuit different from that to which the
receiver is connected.
-. Consult the dealer or an experienced radio/TV technician for help.
Warning
Changes or modifications not expressly approved by the party responsible
for compliance could void the user's authority to operate the equipment.

3
Contents
Voice Magic Overview 4
Features and Functions 6
Installing Batteries 7
Time Adjust 9
Selection of Mode 10
Recording 11
Playback 15
Erasing the Recorded Messages 18
Connecting to External Equipments 19
Connection to PC 21
Specification 29
Precautions 30
Troubleshooting 32
4
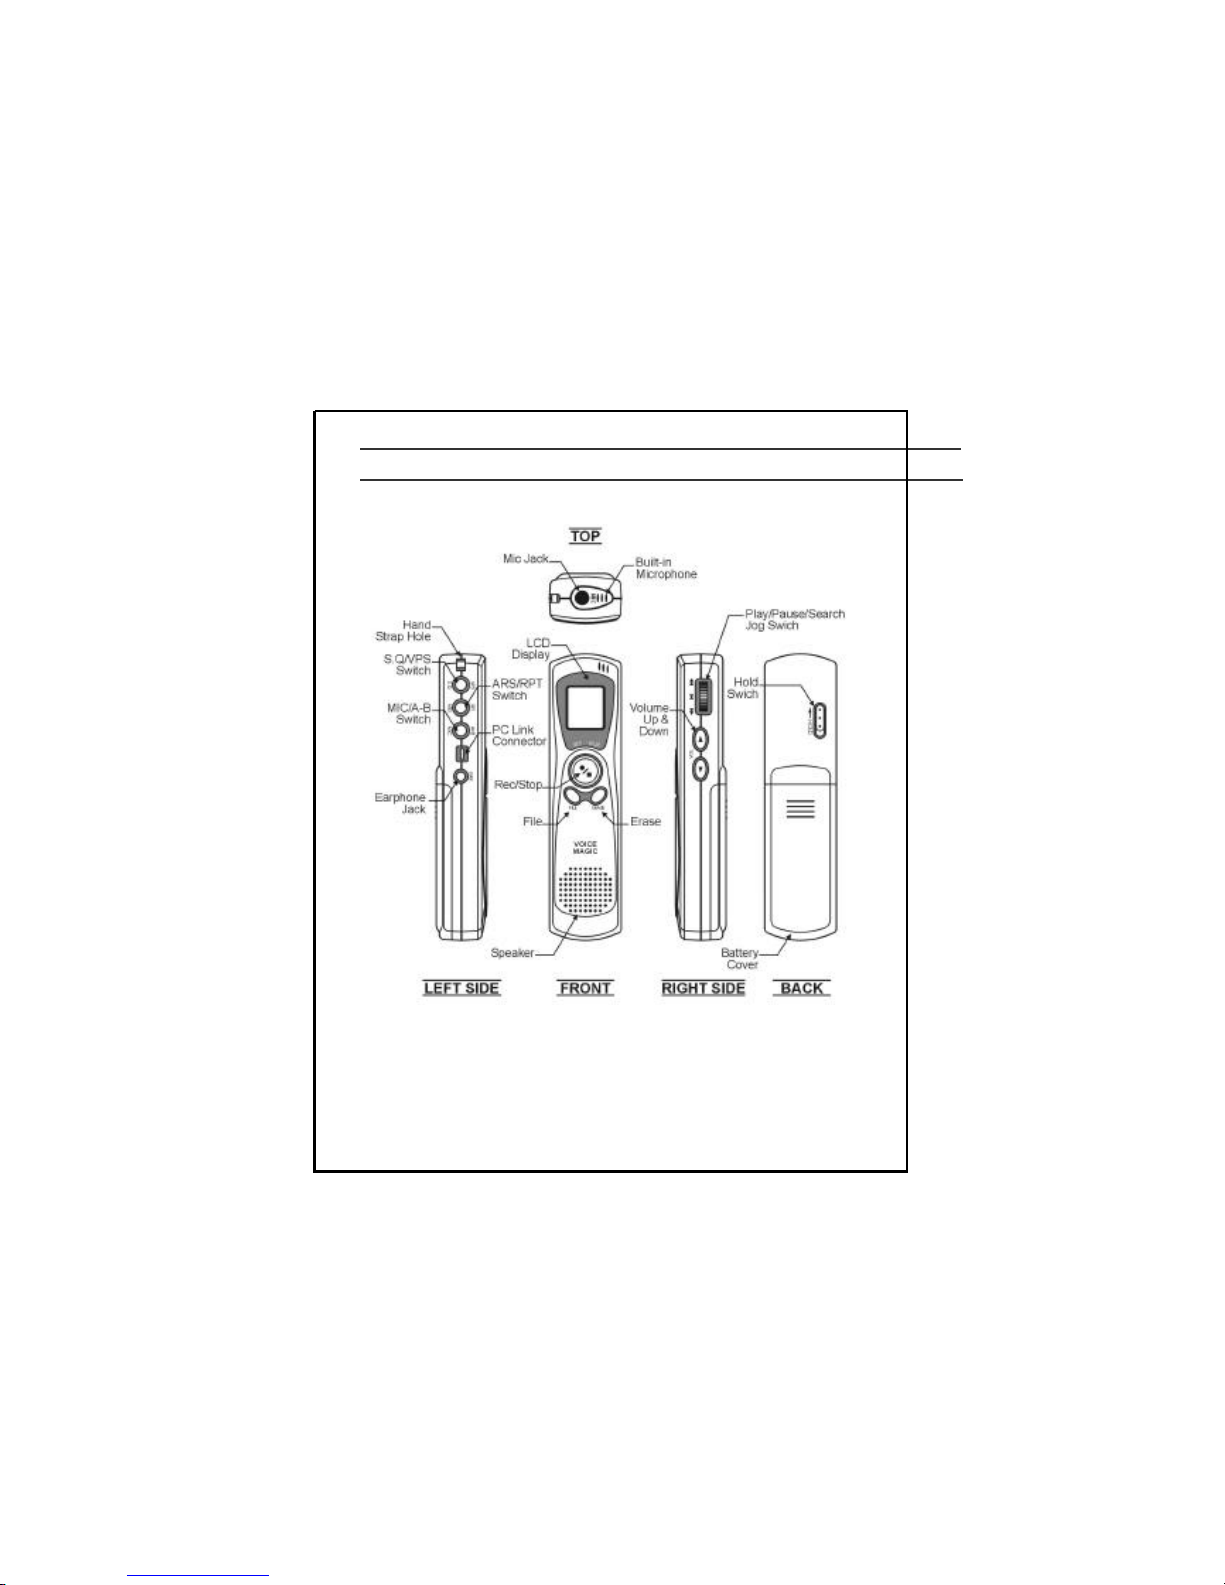
Voice Magic Overview

5
DISPLAY

6
Features and Functions
Fast Transfer Speed to PC approx 10:1 (VR-2000 series only)
Effective Variable Playback Speed (V.P.S)
as x0.5, x0.7, x1.0, x1.5, x2.0
1164-minute Recording Time in case of VR-x032 (LP Mode)
5 Files-Each File contains up to 99 individual messages
LCD Display shows message number, real-time counter, current
time and operating modes
Three (H/M/L) Steps for Sound Quality
and ARS (Automatic Recording System) Sensitivity.
Two (H/L) Steps for Microphone Sensitivity
Digital Volume & Jog Switch Control
Repeat Message or Repeat File Selection
Repeat specific section (A-B)
Message erase or file erase function
Battery Power Level & Low Voltage Indicator
Built-in microphone and speaker
Ultra palm Design
Hand strap for easy carrying
7
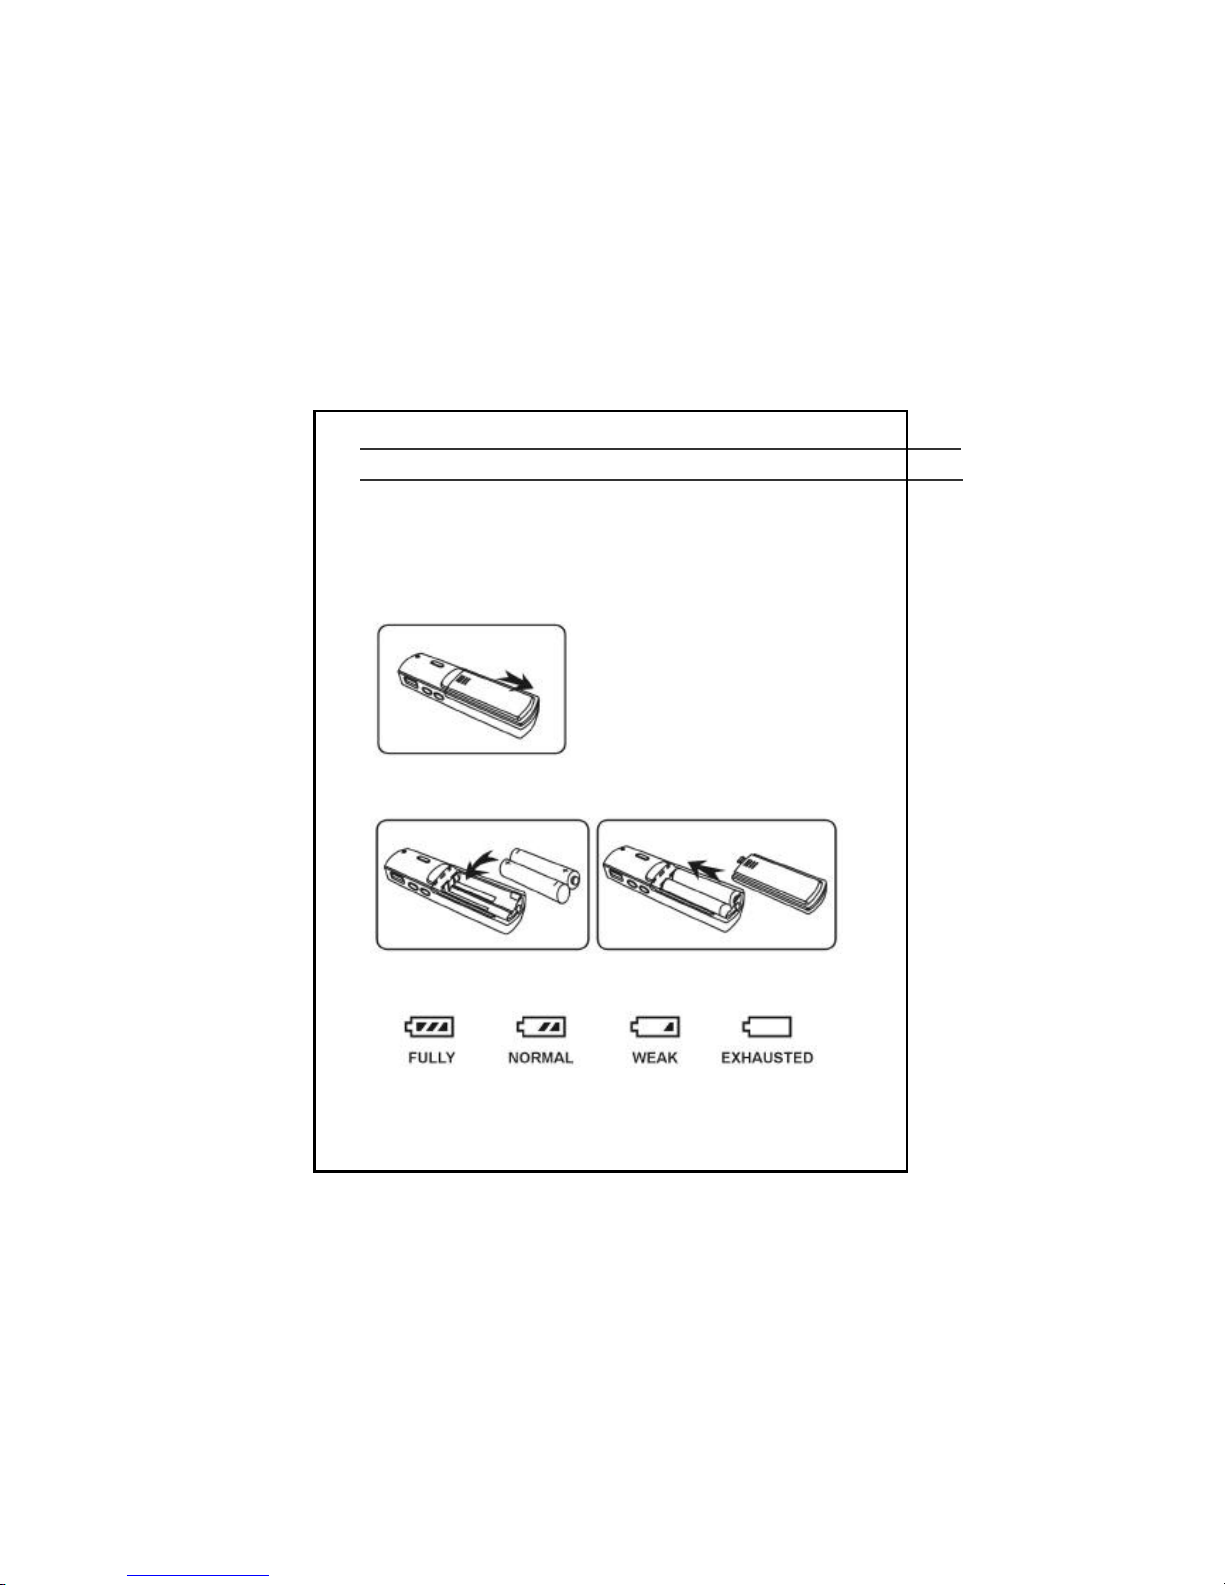
Installing Batteries
Loading/Replacing the Batteries
Caution : Be sure to replace batteries in Clock mode.
1. Open the battery cover, press and then slide it off.
2. Load two “AAA” batteries (LR-03) in the compartment, and then
slide the cover back into place
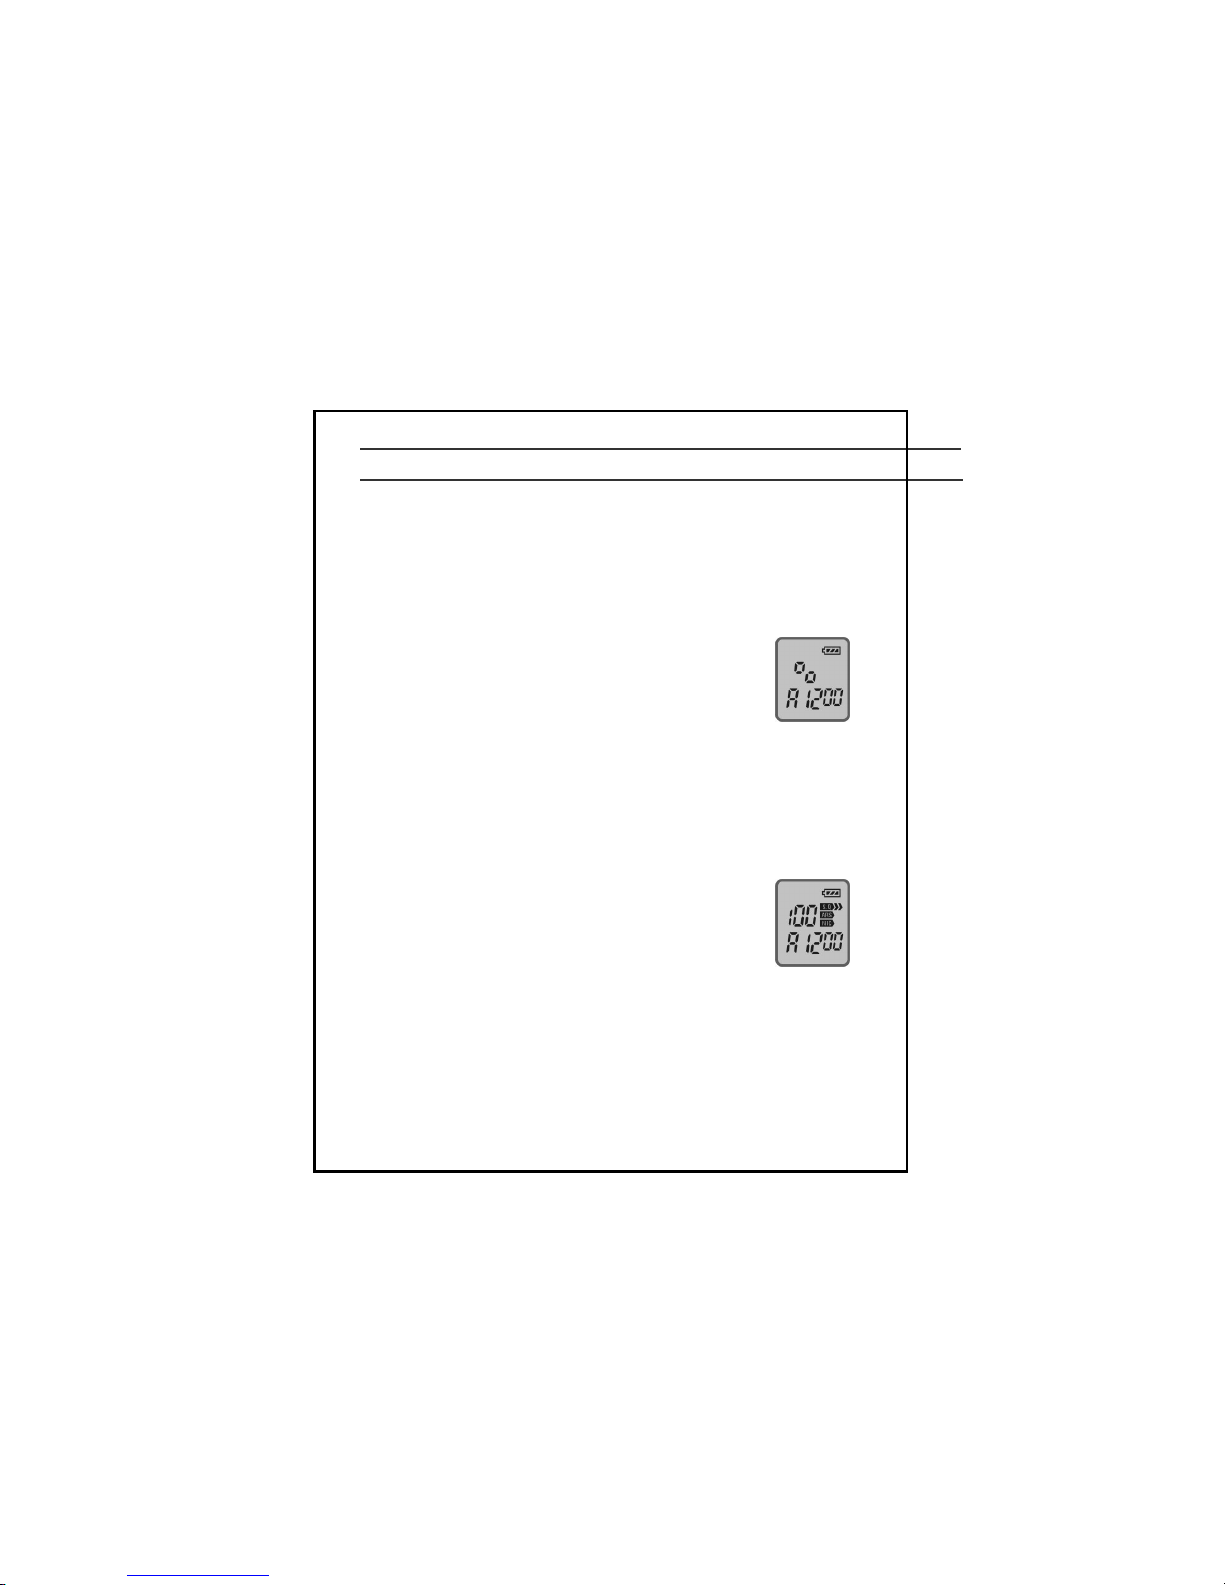
3. You can always check the battery condition as figures below.
8
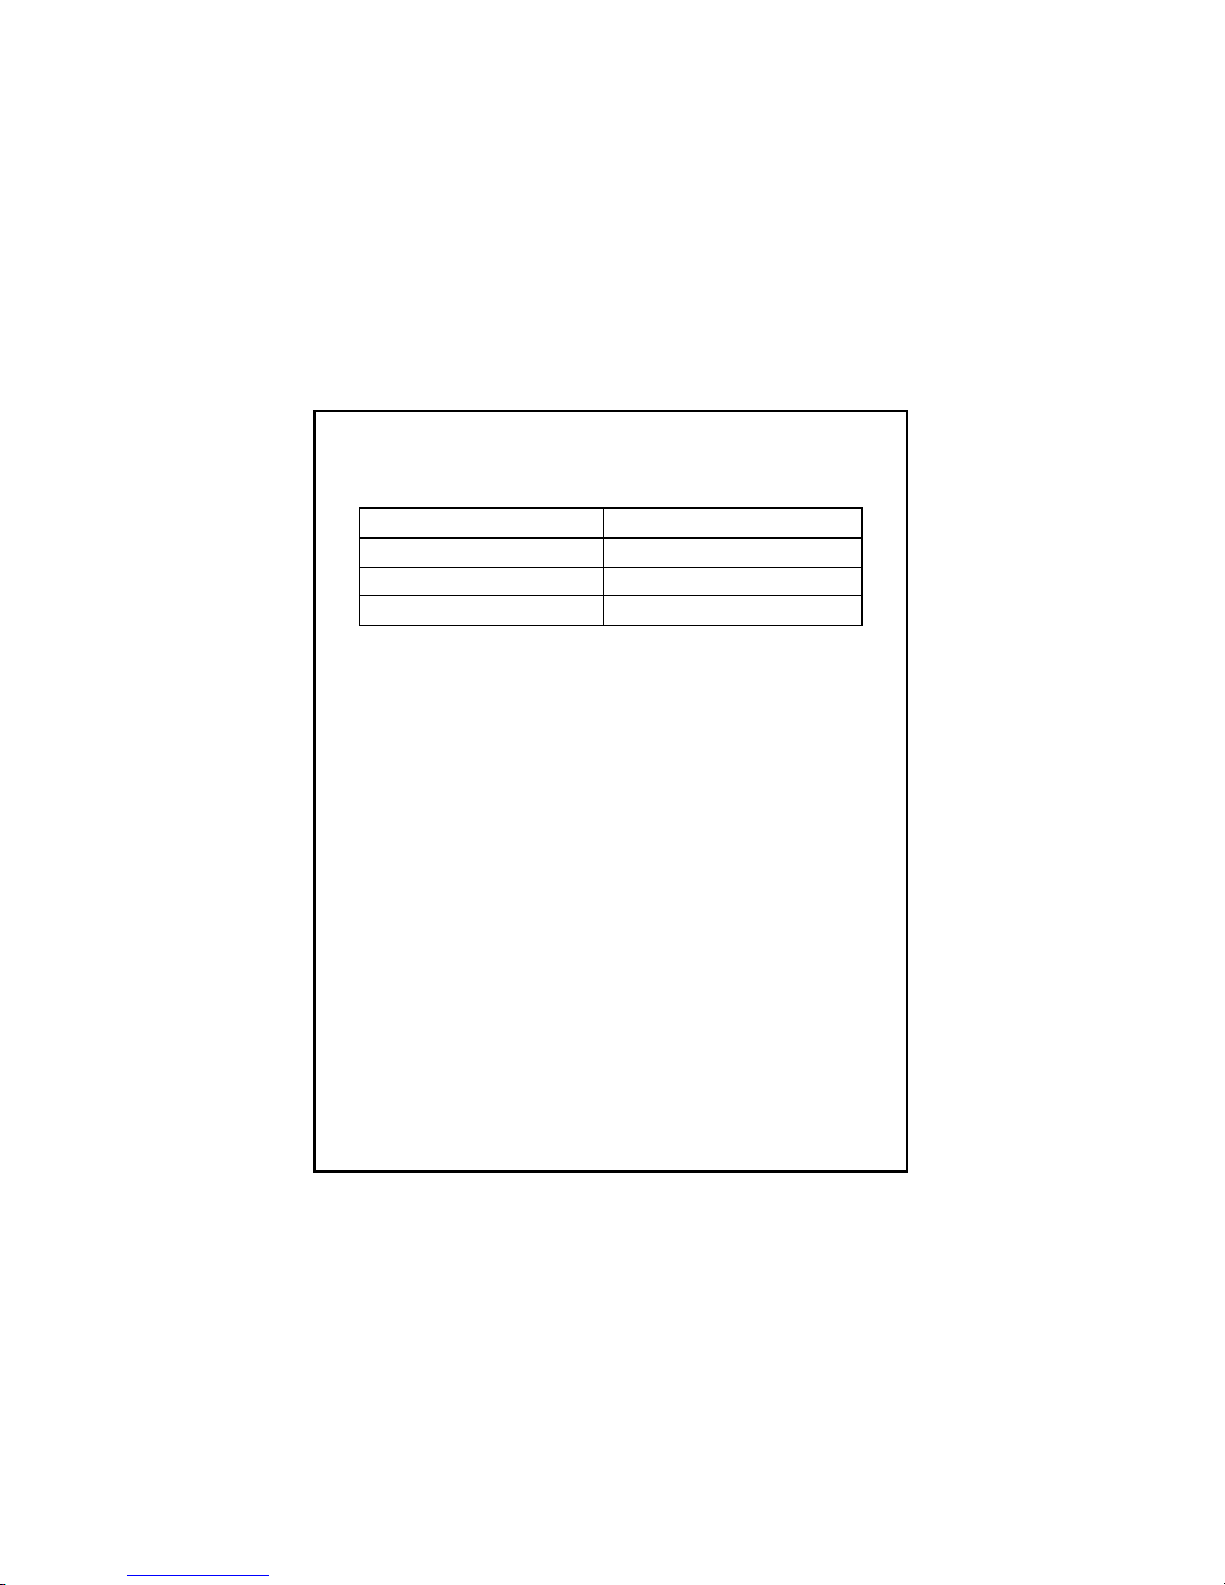
Battery Life
Battery Type LR-03 Alkaline
Recording Mode Approx. 12 hours
Speaker Play (VOL.12) Approx. 7 hours
Earphone Play (VOL.12) Approx. 8 hours
Cautions :
1. Do not use different kind of batteries together.
2. Remove the batteries when voice recorder will not be used for
a long time.

9
Time Adjust
Only available this function on Clock mode.
Time Adjustment
1. Press ERASE button for more than 2 seconds
during Clock mode.
2. When the digit blinks you can adjust time using
forward() or rewind() button,
Press PLAY/(PAUSE) button to adjust next digit.
3. After setting the time, press REC/STOP button
to store.
Note : - The stored time can be sustain ed about 90 seconds without
batteries. If you replace the batteries within 90 sec. you
don’t need to adjust the time again.
- When you replace the batteries, LCD display will be blurred
gradually.
10
Selection of Mode
Power On/Off
In order to Power on/ off, you have to replace the battery.
Clock Mode
This mode display current time, and minimize battery
consumption.
If you press any button on clock mode, it will go to
stand-by mode.
If you no buttons are pressed for 30 seconds after stopping when
Recording or playback, the LCD will be changed to Clock mode
automatically.
Stand -By Mode
This mode is stand-by status of operation and displays
current file, message No, and Record Time.
If current file has no recorded Message, it displays
message No. as “00” also the current time.
This mode will keeps 30 sec. after changing from
clock to stand-By mode.
All functions are available in stand-by mode.
 Loading...