

INSTALLATION INSTRUCTIONS FOR
MAXXAIR’S UNIMAXX UNIVERSAL
VENT LID REPLACEMENT KIT
Replaces damaged vent lids on ELIXIR, HENGS,
JENSEN, VENTLINE and other roof vent assemblies.
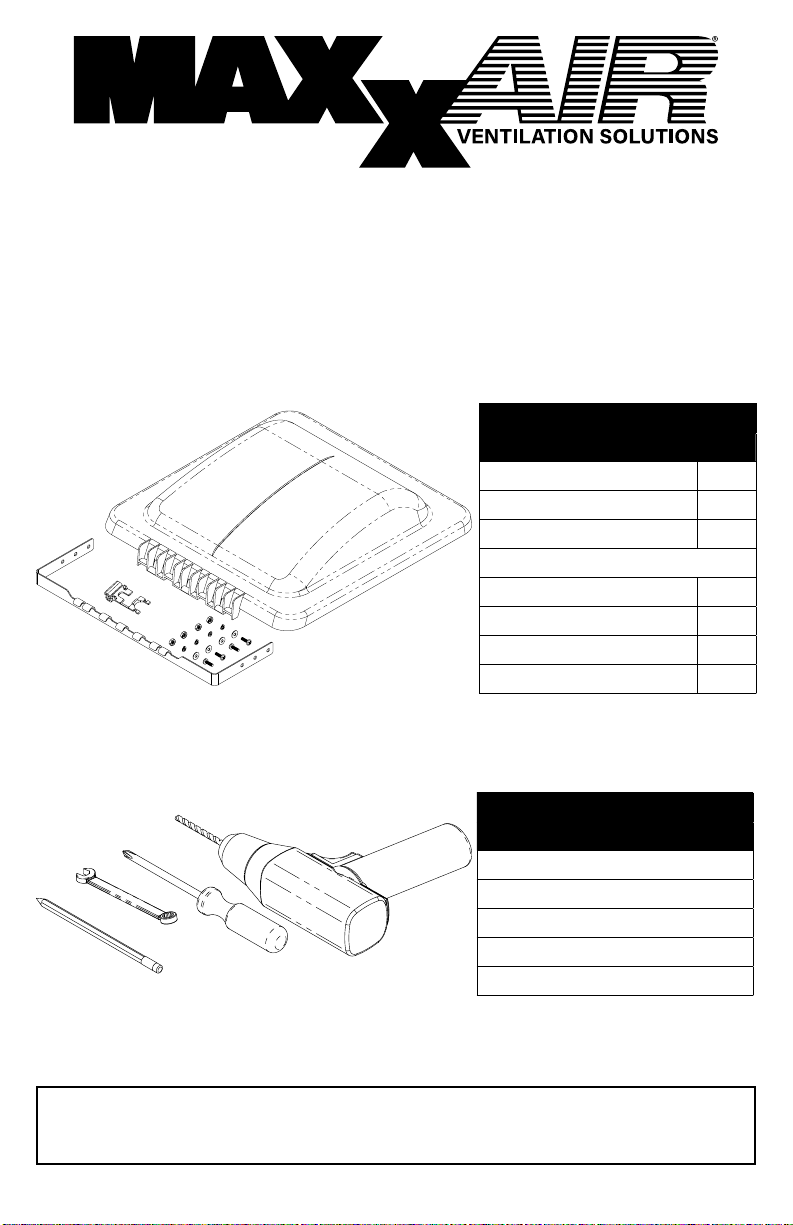
PACKAGE CONTENTS
Description QTY
Universal Lid 1
Universal Hinge 1
Slide / Clip 1
Hardware Kit
Screws 4
Washers 4
Lock Washers 4
Nuts 4
TOOLS REQUIRED
Description
Power Drill
3 / 16” Drill Bit
Phillips Screwdriver
11/32” wrench or socket
Pencil or Marker
READ AND SAVE THESE INSTRUCTIONS
WARNING! To reduce risk of re, injury to persons or damage to property, use only
in the manner intended by AIRXCEL, INC. Should you have questions, please contact
AIRXCEL/MAXXAIR VENTILATION SOLUTIONS Customer Service at 316.832.3400.
P/N: 10A335015Z 05-2017
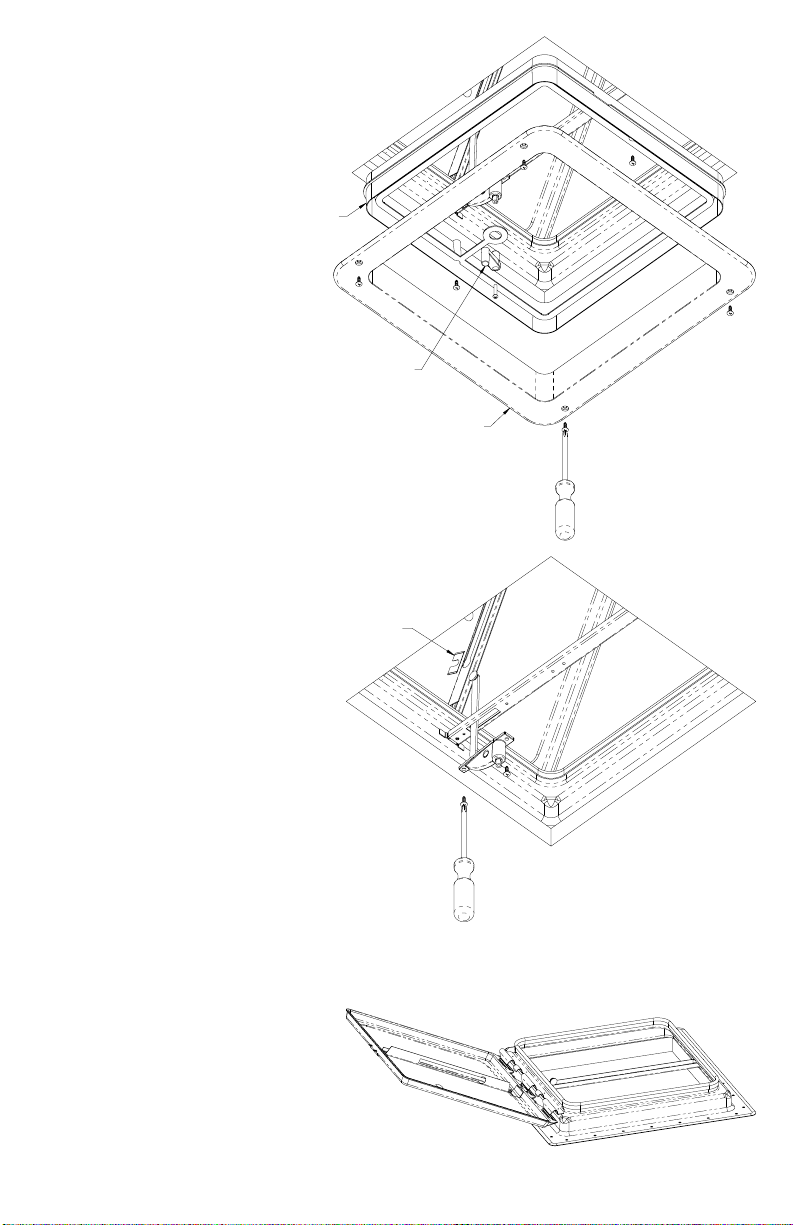
SCREEN
STEP 1
From inside the coach, crank the vent
to the open position then remove
the garnish ring, crank handle and
the screen frame. Retain items for
re-installation.
FRAME
CRANK
HANDLE
GARNISH
RING
STEP 2
Remove the screws securing the
RETAINER
CLIP
lift operator and disengage the
lift arm from the lid track. Some
vent lids will employ a retainer
clip over the lift arm rivet, remove
and discard if present. Retain
screws for re-installation.
STEP 3
Remove and discard old, broken lid. Each manufacturer has different hinge
designs that differ in method of engagement.
 Loading...