

Page 1
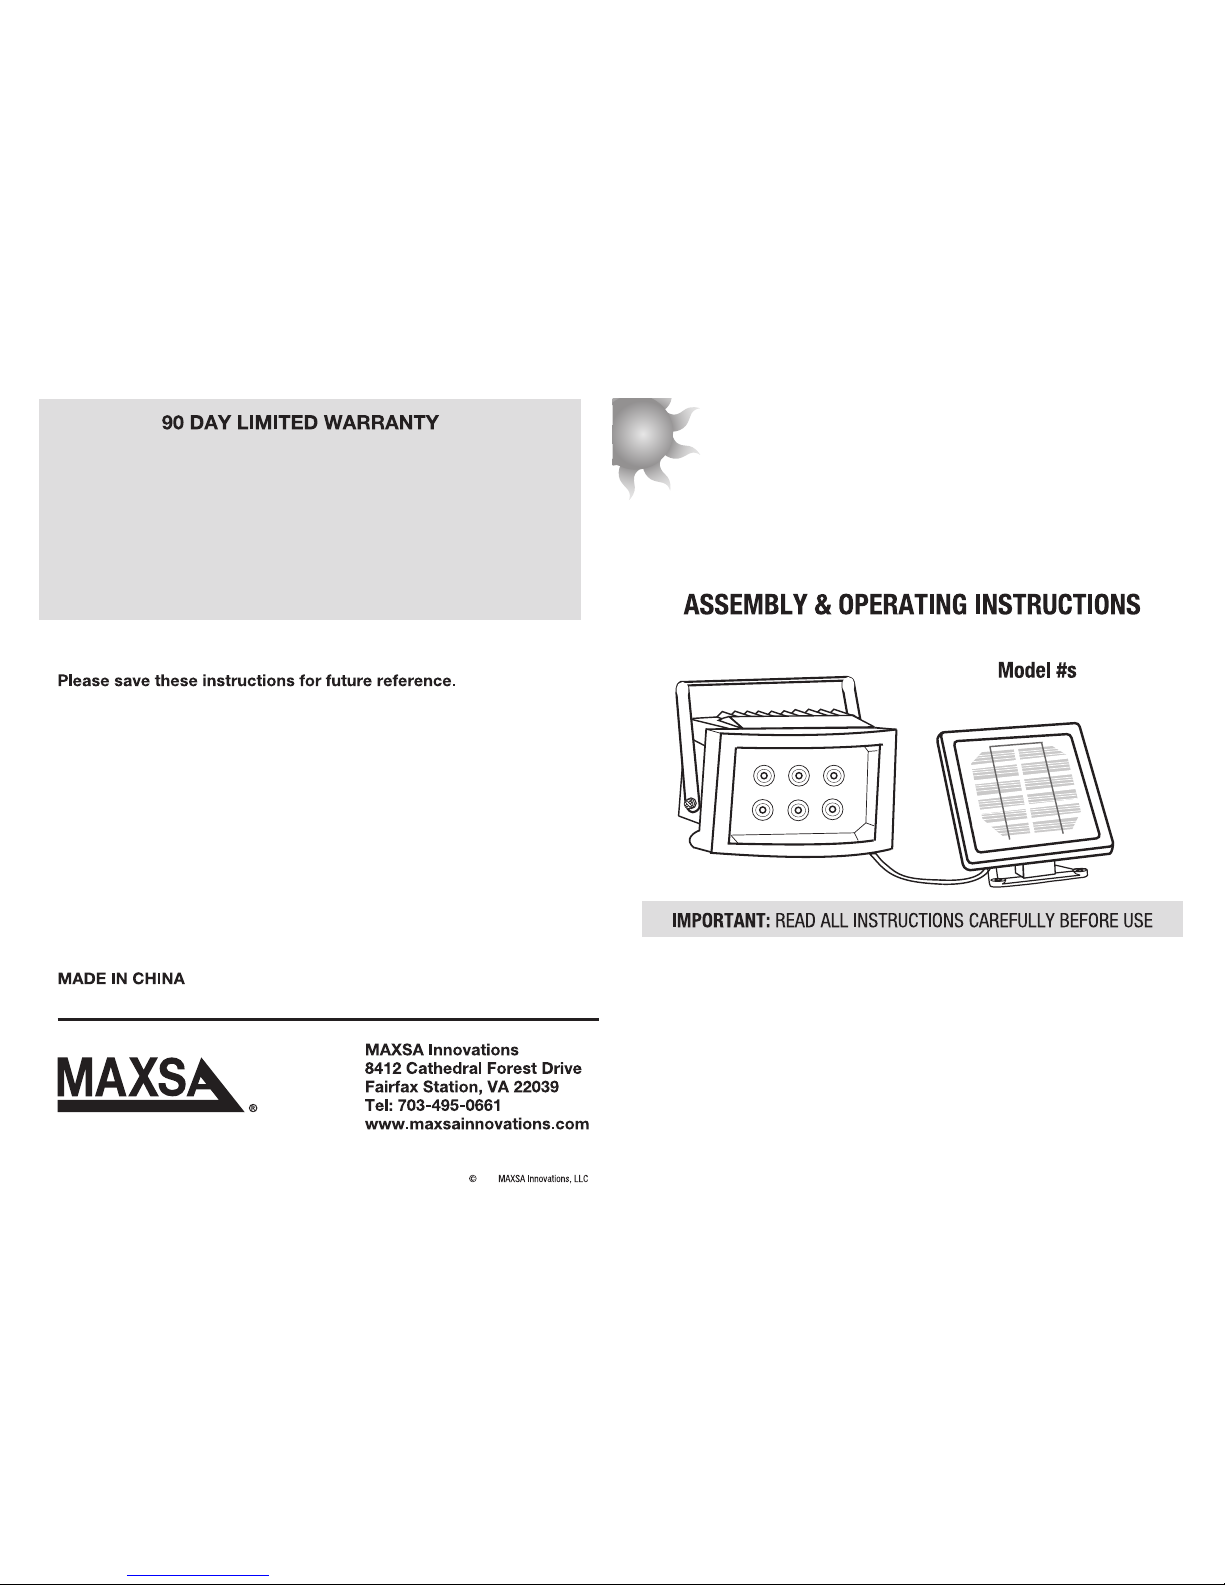
Your MAXSA Solar Flood Light converts sunlight into electricity during the day,
enabling the 6 LED lights to turn on automatically at night. With this light, walking into the dark will no longer be a problem. You can also save the environment
by conserving energy with these energy-efficient solar powered LED lights.
Your Solar Flood Light can light for many hours when the battery is fully
charged. The 3 sealed rechargeable NiMH 1500 mAh batteries included with
this product should last for approximately many years before they need to be
replaced.
43030
v10.2
2010
FLOOD
Solar
Solar Flood
ABOUT YOUR SOLAR FLOOD LIGHT
Perfect for flags, signs, gardens, driveways, carports, garages, entrance doors,
decks, porches, or any large outdoor area where lighting is needed.
LIGHT
Light
1
This Solar Flood Lights is warranted against faulty material and /or workmanship for a period of
90 days from date of original purchase. The obligation of the manufacturer, under this warranty,
is limited to servicing and replacing defective parts when the unit is returned to MAXSA Innovations,
freight pre-paid during the warranty period. To obtain warranty repair, the purchase receipt should
be returned with the product.
This warranty becomes void on any unit which has been tampered with, damaged by accident, or
damaged otherwise by improper operation. This guarantee is in addition to any guarantees implied
by State or Federal Legislation.
6
Page 2
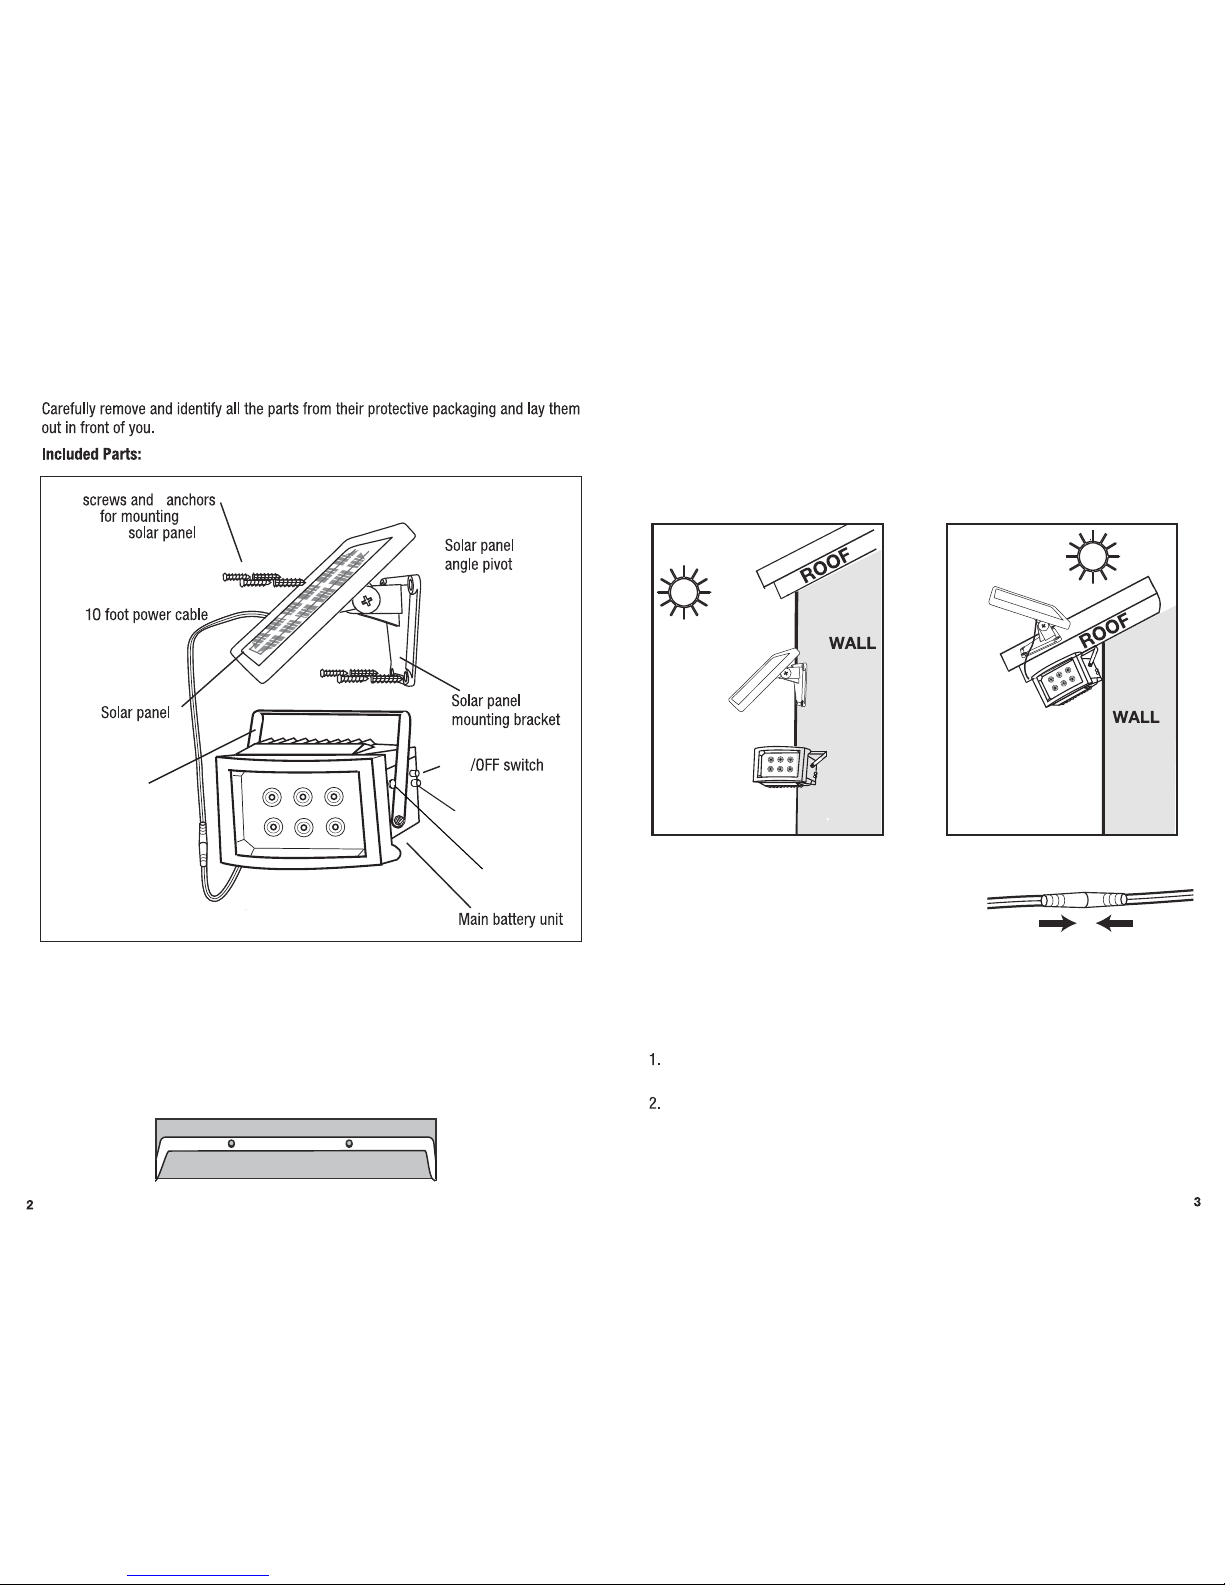
Once you have identified all parts, connect the solar
panel to your Solar Flood Light by plugging the 15
foot cord into the cord attached to the bottom of the
Solar Flood Light. Firmly turn and twist the cords
while pressing together for a tight connection.
Charge the batteries without activating the unit. Turn the power switch on the main
body of your Solar Flood Light to the OFF position.
3. Use the two wood/sheet metal screws supplied to mount the solar panel onto a
solid surface. You can adjust the angle of the solar panel by gently rotating it to a
different locking position.
Remember to set the panel to face direct
sunlight exposure, optimally towards the south.
Mounting handle
HOW TO INSTALL YOUR SOLAR FLOOD LIGHT
1. Remove the mounting handle from your Solar Flood Light by taking out the
two screws on the left and right sides of the main body.
2. Take the other two screws supplied with this product and install the mounting
handle onto a solid surface. Put the mounting handle and the main body back
together by using the two screws taken out in Step 1.
BEFORE THE FIRST TIME USE OF YOUR SOLAR FLOOD LIGHT
Brightness
control switch
Photosensor
ON
the
2
2
Leave the switch in this position for 3 days while the solar panel is in direct sunlight.
This will ensure that the batteries in your Solar Flood Light have a full charge prior
to normal operation.
Page 3
Solar Flood Light is ideal for
signs, flags,
gardens, backyards,
driveways, carports, garages,
entrance doors,
decks, porches, sheds,
or any large outdoor area
where safety and security around your home is needed!
In addition, it is ideal for use on RV’s and can be used for convenience lighting.
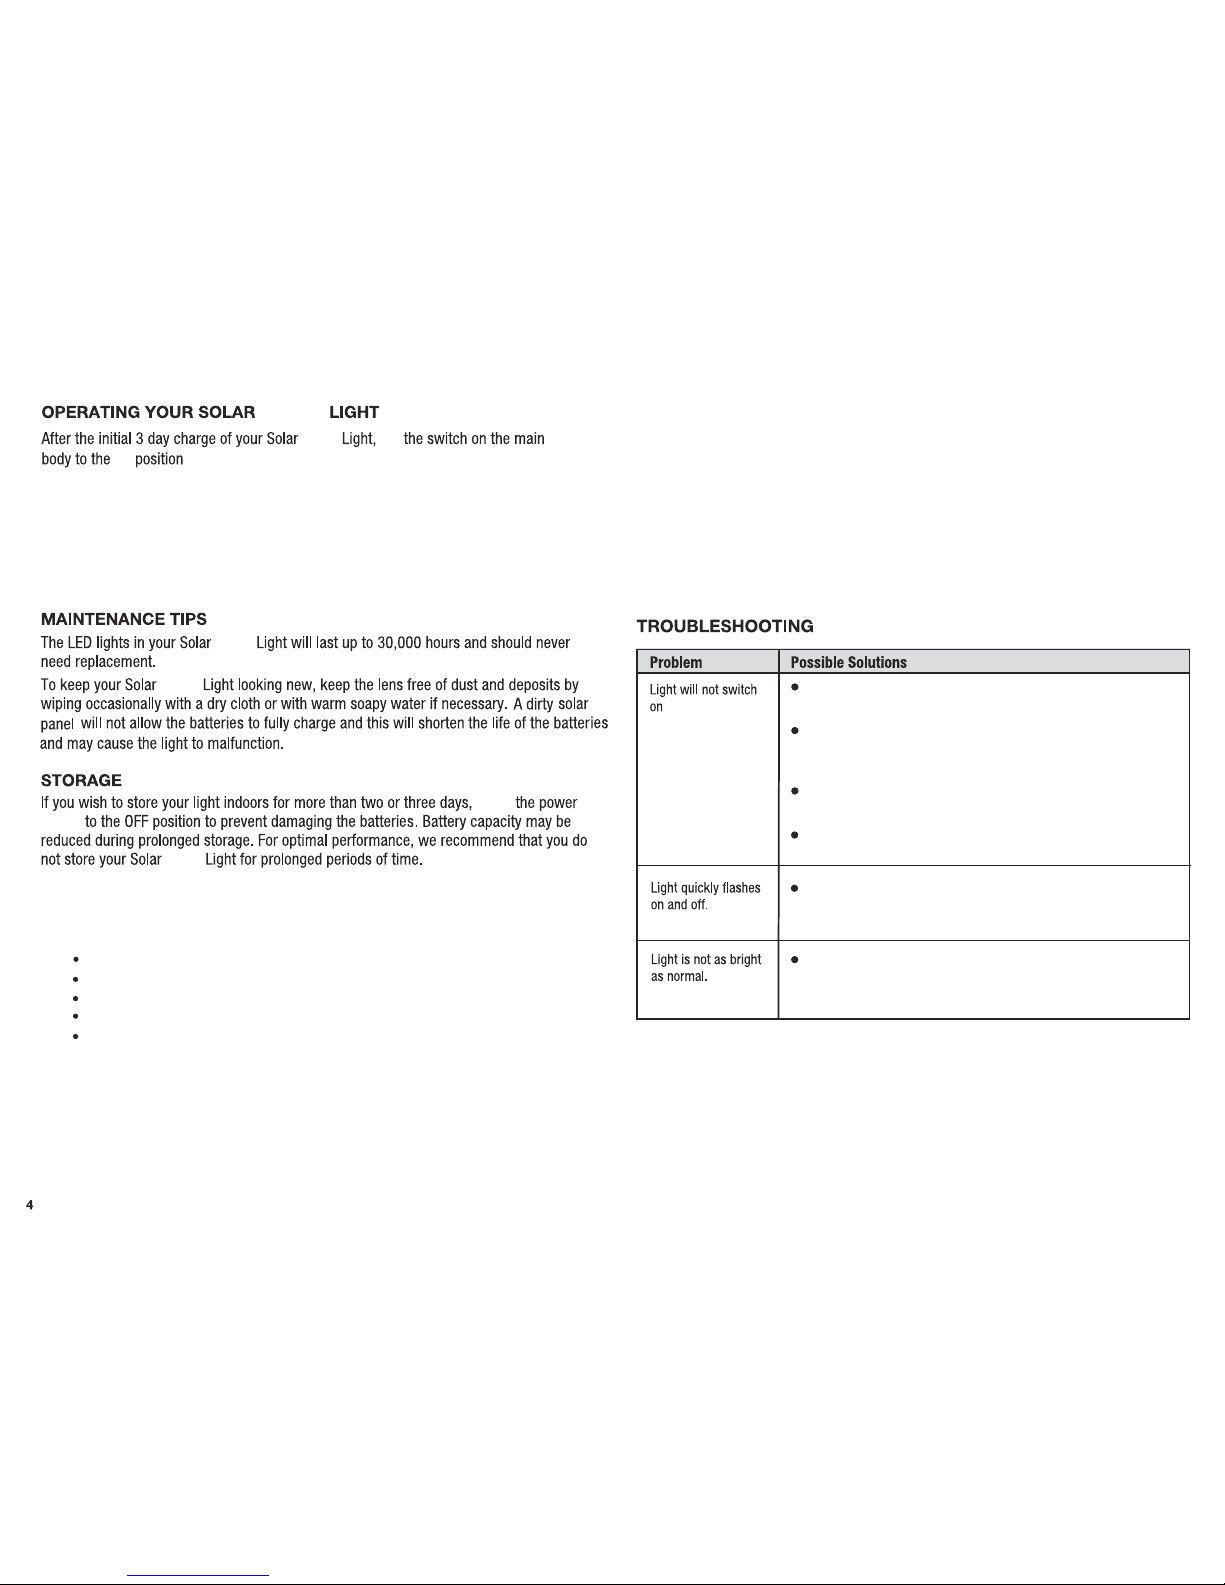
CHOOSING A LOCATION FOR YOUR SOLAR FLAG LIGHT
5
press
button
Flood
set
to make the light turn on automatically in the dark.
FLOOD
Flood
Flood
Flood
ON
Ensure that the power switch on the main body has been turned to
the ON position.
Ensure that the batteries have been fully charged in direct sunlight for
3 sunny days--refer to the “Before First Use of Your Solar Security
Light” section on page 3.
Check to see that the solar panels are facing south so that they receive
direct sunlight for most of the day, enabling the batteries to fully charge.
Check to see that the solar panels are not near night time light sources
such as street lights.
Battery charge may be low. Turn the power switch to the OFF position
and charge the batteries for three (3) sunny days, ensuring the solar
panels have been placed in direct sunlight.
Battery charge may be low. Turn the power switch to the OFF position
and charge the batteries for three (3) sunny days, ensuring the solar
panels have been placed in direct sunlight.
Your Solar Flood Light comes complete with a solar panel attached to 10 foot power
cords. For optimum sun exposure and longer light output, place the solar panel
(attached to the main body) in a position that receives at least 6-8 hours of direct
sunlight per day. Placing the panel in shaded locations will not allow the batteries to
charge fully, reducing the number of hours the light will operate per evening. Ensure
that the solar panel is not placed near night time light sources such as porch lighting
and street lighting.
CHOOSING A LOCATION FOR YOUR SOLAR FLAG LIGHT (continued)
Set the switch to the OFF position if you prefer to activate the light manually.
When you wish to activate the light, you can set the switch back to the ON position.
If you would like your light to last twice as long, you can set the
brightness control
switch
to the HALF position. This will double the duration of the light and reduce the
brightness to half.
 Loading...