

MaxLite WP-OP, WP-OP28, WP-OP40, WP-OP50, WP-OP80 Instructions Manual
...
www.GreenElectricalSupply.com
Operating Instructions WP-OP Series
MaxLite WallMax™ Open Face
• To reduce the risk of death, personal injury or property damage from
fire, electric shock, falling parts, cuts/abrasions, and other hazards
read all warnings and instructions included with and on the fixture
box and all fixture labels.
• Before installing, servicing, or performing routine maintenance upon
this equipment, follow these general precautions.
• Commercial installation, service and maintenance of luminaires
should be performed by a qualified licensed electrician.
• For Residential installation: If you are unsure about the installation or
maintenance of the luminaires, consult a qualified licensed electrician
and check your local electrical code.
• DO NOT INSTALL DAMAGED PRODUCT!
• This fixture is intended to be connected to a properly installed and
grounded UL listed junction box.
WARNING:
RISK OF ELECTRICAL SHOCK
• Turn off electrical power at fuse or circuit breaker box before wiring fixture to the power supply.
• Turn off the power when you perform any maintenance.
• Verify that supply voltage is correct by comparing it with the luminaire label information.
• Make all electrical and grounded connections in accordance with the National Electrical Code
and any applicable local code requirements.
• All wiring connections should be capped with UL approved wire connectors.
• Do not handle energized fixture when hands are wet, when standing on wet or damp surfaces, or in water.
CAUTION:
RISK OF INJURY
• Wear gloves and safety glasses at all times when removing luminaire from carton, installing, servicing
or performing maintenance.
• Avoid direct eye exposure to the light source while it is on.
• Account for small parts and destroy packing material, as these may be hazardous to children.
CAUTION:
RISK OF FIRE
• Keep combustible and other materials that can burn away from luminaire and lamp/lens
• MIN 90°C SUPPLY CONDUCTORS.
Models:
WP-OP28
WP-OP40
WP-OP50
WP-OP80
WP-OP120
Operating characteristic:
Operating Temperature: -30°C to 40°C
Rated Voltage: 120-277 Vac 50/60Hz
© Copyright 2018. MaxLite, Inc. All Rights Reserved.
12 York Ave, West Caldwell, NJ 07006 Tel: 800-555-5629 Fax: 973-244-7333 Email: info@maxlite.com
®
General Safety Information
Page: 1
REV: 8/28/18
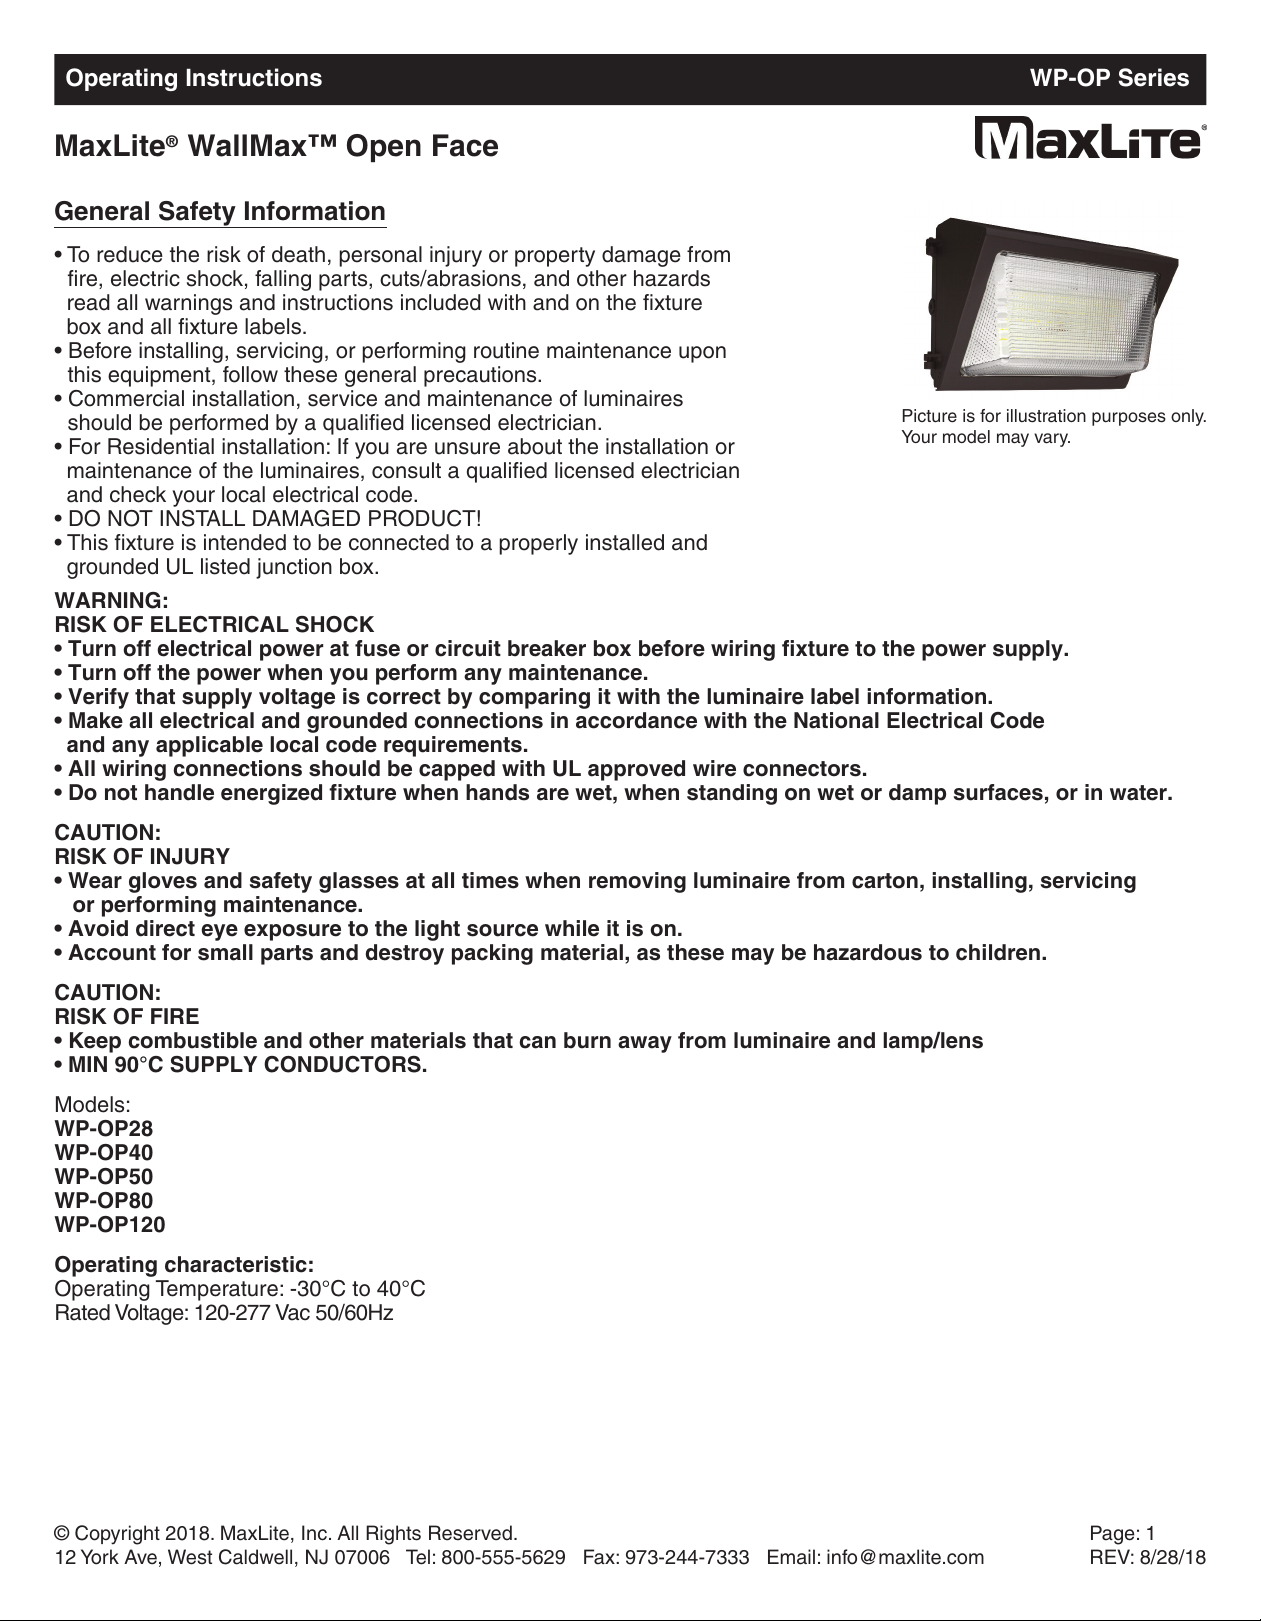
Picture is for illustration purposes only.
Your model may vary.
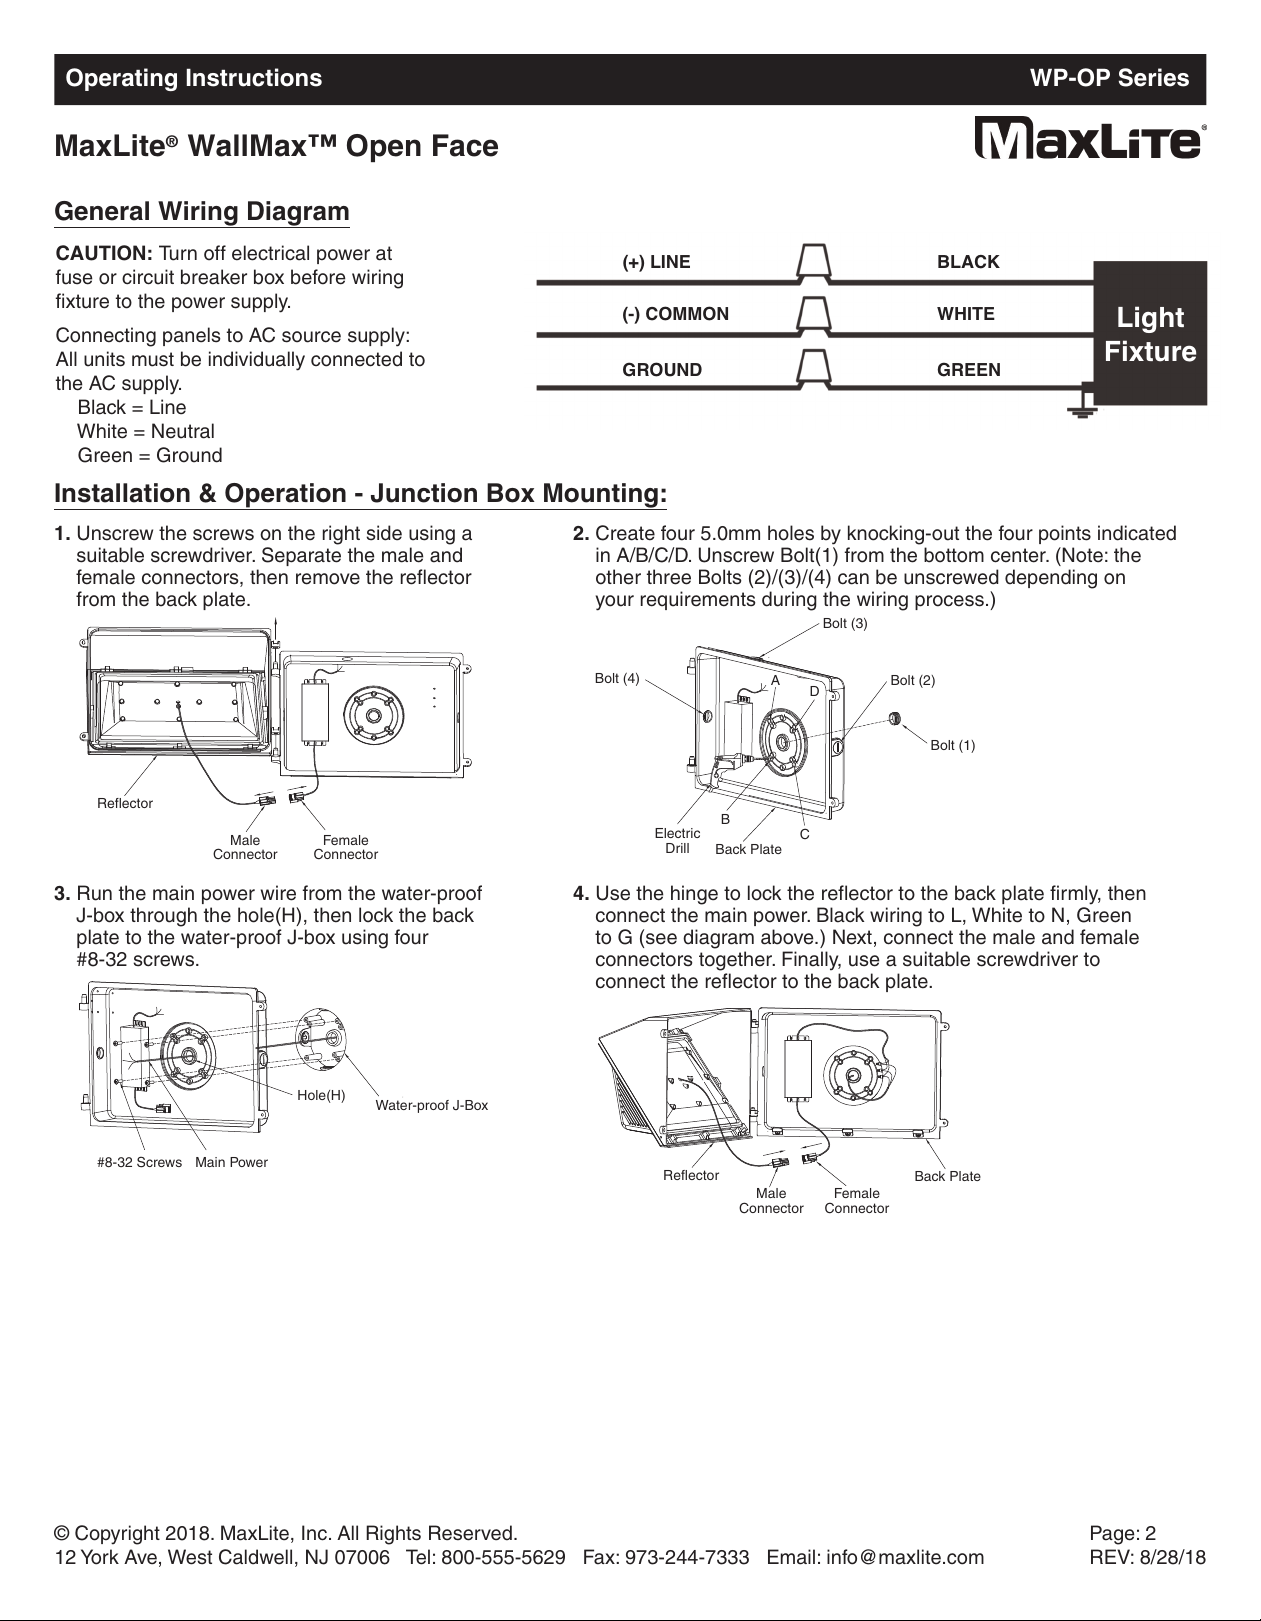
General Wiring Diagram
CAUTION: Turn off electrical power at
f
use or circuit breaker box before wiring
fixture to the power supply.
Connecting panels to AC source supply:
All units must be individually connected to
the AC supply.
Black = Line
White = Neutral
Green = Ground
Installation & Operation - Junction Box Mounting:
1. Unscrew the screws on the right side using a
suitable screwdriver. Separate the male and
female connectors, then remove the reflector
from the back plate.
2. Create four 5.0mm holes by knocking-out the four points indicated
in A/B/C/D. Unscrew Bolt(1) from the bottom center. (Note: the
other three Bolts (2)/(3)/(4) can be unscrewed depending on
your requirements during the wiring process.)
3. Run the main power wire from the water-proof
J-box through the hole(H), then lock the back
plate to the water-proof J-box using four
#8-32 screws.
4. Use the hinge to lock the reflector to the back plate firmly, then
connect the main power. Black wiring to L, White to N, Green
to G (see diagram above.) Next, connect the male and female
connectors together. Finally, use a suitable screwdriver to
connect the reflector to the back plate.
© Copyright 2018. MaxLite, Inc. All Rights Reserved.
12 York Ave, West Caldwell, NJ 07006 Tel: 800-555-5629 Fax: 973-244-7333 Email: info@maxlite.com
Page: 2
REV: 8/28/18
(+) LINE
(
-) COMMON
GROUND GREEN
W
HITE
BLACK
Light
Fixture
Reflector
Male
Connector
Female
Connector
Bolt (4)
B
olt (3)
Bolt (2)
Bolt (1)
Back Plate
Electric
Drill
#8-32 Screws Main Power
Hole(H)
Water-proof J-Box
Reflector
Male
Connector
Female
Connector
Back Plate
A
D
C
B
Operating Instructions WP-OP Series
MaxLite WallMax™ Open Face
®
 Loading...