

General Description
The MAX1909 evaluation kit (EV kit) is an accurate and
efficient multichemistry battery charger. The EV kit can
charge three or four series Li+ cells with a current up to
3A. Charge current and input-source current are
adjustable using on-board potentiometers. The output
voltage is set to 4.2V ✕ the number of series cells in the
battery pack. The number of series cells is jumperselectable. The output voltage is adjustable between
4V to 4.4V (✕ number of series cells) by installing two
resistors. The EV kit provides outputs to monitor the AC
adapter current and the presence of an AC adapter.
The MAX1909 automatically selects the power path for
supplying power to the system by controlling two external P-channel MOSFETs. This decision is made based
on the presence of an AC adapter.
Features
♦ Input Current Limiting
♦ ±0.5% Output Voltage Accuracy Using Internal
Reference
♦ Automatic Selection of System Power Source
♦ Analog Inputs Control Charge Current and
Charge Voltage
♦ Monitor Outputs for
AC Adapter Current
AC Adapter Presence
♦ Up to 17.6V Battery Voltage
♦ +8V to +25V Input Voltage
♦ Up to 3A Battery Charge Current
♦ Charges Li+, NiCd, and NiMH Battery Chemistries
♦ Surface-Mount Construction
♦ Fully Assembled and Tested
Quick Start
Required Equipment
Before beginning, the following equipment is required:
• DC source to supply the input current to the charger.
This source must be capable of supplying a voltage
greater than the battery-voltage set point and have
sufficient current rating.
• Voltmeter
• Battery pack or load
Procedure
The MAX1909 EV kit is a fully assembled and tested
surface-mount board. Follow the steps below to verify
board operation. Do not turn on the power supply
until all connections are completed. Observe all precautions on the battery manufacturer’s data sheet:
1) Set jumper JU1 to indicate the number of cells in
the battery pack (Table 1).
2) Remove the shunt on JU2 to disable the MAX1909.
3) The battery regulation voltage is set to 4.2V per cell.
If a different voltage is required, see the Battery
Regulation Voltage section.
4) The charge current is set to 3A. If a different current
is required, see the Charging Current Limit section.
Evaluates: MAX1909
MAX1909 Evaluation Kit
________________________________________________________________ Maxim Integrated Products 1
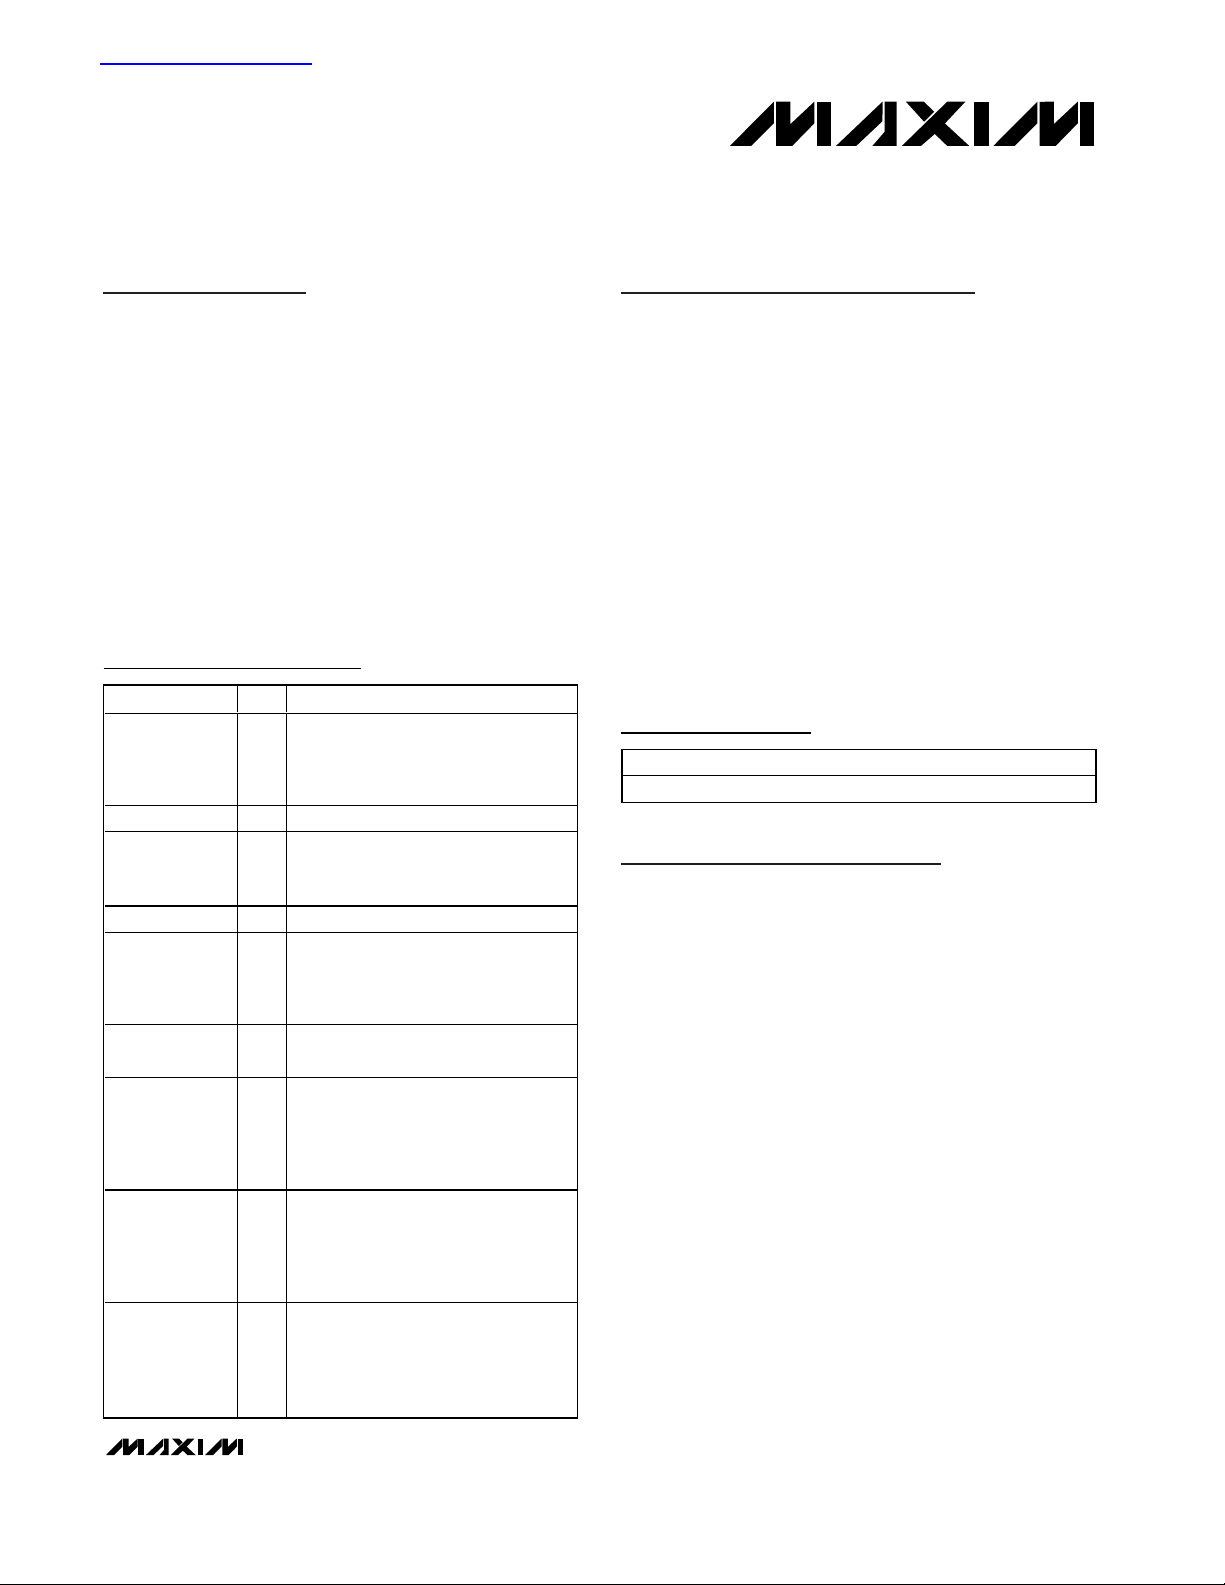
Component List
19-2981; Rev 0; 9/03
For pricing, delivery, and ordering information, please contact Maxim/Dallas Direct! at
1-888-629-4642, or visit Maxim’s website at www.maxim-ic.com.
Ordering Information
查询DS9072H供应商
DESIGNATION QTY DESCRIPTION
10µF ±20%, 25V X5R ceramic
C1, C2 2
capacitors (1812)
Taiyo Yuden TMK432BJ106KM
TDK C4532X5R1E106M
C3 0 Not installed (2220)
22µF ±20%, 25V ceramic capacitor
C4 1
(2220)
TDK C5750X5R1E226M
C5, C6 0 Not installed, E-size capacitors
0.1µF ±10%, 25V X7R ceramic
C7, C9, C12,
C17, C18
C8, C13, C14,
C15
capacitors (0603)
5
Murata GRM188R71E104K
TDK C1608X7R1E104K
0 Not installed, capacitors (0603)
1µF ±10%, 6.3V X5R ceramic
capacitors (0603)
C10, C11, C21 3
Murata GRM188R60J105K
Taiyo Yuden JMK107BJ105KA
TDK C1608X5R1A105K
1µF ±10%, 25V X7R ceramic
capacitor (1206)
C16 1
Murata GRM31MR71E105K
Taiyo Yuden TMK316BJ105KL
TDK C3216X7R1E105K
0.01µF ±10%, 50V X7R ceramic
capacitors (0603)
C19, C20 2
Murata GRM188R71H103K
Taiyo Yuden UMK107B103KZ
TDK C1608X7R1H103K
PART TEMP RANGE IC PACKAGE
MAX1909EVKIT 0°C to +70°C 28 Thin QFN
Evaluates: MAX1909
MAX1909 Evaluation Kit
2 _______________________________________________________________________________________
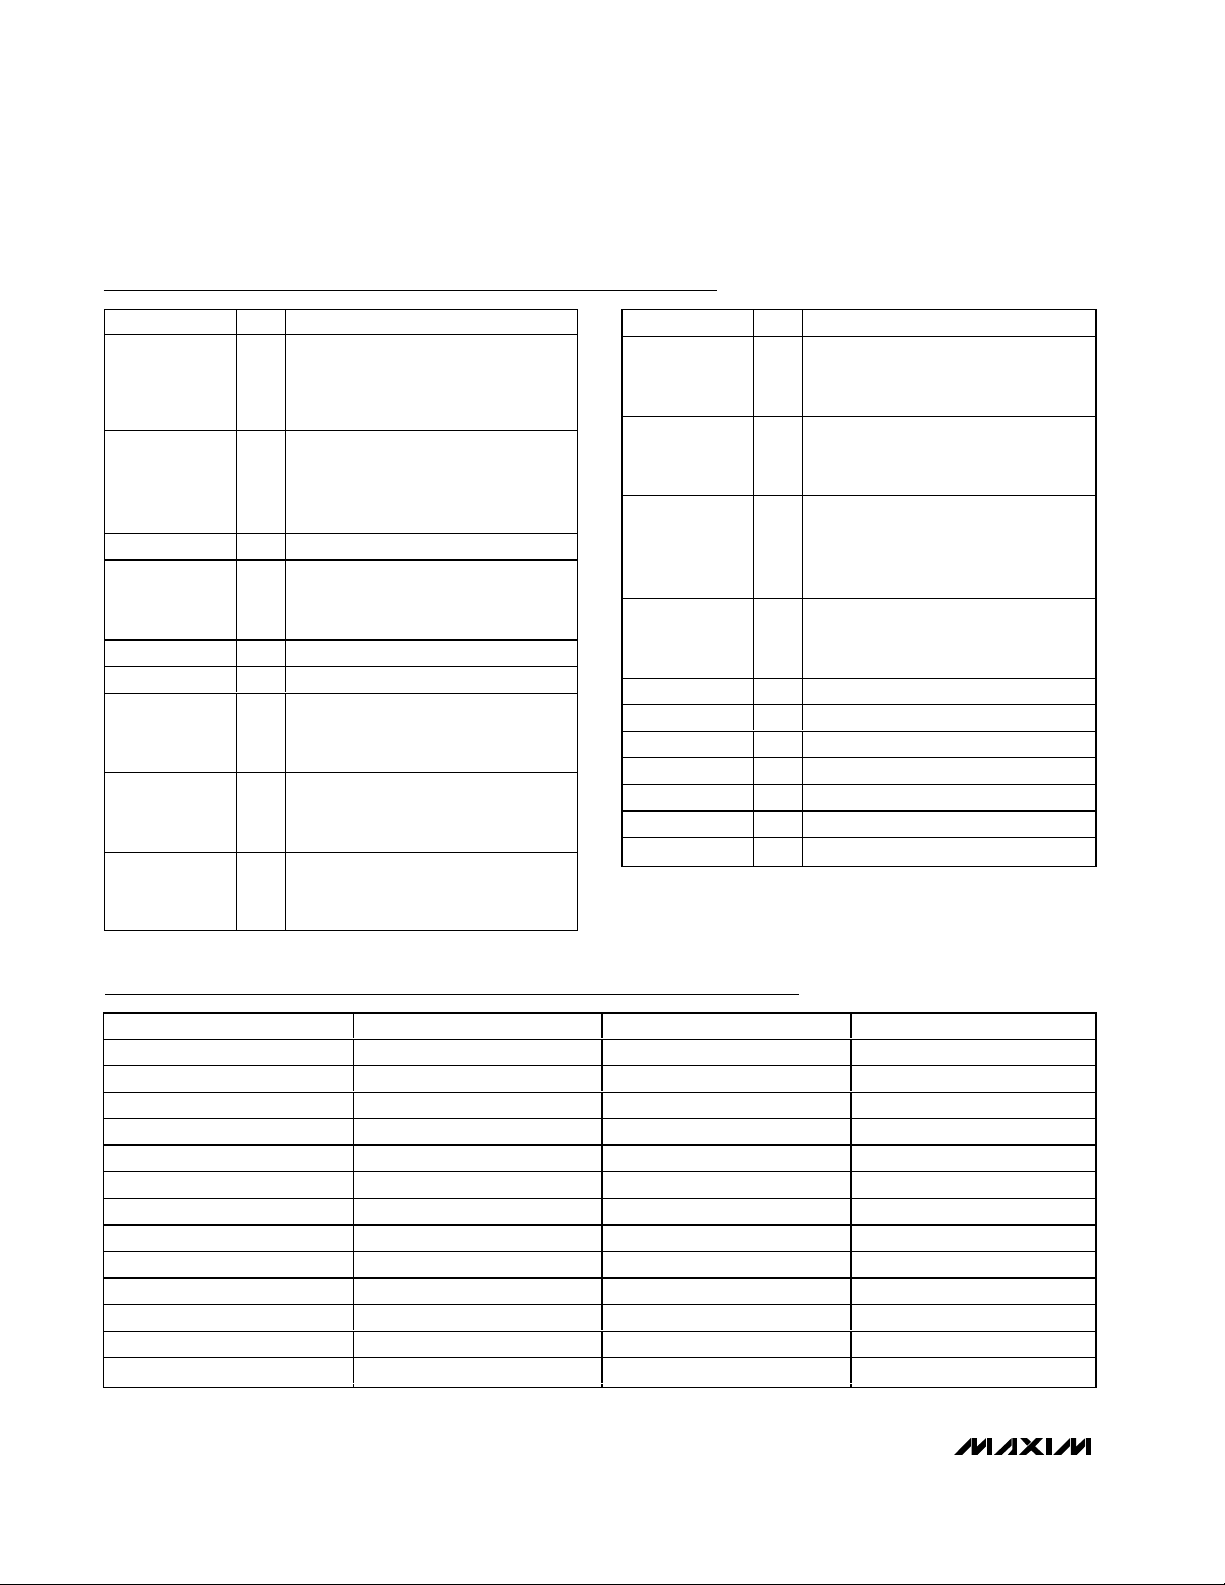
Component Suppliers
Component List (continued)
Note: Please indicate you are using the MAX1909 when contacting these manufacturers.
DESIGNATION QTY DESCRIPTION
2.2µF ±20%, 35V tantalum capacitor
C22 1
(B-size)
AVX TAJB225M035
Kemet T491B225M035AS
Schottky diode, 0.5A, 30V SOD-123
D1 1
Diodes Inc. B0530W
General Semiconductor MBR0530
ON Semiconductor MBR0530
D2 0 Not installed
Smart-battery header assembly, right
J1 1
angle, keyless, five position
Tyco Electronics (AMP) 787441-1
JU1, JU2 2 2-pin headers
JU3 0 Not installed
L1 1
10µH, 4.4A inductor
Sumida CDRH104R-100NC
TOKO 919AS-100M
Single, N-channel, 8.4A, 30V, 8-pin
N1 1
SO MOSFET
Fairchild FDS6612A
Single, P-channel, -5.3A, -30V, 8-pin
P1 1
SO MOSFET
Fairchild FDS9435A
DESIGNATION QTY DESCRIPTION
Single, P-channel, -11A, -30V, 8-pin
P2, P3, P4 3
SO MOSFETs
Fairchild FDS6675
0.01Ω ± 1%, 0.5W sense r esi stor ( 2010)
R1 1
Vishay Dale WSL2010 0.010 1.0%
IRC LRC-LR2010-01-R010-F
0.015Ω ±1%, 0.5W sense resistor
R2 1
(2010)
Vishay Dale WSL2010 0.015 1.0%
IRC LRC-LR2010-01-R015-F
R3, R4, R8,
R13, R14, R15,
R17–R23
0 Not installed, resistors (0603)
R5 1 590kΩ ±1% resistor (0603)
R6 1 196kΩ ±1% resistor (0603)
R7, R12 2 50kΩ potentiometers (multiturn)
R9, R10, R11 3 10kΩ ±5% resistors (0603)
R16 1 33Ω ±5% resistor (0603)
R24 1 10Ω ±5% resistor (0603)
U1 1 MAX1909ETI (28-pin thin QFN-EP)
SUPPLIER PHONE FAX WEBSITE
AVX 843-946-0238 843-626-3123
Diodes Inc. 805-446-4800 805-381-3899
Fairchild Semiconductor 888-522-5372 —
General Semiconductor 760-804-9258 760-804-9259
International Resistive Co.
361-992-7900 361-992-3377
Kemet 864-963-6300 864-963-6322
Murata 770-436-1300 770-436-3030
ON Semiconductor 602-244-6600 602-244-4545
Sumida 847-545-6700 847-545-6720
Taiyo Yuden 800-348-2496 847-925-0899
TDK 847-803-6100 847-390-4405
TOKO 847-297-0070 847-699-1194
Vishay Dale 402-564-3131 402-563-6296
www.avxcorp.com
www.diodes.com
www.fairchildsemi.com
www.gensemi.com
www.irctt.com
www.kemet.com
www.murata.com
www.onsemi.com
www.sumida.com
www.t-yuden.com
www.component.tdk.com
www.tokoam.com
www.vishay.com

Evaluates: MAX1909
MAX1909 Evaluation Kit
_______________________________________________________________________________________ 3
5) The source current is set to 5A. If a different current
is required, see the Source Current Limit section.
6) Connect the input current supply across the
ADAPTER_IN and PGND pads.
7) Connect a battery pack or load between the BATT+
and BATT- pads.
8) Turn on the power supply.
9) Enable the MAX1909 by installing the shunt on JU2.
10) Verify current is being delivered to the battery.
Detailed Description
The MAX1909 includes all the functions necessary to
charge Li+ batteries. The EV kit is shipped with a
charge current of 3A and a battery regulation voltage of
4.2V x the number of cells in the battery pack.
The MAX1909 includes a battery-conditioning feature,
which allows for the relearning of the battery pack
capacity. For more information on the operation of the
MAX1909, refer to the Detailed Description section of
the MAX1909 data sheet.
Jumper JU1
Jumper JU1 selects the number of series cells to be
charged. See Table 1 for jumper settings.
Jumper JU2
Jumper JU2 controls the pack-presence PKPRES pin. A
shunt on JU2 enables the MAX1909. Removing the
shunt places the MAX1909 in shutdown mode.
If the battery pack used with the MAX1909 EV kit has a
thermistor, remove the shunt on JU2 and connect the
thermistor to the THRM pad.
Jumper JU3
Jumper JU3 connects VCTL to LDO. This sets the battery regulation voltage to 4.2V x the number of cells.
The battery regulation voltage can be set between 4.0V
and 4.4V (x the number of cells) by cutting the short
across JU3 and installing resistors at R3 and R4. See the
Battery Regulation Voltage section for more information.
Battery Regulation Voltage
The default battery regulation voltage on the MAX1909
EV kit is 4.2V x the number of cells. To set it to a value
between 4.0V and 4.4V (x the number of cells), remove
the shunt on JU1 and install resistors at R3 and R4. Use
the following equation to calculate the resistor values:
V
BATT
is the desired battery regulation voltage and
CELLS is the number of cells selected by jumper JU1.
Choose 1% resistors with a total resistance less than
250kΩ to minimize error caused by bias current.
For V
BATT
/ CELLS = 4, use 100kΩ for R4 and leave R3
uninstalled.
For V
BATT
/ CELLS = 4.4, use 100kΩ for R4 and 49.9kΩ
for R3.
Charging Current Limit (Potentiometer R7)
The default charging current limit on the MAX1909 EV
kit is 3A. To set it to a value between 0.156A and 5A,
adjust potentiometer R7. Refer to the Setting the
Charging Current Limit section of the MAX1909 data
sheet for more information. Note: 5A charging current
requires a different inductor.
Source Current Limit (Potentiometer R12)
Potentiometer R12 is connected to CLS, the source current-limit input. Adjusting R12 allows the input current
limit to be set between 3.75A and 7.5A. Refer to the
Setting the Input Current Limit section of the MAX1909
data sheet for more information.
Table 1. Jumper Selection
*Default position.
RR
34
54
.
V
9 523 4 223 1 8
...
BATT
CELLS
−
+
1=
−
JUMPER
JU1
JU2
JU3
JUMPER
POSITION
Closed* MODE = LDO. Cell count = 4.
Open MODE = float. Cell count = 3.
Closed* PKPRES = GND. MAX1909 enabled.
PKPRES connected to LDO through
Open
C l osed *
( shor ted b y
P C tr ace)
Open
10kΩ pullup resistor. The MAX1909 is
disabled unless the battery thermistor
is connected to THRM.
VCTL = LDO. Battery regulation
voltage set to 4.2V x the number of
cells.
Battery regulation voltage can be set
between 4V and 4.4V x the number of
cells. Resistors R3 and R4 must be
installed.
FUNCTION

Evaluates: MAX1909
MAX1909 Evaluation Kit
4 _______________________________________________________________________________________
Figure 1. MAX1909 EV Kit Schematic
LOAD
2
3
75
8
6
4
P2
R16
33Ω
LDO
C10
1µF
2
28
PDL
LDO
C12
1
R21
SHORT
PC TRACE
0.1µF
C1
10µF
C2
10µF
SRC
C9
0.1µF
R15
SHORT
PC TRACE
R1
1%
0.01Ω
ADAPTER_IN
C8
OPEN
CSSP CSSN DHIV
C7
SHORT
PC TRACE
26 25 22
PDS
0.1µF
C22
SRC
2.2µF
D2
PGND
27
OPEN
SRC
1
24
DCIN
C16
R24
ACIN
3
1µF
D1
10Ω
R5
1%
590kΩ
LDO
J1-1
R14
SHORT
PC TRACE
R13
6
8
5
7
P4
3
4
1
2
3
1
P3
2
4
8
6
7
5
C6
OPEN
C5
OPEN
C4
C3
BATT
CLS GND
REF
CCS
CCI
CCV
C17
IINP
SMART BATTERY
BATT-
22µF
OPEN
15
94
REF
14
R23
1213
R22
0.1µF
R10
10kΩ
CONNECTOR
CLS
3
SHORT
SHORT
R11
GND
R12
2
C21
1µF
PC TRACE
PC TRACE
10kΩ
C18
C19
50kΩ
1
C20
0.01µF
0.01µF
0.1µF
BATT+
L1
21
C11
DLOV
1µF
R17
3
2
1
4
SHORT
PC TRACE
23
U1
DHI
10µH
8
5
P1
N1
2
7
1
6
3
6
8
7
5
4
R18
SHORT
PC TRACE
20
19
DLO
PGND
R2
0.015Ω
1%
SHORT
OPEN
C13
PC TRACE
OPEN
17
CSIN
C15
R20
SHORT
OPEN
PC TRACE
16
R19
C14
18
CSIP
MAX1909
SDA
J1-3
R8
J1-8
OPEN
6
ACOK
ACOK
LDO
THM
SCL
J1-4
IINP
PKPRES
8
5
JU2
R9
10kΩ
THRM
J1-10
J1-5
J1-9
BATT+
ICTL
VCTL
11
R6
196kΩ
JU3
R3
OPEN
J1-6
BATT-
2
1%
REF
3
SHORT
R4
OPEN
J1-2
THM
MODE
7
10
JU1
LDO
LDO
1
R7
50kΩ
MODE
J1-7
THM

Evaluates: MAX1909
MAX1909 Evaluation Kit
_______________________________________________________________________________________ 5
Figure 4. MAX1909 EV Kit PC Board Layout—Signal and
Ground Layer
Figure 5. MAX1909 EV Kit PC Board Layout—Ground Layer
Figure 2. MAX1909 EV Kit Component Placement Guide—
Component Side
Figure 3. MAX1909 EV Kit PC Board Layout—Component Side

Evaluates: MAX1909
MAX1909 Evaluation Kit
Maxim cannot assume responsibility for use of any circuitry other than circuitry entirely embodied in a Maxim product. No circuit patent licenses are
implied. Maxim reserves the right to change the circuitry and specifications without notice at any time.
6 _____________________Maxim Integrated Products, 120 San Gabriel Drive, Sunnyvale, CA 94086 408-737-7600
© 2003 Maxim Integrated Products Printed USA is a registered trademark of Maxim Integrated Products.
Figure 7. MAX1909 EV Kit Component Placement Guide—
Solder Side
Figure 6. MAX1909 EV Kit PC Board Layout—Solder Side
 Loading...