

Page 1
MAX-TV
DVB-T USB-STICK
DRIVER/TREIBER
FIRMWARE
USER'S MANUAL
BEDIENUNGSANLEITUNG
DVB-T USB-STICK
MAX-TV
Quick Start Guide
Maxfield Clip-Case Carrying-Strap Mobile Antenna Quick Start Guide
CD-ROM:
Driver + ManualRemote Control USB-Cable
Antenna Adaptor
Docking Station
KEY FEATURES
• Watch FREE TO AIR Digital TV on your notebook or desktop
(terrestrial digital video signal DVB-T required)
• Listen to FREE TO AIR Digital Radio in your office, car, anywhere
• Record Digital TV shows with the Electronic Program Guide (EPG)
• Fully resizable TV, up to full screen
• Auto channel scan and name recognition
• Time shift — pause a live show and continue later
• Detachable DVB-T antenna for the best transmission
• Stylish docking station
FUNCTIONS
• Digital Terrestrial TV and Radio Program Reception
• Supports DVB Protocol (ETS 300 744)
• Real Time Digital Video Recording (DVR)
• Supports EPG (where available)
• Supports Teletext (where available)
• Schedule Recording
• Time-Shifting
• Multi-Channel Preview
• Channels Auto Scan
DVB-T PARAMETERS
• Carrier type: 2 K or 8 K
• Guard Interval: 1/4, 1/8, 1/16 or 1/32
• Code rate: 1/2, 2/3, 3/4, 5/6 or 7/8
• Modulation: QPSK, 16QAM or 64QAM
• Channel Bandwidth: 6 MHz, 7 MHz, 8 MHz
TUNER
• Receiving frequency:
VHF 174 – 230 MHz
UHF 470 – 862 MHz
POWER SUPPLY
• Bus powered (no AC adaptor required)
SYSTEM REQUIREMENTS
• Microsoft Windows 2000 (SP4), XP (SP1) or above
• PIII 800 MHz CPU or above
• 1 GB free memory space
• Graphic card (supports Microsoft DirectX 9.0 or above)
• Microsoft DirectX 9.0 or above
• Available terrestrial signal
in your region
• CD-ROM drive (for
software installation)
HOUSING
• Super lightweight
aluminium housing
• Dimensions: about
32 x 15 x 94 mm
• Weight: about 25 g
GUARANTEE
• 24 months
PRODUCT SPECIFICATIONS
MAX-TV DVB-T USB-STICK
Watch Digital TV on your PC, for free and everywhere. —
The DVB-T standard sends Digital TV and Radio signals
FREE to AIR. The MAX-TV DVB-T USB-Stick
turns your notebook or desktop into
a Digital TV and Video Recorder
including EPG (Electronic
Program Guide), Time-
shift and Teletext.
ACCESSORIES
SUPPORTS DVB PROTOCOL (ETS 300 744)
DIGITAL TERRESTRIAL TV & RADIO PROGRAM RECEPTION
DIGITAL VIDEO RECORDER (DVR)
SCHEDULE RECORDING
RECORDS DIGITAL TV SHOWS WITH EPG
SUPPORTS TELETEXT (WHERE AVAILABLE)
MULTI CHANNEL PREVIEW
CHANNELS AUTO SCAN
HIGH SPEED USB 2.0
Maxfield GmbH · Kaistr. 2 · 40221 Düsseldorf · Germany · Phone +49.(0)211.159 269 - 0 · Fax +49.(0)211.159 269 - 11 · [email protected]
Page 2
INSTALL DRIVER
3
SYSTEM REQUIREMENTS
1
CONNECTING THE UNIT
2
PACKAGE CONTENT
4
Maxfield GmbH · Kaistraße 2 · 40221 Düsseldorf · Handelshafen · www.maxfield.de
Quick Start Guide
For detailed instructions and descriptions,
please see the User's Manual on CD-ROM.
Sytem requirements
— Microsoft Windows 2000 (SP4),
XP (SP1) or above
— PIII 800 MHz CPU or above
— 1 GB free memory space
— Graphiccard
(supports Microsoft DirectX 9.0 or above)
— Microsoft DirectX 9.0 or above
— Available terrestrial signal in your region
— CD-ROM drive (for software installation)
Install DirectX 9.0
If Microsoft DirectX9.0 is not installed on your computer,
you should install it before starting to use the MAX-TV DVB-T
USB-Stick. Put the CD-ROM into the CD-ROM drive and
double-click on the "DirectX" folder in the CD-ROM directory.
Start the DirectX9.0 installation by double-clicking on "DXSETUP".
To continue, follow the instructions given in the installation
software. The computer must be re-started after installation
has been completed.
Connecting the antenna adapter to the antenna and to the MAX-TV DVB-T USB-Stick.
Connecting the MAX-TV DVB-T USB-Stick to the USB interface on your computer
You may need a longer USB-cable for the connection between MAX-TV DVB-T USB-Stick and USB interface on your computer.
Connecting the MAX-TV DVB-T USB-Stick via the dockingstation
Connect the MAX-TV DVB-T USB-Stick to the dockingstation. Connect the antenna-adapter to the dockingstation and connect
the antenna with the antenna adapter. Connect the dockingstation to the USB interface on your computer.
Note: If you are installing the MAX-TV DVB-T USB-Stick on a notebook, make sure that energy-save mode
is deactivated.
CPU performance is reduced and can impair the functionality of the MAX-TV DVB-T USB-Stick.
Note: The antenna must be connected with the MAX-TV DVB-T USB-Stick and properly adjusted for the best
reception during the operation of the DTV and placed in a suitable location.
Please make sure you have connected the MAX-TV DVB-T USB-Stick to your computer before you move to
driver installation. The computer will detect the new hardware and the Found New Hardware Wizard window
will pop up. Please select "Install from a list or specific location (Advanced)".
Please select "Search for the best driver in these locations". You may click "Browse" to find the driver location
on CD-ROM directory. Choose "\DTV_Driver".
Click "Continue Anyway" to continue. Please select "Install from a
list or specific location (Advanced)", then click "Next" to continue.
Please click "Continue Anyway" to continue and "Finish" to exit.
Please repeat this procedure to install the second driver
Quick Start Guide
DRIVER/TREIBER
FIRMWARE
USER'S MANUAL
BEDIENUNGSANLEITUNG
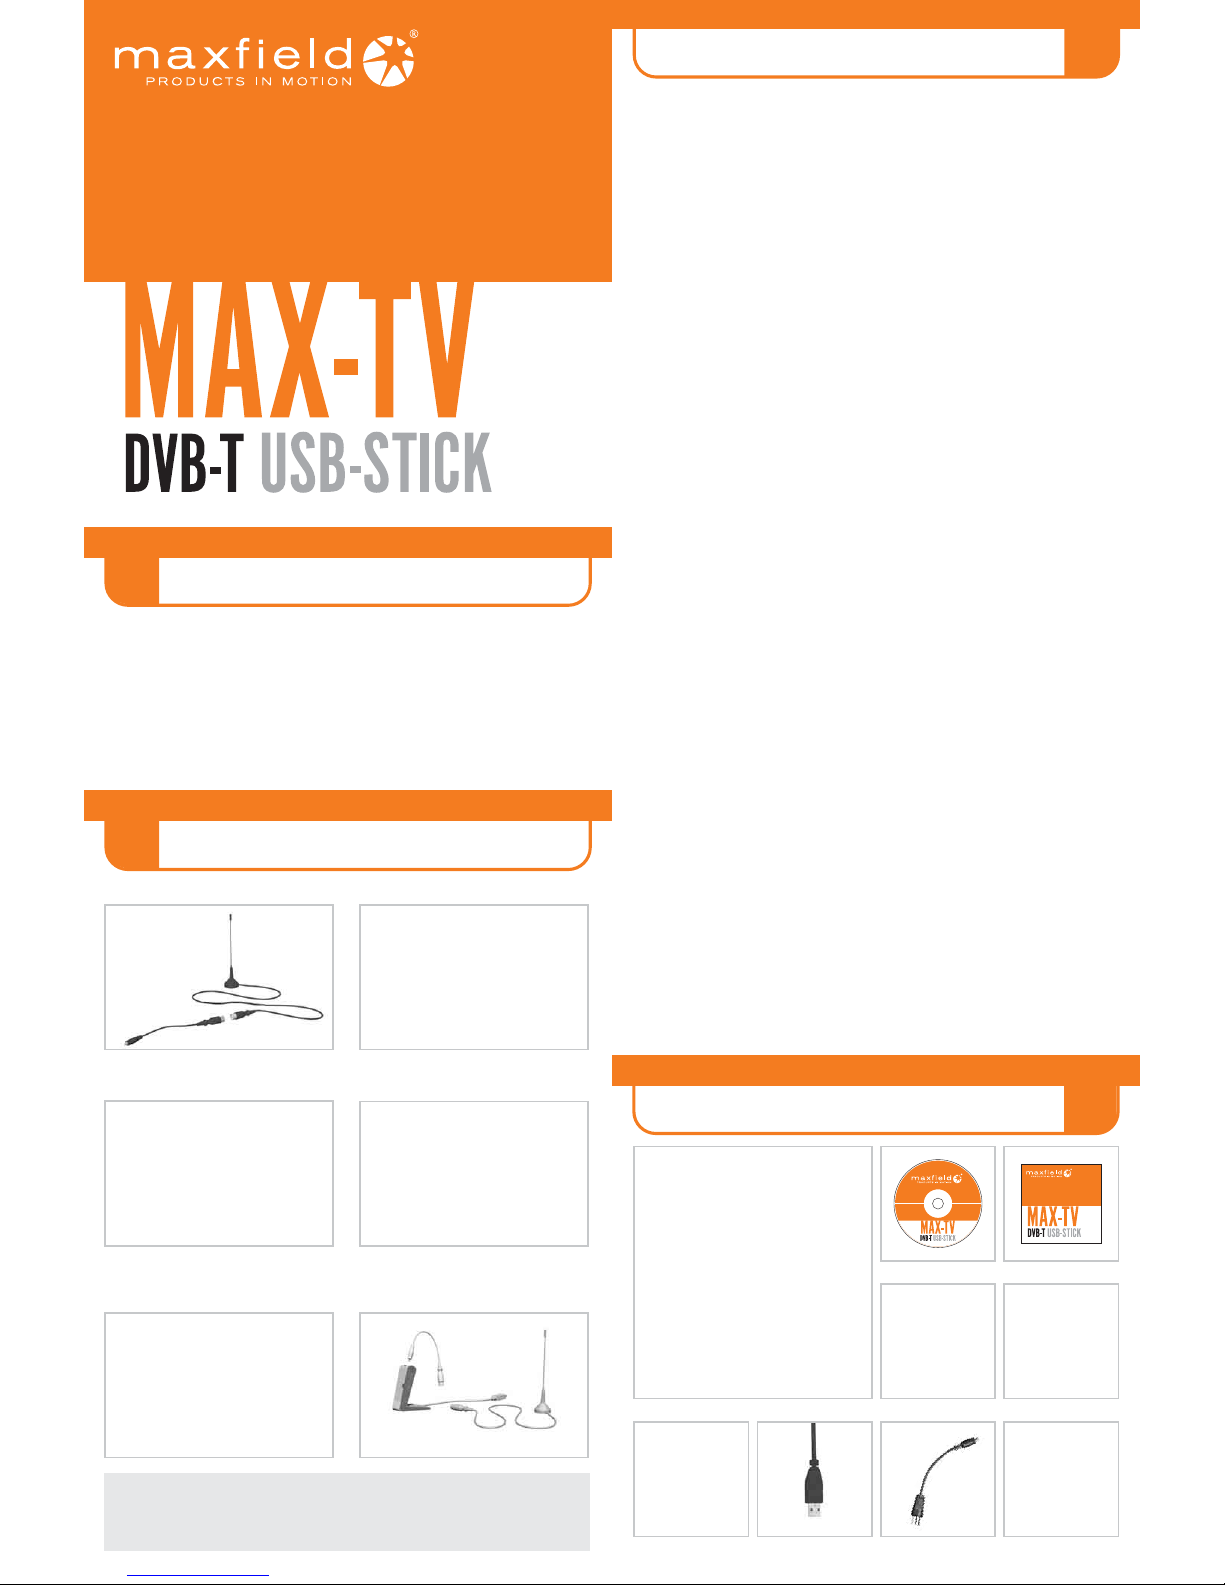
REMOTE CONTROL ANTENNA-ADAPTORUSB-CABLE
DOCKINGSTATION CLIP-CASE + CARRYING-STRAPMAX-TV DVB-T USB-STICK
QUICK START GUIDECD-ROM
MOBILE ANTENNA
Page 3
7
INSTALL APPLICATION
5
DEVICE OVERVIEW
THE DVB-T PLAYER SOFTWARE
6
CONTROL PANEL
8
!
SECURITY AND OPERATION
Select a language edition. Choose English and click "Next" to continue.
You may change the original setting route and folder name according to personal reference.
Click "Next" to continue.
Select the directory name for the shortcut and click on "Next".
Check the details to ensure that they are correct and click on "Next".
Please check "Yes, restart my computer now." Click "Finish" to continue.
Fill in user’s information in the column. Click "Next" to continue.
Enter product’s serial number and click "Next" to continue.
The serial number is located on the front of the CD-ROM cover.
Put the enclosed CD-ROM into your CD-ROM drive and double-click on "Setup".
Click "Next" to continue. Please read the license agreement carefully, then select "I agree to the terms of this
license agreement". Click "Next" to continue.
Note:
If you do not restart your computer now,
you must restart it later to complete the
installation process.
Status display
Remote Control sensor
Protective cap for the USB connector
Status display:
Green: Good DVB-T signal
Orange: Weak DVB-T signal
Flashing orange: Indicates remote-control control mode
Application Program
On and Off
Channel Control
Mute Mode
Number Input
Channel Return
Full Screen
Volume Control
After you finish the installation of the software, you will find an icon
"DVB-T Player". Start the program with double click. When the software
starts up for the first time, the "Setup" dialogue will appear with the tab
"Scan Channel". Select the setting you need and start the broadcasting
station search by pressing "Start". You may save all scanned channels
by clicking "Save as". Click "OK" to exit the operating panel.
- Country/Area: You may choose the location where you are.
- All: If you can not find your location.
- Range: You may define your own frequency range VHF or UHF.
- Single: If you know the exact frequency of a digital program.
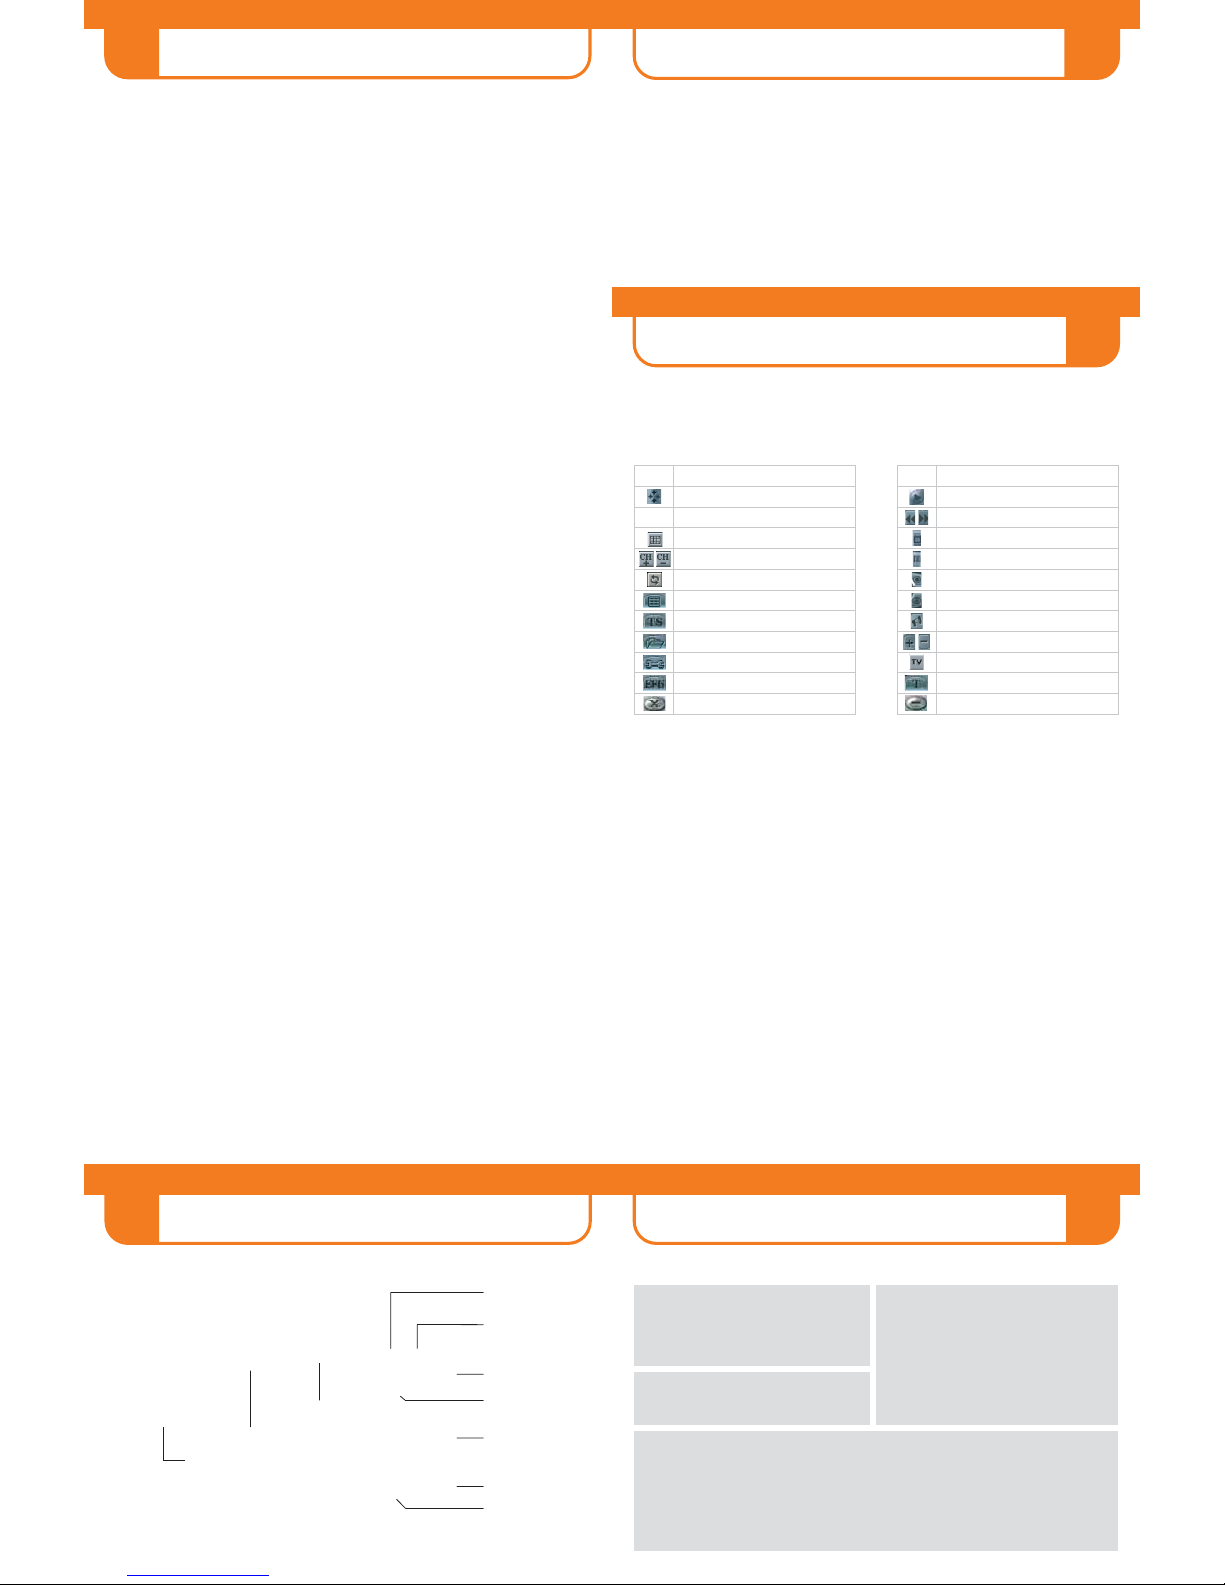
Symbol Function
After you run the DTV software,
you can use the control panel as follows.
Symbol
Full screen
Delete number input
Multi-channel Preview
Channel up and down
Channel recall
Channel list
TimeShift
Open saving file
System property setup
Electronic program guide
End program
Play
Rewind, fast-forward
Stop
Pause
Video Recording
Photo capture
Mute
Volume up and down
Receive DVB-T broadcasting
Teletext
Minimise control panel
Function
Right Click Menu and Keyboard Shortcuts
Playback Enter Playback program
Pause Space Pause the playing
Stop S Stop playing
Record R Record the on-going program
Mute M Shot down sound
Fast-forward F Fast –forward the on-going program
Rewind B Rewind the on-going program
Next channel N Switch to next program
Previous channel P Switch to previous program
Channel recall L Switch to previous watching channel
My favorite Ctrl+M Open the favorite menu
Multi-channel browse Ctrl+W Provide multi-channel browse (non-Syncronized)
Choice of language Ctrl+L Provide language switch
Enable Subtitle Ctrl+S Display subtitle
Time shift T Start or pause time shift function
Capture G Capture single picture as photo
Setup E Start setup function
Display control panel O Display control panel or not
Display ratio Select display ratio either 4:3 or 16:9
Image size Choice of image size 60%,100% ,150%
Full screen W Switch full screen or window
Increase volume + Increase volume
Decrease volume - Decrease volume
Close to bar Ctrl+Z Close control panel to bar
About Ctrl+A Display DTV version information
Help H On-line help
Close Ctrl+X Close DTV playing software 150%
IMPORTANT!
Please make back-up copies of your files!
Maxfield GmbH is not liable for data loss due to
damaged products or memory modules and hard drives
which are damaged or unreadable.
Do not store or operate the unit in areas of high
humidity or wet areas, near strong magnetic fields
or near sources of heat.
Handling of the unit
- Do not make any changes or modifications to your unit.
This can result in malfunctions.
- Do not drop the unit and do not apply force to it in any form.
This can damage the unit.
- Do not operate the unit in the following places:
- Bathrooms and other areas of high humidity
- Dusty places
- Very hot locations where the unit is exposed to
direct sunlight.
If the device is not functioning properly...
It may be that the driver was not installed properly.
In the Windows System control panel, click on the "Hardware" tab and then click on "Device Manager".
Open the "Sound, video and game controllers" file.
"Digital TV Receiver" should appear on the list. If it does not, re-install the drivers.
Remove the MAX-TV DVB-T USB-Stick and then re-insert it in the USB port.
Please note that the period between removal and re-insertion must be at least 3 seconds.
Insert the DVB-T USB-Stick into another USB port on the PC.
 Loading...