


1
D
OCUMENT NO: DSXXXX
AU
TORISATION NO: XXXX
PAGE
1
OF
6
Maxa Technologies Ltd
Test Procedure
MAXATEC
MT150/MT200
Creating an Ethernet Port
Configuring Ethernet Board
This document is the Maxatec™ procedure to creating the Ethernet port for use with the
MT150/200 printer. Please read through these instructions from start to finish following the
instructions given to fully setup the Ethernet port.
2
D
OCUMENT NO: DSXXXX
AU
TORISATION NO: XXXX
PAGE
2
OF
6
Setup Procedure
Introduction:
This document has been created to help you create and setup Ethernet communications
to the Maxatec MT-150/MT-200 printers. Please follow the instructions below to complete
the setup process.
Please note that although this document contains screen images from a Windows XP
system, the same procedure applies to Windows 2000/Vista/Win7.
Adding the printer:
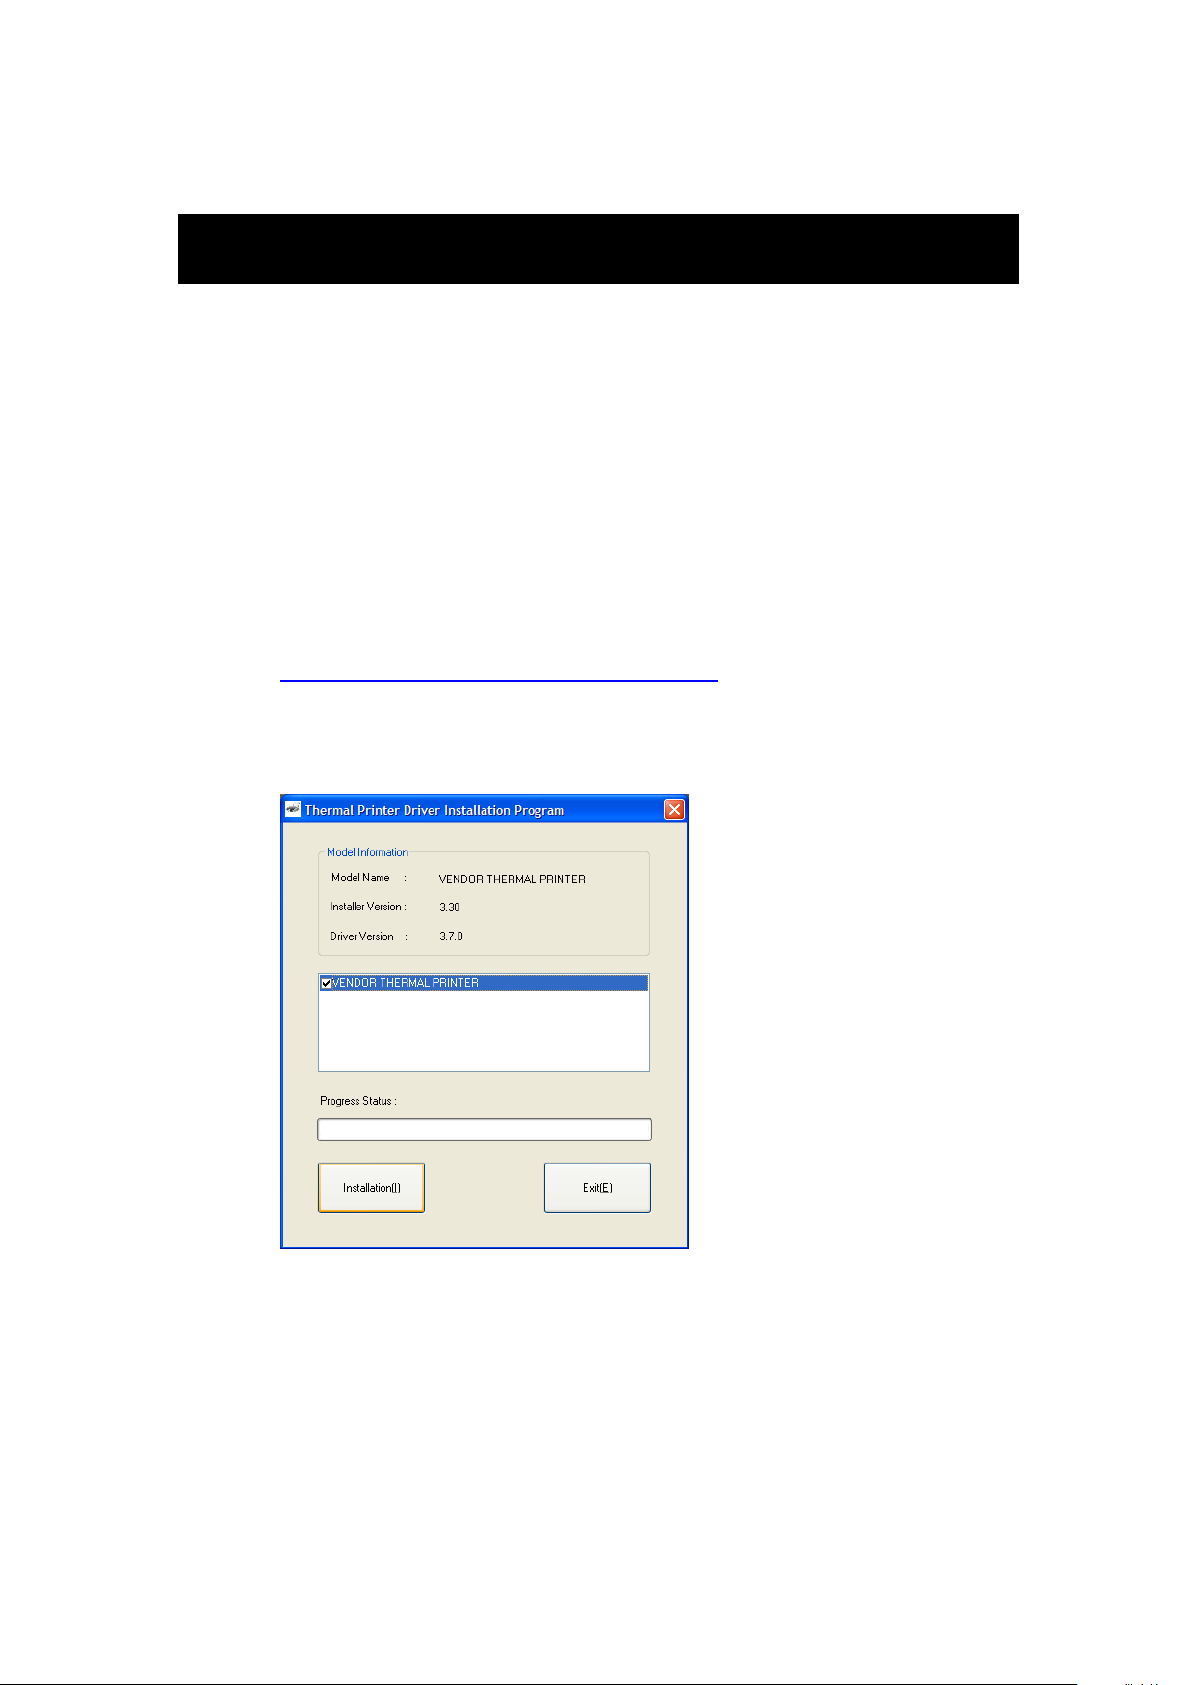
Install the driver:
Driver and utilities can be found on our FTP site:
ftp://ftp.maxatec-europe.com/Public/Maxatec/Printers/
Download printer driver Thermal Printer 3.x.x.
Install Printer Driver
Select TCP/IP from Printer Port drop down list and type in printer IP address

3
D
OCUMENT NO: DSXXXX
AU
TORISATION NO: XXXX
PAGE
3
OF
6
Then reboot your PC
Select the
Settings
option from within the
Start menu
, and then select the
Printers/Faxes option as shown in the image below:

4
D
OCUMENT NO: DSXXXX
AU
TORISATION NO: XXXX
PAGE
4
OF
6
After selecting the printer to be connected, click on the right hand mouse
button, from the menu that appears select the properties option.
Select the Ports tab from within the Properties window and click on configure port.
Make sure that settings are; Protocol RAW and port number 9100.

5
D
OCUMENT NO: DSXXXX
AU
TORISATION NO: XXXX
PAGE
5
OF
6
Select the port of the installed printer, and then select the OK option
Configuring printer IP Address:
There are two versions of Ethernet board. Depends of what chipset is on the board, we will use
different software for changing IP address.
Latest version has ARM chipset, and we will use LKEtherconfig_v110 to configure IP address,
for ATMEL chipset we will use TCPIPCFG100v110.
Please see chipset locations on the board below:
ATMEL chipset ARM chipset

6
D
OCUMENT NO: DSXXXX
AU
TORISATION NO: XXXX
PAGE
6
OF
6
Configuring LKEtherconfig_v110
Click on search button and utility will find the printer MAC address, port number
and IP address.
Make your own configuration and press save to store settings to the printer.
Configuring TCPIPCFG100v110.
The same, click on search button and utility will find the printer. Set your own IP
address and click on save button to store data to the printer.
Click on Exit button to properly close session.
 Loading...