

Page 1
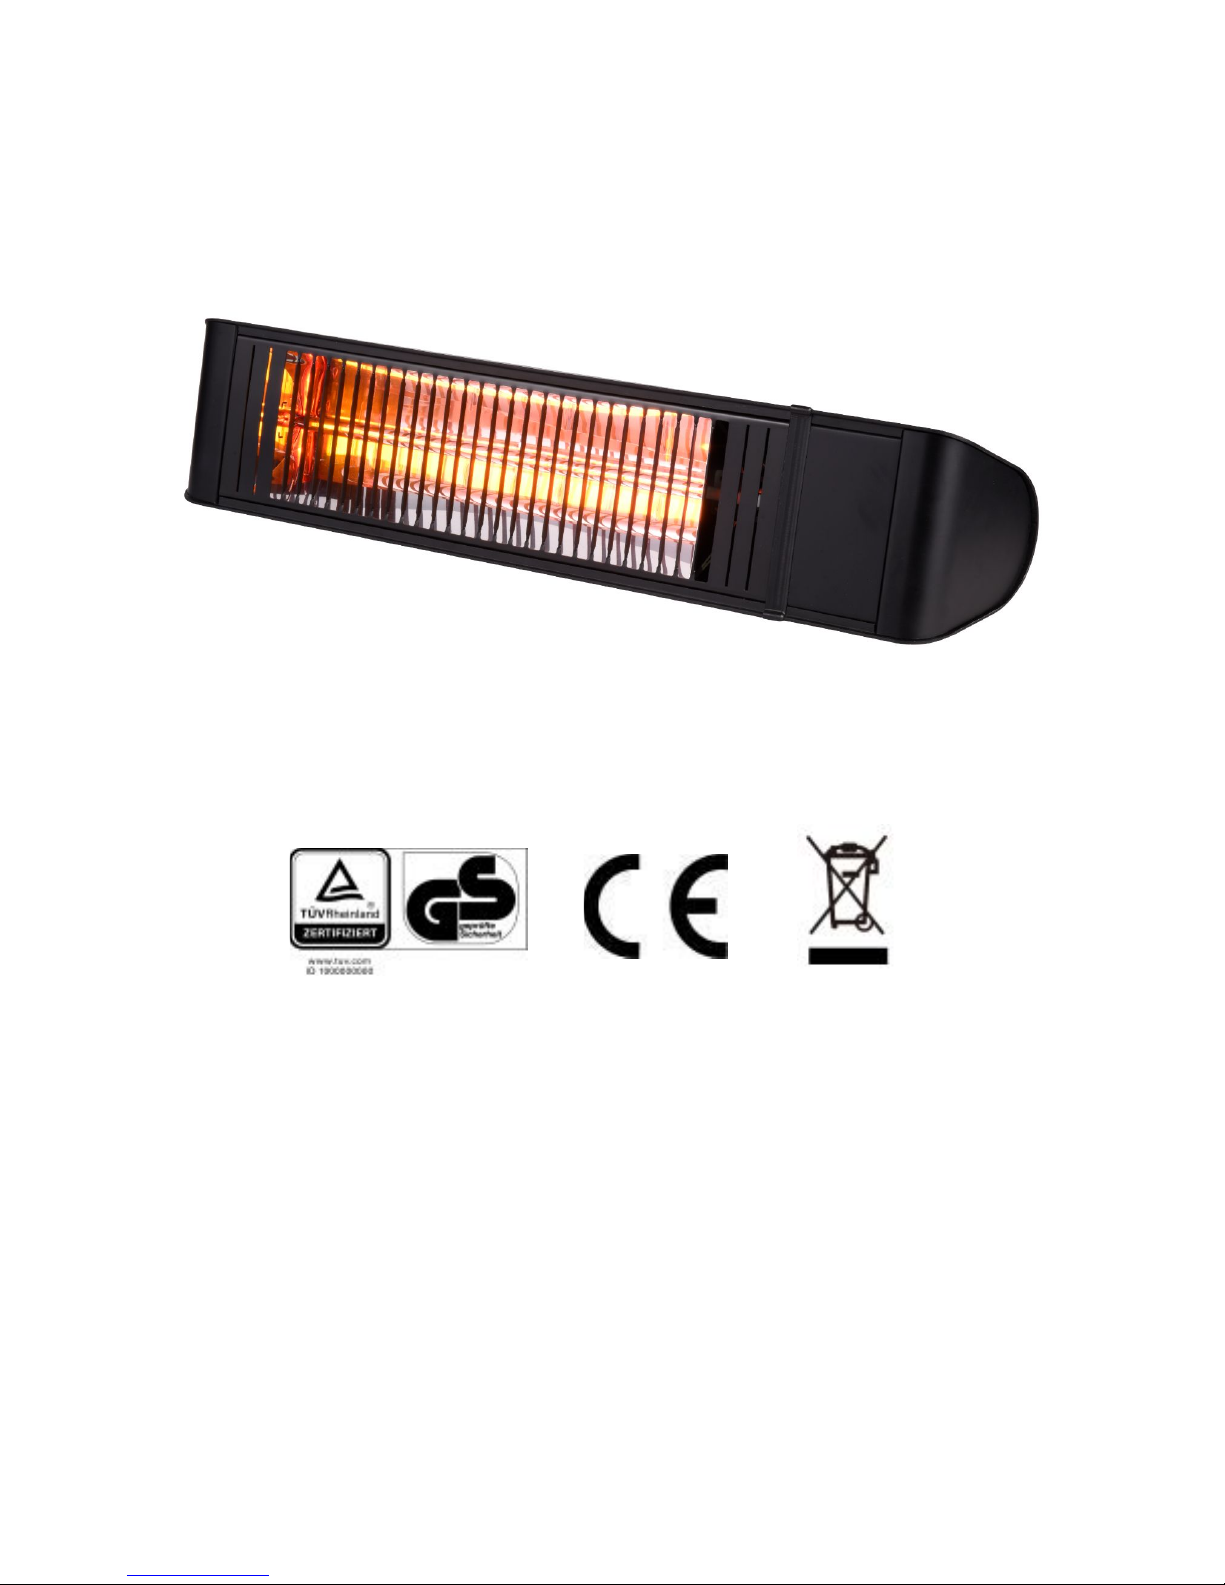
MATRIX Infrared Patio Heater
Safety Instructions
and Operation Manual
Model: PV009-200KB
(Note:This product is strictly prohibited to cover )
Thank you for purchasing our products.Please read carefully this instruction
before using and operate strictly accordance with the instructions,and especially pay
attention to "Important Safety Instructions".Please be careful collection after
reading so as to for future reference.
Page 2

Brief Introduction
This product is infrared radiant heater with remote control and IP 65 approved .It is
almost unlimited used in outdoor ,such as open bars, courtyard, plaza, station, and
construction site in winter etc. This patio heater is energy-efficient, convenient,
environmentally friendly and for better life etc.
Important Safety Instructions
When using electrical appliances, basic safety precautions should always be followed
to reduce the risk of fire, electric shock, or injury to persons, including the following:.
Read all instructions before using this heater
● This heater is hot when in use .To avoid burns,do not let bare skin touch hot
surfaces.If provided ,use handles when moving this heater.Keep combustible
materials,such as furniture,pillows ,bedding ,papers,clothes and curtains at
least 0.9m from the front of the heater.
● Extreme caution is necessary when any heater is used by or near children or
invalids and whenever the heater is left operating and unattended.
● Always unplug heater when not in use
● Do not operate any heater with a damaged cord or plug or after the heater
malfunctions, has been dropped or damaged in any manner. Discard heater, or
return to authorized service facility for examination and/or repair.
● This heater is not intended for use in bathrooms, laundry areas and similar
locations. Never locate heater where it may fall into a bathtub or other water
container.
● Do not run cord under carpeting. Do not cover cord with throw rugs, runners,
or similar coverings. Do not route cord under furniture or appliances. Arrange
cord away from traffic area and where it will not be tripped over.
● Connect to properly grounded outlets only.
● To disconnect heater, turn controls off, then remove plug from outlet.
● Do not insert or allow foreign objects to enter any ventilation or exhaust
opening as this may cause an electric shock or fire, or damage the heater.
● To prevent a possible fire, do not block air intakes or exhaust in any manner. Do
not use on soft surfaces, like a bed, where openings may become blocked.
● A heater has hot and arcing or sparking parts inside. Do not use it in areas
where gasoline, paint, or flammable liquids are used or stored.
● Use this heater only as described in this manual. Any other use not
recommended by the manufacturer may cause fire, electric shock, or injury to
● persons.
● Always plug heaters directly into a wall outlet/receptacle. Never use with an
● Check if the voltage indicated on the nameplate of the appliance corresponds
● The appliance is not located immediately below a wall socket-outlet.
● The casing and the front cover of the appliance become extremely hot during
● In case of improper use, there is a risk of electrical shock and/or fire hazard.
● Remove the plug from the power outlet and wait until the appliance is
● Keep out of reach of children. In order to keep children from the dangers of
● The appliance must only be mounted by an authorized specialist, paying
Page 3
● persons.
● Always plug heaters directly into a wall outlet/receptacle. Never use with an
extension cord or relocatable power tap (outlet/power strip).
● Check if the voltage indicated on the nameplate of the appliance corresponds
to the local mains voltage before you connect the appliance.
● The appliance is not located immediately below a wall socket-outlet.
● The casing and the front cover of the appliance become extremely hot during
operation. Pay attention that, no combustible material due to wind or other
environmental influences covers or obstructs the appliance, such as curtains,
marquees, flags, plastic foil etc. Do not touch the appliance. Caution! Risk of
scald injury!
● In case of improper use, there is a risk of electrical shock and/or fire hazard.
Operation of the appliance must be discontinued and remove the mains plug
immediately. Do not try to repair the appliance by your-self. Please contact
with the service agent or a suitably qualified electrician for maintenance.
● Remove the plug from the power outlet and wait until the appliance is
sufficiently cooled off before cleaning.
● Keep out of reach of children. In order to keep children from the dangers of
electrical appliances, never leave them unsupervised with the machine.
Consequently, when selecting the location for your machine, do so in such a
way that children do not have access to the machine. Children being supervised
not to play with the appliance.
● The appliance must only be mounted by an authorized specialist, paying
attention to the relevant
regulations of the power supply companies and the
regional construction regulations.
Save These Instructions
SPECIFCATIONS
Specification □ PV009-200KB
Voltage (V) □ 220-240V~
Power consumption (W) □ 2000W
Dimensions L×W×H (mm) □ 660.0×140.0×110.0
Weight (kg) □ 3.5KG
IP code □ IP65
Infrared receiving Angle □ 60°±5°
BLUETOOTH OPERATION
A free Bluetooth App is available to download for this heater for either your
iPhone, iPad or Android device. The 'Sunkare Heater' App will allow you to connect
remotely to many heaters and control them independently. Control functions
include:
● On/Off
● Variable heat output from 25% to 100%
● Timer with auto shut off
● Password connection to heaters
● Individual heater identification and control
To download, search for 'Sunkare' in your App store and add to your device.
RESET OPERATION
● Press the Reset button shortly,the power will be adjusted
● Press the Rest button for at least 4 seconds ,the heater will restore factory
Remote Control Instructions
Notice:
● Use 2 pieces AAA size1.5V batteries in the remote control.
Remove the battery when not use for long time,
thus the lifespan of remote control can be extended.
● Choose the same specification battery when replacing the
battery inside,otherwise it may cause remote control not work
,thereby affect the normal use of the heater.
● Please contact service agent for further help if you need
the function.
Page 4

●
The remote control function may be out of work if there is a
barrier between the remote control and heater .
● Replacing the batteries duly so as not to affect the normal use of
heater and remote control.
Operation Instruction
● Remove all package material (including anti-vibration object of the lamp) and
check the appliance, supply cord and the plug for signs of damage.
● Pay attention to the mounting place and all mounting material(dowels, screws).
Ensure they are suitable and stable enough for mounting and lastingly holding
of the appliance.
● Before mounting, the minimum safe mounting distances and tilt angles shown
in the figures must be strictly followed.
● The distance between the bottom edge of the appliance and the floor must be
at least 1.8 M. See figure 2.
● There must be a distance of at least 0.25 M between the appliance and the
ceilings, roofs or other covers. See figure 2.
● There must be a distance of at least 0.5 M at each side between the appliance
and walls or the like. See figure 2.
● Recommended degree to mounting surface is 45°. See figure 3.
● Pay attention that, the installation of the appliance must not add excessive
wind load. (can not use fan to blow the heater or add spare part inside the
heater)
● Fix the mounting bracket to the ceiling l first. Ensure that the place to be
installed is secure and firm. Or connect the appliance to the stand.
● Adjust the desired angle of radiation and fest screw all screws. Check regularly
the screw's connection. Mechanical bearing pressure and oscillation due to
● Plug in the power source and operate the remote control. Then observe,
● If you do not use,please remove batteries from the socket of remote control.
Figure1: Mounting bracket and anchor
dowels provided. Connection from the wall
to the infrared heater.
Figure3: Tilt angle. Figure 4: Max.remote distance
Page 5

wind or rain could lead to loose.
● Plug in the power source and operate the remote control. Then observe,
whether during the first 10-15 minutes the appliance works trouble-free.
● If you do not use,please remove batteries from the socket of remote control.
Figure1: Mounting bracket and anchor
dowels provided. Connection from the wall
to the infrared heater.
Figure2: Min. distance to floor, ceiling and
wall.
Figure3: Tilt angle. Figure 4: Max.remote distance
Cleaning and Maintenance
● This appliance is consist of a robust and maintenance-free aluminum casing
● Before cleaning,remove the plug from the power outlet and wait until the
● Wipe the appliance only with clean and lint-free cloth or a soft brush.
● Never use abrasive cleaners, scrubbing brushes and chemical cleaners for
● Can use alcohol to clean the appliance.
● To protect against electrical shock and danger of life, do not immerse cord,
● For heating element replacement ,please contact the manufacturer or its
● Any other service, please contact with the service agent or a suitably qualified
Storage
Do not route cord when heater storage, or heater is not in use.
Disposal
Customer Service
● Repairs must be carried out by authorized specialists, thus ensuring electrical
● Please contact with the service agent or a suitably qualified electrician.
● Improper repairs could lead to danger to the user.
● This warranty does not cover damage of failure
● In line with our policy of continuous product development we reserve the right
Page 6

The MATRIX PV009-200KB can also be controlled by an app that has been
downloaded to a tablet or smart-phone via a Bludetooth connection.
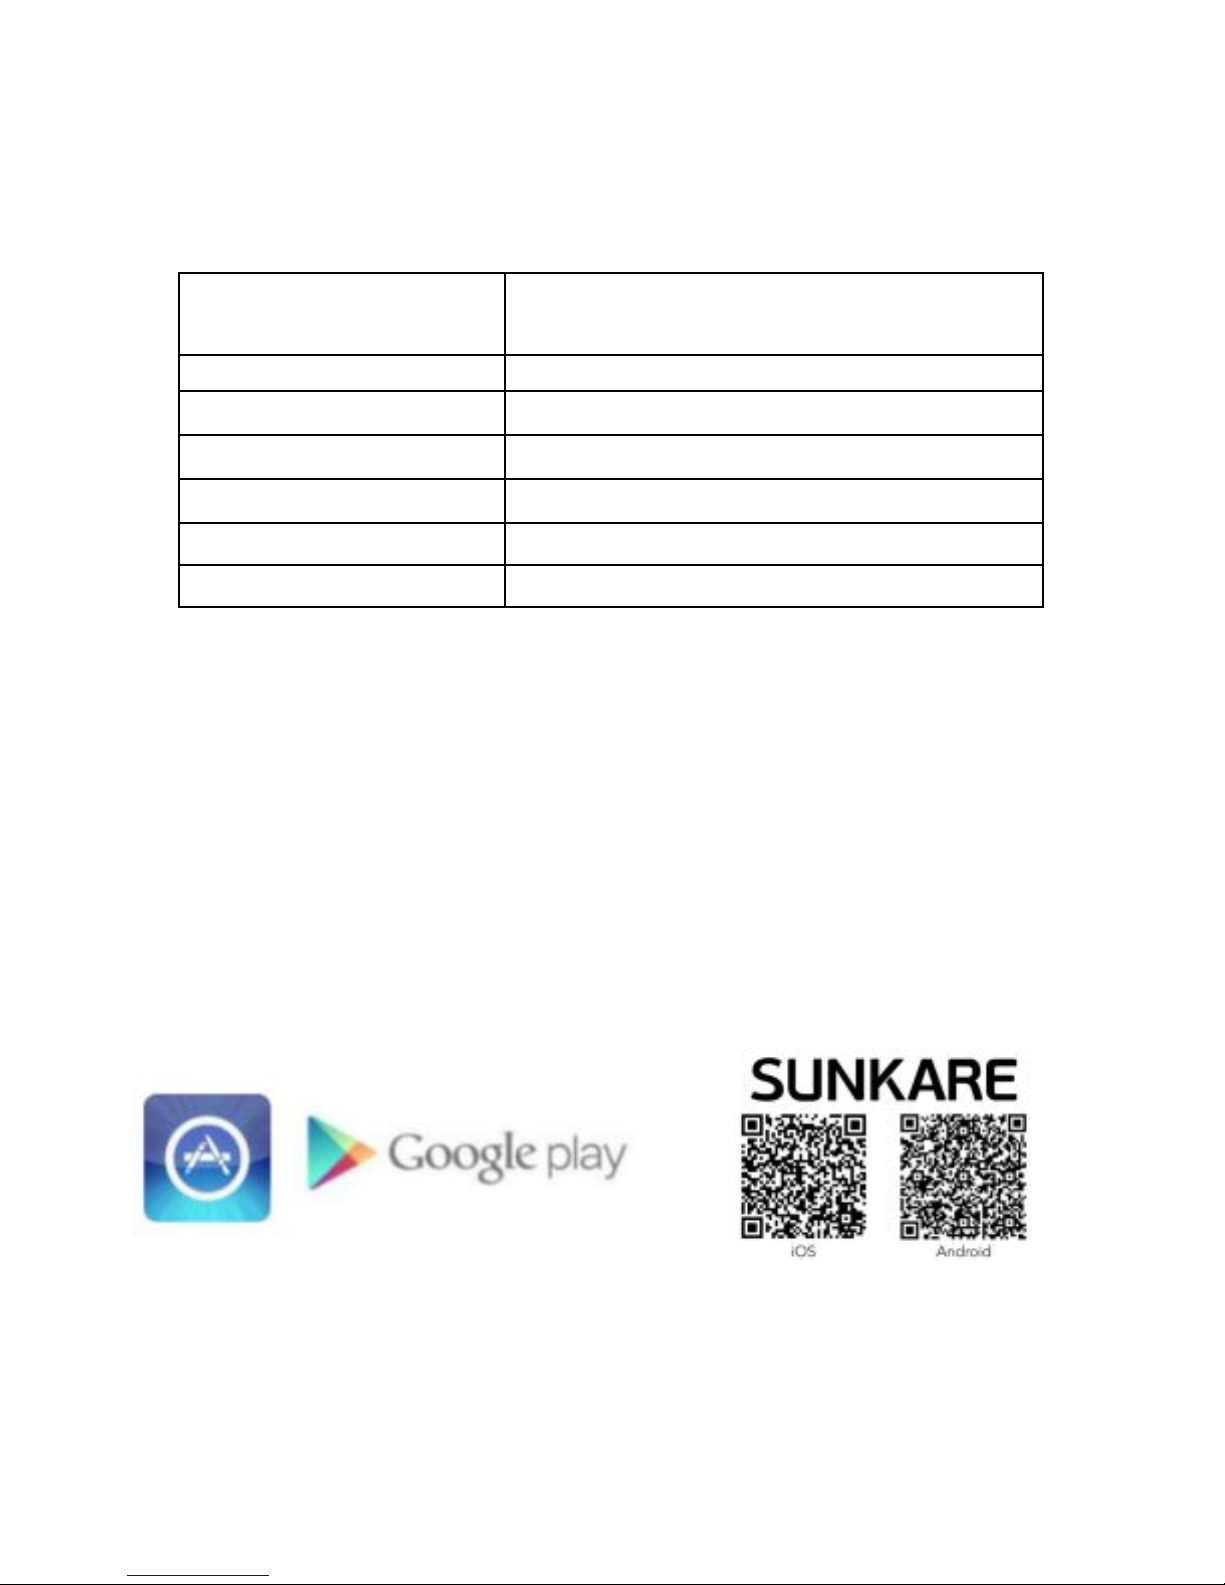
This app is available in the app store for Apple devices, pls search “Sunkare” and
download it. It is also available for Android in the Google Play Store. In order to be
able to use the app, turn on the bluetooth connection on your smartphone or tablet and
select Sunkare.
With the app, you can:
● On/Off
● Variable heat output from 25% to 100%
● Timer with auto shut off
● Password connection to heaters
● Individual heater identification and control
Shock safeguard
The MATRIX PV009-200KB has the option of s shock safeguard that switches the
device off if it is shocked in any way. The shock safeguard can be activated with the
app and the sensitivity can then be set on a sliding scale. When the device is
supplied from the factory, the shock safeguard is off. Once the shock safeguard has
been activated, it can be operated via the remote control or manually. If the shock
safeguard has switched the device off, the red light at the reception point will blink.
Check to ensure that the device has not been damaged. If everything is ok, you can
restart the device by:
1. Using the remote control to switch the device off and then on again.
2. Switching it off and on again using the switch, and then selecting the desired
output using the reset button (remote control)
3.
Switching the device off and on again with the app.
- Open the APP store or Google Play on your device.
- Download the Sunkare APP:
- Bluetooth should be switched on before using this APP.
- Switch on the heater by using the main switch on the side of unit.
- Then open the “Sunkare” APP on your device.
- For connecting the heater with the APP, please follow the steps below:
(Figure 1) (Figure 2)
- Select the button in the below left corner of the home screen. (Figure 1)
- To Switch on the heater, please select the bar. (Figure 2)
Page 7
- Download the Sunkare APP:
- Bluetooth should be switched on before using this APP.
- Switch on the heater by using the main switch on the side of unit.
- Then open the “Sunkare” APP on your device.
- For connecting the heater with the APP, please follow the steps below:
(Figure 1) (Figure 2)
- Select the button in the below left corner of the home screen. (Figure 1)
- To Switch on the heater, please select the bar. (Figure 2)
- For the first time use of the heater, a password will be asked. The password is
automatically set to: 12345678. If the password is not accepted, please press and hold
the reset button on the side of the unit for 10 second. You can retry to fill in the
password.
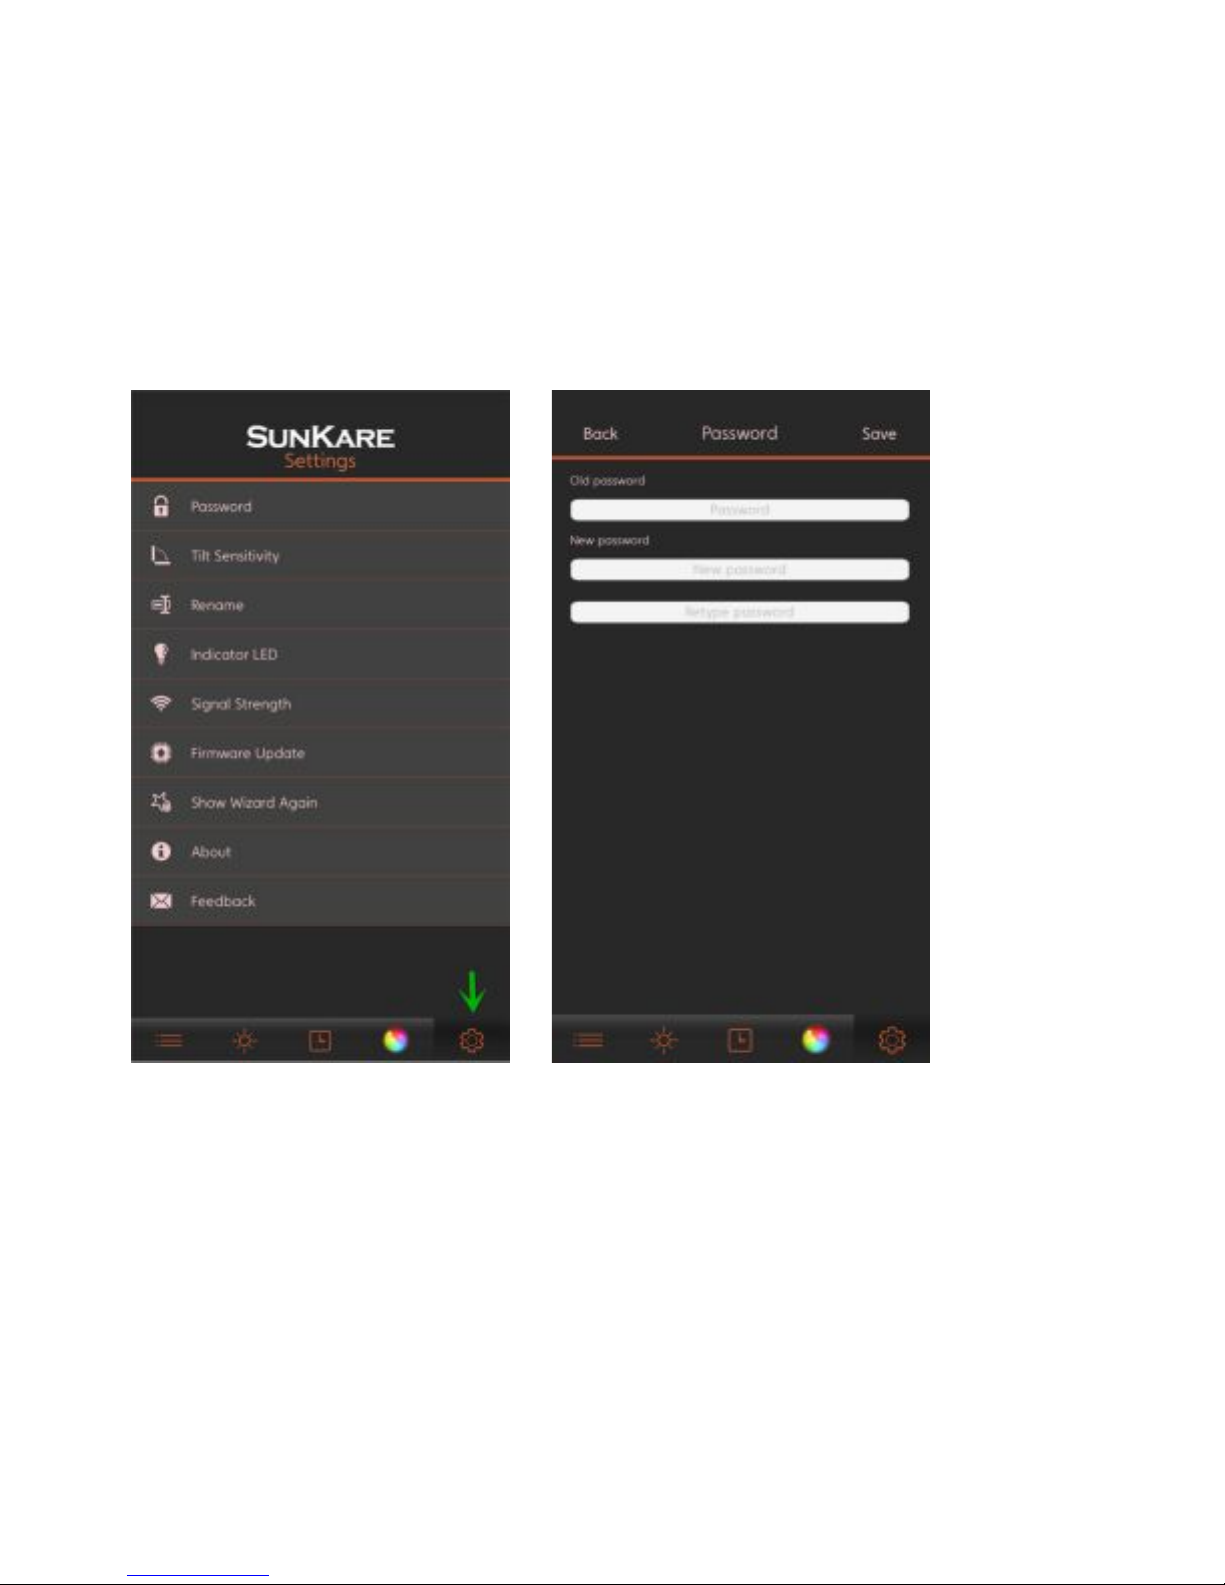
-The password can be changed, select the button in the below right corner of the
home screen (Figure 3), and select “Password” to change the password. (Figure 4)
(Figure 3) (Figure 4)
- The heater is connected and ready for use.
- To set the heat capacity, please select the small sun-icon below. Thereafter, below
screen of Fig.5 will be showed.
- Select the heater and using the circle bar on the top of the screen you are able to set
the variable warm. (Fig. 6)
(Figure 5) (Figure 6)
Page 8

- Using the clock-icon below you are able to set the timer for automatically switch off
the heater. (Fig. 7)
(Figure 7)
- In the home screen you are able to change settings by using the cog-icon in the
below right corner.
- Password: Change the password.
- Tilt Sensitivity: Setting voor shock protection, please refer to the instruction manual.
- Rename: Modify or personalize the name of the heater.
- Indicator LED: Change the settings for LED indication lamp.
- Signal Strength: Check the Bluetooth signal strength.
- Firmware Update: Update the app to the latest version.
- Show Wizard Again: Show the explanation of the menu.
- About: General app information.
Page 9

- Password: Change the password.
- Tilt Sensitivity: Setting voor shock protection, please refer to the instruction manual.
- Rename: Modify or personalize the name of the heater.
- Indicator LED: Change the settings for LED indication lamp.
- Signal Strength: Check the Bluetooth signal strength.
- Firmware Update: Update the app to the latest version.
- Show Wizard Again: Show the explanation of the menu.
- About: General app information.
Warning!
When you switch off the heater by only using the remote (or APP), the heater will
remain stand-by. Always switch off the heater by using the remote (or APP) as well
as the main switch on the side of the unit and unplug it from the electrical outlet.
When the APP will be out of Bluetooth reach, there will be no more connection with
the heater. However the heater will remain burning and the actual setting will be
saved. Do not leave the heater unattended and always use the main switch on the side
of the unit to switch off the heater.
 Loading...