

Page 1

1
MG-PL Series
Service Manual
Page 2
2
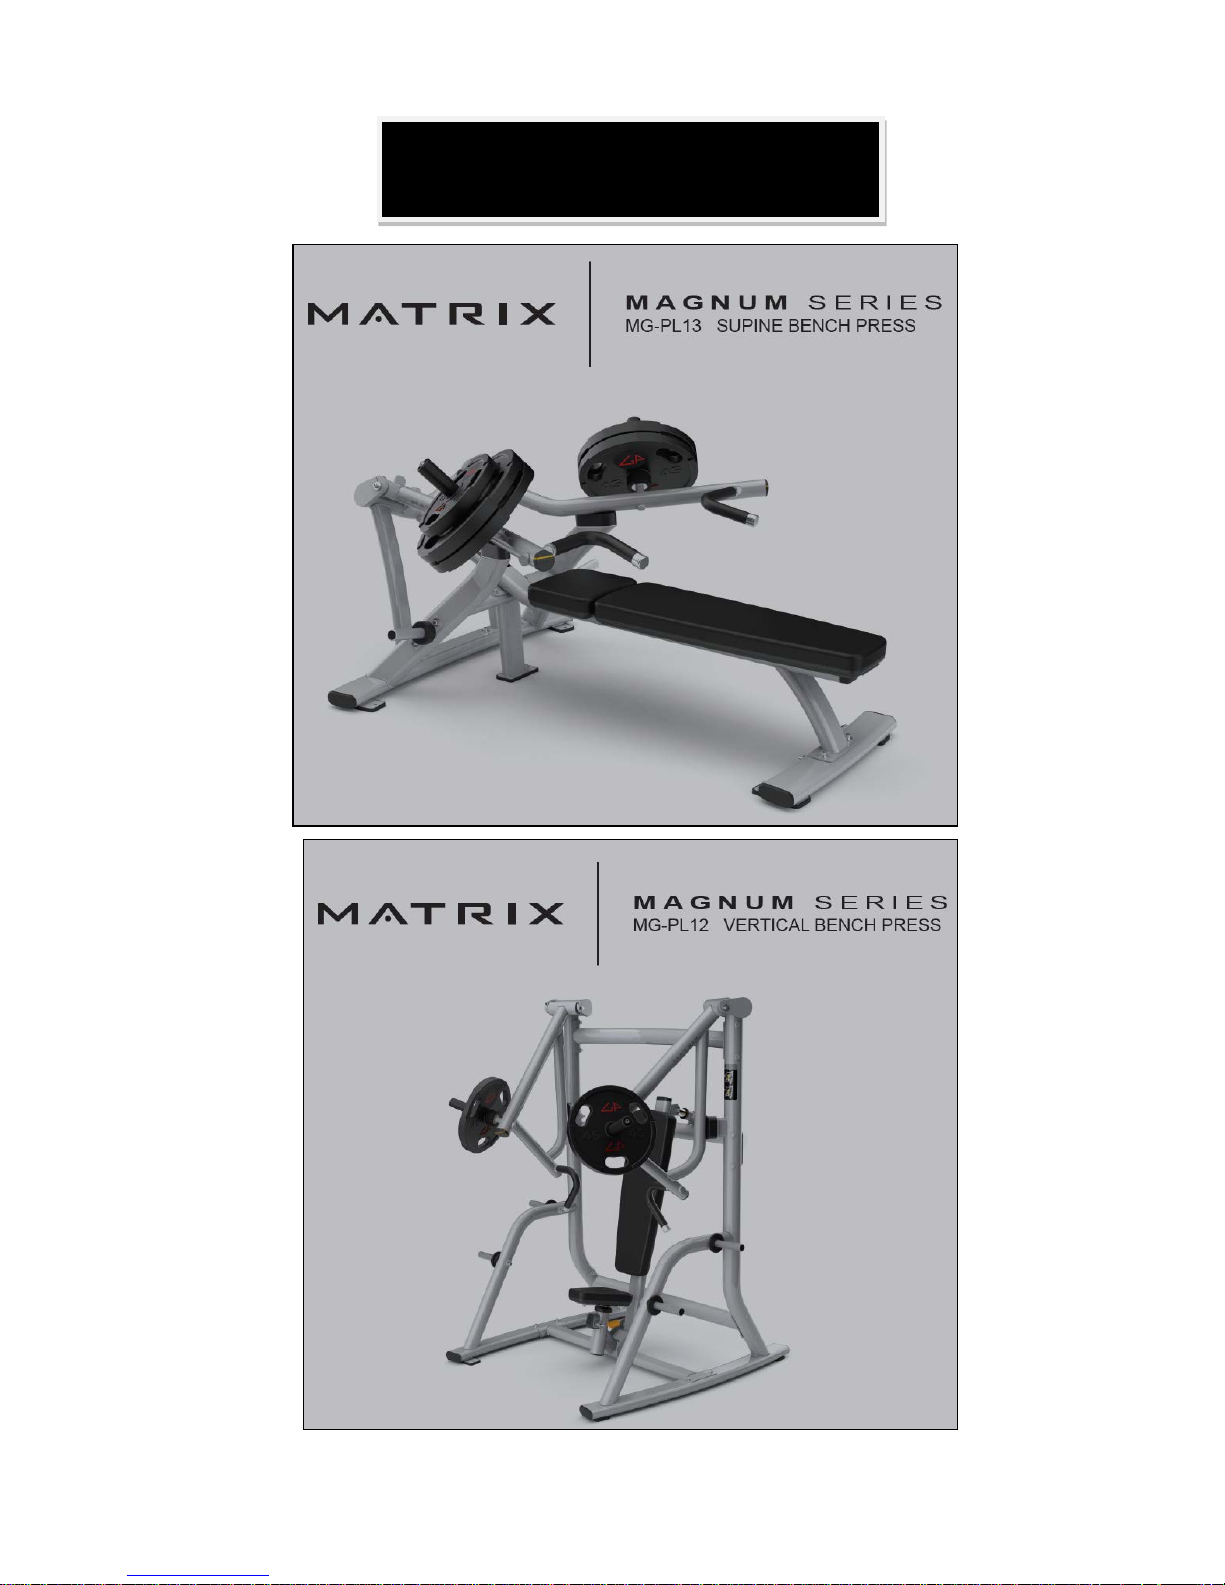
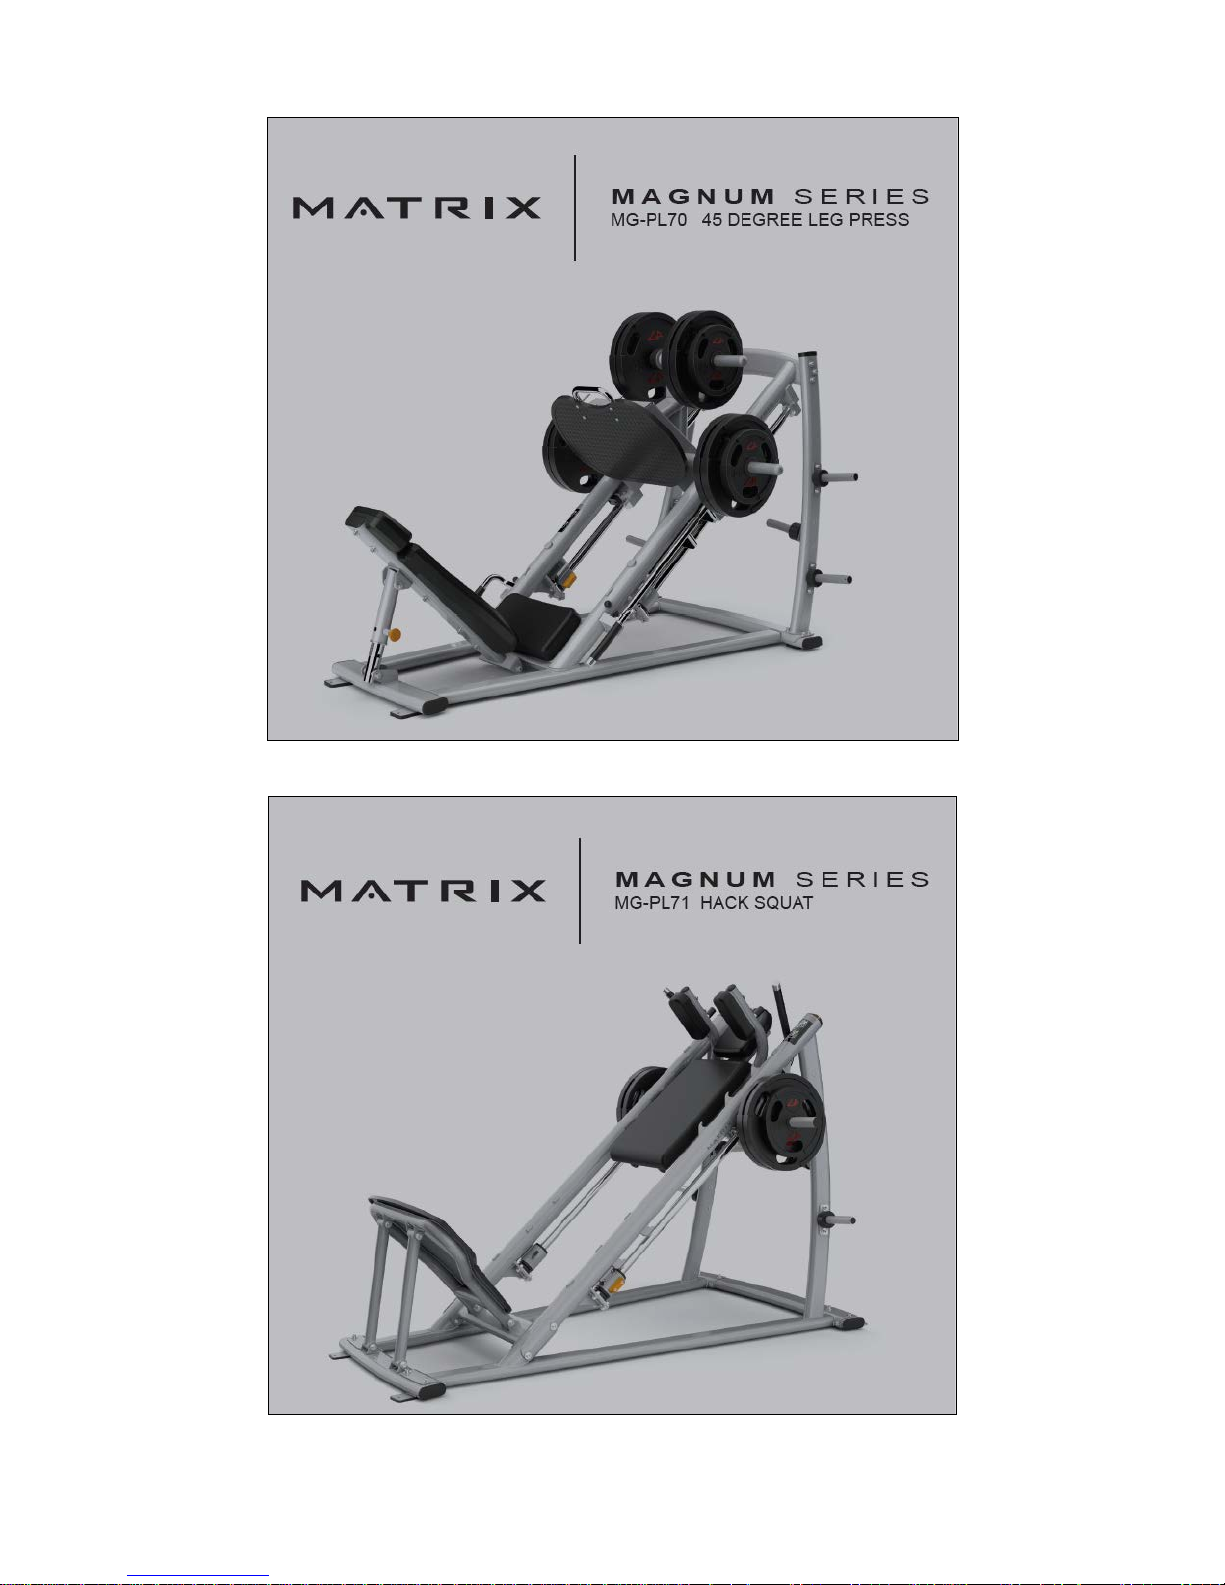
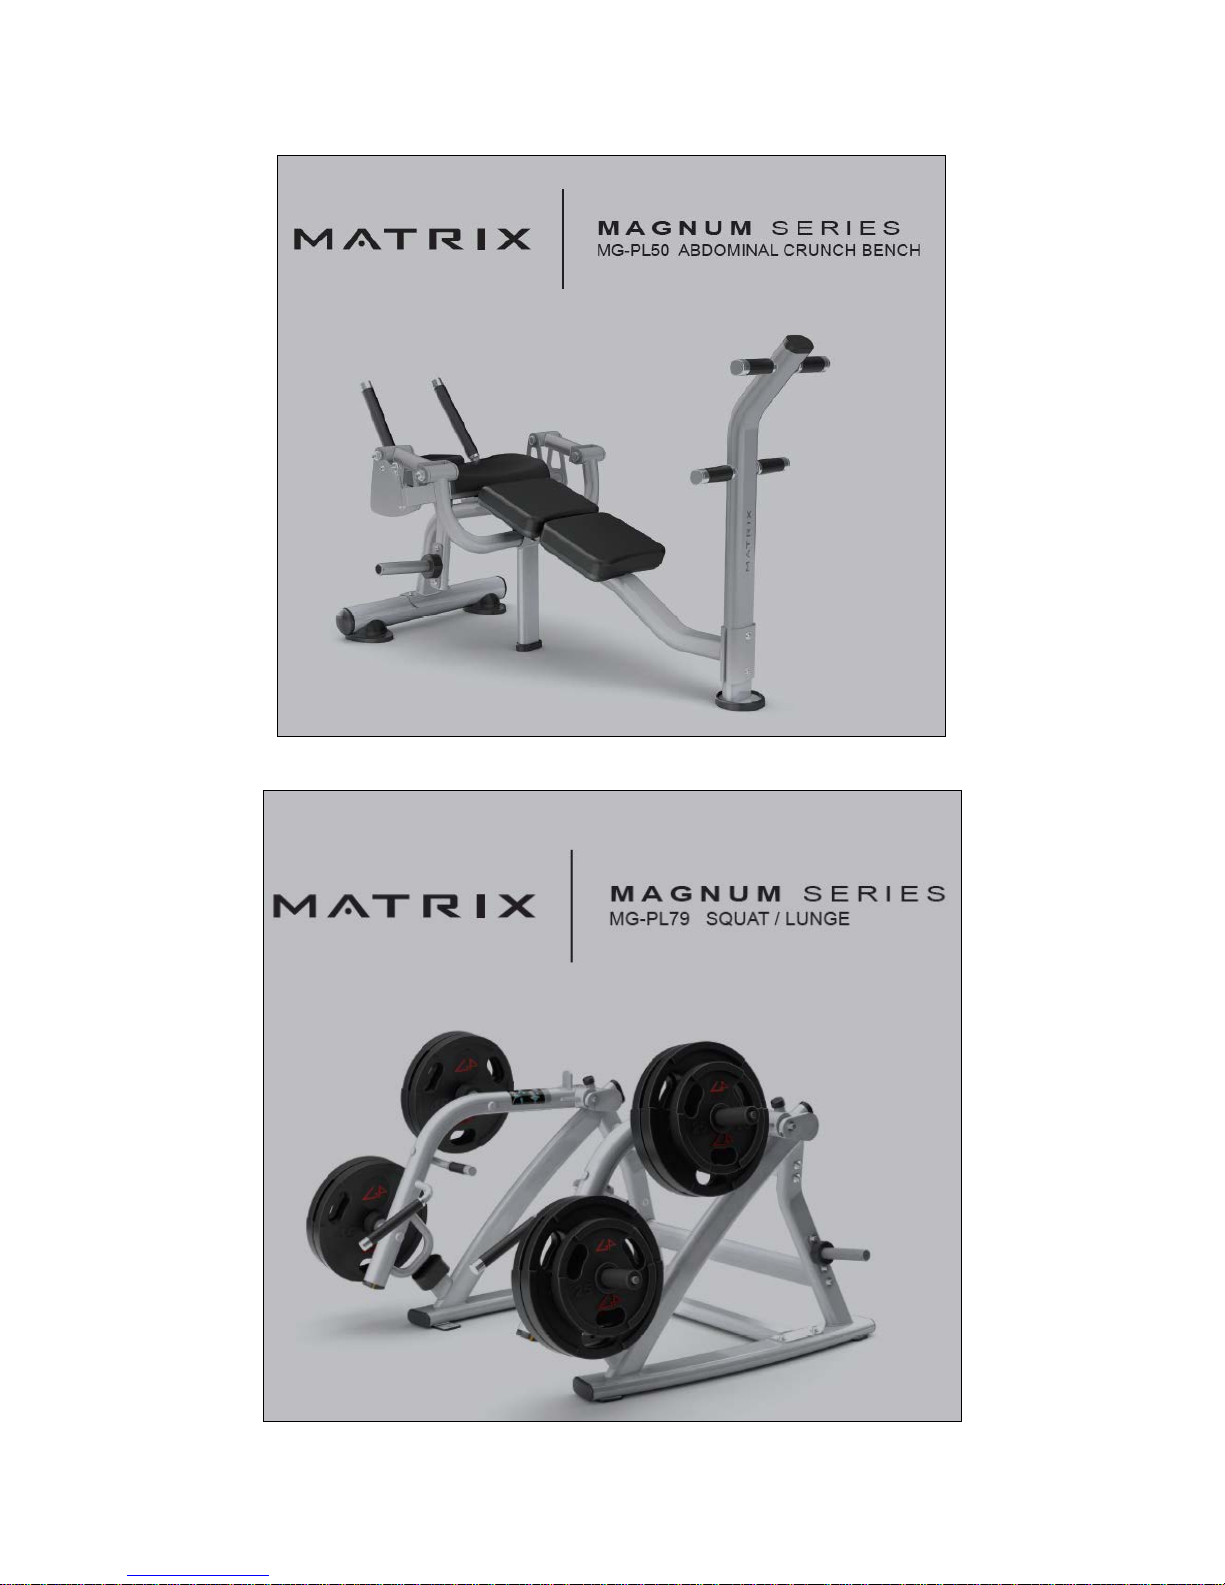
Product Browse
Page 3

3
Page 4

4
Page 5
5
Page 6

6
Page 7

7
Page 8
8
Page 9

9
Contents
CHAPTER 1: SERIAL NUMBER LOCATION
1.1 Serial Number Location ........................................................................................................... 10
CHAPTER 2: ASSEMBLY INSTRUCTION
2.1 Tools Required For Assembly ................................................................................................. 17
CHAPTER 3: MAINTENANCE & TROUBLESHOOTING
3.1 Plate Loaded & Free Weight Benches Maintenance ............................................................... 18
3.2 Troubleshooting ...................................................................................................................... 18
CHAPTER 4: PART REP LACEMENT GUIDE
4.1 Plastic Bushing Replacement .................................................................................................. 19
4.2 Swing Arm Replacement ......................................................................................................... 20
4.3 Pad Replacement ................................................................................................................... 21
4.4 Leg Adjustment Cover Replacement ....................................................................................... 22
4.5 Hand Grip Foam Replacement ................................................................................................ 23
4.6 Bushing Replacement ............................................................................................................. 24
Page 10
10
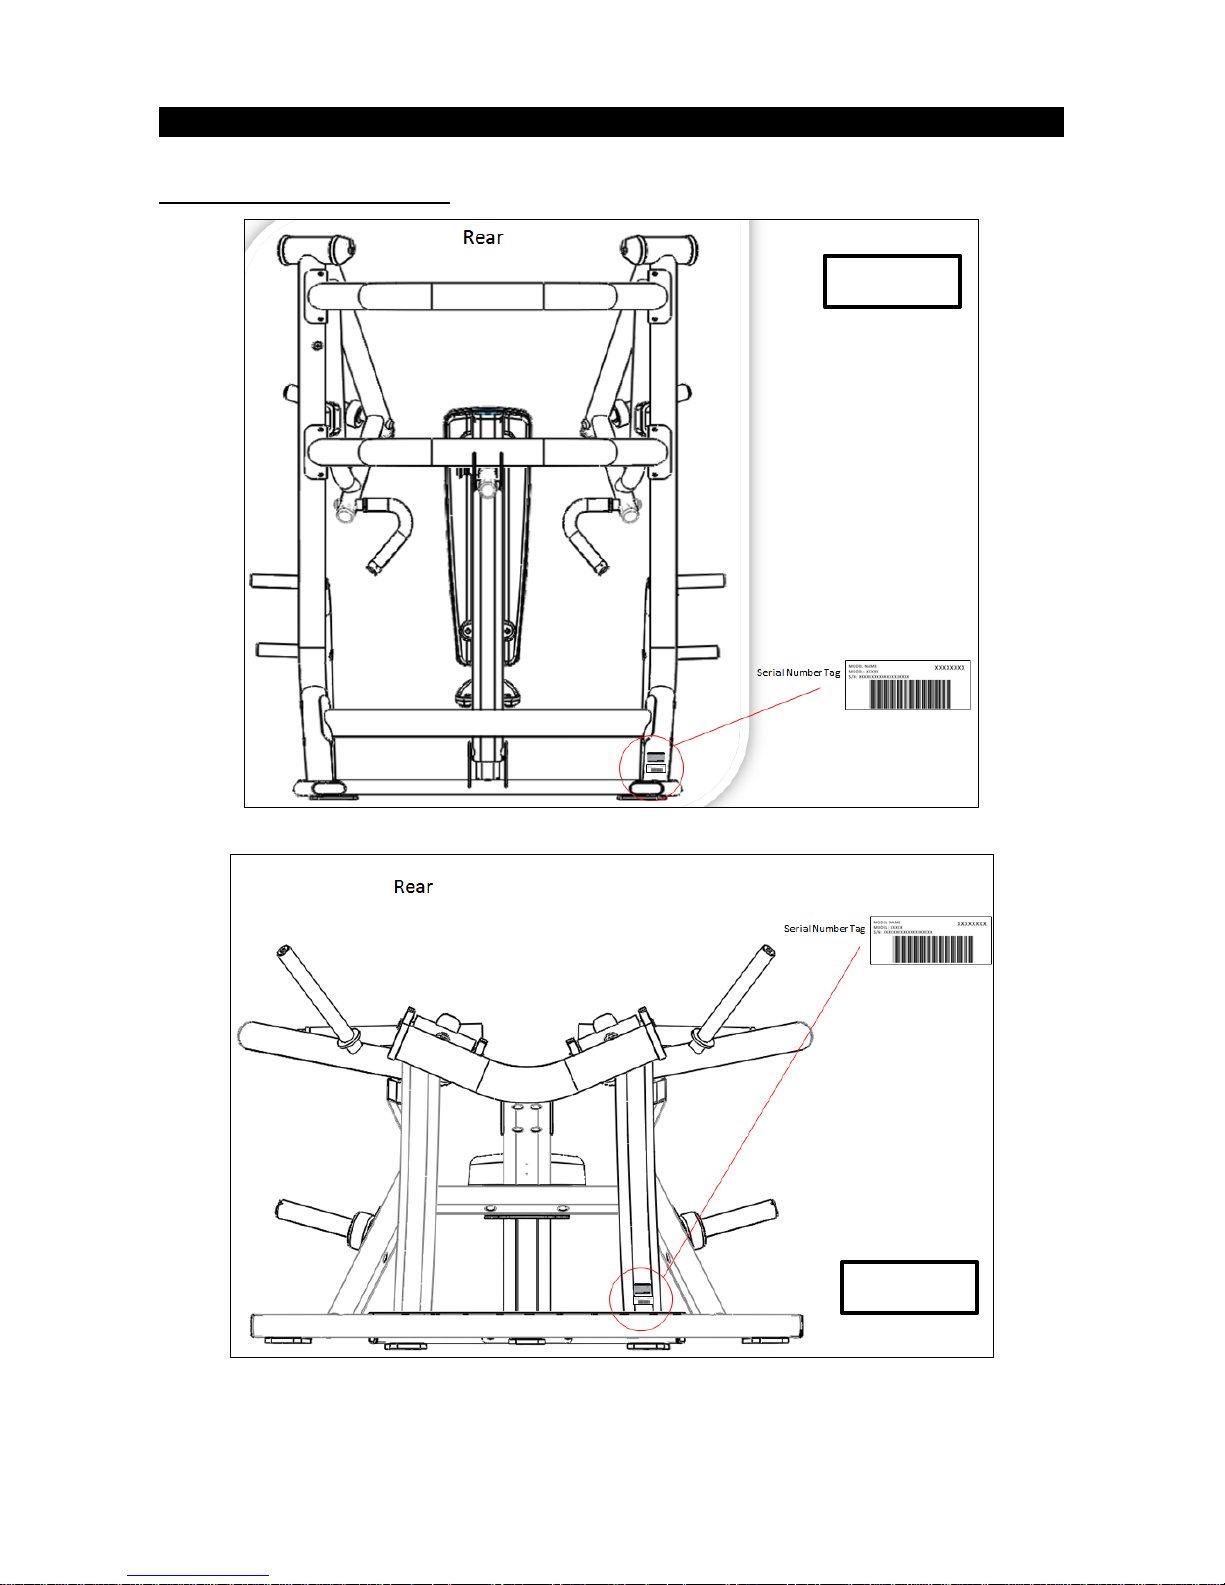
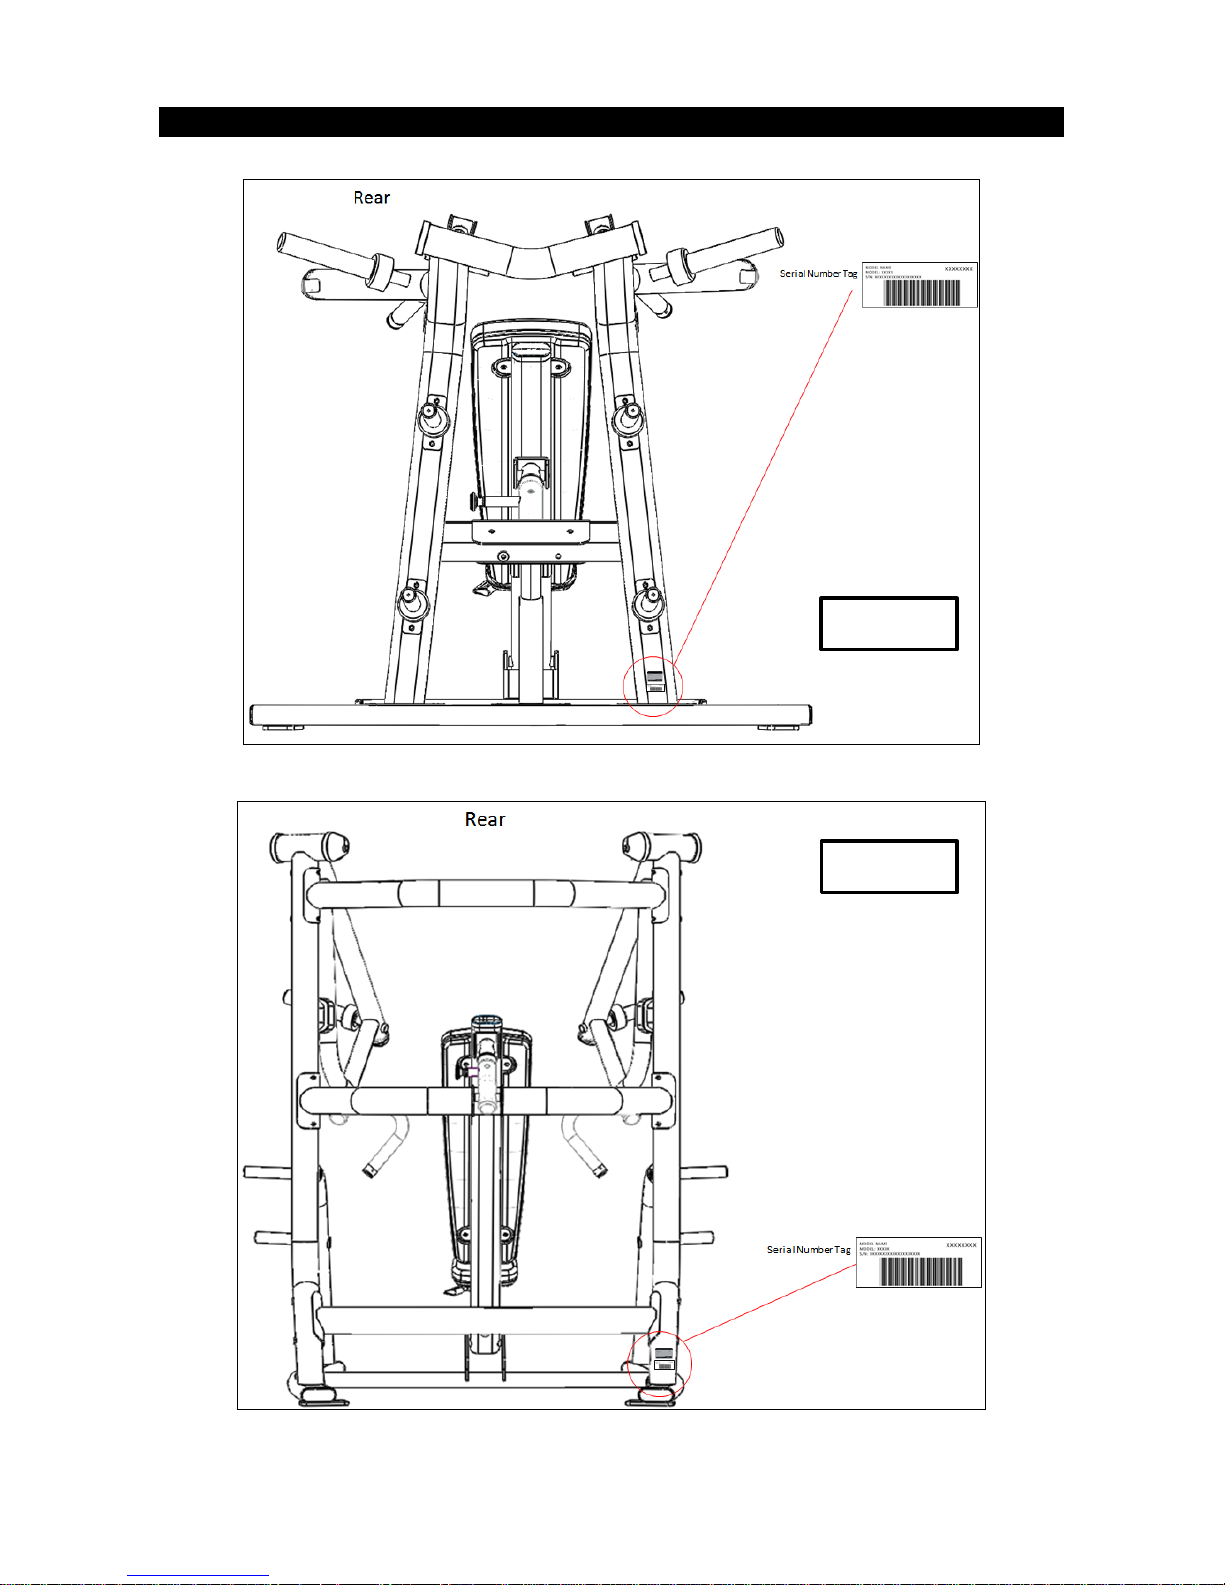
CHAPTER 1: Serial Number Location
1.1 Serial Number Location
MG-PL12
MG-PL13
Page 11
11
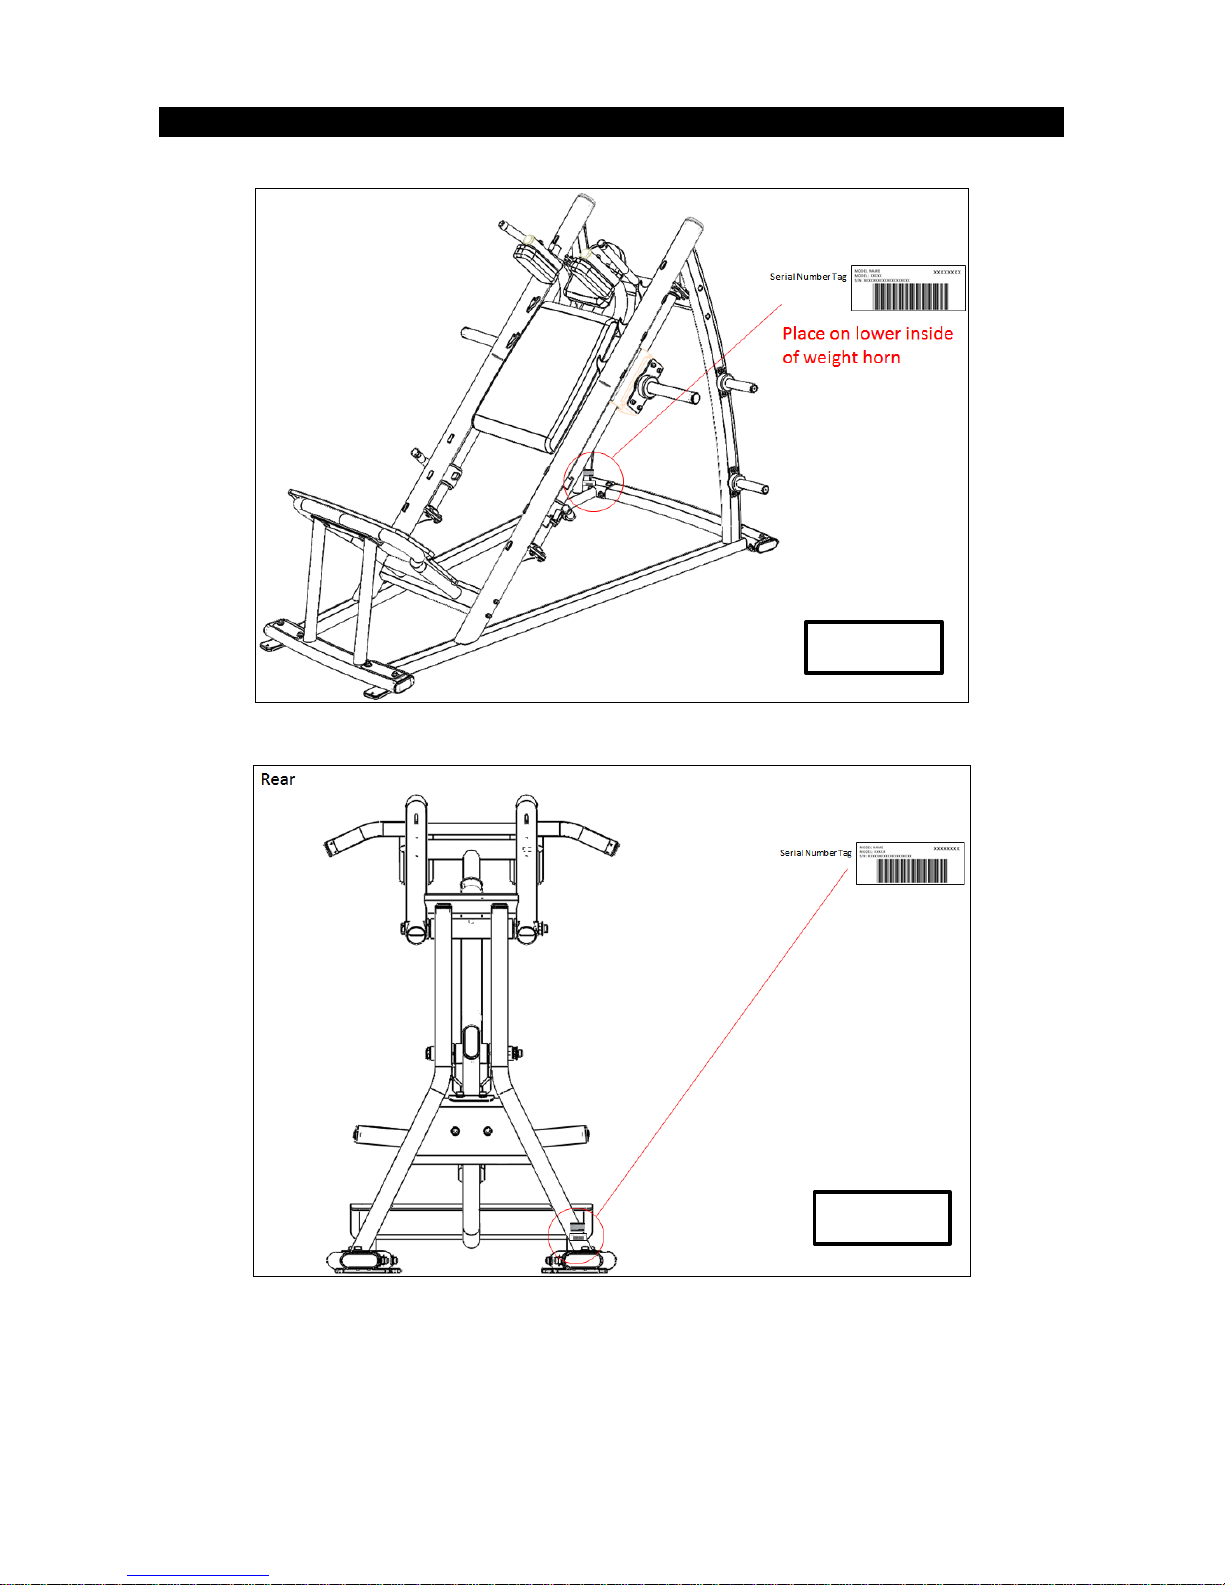
CHAPTER 1: Serial Number Location
MG-PL14
MG-PL15
Page 12

12
CHAPTER 1: Serial Number Location
MG-PL23
MG-PL33
Page 13

13
CHAPTER 1: Serial Number Location
MG-PL34
MG-PL50
Page 14

14
CHAPTER 1: Serial Number Location
MG-PL62
MG-PL70
Page 15
15
CHAPTER 1: Serial Number Location
MG-PL71
MG-PL76
Page 16

16
CHAPTER 1: Serial Number Location
MG-PL77
MG-PL79
Page 17

17
CHAPTER 2: Assembly Instruction
2.1 TOOLS REQUIRED FOR ASSEMBLY
Note: For additional assembly information, please refer to the Assembly
Guide.
Page 18

18
CHAPTER 3: Maintenance & Troubleshooting
3.1 Plate Loaded & Free Weight Benches Maintenance
Weekly PM:
1. Check all hardware to ensure everything is tight (including all pull pins)
2. Inspect pads for damage
Weekly Cleaning:
1. With a clean, dry, 100% lint free cloth and a recommended cleaning solution, wipe down
the entire frame so it is free of dust, dirt and sweat
2. With a clean, dry, 100% lint free cloth and a recommended cleaning solution, wipe down
all pads and hand grips
Monthly PM:
1. Clean and grease all pull pins
Monthly Cleaning:
1. Wipe down any chrome bars (non-painted surfaces) with a cloth damped with WD-40 to
clean and prevent rust or corrosion
3.2 Troubleshooting
Due to the simple structure of the PL series, most issues are easily recognized and can be
corrected by replacing the related part. Please contact the Matrix Fitness customer service
team with any questions.
Page 19

19
CHAPTER 4: Part Replacement Guide
4.1 PLASTIC BUSHING REPLACEMENT
1) Loosen the screw at the end of the bar.
2) Replace the plastic bushing and lock the screw.
Page 20

20
CHAPTER 4: Part Replacement Guide
4.2 SWING ARM REPLACEMENT
1) Loosen the screw on the swing arm.
2) Replace the swing arm and secure it with a bolt.
Page 21

21
CHAPTER 4: Part Replacement Guide
4.3 PAD REPLACEMENT
1) Loosen the screw and remove the pad.
2) Replace new pad and lock it with bolts.
Page 22

22
CHAPTER 4: Part Replacement Guide
4.4 LEG ADJUSTMENT COVER REPLACEMENT
1) Remove the plastic end cap and interval ring.
2) Replace the new leg adjustment cover.
3) Assembly the interval ring and the plasti c end cap.
Page 23

23
CHAPTER 4: Part Replacement Guide
4.5 HAND GRIP FOAM REPLACEMENT
1) Loosen the screws on the end cap, and then remove the end cap.
2) Cut off the original foam and position replacement foam on the hand grip.
3) Fix the end cap and lock it.
Page 24

24
CHAPTER 4: Part Replacement Guide
4.6 BUSHING REPLACEMENT
1) Loosen the screws and remove the pull-pin.
2) Remove the top cap and take off the bushing.
3) Position the new bushing and fix it.
 Loading...