


User Manual

Chapter 1 System Introduction
1.1 Key Features
* Android 4.4 operating system with ARM Dual cortex A5
* Support many kinds of IPTV and OTT TV programmes
* Support three main HD formats: VC-1, H.265, MPEG-2 and many others normal
formats such as MPEG-1, MPEG-4, DIVX, REALMEDIA and so on
* Video formats include avi, mpg, vob, rmvb, mkv, m2ts, ts and so on
* Photo formats include JPEG, BMP and PNG up to 80M pixels
* Audio formats include MP3, WMA, WAV, AC3, DTS, AAC and so on
* Support TF card
* Support USB 2.0 host connectors with maximum output current of 2A/5V
* Support WIFI connection
* Support infrared remote controller operation
* Support DLNA Function
1.2 Environment for System
Operation: Temperature Limitation: 0--40℃; Humidity Limitation:20-80%.
Storage: Temperature Limitation: -20--50℃; Humidity Limitation:10-90%.

Chapetr 2System Connect
2.1HDMI Connection
A. Use the TV Stick HDMI to connect the TV set.
B. Power on the TV Stick, set TV video mode to corresponding HDMI input.
2.2Startup
Turn on the TV stick, about 30 seconds to enter into main menu.Here is the APPS
interface.


Chapter 3 TV stick slots
HDMI Connect the TV HDMI slot
TF Support TF card to 32GB
OTG Through OTG cable connect different device
USB Connect mouse, USB flash disk etc..
DC 5V-2A Input 100-240V~50/60Hz, output 5V/2A

Chapter 4Local apps
Move to “Local Apps” icon, press ok to enter into Local Apps list.

4.1 Movie Player
Move to “Movie Player”, press ok to enter into movie list.

4.2Music
Move to “Music”, press ok to enter into music list.

4.3 Gallery
Move to “Gallery”, press ok to enter into picture list.

4.4 File browser
Move to “File browser” icon, press ok to enter into device list.
When inserting with USB device or TF card, there will show “device is mounting”.

4.5 Email
Move to “Email”. Press OK to enter in. It is convenient for you to send and receive
your emails. You can configure Email for most accounts in just a few steps. Move to
Email address. Press to input your email address and password. And press the icon
“next”.
4.6 Browser
There are many websites for your reference.
It includes Brower, Famous, Entertainment, Sports, News and Car. You can choose
your favorite websites and enter into the website directly.
Notice: please go to the system setting to set the Internet connection before entering
into the website.

4.7 PPPoE
Move to “PPPoE” icon, press OK to enter in. You can configure PPPoE here.

4.8 App Installer
Move to “App Installer”. Press OK to enter in. You can install software by this app
installer function. Please first download your desired software by apk formats from
the computer to the USB. You will choose your desired device in order to scan the
apks. Press OK to install your desired software. After installation finished, the
software icon will be shown on the applications menu.

4.9 Download
Move to “Download”. Press OK to enter in. You can check the status here when
downloading apks from the internet.
4.10 Miracast
Please make sure the TV stick and mobile phone under the same WIFI environment.
Press “Miracast” on TV stick, it will find peers automatically, and click “setting” on
your mobile phone, enter into ‘WLAN”, click “Menu” to choose “WLAN DISPLAY”
on your phone. Choose to share files.Choose to share files.


Chapter 5 Settings
Move to “Settings” icon, press ok to enter into system settings. You will see the menu
on the following picture.

5.1Wi-Fi
Move to “Wi-Fi”, turn on the Wi-Fi network from the upper right corner. System will
start scanning available Wi-Fi networks around you automatically.
Press ok to choose your Wi-Fi network and enter with your password.

5.2 Bluetooth
Move to “Bluetooth”, turn on Bluetooth, then connect Bluetooth device, you can
transfer pictures, videos and music to TV stick from your Bluetooth device or transfer
pictures, videos and music to your Bluetooth device from TV stick.
5.3Data usage
Move to “Data usage”, it is a way to account apps used data on the box for your
reference.

5.4More
Move to “More”, press ok to set Portable hotspot and VPN.

5.5 Sound
Move to “Sound”, press ok to set the system volumes.
Here you can set media volumes, ringtone volumes and alarm volumes.

5.6Display
Move to “Display”, press to enter into system display settings.
There are two functions including Font size and Cast screen.

5.7 Storage
Move to “Storage”, press to enter into system storage interface. You can read the
internal storage and external device storage from here.

5.8 Apps
Move to “Apps”, press to enter into system apps working interface. You can find the
apps working situation from here.
5.9 Permissions
Allow to install some apks.

5.10 Account
Move to “Account”, press to enter into account settings. You can add account from
the upper right corner.

5.11 Location
Move to “Location”, press to enter into Google’s location service setting.
5.12Security
Move to “Security”, press to enter into system security menu. There are three
functions including passwords, device administration and credential storage settings.

5.13 Language & input
Move to “Language & input”, press to enter into Language and input settings.

5.14 Backup & reset
Move to “Backup & reset”, press to enter into factory data reset. You can erase all
data on the tv stick.
5.15 Date & time
Move to “Date & time”, press to enter into date and time settings. You can change the
time format and date format here. You can choose automatic function for the date and
time settings.

5.16 Accessibility
Move to “Accessibility”, press to enter into accessibility settings including services
and system.

5.17 Printing
Connect printer to print some files.
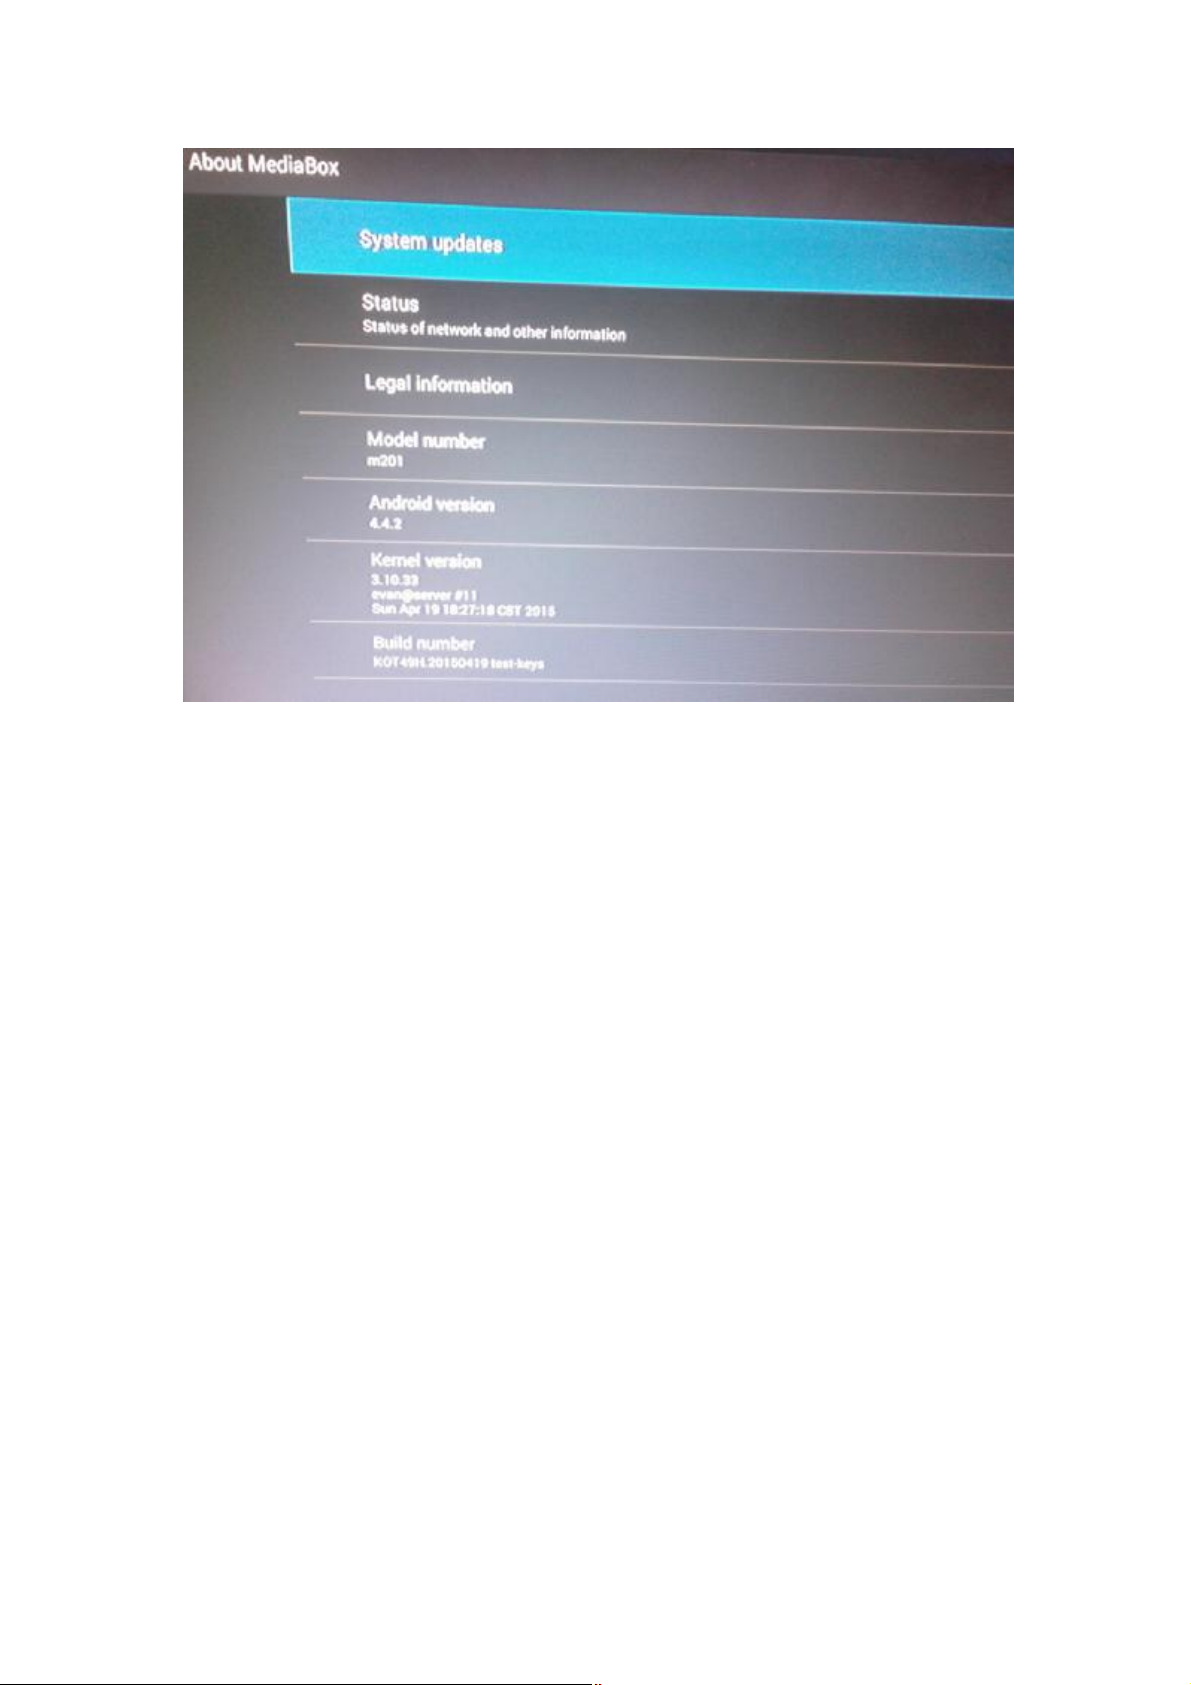
5.18 About Media Box
Move to “About Media Box”, press ok to enter into TV stick information

Chapter 6 FAQ
Under no circumstances should you try to repair the TV stick by yourself, as this will
invalidate the warranty. Do not open the TV stick as there is a risk of electric shock. If
a fault occurs, first check with points listed below before taking the TV stick for repair.
If you are unable to remedy a problem by following hints, consult your dealer for
help.
Problem Solution
No power
No picture
No sound or distorted sound
Player does not respond to some
operating commands during playback
No sound during movies playback
The contents of the USB flash drive
cannot be read
Slow operation of the USB flash drive
No sound with HDMI connection
The TV screen is blank and the player
LED is blinking
Check if the power adapter is properly
connected to the power and the TV stick.
-Reconnect with HDMI cable.
- Check if theTV is switched on.
-Adjust the volume.
-Check if your amplifier is set correctly.
-Operations may not be permitted. Refer
to the user manual.
-Possibility of system halted, re-insert
with power adapter to restart.
-The audio codec may not be supported
by the TV stick. You can change to the
supported audio on playing menu.
-Check the volume.
-The USB flash drive format is not
compatible with the stick.
-If one of the USB cannot be read, please
turn off the TV stick for 30 seconds and
restart the TV stick .
Big file size or high resolution USB flash
drive takes longer time to read and
display on the TV screen.
-Check the connection between the TV
and the HDMI slot of TV stick.
-Check your TV system setup.
-Check the volume.
-Turn off your TV stick, wait 30 seconds,
turn it on again.
-Check if HDMI connection is correct or
change another HDMI cable set the
output resolution of this TV stick into
720p.

FCCCaution
Thisdevicecomplieswithpart15oftheFCCRules.Operationissubjecttothe
followingtwoconditions:(1)Thisdevicemaynotcauseharmfulinterference,and(2)
thisdevicemustacceptanyinterferencereceived,includinginterferencethatmay
causeundesiredoperation.
AnyChangesormodificationsnotexpresslyapprovedbythepartyresponsiblefor
compliancecouldvoidtheuser'sauthoritytooperatetheequipment.
Note: ThisequipmenthasbeentestedandfoundtocomplywiththelimitsforaClass
Bdigitaldevice,pursuanttopart15oftheFCCRules.Theselimitsaredesignedto
providereasonableprotectionagainstharmfulinterferenceinaresidentialinstallation.
Thisequipmentgeneratesusesandcanradiateradiofrequencyenergyand,ifnot
installedandusedinaccordancewiththeinstructions,maycauseharmfulinterference
toradiocommunications.However,thereisnoguaranteethatinterferencewillnot
occurinaparticularinstallation.Ifthisequipmentdoescauseharmfulinterferenceto
radioortelevisionreception,whichcanbedeterminedbyturningtheequipmentoff
andon,theuserisencouragedtotrytocorrecttheinterferencebyoneormoreofthe
followingmeasures:
-Reorientorrelocatethereceivingantenna.
-Increasetheseparationbetweentheequipmentandreceiver.
-Connecttheequipmentintoanoutletonacircuitdifferentfromthattowhichthe
receiverisconnected.
-Consultthedealeroranexperiencedradio/TVtechnicianforhelp.
ThisequipmentcomplieswithFCCradiationexposurelimitssetforthforan
uncontrolledenvironment.Thisequipmentshouldbeinstalledandoperatedwith
minimumdistance20cmbetweentheradiator&yourbody.
 Loading...