

Page 1
Unpacking
• Remove colour cards from this card, and the plastic foam
packing cover; remove loose packed installation kit from the
corner triangular void. If a clock has been purchased install
battery
• Now lift out your new Master-Mariner instrument with foam
packing surround pieces.
• Save the mailer box and packaging inserts for future storage or
transport of your new instruments if using on a boat or RV in
season and at home during off-season
• If any items have become damaged during shipping, please visit
www.Master-Mariner.com for an RA form and instructions.
B
Location Selection
• Your new Cabin or Windlass set are superb quality instruments and can be enjoyed indoors or out - on
your boat, patio, RV or in the home. There are two ways to hang M~M instruments; a single keyhole for
patio or indoor installation OR our Patented T-bar brackets included in the loose installation kit for use in
boats and RV’s.
A
• JUST REMEMBER!
• Never install your instruments in an outdoor location exposed to direct sunlight or rain and snow.
Indoors or Out (Keyhole Mounting)
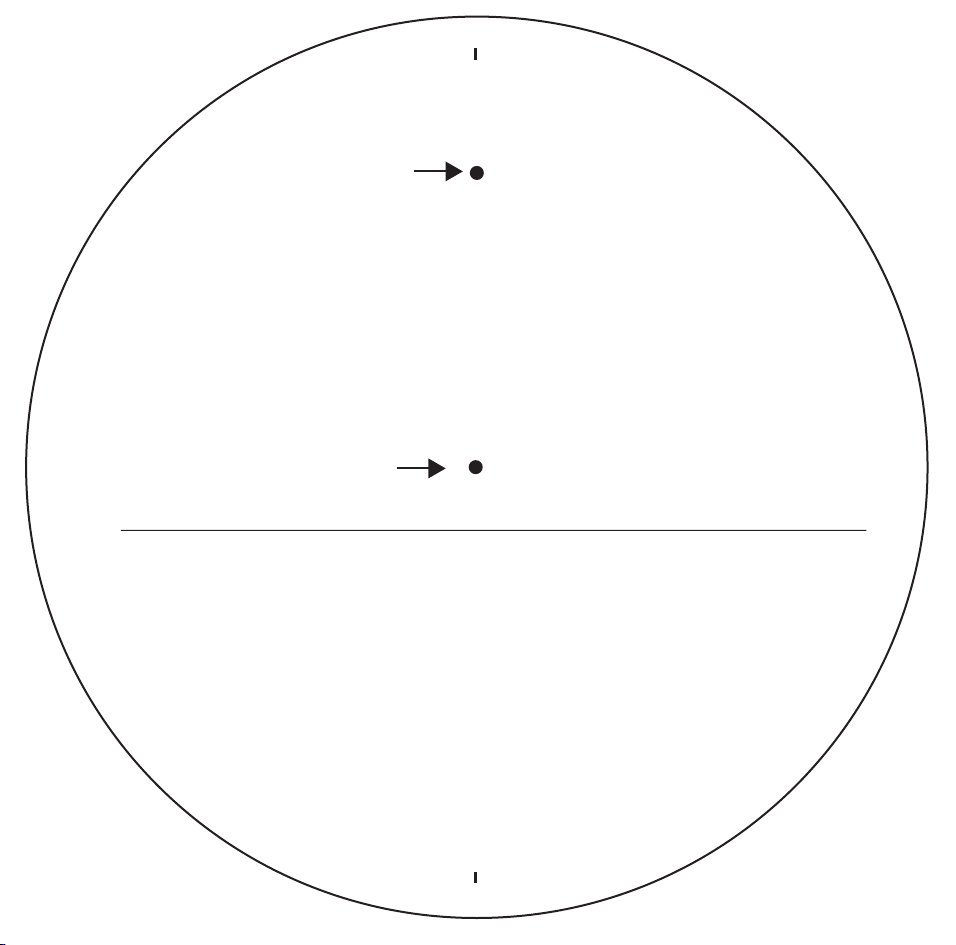
• Place this template sheet on the wall to help view the position where you want to install. TIP
cut the sheet around the circumference if preferred.
• The UPPER hole ‘B’ in the template allows you to mark your location using our handy spike.
• For wood surfaces use the drill bit provided to drill holes to the depth indicated by the red tip.
• Screw one of the larger screws provided into the hole leaving 1/4" gap under the screw head.
• These instruments have a maximum hanging weight of 2.5lbs. For all other surfaces
such as plasterboard, drywall etc., please use appropriate drywall wall anchor or picture
hangers rated for at least 5lbs for a safe fixing.
CAUTION! Always check to make sure the wall anchor screw
head is not larger than the keyhole in the instrument.
Always use appropriate safety wear.
Page 2
Boats and RVs (T-Bar Mounting)
WARNING! THIS T-BAR METHOD IS NOT RECOMMENDED
FOR USE ON DRYWALL/WALLBOARD/PLASTERBOARD
SURFACES.
•
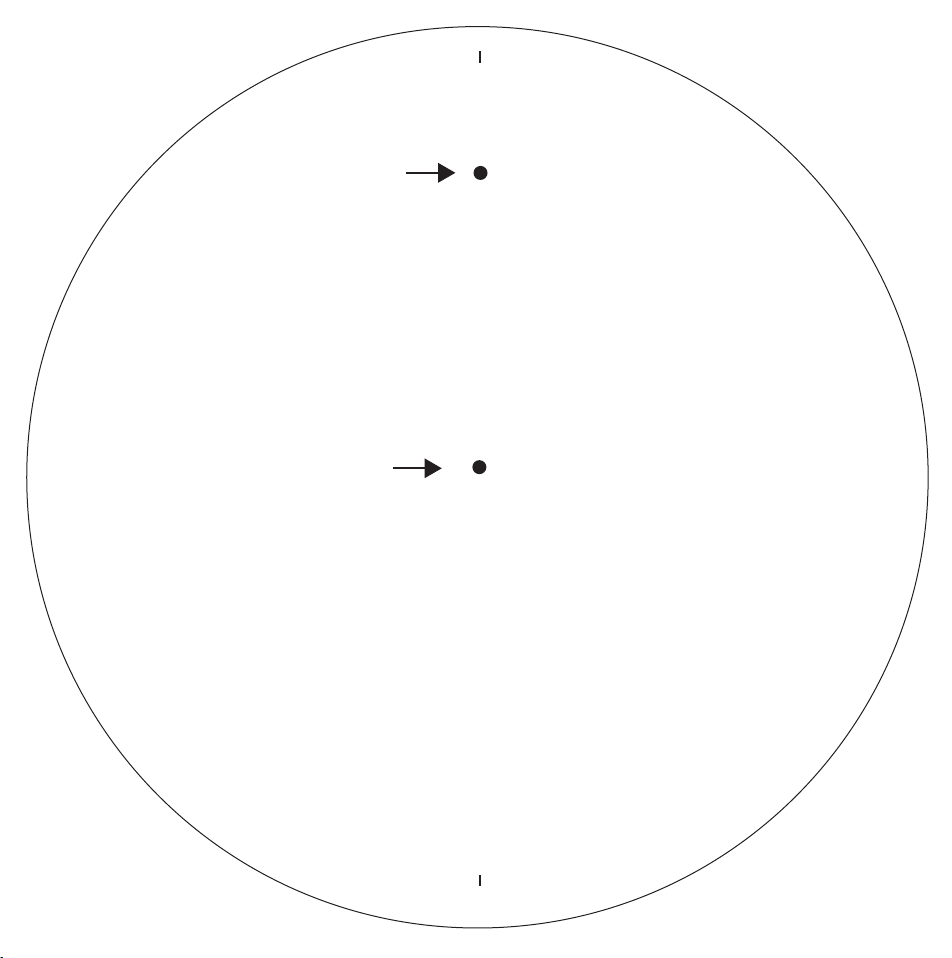
Place this template to help locate the mounting locations
B
of your new instruments. Mark through the center ‘A’. Use a ball
point pen or sharp pencil to pierce through paper template and‘A’.
• Remove the template and place the center hole of the T-Bar bracket over your ‘A’ mark, making
sure the central limb of the bracket points down.
• Be careful to align your T-Bar so that it is visually level, otherwise your instruments will be twisted!
Do not use a spirit level as your RV or boat may not be level. Pencil lines drawn horizontally to the
bold black dotted liness will help to align the T-Bar.
• Use a piece of masking tape to temporarily fix the bracket to the mounting surface so that the
centre hole in the in the ‘T’ Baris alignedto the centre mark you have made at ‘A’.
A
• Use the nail spike to make small indentations on the mounting surface through
the three large holes of the T-Bar. A lightweight hammer may assist this operation.
• Remove the T-Bar. Use the drill bit included, drill 3 holes for the T-Bar to the depth to the red
tip on the bit. Screw the T-Bar to the mounting surface using the screws included, the shorter
screw is for the lower hole. Be careful not to over tighten!
• The T-Bars should sit flush and tight to the mounting surface with no wiggle or gaps. If a T-Bar is
not secure to the wall, unscrew it and re-fasten a second time. Make sure the drilled holes are free
• Once the T-Bars are secure you can slide your M~M instruments into place. Use the
three slots on the back of the instrument and ensure they engage the T-Bar slots.
• Some resistance is normal. Once fully engaged on the T-Bar make sure the units
are in line with your original center and dotted line locations.Then all marks
can be cleaned off.
• If your instrument is a clock the battery can be refitted following
the polarity icon in the battery compartment, and the time set.
 Loading...