

Page 1

DEEP VACUUM PUMP
OPERATING INSTRUCTIONS
DO NOT ATTEMPT TO OPERATE WITHOUT USING OIL!!!
IMPORTANT!: Use oil specifically refined for Deep Vacuum Pumps. Use of oil not
refined for Deep Vacuum Pumps and/or operating with contaminated oil will void
warranty.
In order to make the best use of your investment, familiarize yourself with the new
features and operating instructions before starting pump. Routine care and maintenance
of your vacuum pump will give you years of reliable service.
Each vacuum pump has been factory tested for CFM and micron performance. The
serial number has been recorded. Complete and mail the warranty form immediately to
validate your warranty.
Retain shipping box and packing material for use if factory warranty service is
required.
WARNING! WEAR SAFETY GLASSES
1
Page 2
OPERATING INSTRUCTIONS
1. OIL FILL
This vacuum pump has been tested at the factory and shipped with only trace amounts of oil.
OIL MUST BE ADDED BEFORE OPERATING! Failure to add oil will damage cartridge and void
warranty!
a. Make sure the oil drain plug located at the bottom of the front casing is closed
before attempting to add oil.
b. Remove the large oil fill plug from the top of pump and insert the oil bottle into the fill
port.
c. Slowly add oil until oil level rises to the Oil “FULL” Line. Do not overfill with oil!
d. Replace the oil fill plug.
CAPACITY: 1.5 CFM = 5 oz. CAPACITY: 3 CFM = 8.8 oz. CAPACITY: 6 CFM = 7.8 oz.
2. CHECKING OIL LEVEL
a. Open the gas ballast valve (small brass fitting located next to the handle) one turn.
Do not remove! (3, 6 CFM)
b. Start pump and run with intake port capped for about two minutes. Observe the
oil level with the pump running. The oil level in the sight glass should be even with
the level line.
c. If the level is low, open the intake port and run pump for 15 seconds, stop pump and
observe oil level again. Add a small amount of oil as needed.
3. GAS BALLAST VALVE (3, 6 CFM ONLY)
The gas ballast valve must be opened 1/4 turn for the first part of the evacuation procedure. This
will help to eliminate moisture and the life of the vacuum pump. After about two minutes close
the valve and continue the evacuation procedure to reach ultimate vacuum. Failure to close the
valve completely during the final evacuation will result in high vacuum reading.
During the first stages of evacuation, vapors are highly concentrated. Unfortunately, some vapors
will condense into a liquid and mix with the oil, thus reducing the oil’s ability to produce a deep
vacuum. The GAS BALLAST VALVE emits a controlled amount of dry air into the pump dur-
ing compression to minimize this effect and keep oil relatively clean during the first part of the
evacuation.
Periodically remove the Gas Ballast Valve Needle and clean or replace the O-ring. Clean mating
surfaces and lightly coat with vacuum pump oil before securely retightening.
4. CHANGING OIL
In order to reach the deep vacuum required, your vacuum pump needs clean, moisture-free oil
during evacuation. Dirty oil becomes a mixture of corrosive acids
and water that effects the pump’s ability to pull a deep vacuum. Left sitting in the
2
Page 3

pump, this sludge will rust and erode internal surfaces...shortening the pump’s life.
• Care should be taken to avoid contact of oil with skin or eyes.
• OIL MAY BE HOT!
• Used oil should be properly disposed of in a leakproof corrosive-resistant container
according to local regulations.
a. After every evacuation, while the pump is warm and oil is thin, take a small sample
of oil from the drain port.
b. If the oil is contaminated, drain the oil by placing the pump on a level surface and
opening the oil drain valve. Catch the waste oil in a container and properly dispose of
it.
c. If the pump has been sitting for more than one month, the oil is considered
contaminated regardless of appearance and should be changed as outlined above.
d. To add oil, close drain, remove the oil fill cap and fill to the Oil Level Line with fresh
oil.
5. INTAKE CONNECTIONS
Replace all caps and finger-tighten. Do not use caps with damaged or missing
O-rings and always store vacuum pump with capped ports to prevent dirt and moisture contamination.
6. PUMP MOTOR
The PUMP and OIL must be above 30˚F.
The line voltage must be equal to the rating on the motor nameplate ±10%.
Normal operating temperature is approximately 160˚F, which is HOT to the touch! Line voltage
and ambient temperature will affect the normal operating temperature somewhat. Your vacuum
pump is designed for continuous duty and will run for extended periods without overheating.
The motor has an automatic resetting overload protection feature. If the motor will not restart the
pump after shut-off, it may have opened the thermal protection. Disconnect the pump from the
system, wait about 15 minutes for the motor to cool down and then try again.
RETURNING A PUMP
Please fax a request for a return authorization number to 973-252-2455.
This applies to both warranty and non-warranty service!
Pumps returned for service without a return authorization number will not be accepted.
In your fax, include your NAME, ADDRESS and PHONE NUMBER along with a detailed
explanation of the problem. We will contact you (i.e. your phone number) to discuss your
problem and determine if you have to return your pump, or if we can trouble shoot it over the
phone.
If you have to return your pump, we will issue you an RMA#. Then, please follow the
instructions below.
• Drain oil, cap all ports and place tape over the exhaust port located on the
end of the pump handle. If you fail to do this, your pump will not be accepted
and it will be returned!!!
• Use the original shipping box and inserts if available. Shipping damages are
impossible to claim on used machinery.
3
Page 4

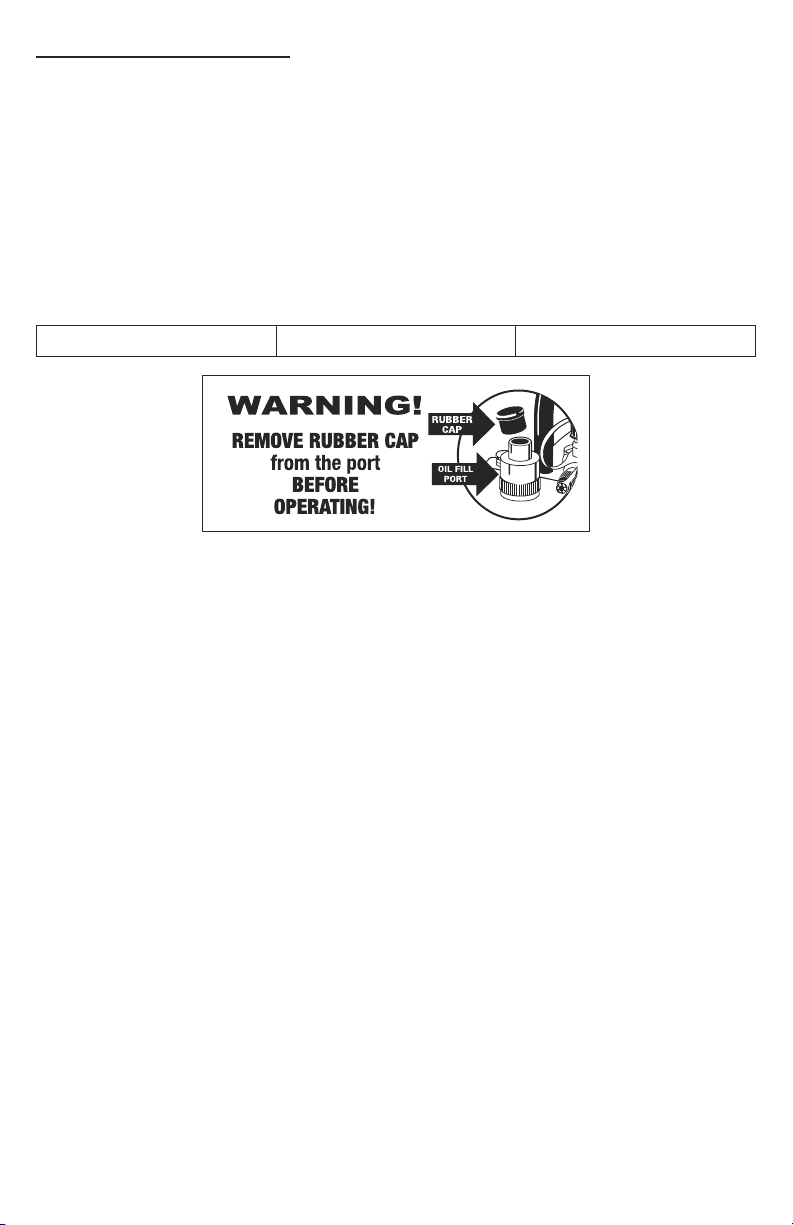
RUBBER PLUG
Remove Rubber Plug
Before Running
Pump!!
Oil Fill and
Exhaust Port
Oil Drain Plug
Gas Ballast Valve
Oil Fill and
Exhaust Port
Oil Drain Plug
LIMITED WARRANTY INFORMATION
Vacuum Pumps are warranted against defects in material and workmanship for a period of one
year. This warranty does not cover failure due to abuse, improper usage, or progressive wear and
tear. Warranty becomes valid to the original owner and is effective on the purchase date.
WARRANTY SERVICE IS PROVIDED THROUGH THE FACTORY ONLY.
Please contact the service department toll free for parts, service concerns, or to obtain a return
authorization number for warranty repair.
TOLL FREE Warranty Service 1-888-825-6989
4
90059/66-INSUNV
 Loading...