

Page 1
Instruction Manual
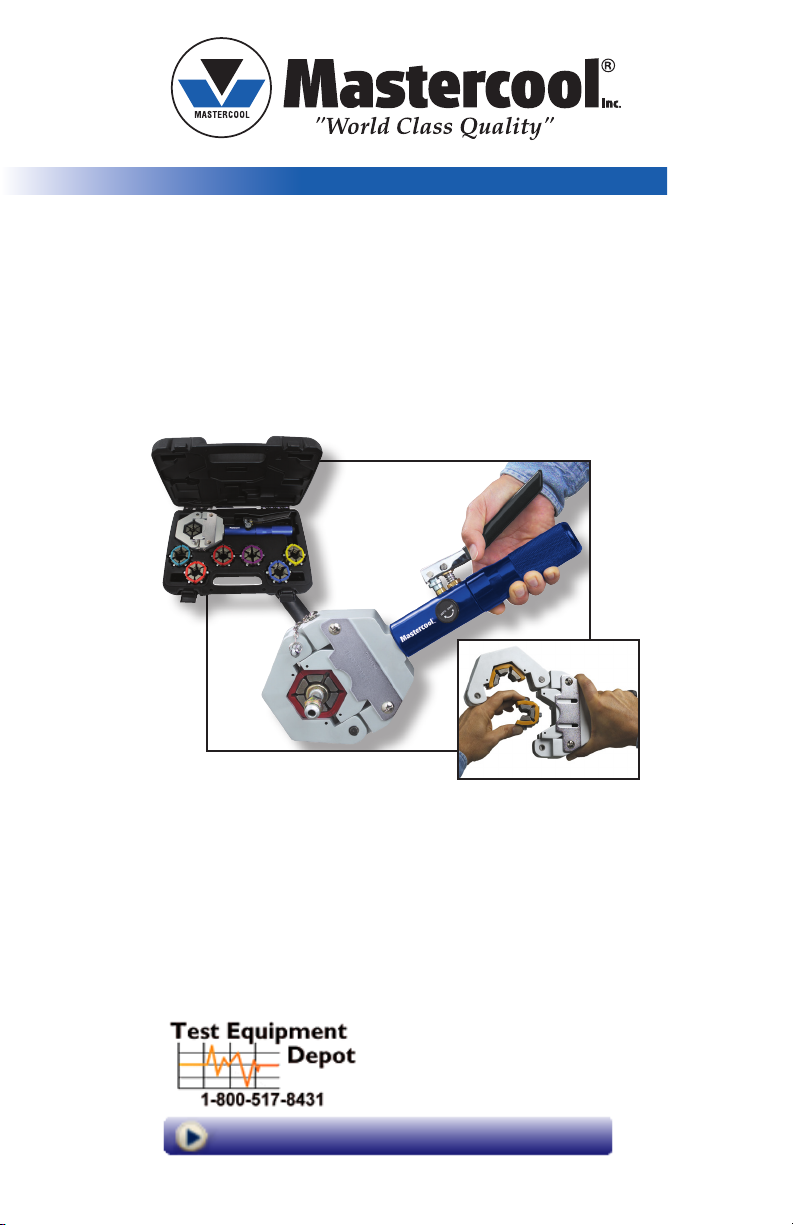
71500-A HYDRA-KRIMP
English
99 Washington Street
Melrose, MA 02176
Phone 781-665-1400
Toll Free 1-800-517-8431
Visit us at www.TestEquipmentDepot.com
Page 2
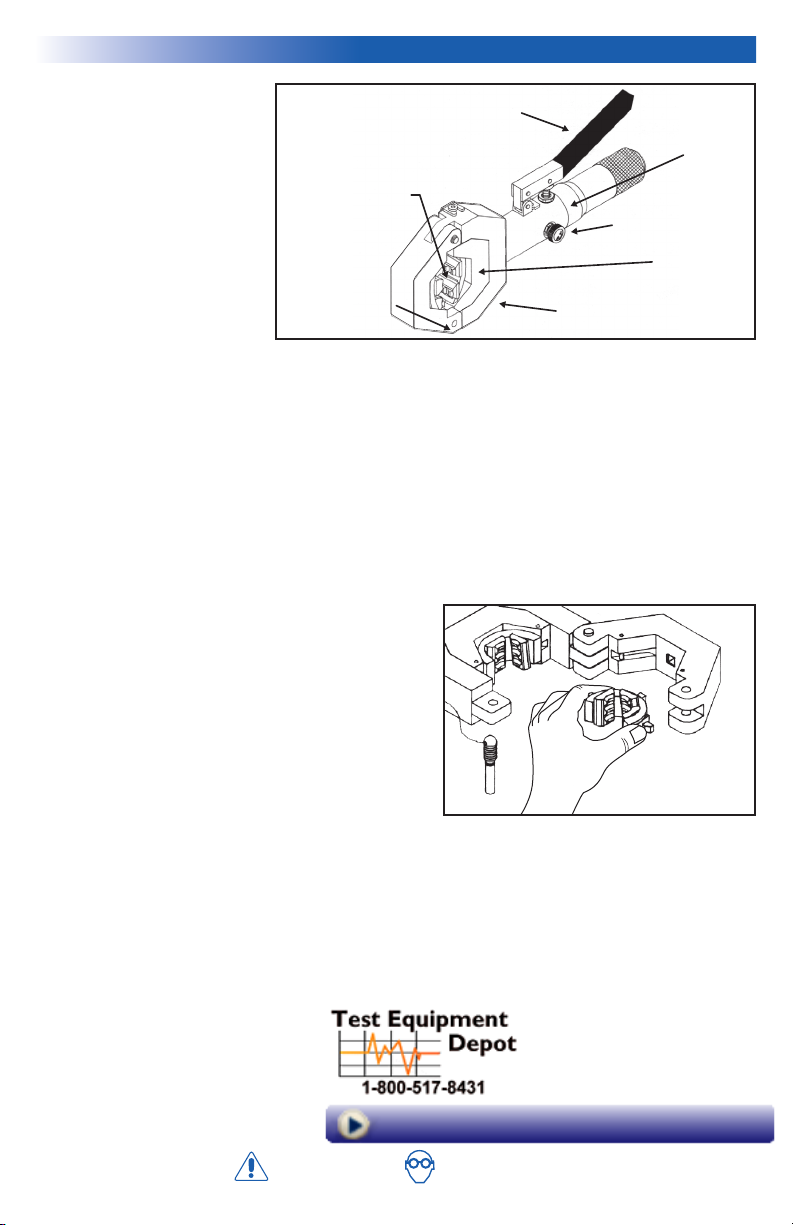
Handle
Die Set
Body
Valve
Piston
Top Yoke
Yoke
WARNUNG
Schutzbrille tragen
GERMAN
CAUTION
Porter lunettes de protection
FRENCH
ADVERTENCIA
Use Anteojos De Seguridad
SPANISH
WARNUNG
Schutzbrille tragen
GERMAN
CAUTION
Porter lunettes de protection
FRENCH
ADVERTENCIA
Use Anteojos De Seguridad
SPANISH
WARNING
Wear Safety Goggles
English
HYDRA-KRIMP
PRE-OPERATION SET-UP
• Open the relief valve to fully
recess the piston. Then, close
tightly.
• Rotate the yoke fully counter
clockwise to bottom out the
adapter seat.
• READY TO GO!
OPERATING INSTRUCTIONS
WARNING: DO NOT actuate the piston without having a hose and fitting in place to crimp. This could
cause damage to the tool. BE CAREFUL not to place hands near any pinch point while using the tool!
1. Remove pin and “Open” top yoke.
*Note: It may be necessary to turn body counter clockwise until top yoke can be rotated away
from piston.
2. Select correct die set. (Either measure or get the information from the manufacturer.)
*Note: Be sure to use correct size die set! Failure to do so could cause leakage or failure of the
crimp!
3. Insert dies into yoke.
4. Position fitting and hose in crimper and close top yoke.
5. Insert pin securely
*Note: Make sure pin snaps into place and is
secure before crimping process is started.
6. a. Turn body of tool clockwise until dies are snug
against hose fitting.
b. Now turn pump body counter-clockwise (2-3 turns)
to create ca. 2 mm space between yoke edge and
rim of pump body. Failure to observe this may cause
damage to pump body.
7. Turn hydraulic valve to “closed” position.
8. Pump handle to crimp fitting onto hose. Continue
pumping until handle comes to a stop.
*Note: Place the body of the tool against a solid
body to create more leverage during the crimping
process.
9. Once crimp is complete, turn hydraulic valve to “OPEN” position.
10. Turn body of tool counter clockwise until top yoke can be rotated away from piston portion of yoke.
11. Remove holding pin and open yoke.
12. Remove hose assembly.
2
WARNING
Visit us at www.TestEquipmentDepot.com
99 Washington Street
Melrose, MA 02176
Phone 781-665-1400
Toll Free 1-800-517-8431
 Loading...