

Page 1
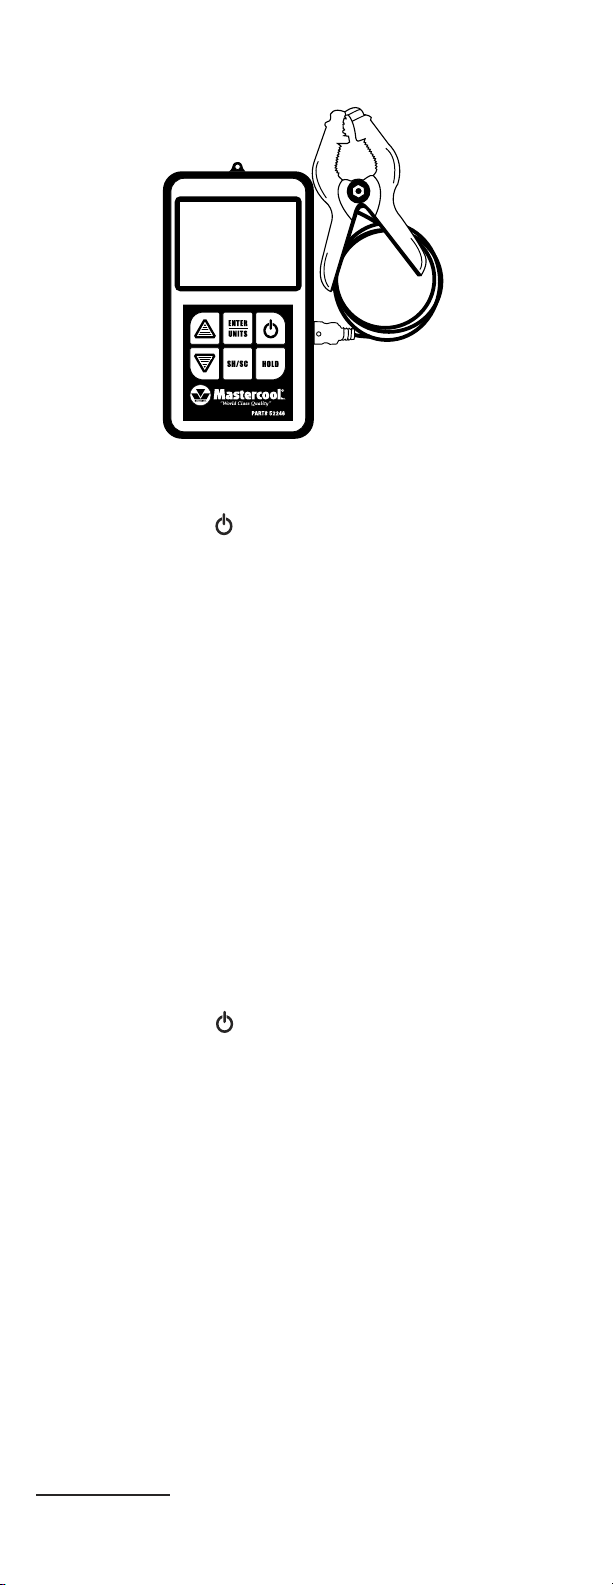
COMPACT SUBCOOL/SUPERHEAT
CALCULATOR
TO GET SATURATION TEMPERATURE WHEN
SATURATION PRESSURE IS KNOWN (PT CHART)
1. Press the POWER ( ) button.
2. Use ▲ and ▼ to display the desired refrigerant.
3. Press ENTER.
4. Press any ARROW button to display the pressure, then use
▲ or ▼ to adjust the saturated pressure.
NOTE: To change the pressure quickly, hold the DOWN ARROW
(▼) button.
5. Read the saturated temperature next to the saturated pressure.
NOTE: For refrigerants that have glide, use the SH/SC
button to toggle between Bubble (BBL) and Dew Point (DP) temperatures.
TO GET SUPERHEAT OR SUBCOOL WHEN THE
SATURATION PRESSURE IS KNOWN
To get superheat, use the low (suction) side saturated pressure
and use a tube on the suction side of the compressor for the actual
temperature.
To get subcool, use the high side saturated pressure and use a
tube close to the outlet side of the condenser for the actual
temperature.
1. Press the POWER ( ) button.
2. Use ▲ or ▼ button to display the system’s refrigerant.
3. Press ENTER.
4. Press any ARROW button to display the pressure, then use
▲ OR ▼ to adjust the saturated pressure.
NOTE: To change the pressure quickly, hold the DOWN ARROW
(▼) button.
5. Insert thermocouple clamp plug into side of unit.
6. Clamp thermocouple onto appropriate tube.
7. Press SH/SC to toggle between superheat or subcool
temperature.
8. Once the temperature has stabilized, read the superheat or
subcool temperature.
NOTE: The unit will not display a negative superheat or subcool
temperature. It will display -- instead. Check the side you are reading your pressure on and the location of the thermocouple clamp.
ADDITIONAL FUNCTIONS
Hold Function
To freeze the temperature reading from the thermocouple on the
screen, press HOLD.
1ww w.m as te rc oo l. co m
Page 2

HOLD will blink under the thermocouple temperature reading. The
pressure values can still be changed and the superheat or subcool
values will update. The thermocouple can be unplugged from the
unit and the temperature reading will remain. Turn the unit off and
the temperature reading will be lost.
To unfreeze the thermocouple temperature, press HOLD again or
turn the unit off.
To Change Units
1. With the Subcool/Superheat Calculator off, press the POWER
button.
2. Press and hold the ENTER button for two to three seconds until
the current temperature unit is displayed.
3. Use ▲ or ▼ to select the desired temperature unit.
4. Press ENTER to save. The current pressure unit will be
displayed.
5. Use ▲ or ▼ to select the desired pressure unit.
6. Press ENTER to save. The unit will return to normal operation.
To Update the Refrigerant List
CAUTION: This requires removing the back of the 52246 and
installing software on a PC. You will have to be connected to the
internet while updating the refrigerants. If you are not comfortable
doing this, return the unit to Mastercool to add the refrigerant(s) you
need.
System Requirements:
• PC operating system – XP or newer
• Memory – 4Mb Hard disk space
• Internet connection
1. Go to www.mastercool.com/pages/software_updates.html
2. Click on “Refrigerant Update Install Package”.
3. In the pop-up window, select RUN. The installer will download
and open.
4. A pop-up window will display stating: The publisher could not be
verified. Are you sure you want to run this software?
Choose RUN.
5. Follow the instructions to install the software. In the “Install
Complete” window, there is a check box. Uncheck the box if you
don’t want the downloader software to open immediately.
NOTE: a driver will be installed as well. If you get a pop-up window
asking for permission to do that, click YES.
6. A shortcut to the Mastercool_Refrig._Downloader software will be
on your desktop.
Alternative Method
1. Click on SAVE instead of Open in step 4 above.
2. Save the file to your desktop or somewhere you can remember
where you put it.
3. Double click on “Mastercool_Install_Package” to start the
installer.
4. Continue from step 4 above.
Prepare the 52246
1. Remove the battery
2. Remove the four screws in the back of the unit. (see Figure 1)
2 ww w.m as te rc oo l. co m
Page 3

1
2
3
Figure 1
4
3. Remove the back of the unit taking care that the PC board does
not fall out. (Figure 2)
USB Port
Cable Clamp
Figure 2
Ribbon Cable
NOTE: Putting a rubber band around the case and PC board will
help keep it in place.
4. Plug a USB cable into USB Port. (See Figure 2)
NOTE: If the ribbon cable pulls out of its clamp, lift up the brown top
of the clamp. (Figure 3) Insert the ribbon cable dark contacts down.
Push the top of the clamp down to re-clamp the cable.
Figure 3
Install the Refrigerants
1. Make sure your computer has a connection to the internet.
(The program downloads refrigerant files from our website.)
2. Start the “Mastercool_Refrig._Downloader” program. After the
program starts, the drop-down window next to “Select Device:”
will be blank if the 52246 is not plugged in.
3. Carefully install the battery on the 52246.
4. While preventing the PC board from falling out of the case, turn
the 52246 on.
5. After the “R” starts blinking, press ENTER.
NOTE: It does not make any difference which refrigerant is
displayed.
6. Connect the USB cable to a USB port on the computer. Click on
“UPDATE DEVICE LIST”. The window next to “Select device:”
will have something like “0001” in it.
7. Click on “VIEW AVAILABLE REFRIGERANTS ON WEB SITE” to
see the list of available refrigerants.
8. In the window under “Refrigerant File Name”, type in the
refrigerant you would like to add exactly like it is on the list.
3ww w.m as te rc oo l. co m
Page 4

9. Click on “GET DATA FROM MASTERCOOL WEBSITE”. Once
the data is downloaded, the “Download Data to Device”
square will turn green.
10. Click on “DOWNLOAD DATA TO DEVICE”. When the download
is done, (it only takes a fraction of a second) a window will pop
up telling you if the download was successful.
NOTE: If the refrigerant is already in the 52246, a pop up window
will tell you and the refrigerant data will not be downloaded.
11. After the refrigerant is downloaded, the 52246 will turn off.
If you would like to download another refrigerant, turn the 52246
back on and start from step 6 above.
If you are done loading refrigerants, reassemble the 52246, taking
care that the battery wires don’t get trapped between the case
halves.
After turning the unit on, press the down arrow to go to the last
refrigerant added.
THERMOCOUPLE CALIBRATION PROCEDURE
This procedure requires an accurate room temperature and an
accurate reference temperature for the thermocouple.
1. Turn the 52246 on. When the “R” starts blinking, press ENTER
and one of the arrow buttons.
2. Hold down the POWER button and the UP ARROW (▲) button
at the same time. The whole display will be shown.
3. Press ENTER twice until the number 2 is displayed and a
temperature reading.
4. This is the circuit board reference temperature. After you are sure
the temperatures have stabilized to room temperature, use the
arrows to adjust the temperature reading to match your room
temperature reference.
5. Press ENTER. The number 3 will be displayed and two
temperatures. One will be the previously adjusted room
temperature and the other will be the thermocouple reading. With
the thermocouple at a known reference temperature (place the
thermocouple [clamp] in a slush of crushed ice and water or
place the clamp on a thick copper tube with a calibrated
temperature gauge clamped to it as well.), Adjust the
temperature to match the reference temperature.
6. Press ENTER. The unit will shut-off.
7. The next time you press the POWER button, the unit will return
to normal operation.
USA: PH (973) 252-9119
BELGIUM: TEL. + 32 (0) 3 777 28 48
4 ww w.m as te rc oo l. co m
52246-INST
 Loading...