

Page 1
Starflash III
user manual
Page 2

© 1997-2001 Martin Professional A/S, Denmark.
All rights reserved. No part of this manual may be
reproduced, in any form or by any means, without
permission in writing from Martin Professional A/S,
Denmark.
Printed in Denmark.
P/N 35000031, Rev. C
Page 3

section 1
,1752'8&7,21
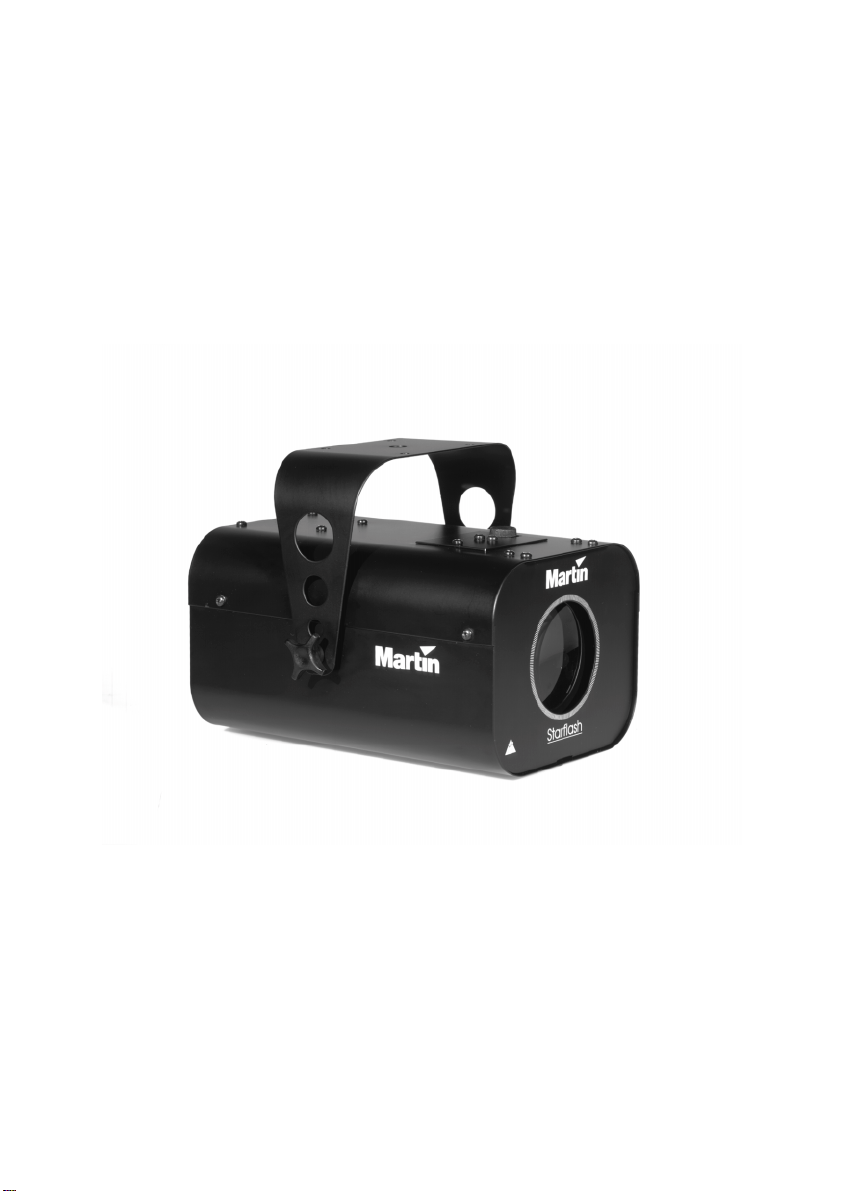
Thank you for selecting t he Martin 6WDUIODVK,,,. The 6WDUIODVK ,,, i s a powerful but
compact effect which produces a variety of exciting effects depending on model.
New for this version of the 6WDUIODVK is improved music response circuitry.
Features
• 300 W halogen lamp
• Sharp, rotating, white or colored light beams
• Microprocessor contro l with accurate music response
• Thermo-switch for overheating protection
• Adjustable mounting bracket
Safety precautions
The 6WDUIODVK,,, is NOT for domestic use. I f y ou ha ve any do ubts ab ou t how to op e r-
ate the fixture safely, please contact your Martin dealer for assistance.
• Read user manual before connecting or operating the fixture.
• Install the fixture out of reach of accidental contact, at least 0.3 mete rs (12
inches) away from illuminated obje cts, an d at least 0.1 meter s (4 inches) fr om
flammable materials. Provide a minimum clearance of 0.1 meters (4 inches)
around fans and air vents.
• Completely disconnect the fixture from electricity and allow to cool for 5 minutes before replacing the lamp or fuse.
• Use only a source of A C power that comp lies with local bu ilding an d electri cal
codes and has both overload an d ground-fault protection. Ensure that the fixture is properly grounded (earthed).
• To reduce risk of fire and electrical shock, do NOT expose to rain or moisture.
• Replace the lamp when it becomes defective or worn out.
• Do not operate the fixture if the ambient temperature exceeds 40°C (1 04 °F ).
• Refer all service to a Martin service technician.
• When suspending the fixture above ground level, verify that the structure can
hold at least 10 times the weight of all installed devices.
• Verify that all external covers and rigging hardware are securely fastened and
use an approved means of secondary attachment such as a safety cable.
user manual
3
Page 4

section 2
6(783$1'23(5$7,21
The 6WDUIODVK,,, includes a power cable, th is user manual, and a mo unting bracket.
Before operating the fixt ure, you must in sert a lamp (not included), ins tall a plug on
the power cord, and attach the mounting bracket.
Installing or replacing the lamp
Install only the lamp listed below for your model
0RGHO /DPS 9ROWV:DW WV 2XWSXW $YJ/LIH %DVH
EU Osram 64516 230 V / 300 W 7300 lm 50 h GX 6.35
US Philips 6874P (DRA) 120 V / 300 W 7700 lm 75 h GX 6.35
UK Osram 64514 (M38) 240 V / 300 W 5200 lm 2000 h GY 9.5
1. Unplug the fixture and allow it to cool for 5 minute s.
2. Remove the lamp-access thumbscrew on the top of t he fixture.
3. If removing a bulb, gently pu ll it out of the soc ket.
4. Hold the new bulb in a clean cloth and insert the pins into the
socket. Oils from your fingers shorten lamp life; if you do touch the
bulb, clean it with a cloth wetted wi th denatured al cohol.
5. Replace the lamp-socket assembly and tighten the thumbscrew.
6. Sliding the lamp-socket forwards or backward s may improve perf ormance. Unplug the fixture before making adjustments.
Installing a plug on the power cord
WARNING!
The fixture must be grounded (earthed).
The 6WDUIODVK,,, may be delivered without a plug on the power cord. A 3-prong
grounding-type plug must be installed. Following the manufacturer’s instructions,
connect the wires as follows.
1. Connect the BROWN wire to the LIVE pin.
2. Connect the BLUE wire to the NEUTRAL pin.
3. Connect the YELLOW/GREEN wire to the GROUND (EARTH) pin.
4
Starflash I II
Page 5

Connecting to AC power
IMPORTANT!
Do not attempt to dim the
Starflash III
damage may occur to the electronic components.
1. Check to make sure the fixture’s operating voltag e and frequency,
listed on the serial number label on the r ear panel, match the AC
voltage and frequency.
2. Plug the power cable into the socket on the back of the fixture and
an AC outlet.
1RWH$OWKRXJK WKH 6WDUIODVK ,,, FDQQRW EHGLPPHG LW PD\ EH VZLWFKHGRQ DQG RII
UHPRWHO\XVLQJVZLWFKSDFNVRUWKHIXOORQDQGIXOORIIOHYHOVRQGLPPHUSDFNV
Installing the mounting bracket
1. Align the holes in the mounting bracket wit h the holes in the sides of
the
Starflash III.
2. Place the spacers between the case and the b racket and insert a
knob in each side.
3. Tilt the
4. Tighten the thumbscrews.
Starflash III
in the desired direction.
Operating modes
:
To operate the 6WDU IODVK ,,, , ap ply pow er and se t the mo de swit ch on the rear pane l to
the “lamp on” or “flash” position.
/DPS2Q
In “lamp on” mode, the lamp stays on ; rotatio n is soun d activa ted and cha nges occa sionally. If there is no sound, reflector rotation stops after 5 seconds.
)ODVK
In “flash” mode, both the lamp and ro tati on ar e soun d acti vat ed. If there is no s ound,
the lamp turns off after 5 s ec onds . Ther e i s no differe nce b etwee n the 2 “f lash ” posi tions.
user manual
5
Page 6

section 3
%$6,&6(59,&(
WARNING!
Unplug the fixture and allow to cool before proceeding.
Replacing the fuse
1. Unplug the power cord from the fixture.
2. Place the tip of a screwdriver in the slot on t op of the fuse holder,
located in the power cord socket, and pry open the holder.
3. Replace the fuse with one of the same rating. The rating is shown
on the serial number label.
4. Replace the fuse holder and reconnect the p ower cord.
Troubleshooting
SUREOHP SUREDEOHFDXVHV VXJJHVWHGUHPHG\
No light and the fan
does not run.
Fan runs but there is no
light.
Fuse blows repeatedly. Electrical malfunction. • Refer to service technician.
If the suggested remedies do not solve the problem, co ntact your Martin dealer for
service.
6
Starflash I II
No power to the fixture. • Check connections.
Blown fuse. • Replace fuse.
Sound too low to acti-
vate control circuit.
Burned out lamp. • Install new lamp.
Fixture overheating.
• Increase volume.
• Allow to cool.
• Improve air flow around the
fixture.
Page 7

appendix
63(&,),&$7,216
'LPHQVLRQVZLWKPRXQWLQJEUDFNHW
Length ...................... .... .... ....... .... ..... .... ....... .... .... ..... ...277 mm (10.9 in)
Width..................... ..... .... .... ....... .... ..... .... ....... .... ..... .... .235 mm (9.25 in)
Height.............. .... ..... .... ...... ..... .... ..... ...... ..... .... .... ....... ...218 mm (8.6 in)
Weight........... .... ....... .... .... ..... ...... ..... .... .... ....... .... ..... .... ... 3.5 kg (7.7 lb)
(OHFWULFDO
Power consumption ................... ....... ........ ....... ....... ...... ......... ......325 W
Fuse, EU and UK models (220 - 240 V AC supply ) ..............F2 A / 250 V
Fuse, US model (100 - 130 V AC supply) ....... ......... ........ .... F4 A / 250 V
&RQVWUXFWLRQ
Housing .... ....... ...... ......... ....... ...... ....... ......... ...... ....... ..... s teel, a luminum
Finish ...................................... .... ....... .... ....electrostatic powder coating
7KHUPDO
Surface temperature under normal conditions .................. 75° C (167° F)
Maximum operating environment temperat ure .................. 40° C (104° F)
Protection . ....... ...... ....... ...... ....... ....... ...... ......... ....... ...... ... thermo-swi tch
$FFHVVRULHV
Philips 6874P M38 halogen lamp (for UK model) ....... ...... .P/N 97000200
Osram 64514 DRA halogen lamp (for US model)..............P /N 97000201
Osram 64516 halogen lamp (for EU model)......................P/N 97000202
Martin DMX Switch Pack, 210-245 V.............. ......... .........P/N 90758200
Martin DMX Switch Pack, 100-130 V.............. ......... .........P/N 90758300
218 mm
235 mm
user manual
277 mm
7
Page 8

 Loading...