

Martin MAC 301 Wash User Manual
MAC 301 Wash
user manual
TM
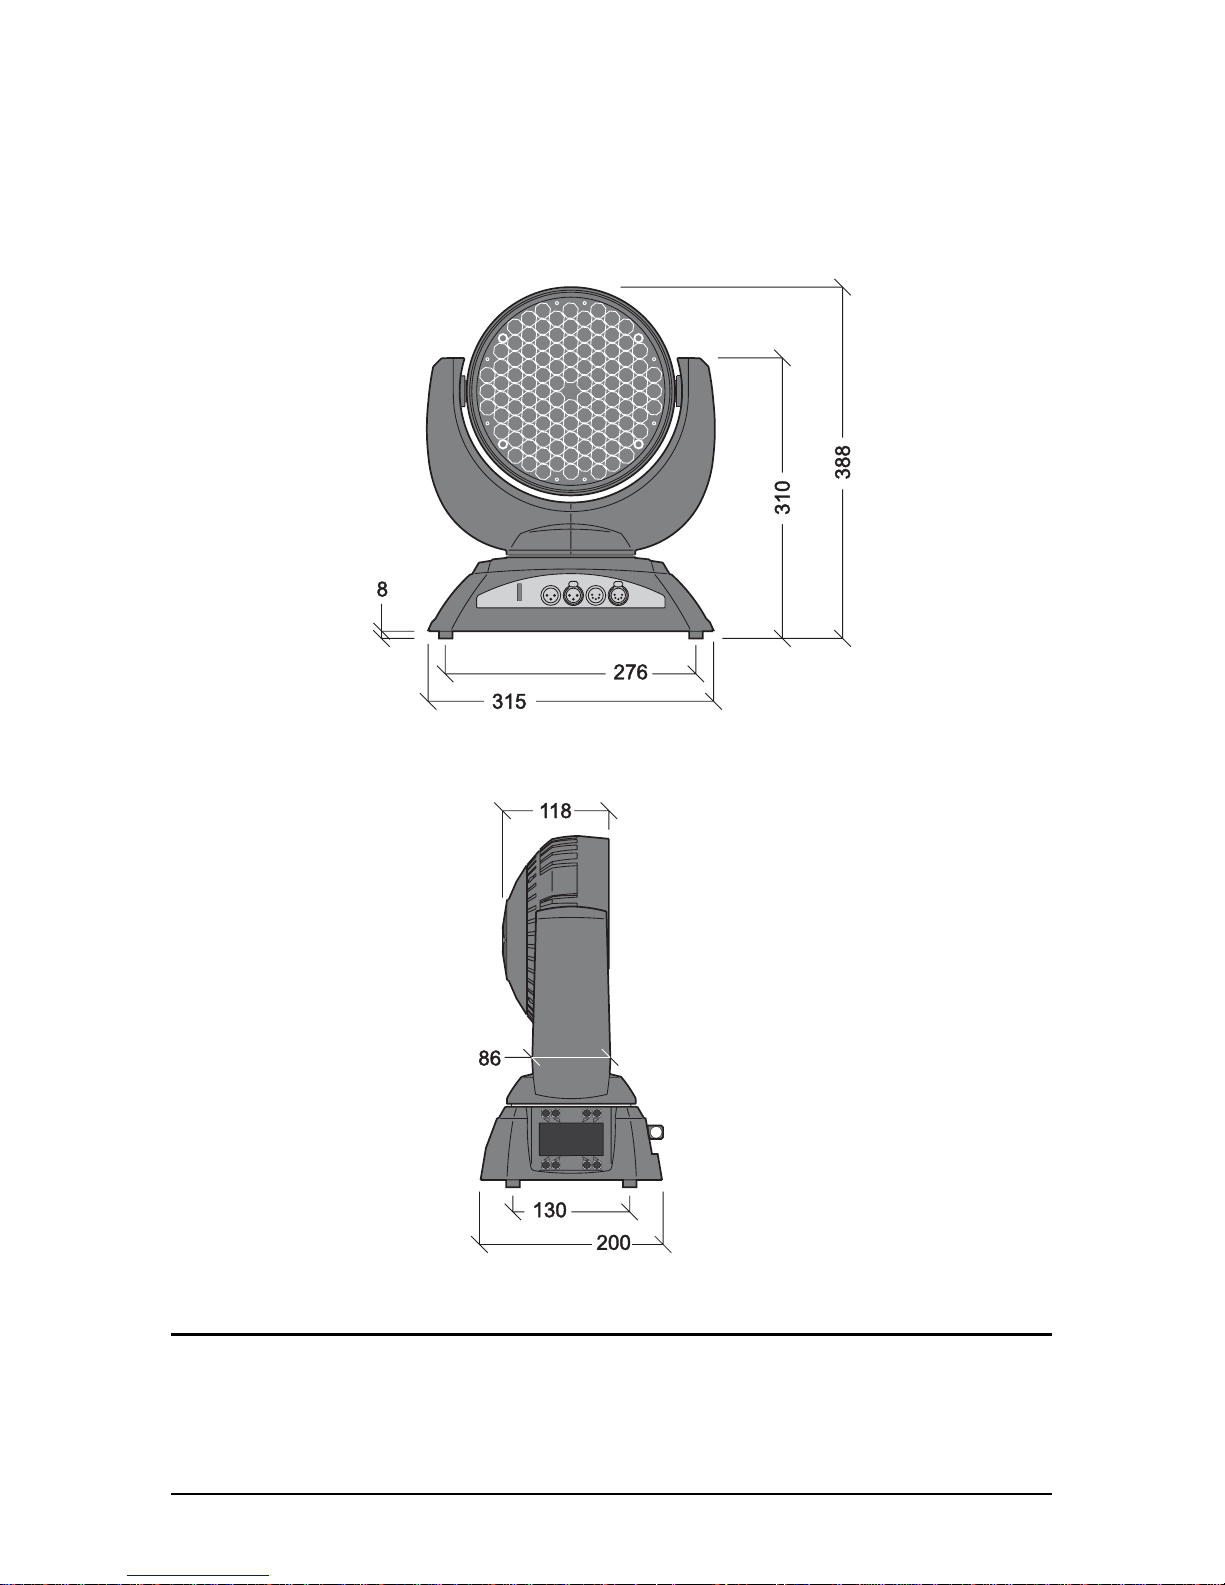
Dimensions
All dimensions are in millimeters
©2009 Martin Professional A/S. Information subject to change without notice. Martin Professional A/S and all affiliated companies
disclaim liability for any injury, damage, direct or indirect loss, consequential or economic loss or any other loss occasioned by the
use of, inability to use or reliance on the information contained in this manual. The Martin logo, the Martin name and all other trade-
marks in this document pertaining to services or products by Martin Professional A/S or its affiliates and subsidiaries are trademarks
owned or licensed by Martin Professional A/S or its affiliates or subsidiaries.
P/N 35000228, Rev. A
Safety Information
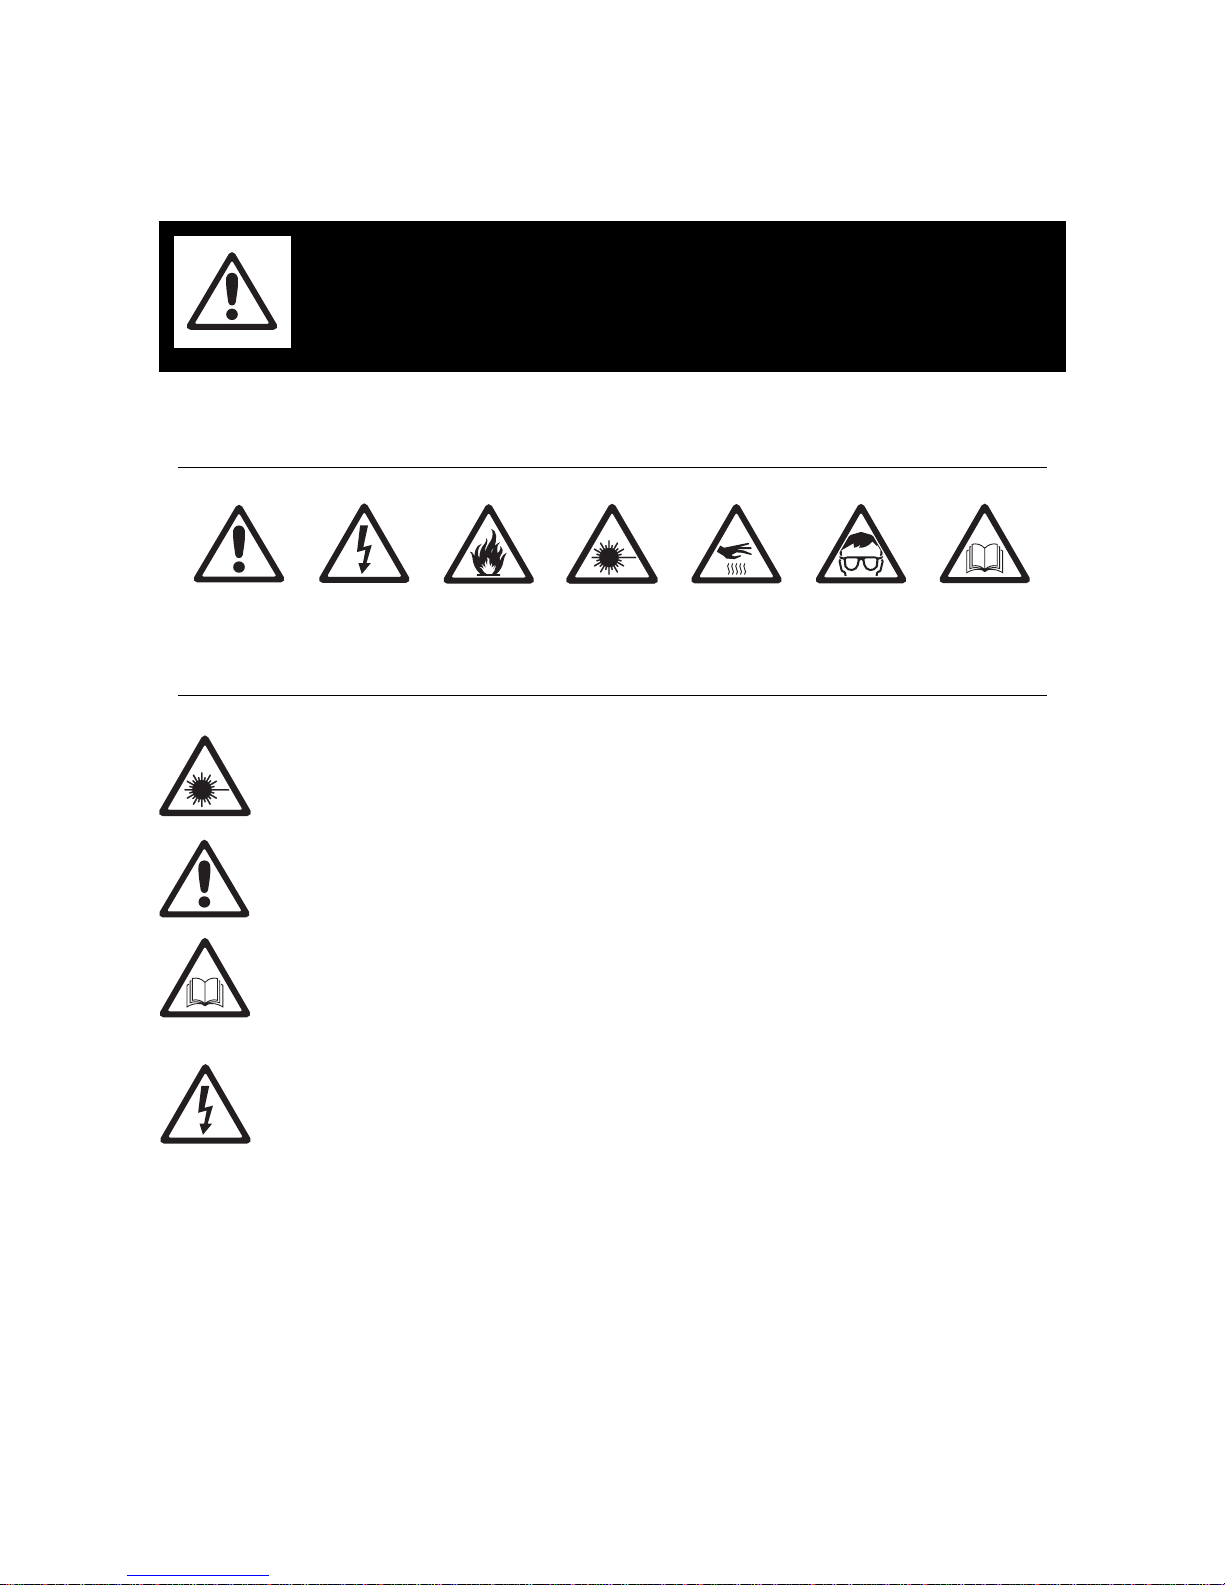
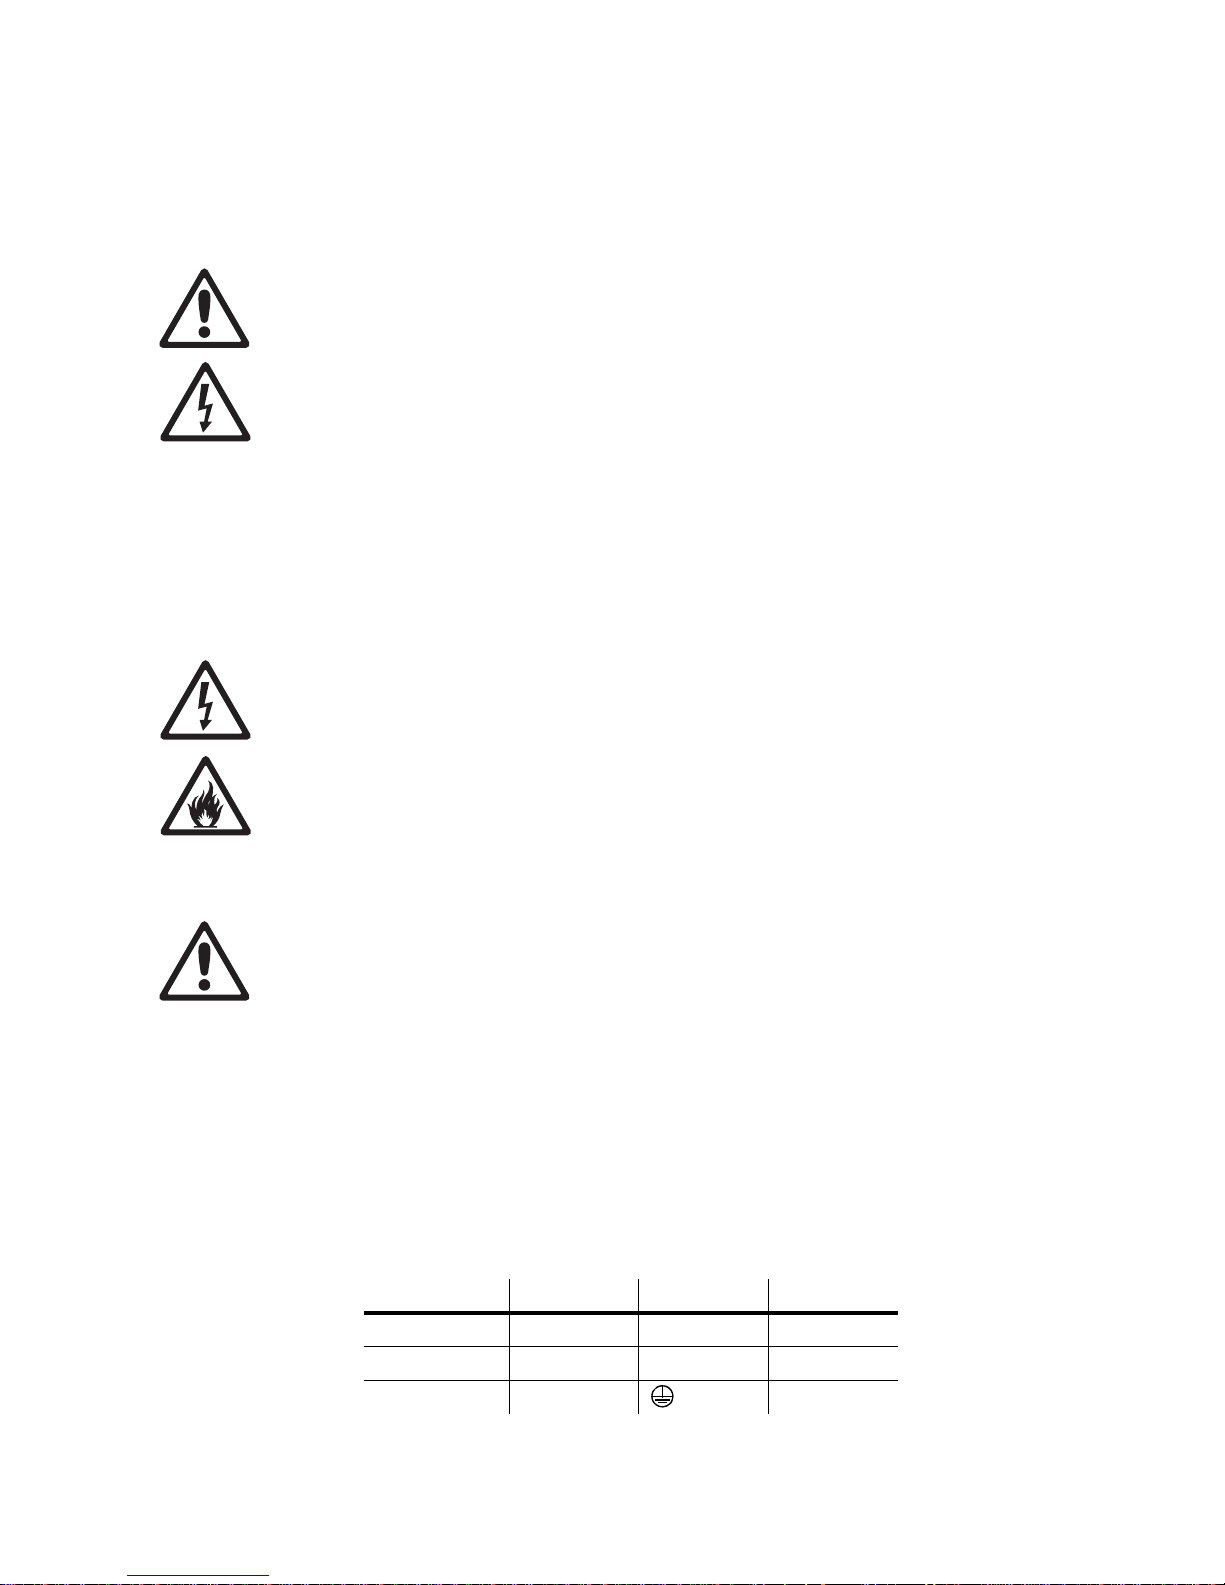
The following symbols are used to identify important safety information on the product and in this manual:
Warning! Class 2M LED product. Do not look into the beam at a distance of less than 0.5 meters
(20 inches) from the front surface of the product. Do not view the light output with optical
instruments or any device that may concentrate the beam.
This product is for professional use only. It is not for household use.
This product presents risks of severe injury or death due to fire and burn hazards, electric shock and falls.
Read this manual before installing, powering or servicing the fixture, follow the safety precautions listed
below and observe all warnings in this manual and printed on the fixture. If you have questions about how to
operate the fixture safely, please contact your Martin dealer or call the Martin 24-hour service hotline at +45
70 200 201.
PROTECTION FROM ELECTRIC SHOCK
• Disconnect the fixture from AC power before removing or installing any cover or part – including fuses –
and when not in use.
• Always ground (earth) the fixture electrically.
• Use only a source of AC power that complies with local building and electrical codes and has both
overload and ground-fault (earth-fault) protection.
• Before using the fixture, check that all power distribution equipment and cables are in perfect condition
and rated for the current requirements of all connected devices.
• Isolate the fixture from power immediatel y if the powe r plug or any seal, cover, cable, or other component
is damaged, defective, deformed, wet or showing signs of overheating. Do not reapply power until repairs
have been completed.
• Do not expose the fixture to rain or moisture.
• Refer any service operation not described in this manual to a qualified technician.
• Socket outlets used to supply MAC 301 Wash panels with power or external power switches must be
located near the panels and easily accessible so that the panels can easily be disconnected from power.
WARNING!
Read the safety precautions in this section before
installing, powering, operating or servicing this
product.
DANGER!
Safety hazard.
Risk of severe
injury or death.
DANGER!
Hazardous
voltage. Risk of
lethal or severe
electric shock.
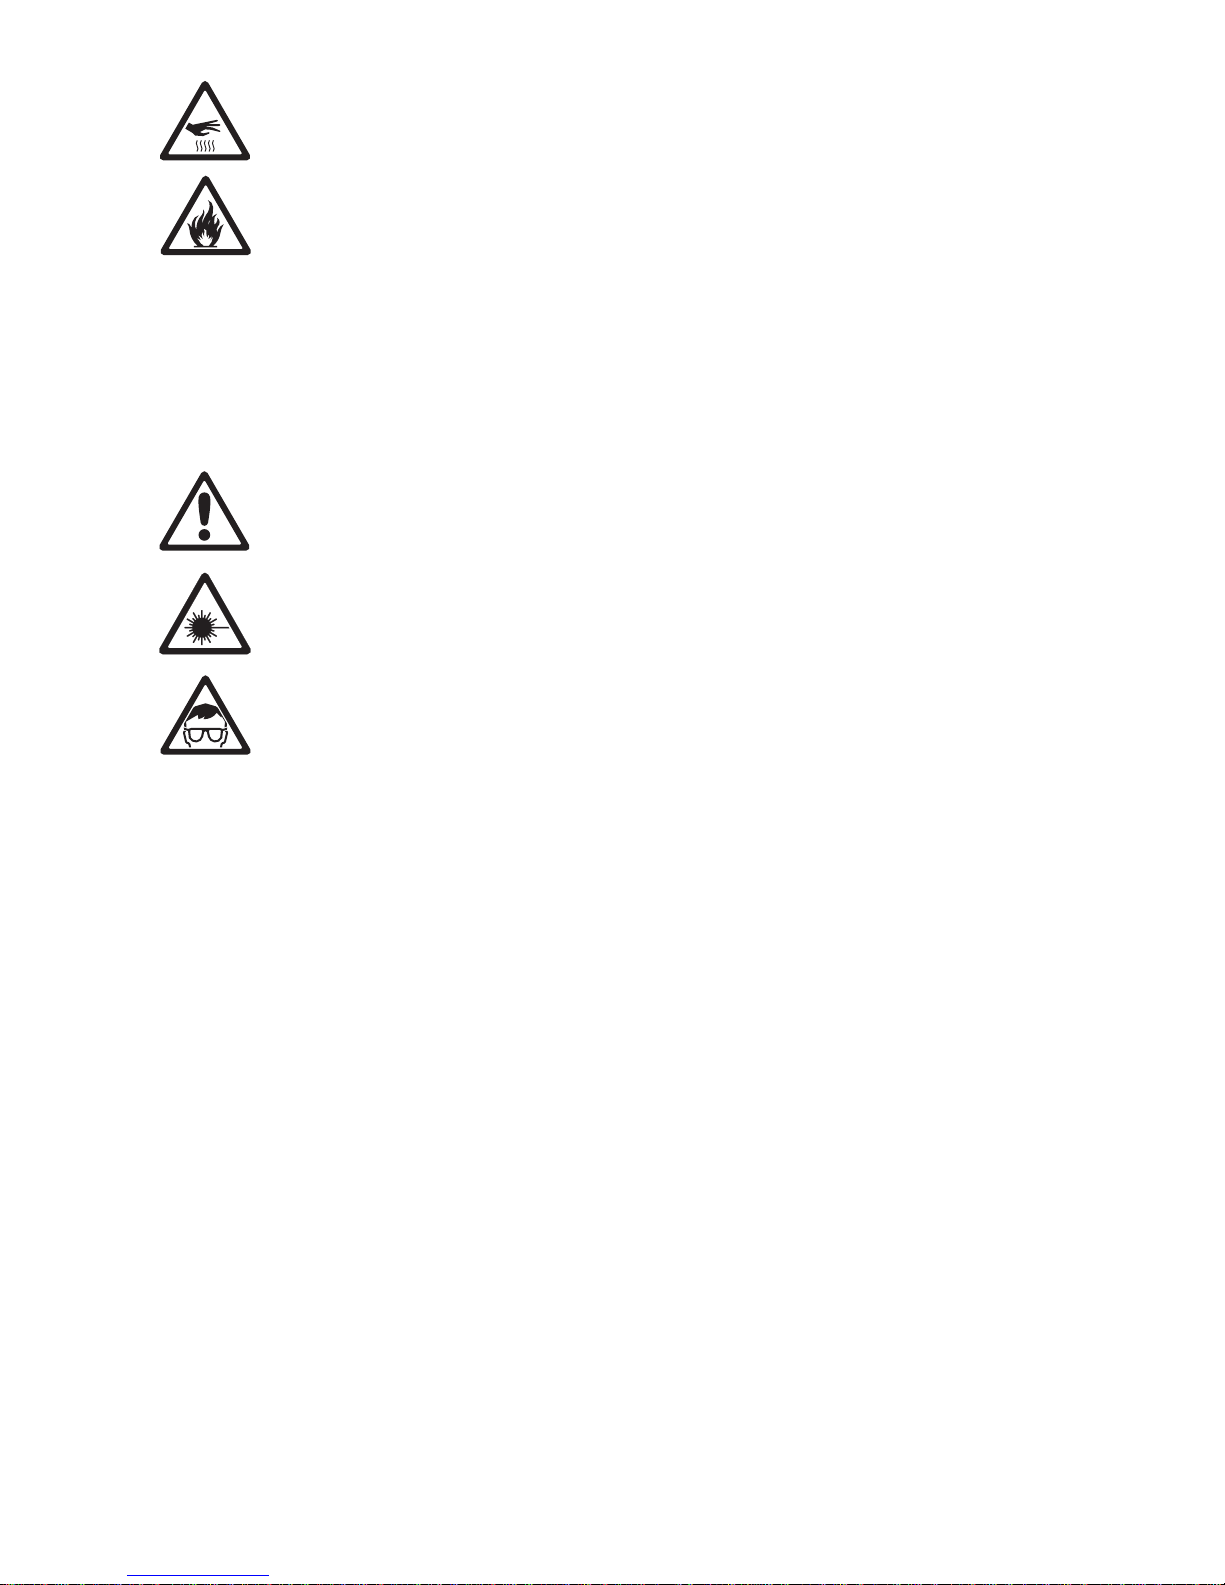
WARNING!
Fire hazard.
WARNING!
LED light
emission. Risk of
eye injury.
WARNING!
Burn hazard. Hot
surface. Do not
touch.
WARNING!
Wear protective
eyewear.
WARNING!
Refer to user
manual.
PROTECTION FROM BURNS AND FIRE
• Do not operate the fixture if the ambient temperature (Ta) exceeds 40° C (104° F).
• The exterior of the fixture becomes hot during use. Avoid contact by persons and materials. Allow the
fixture to cool for at least 10 minutes before handling.
• Keep all combustible materials (e.g. fabric, wood, paper) at least 100 mm (4 ins.) away from the head.
• Keep flammable materials well away from the fixture.
• Ensure that there is free and unobstructed airflow around the fixture.
• Do not illuminate surfaces within 250 mm (10 ins.) o f the fix tu r e.
• Do not attempt to bypass thermostatic switches or fuses. Replace defective fuses with ones of the
specified type and rating.
• Do not stick filters, masks or other materials onto any optical component.
• Do not modify the fixture in any way not described in this manual
• Install only genuine Martin parts.
PROTECTION FROM INJURY
• Do not look continuously at LEDs from a distance of less than 0.5 meters (20 inches) from the front
surface of the fixture without protective eyewear such as shade 4-5 welding goggles. At less than this
distance, the LED emission can cause eye inj ury or irritation. At distances of 0.5 meters (20 inches) and
above, light output is harmless to the naked eye provided that the eye’s natural aversion response is not
overcome.
• Do not look at LEDs with magnifiers, telescopes, binoculars or similar optical instruments that may
concentrate the light output.
• Ensure that persons are not looking at the LEDs from within 0.5 meters (20 inches) when the product
lights up suddenly. This can happen when power is applied, when the product receives a DMX signal,
when a stand-alone program suddenly increases light output intensity or when SERVICE menu items are
selected.
• Install as described in this manual a secondary attachment such as a safety cable that is approved by an
official body such as TÜV as a safety attachment for the weight of all the fixtures it secures. The safety
cable must comply with EN 60598-2-17 Section 17.6.6 and be capable of bearing a static suspended load
ten times the weight of the fixture.
• If suspending from a rigging structure, attach the fixture with two evenly spaced clamps. Do not use only
one clamp.
• Ensure that any supporting structure and/or hardware used can hold at least 10 times the weight of all the
devices they support.
• Allow enough clearance around the head to ensure that it cannot collide with an object or another fixture
when it moves.
• Check that all external covers and rigging hardware are securely fastened.
• Block access below the work area and work from a stable platform whenever installing, servicing or
moving the fixture.
• Do not operate the fixture with missing or damage d covers, shields or any optical component.

Contents
Dimensions . . . . . . . . . . . . . . . . . . . . . . . . . . . . . . . . . . . . . . . . . . . . . . . . . . . . . . . . . . . . . . . . . . . . . . . . 2
Safety Information. . . . . . . . . . . . . . . . . . . . . . . . . . . . . . . . . . . . . . . . . . . . . . . . . . . . . . . . . . . . . . . . . . 3
Fixture overview . . . . . . . . . . . . . . . . . . . . . . . . . . . . . . . . . . . . . . . . . . . . . . . . . . . . . . . . . . . . . . . . . . . 6
Introduction . . . . . . . . . . . . . . . . . . . . . . . . . . . . . . . . . . . . . . . . . . . . . . . . . . . . . . . . . . . . . . . . . . . . . . . . 7
Unpacking . . . . . . . . . . . . . . . . . . . . . . . . . . . . . . . . . . . . . . . . . . . . . . . . . . . . . . . . . . . . . . . . . . . . . . . . 7
Using for the first time . . . . . . . . . . . . . . . . . . . . . . . . . . . . . . . . . . . . . . . . . . . . . . . . . . . . . . . . . . . . . . . 7
AC power. . . . . . . . . . . . . . . . . . . . . . . . . . . . . . . . . . . . . . . . . . . . . . . . . . . . . . . . . . . . . . . . . . . . . . . . . . 8
Main fuse. . . . . . . . . . . . . . . . . . . . . . . . . . . . . . . . . . . . . . . . . . . . . . . . . . . . . . . . . . . . . . . . . . . . . . . . . 8
Power voltage . . . . . . . . . . . . . . . . . . . . . . . . . . . . . . . . . . . . . . . . . . . . . . . . . . . . . . . . . . . . . . . . . . . . . 8
Power plug. . . . . . . . . . . . . . . . . . . . . . . . . . . . . . . . . . . . . . . . . . . . . . . . . . . . . . . . . . . . . . . . . . . . . . . . 8
Data link. . . . . . . . . . . . . . . . . . . . . . . . . . . . . . . . . . . . . . . . . . . . . . . . . . . . . . . . . . . . . . . . . . . . . . . . . . . 9
Tips for reliable data transmission. . . . . . . . . . . . . . . . . . . . . . . . . . . . . . . . . . . . . . . . . . . . . . . . . . . . . . 9
Connecting the data link . . . . . . . . . . . . . . . . . . . . . . . . . . . . . . . . . . . . . . . . . . . . . . . . . . . . . . . . . . . . . 9
Physical installation . . . . . . . . . . . . . . . . . . . . . . . . . . . . . . . . . . . . . . . . . . . . . . . . . . . . . . . . . . . . . . . 10
Placing the fixture on a flat surface . . . . . . . . . . . . . . . . . . . . . . . . . . . . . . . . . . . . . . . . . . . . . . . . . . . . 10
Mounting the fixture on a truss . . . . . . . . . . . . . . . . . . . . . . . . . . . . . . . . . . . . . . . . . . . . . . . . . . . . . . . 10
Setup. . . . . . . . . . . . . . . . . . . . . . . . . . . . . . . . . . . . . . . . . . . . . . . . . . . . . . . . . . . . . . . . . . . . . . . . . . . . . 11
Control panel and menu navigation. . . . . . . . . . . . . . . . . . . . . . . . . . . . . . . . . . . . . . . . . . . . . . . . . . . . 11
DMX address setting . . . . . . . . . . . . . . . . . . . . . . . . . . . . . . . . . . . . . . . . . . . . . . . . . . . . . . . . . . . . . . . 11
DMX modes. . . . . . . . . . . . . . . . . . . . . . . . . . . . . . . . . . . . . . . . . . . . . . . . . . . . . . . . . . . . . . . . . . . . . . 12
Tailoring performance . . . . . . . . . . . . . . . . . . . . . . . . . . . . . . . . . . . . . . . . . . . . . . . . . . . . . . . . . . . . . . 12
Effects. . . . . . . . . . . . . . . . . . . . . . . . . . . . . . . . . . . . . . . . . . . . . . . . . . . . . . . . . . . . . . . . . . . . . . . . . . . . 13
DMX operation. . . . . . . . . . . . . . . . . . . . . . . . . . . . . . . . . . . . . . . . . . . . . . . . . . . . . . . . . . . . . . . . . . . . 14
Stand-alone operation. . . . . . . . . . . . . . . . . . . . . . . . . . . . . . . . . . . . . . . . . . . . . . . . . . . . . . . . . . . . . 15
Programming stand-alone operation . . . . . . . . . . . . . . . . . . . . . . . . . . . . . . . . . . . . . . . . . . . . . . . . . . . 15
Service and maintenance. . . . . . . . . . . . . . . . . . . . . . . . . . . . . . . . . . . . . . . . . . . . . . . . . . . . . . . . . . 16
Cleaning. . . . . . . . . . . . . . . . . . . . . . . . . . . . . . . . . . . . . . . . . . . . . . . . . . . . . . . . . . . . . . . . . . . . . . . . . 16
Control menu service utilities. . . . . . . . . . . . . . . . . . . . . . . . . . . . . . . . . . . . . . . . . . . . . . . . . . . . . . . . . 17
Fixture readouts. . . . . . . . . . . . . . . . . . . . . . . . . . . . . . . . . . . . . . . . . . . . . . . . . . . . . . . . . . . . . . . . . . . 18
Lubrication. . . . . . . . . . . . . . . . . . . . . . . . . . . . . . . . . . . . . . . . . . . . . . . . . . . . . . . . . . . . . . . . . . . . . . . 18
Fuse replacement . . . . . . . . . . . . . . . . . . . . . . . . . . . . . . . . . . . . . . . . . . . . . . . . . . . . . . . . . . . . . . . . . 18
DMX protocol . . . . . . . . . . . . . . . . . . . . . . . . . . . . . . . . . . . . . . . . . . . . . . . . . . . . . . . . . . . . . . . . . . . . . 19
Onboard control menus. . . . . . . . . . . . . . . . . . . . . . . . . . . . . . . . . . . . . . . . . . . . . . . . . . . . . . . . . . . . 21
Troubleshooting . . . . . . . . . . . . . . . . . . . . . . . . . . . . . . . . . . . . . . . . . . . . . . . . . . . . . . . . . . . . . . . . . . 22
Specifications. . . . . . . . . . . . . . . . . . . . . . . . . . . . . . . . . . . . . . . . . . . . . . . . . . . . . . . . . . . . . . . . . . . . . 23

6 MAC 301 Wash user manual
Fixture overview
Power cable entry
Fuseholder
DMX in/out connectors
Safety cable attachment point
Control panel / display
Figure 1: Connections panel ove r vi ew

Introduction 7
Introduction
Thank you for selecting the MAC 301 Wash™, an intelligent lighting fixture from Martin Professional™. This
LED-based moving-head washlight features:
• Luxeon Rebel high-power emitters
• DMX control and stand-alone operation with scenes programmed on fixture or captured via DMX
• Onboard control panel and backlit LCD graphic display
• RGB color mixing with CTC
• ‘Color wheel’ color-snap feature
• Smooth electronic dimming
• Electronic strobe with pulse effects
• Motorized zoom, 13° - 36°
• 430° pan and 300° tilt ranges
• Two 8-bit and two 16-bit DMX control modes
For the latest firmware updates, documentation, and other information about this and all Martin Professional
products, please visit the Martin website at http://www.martin.com
Comments or suggestions regarding this document may be e-mailed to service@martin.dk or posted to :
Service Department
Martin Professional A/S
Olof Palmes Allé 18
DK-8200 Aarhus N
Denmark
Warning! Read “Safety Information” on page 3 before installing, powering, operating or servicing
the MAC 301 Wash.
Unpacking
The following items are included with the MAC 301 Wash:
• Two clamp attachment brackets with quarter-turn fasteners
• This user manual
Using for the first time
Before applying power to the fixture:
• Check the Martin Professional website at www.martin.com for the most recent user documentation and
technical information about the MAC 301 Wash. Martin user manual revisions are identified by the
revision letter at the bottom of page 2.
• Carefully review “Safety Information” on page 3.
• Check that the fixture’s power voltage and frequency ranges match the local AC mains power source.
• If drawing power from a socket, install a suitable power plug on the power cable as described in “Power
plug” on page 8.
8 MAC 301 Wash user manual
AC power
Warning! Read “Safety Information” starting on page 3 before connecting the MAC 301 Wash to AC
mains power.
For protection from electric shock, the MAC 301 Wash must be grounded (earthed). The power
distribution circuit must be equipped with a fuse or circuit breaker and ground-fault (earth-fault)
protection.
The MAC 301 Wash does not have a power on/off switch. Socket outlets or external power switches
used to supply the MAC 301 Wash with power must be located near the fixture and easily accessible
so that the panels can easily be disconnected from power.
Important! Do not use an external dimming system to supply power to the MAC 301 Wash, as this
may cause damage to the fixture that is not covered by the product warranty.
The MAC 301 Wash can be hard-wired to a building electrical installation if you want to install it
permanently, or a power plug can be installed on the power cable in the case of temporary installation.
Main fuse
Warning! Replace fuses with ones of the same type and rating only.
MAC 301 Wash EU models for 200-240 VAC power are protected by a 4 amp slow-blow main fuse. MAC
301 Wash US models for 100-130 VAC power are protected by a 6.3 amp slow-blow main fuse. The main
fuse is located in a fuseholder on the connections panel next to the power cable entry. See “Fuse
replacement” on page 18 for details of accessing and changing fuses.
Power voltage
Warning! Check that the voltage range specified on the fixture’s serial number label
matches the local AC mains power voltage before applying power to the fixture.
• MAC 301 Wash EU models are factory-configured to accept AC mains power at 200-240 V, 50/60 Hz.
• MAC 301 Wash US models are factory-configured to accept AC mains power at 100-130 V, 50/60 Hz.
Do not apply AC mains power to the fixture at any other voltage than that specified on the fixture’s serial
number label.
Power plug
If you decide to install a power plug that is suitable for your AC power outlets on the fixture’s hard-wired
power cable, install a grounding-type (earthed) plug that is correctly rated for the current and power
requirements of the fixture. Follow the plug manufacturer’s instructions. Table 1 shows some possible pin
identification schemes; if pins are not clearly identified, or if you have any doubts about proper installation,
consult a qualified electrician.
Wire Color Pin Symbol Screw (US)
brown live L yellow or brass
blue neutral N silver
yellow/green ground (earth) green
Table 1: Power plug connections

Data link 9
Data link
A data link is required in order to control a MAC 301 Wash via DMX.
Important! Do not connect more than 1 data input and 1 data output on a fixture.
The MAC 301 Wash has both 3-pin and 5-pin XLR connectors for DMX data input and output. The pin-out
on all connectors is pin 1 = shield, pin 2 = cold (-), and pin 3 = hot (+).
Pins 4 and 5 in the 5-pin XLR connectors not used in the MAC 301 Wash but are available for possible
additional data signal requirements. Standard pin-out is pin 4 = data 2 cold (-) and pin 5 = data 2 hot (+).
Sockets are wired in parallel: both inputs connect to both outputs. To avoid damage to the fixture, never use
more than one input and one output socket.
Tips for reliable data transmission
• Use shielded twisted-pair cable designed for RS-485 devices: standard microphone cable cannot transmit
control data reliably over long runs. 24 AWG cable is suitable for runs up to 300 meters (1000 ft). Heavier
gauge cable and/or an amplifier is recommended for longer runs.
• Never use both a fixture’s outputs to split the link. To split the link into branches, use a splitter such as the
Martin 4-Channel Opto-Isolated RS-485 Splitter/Amplifier.
• Do not overload the link. Up to 32 devices may be connected on a serial link.
• Terminate the link by installing a termination plug in the output socket of the last
fixture. The termination plug, which is a male XLR plug with a 120 Ohm, 0.25
Watt resistor soldered between pins 2 and 3, “soaks up” the control signal so it
does not reflect and cause interference. If a splitter is used, terminate each
branch of the link.
Connecting the data link
1. Connect the DMX data output from the controller to the MAC 301 Wash’s 3-pin
or 5-pin input (male) socket.
2. Using the sockets that match your data cable, connect the output of the fixture
closest to the controller to the input of the next fixture.
3. Insert a male 120 Ohm XLR termination plug in the 3-pin or 5-pin output of the
last fixture on the link.
Male XLR
1
2
3
Male
P/N 91613017
120 Ohm
termination plug
 Loading...