

Page 1
GILSJJN MIXERS
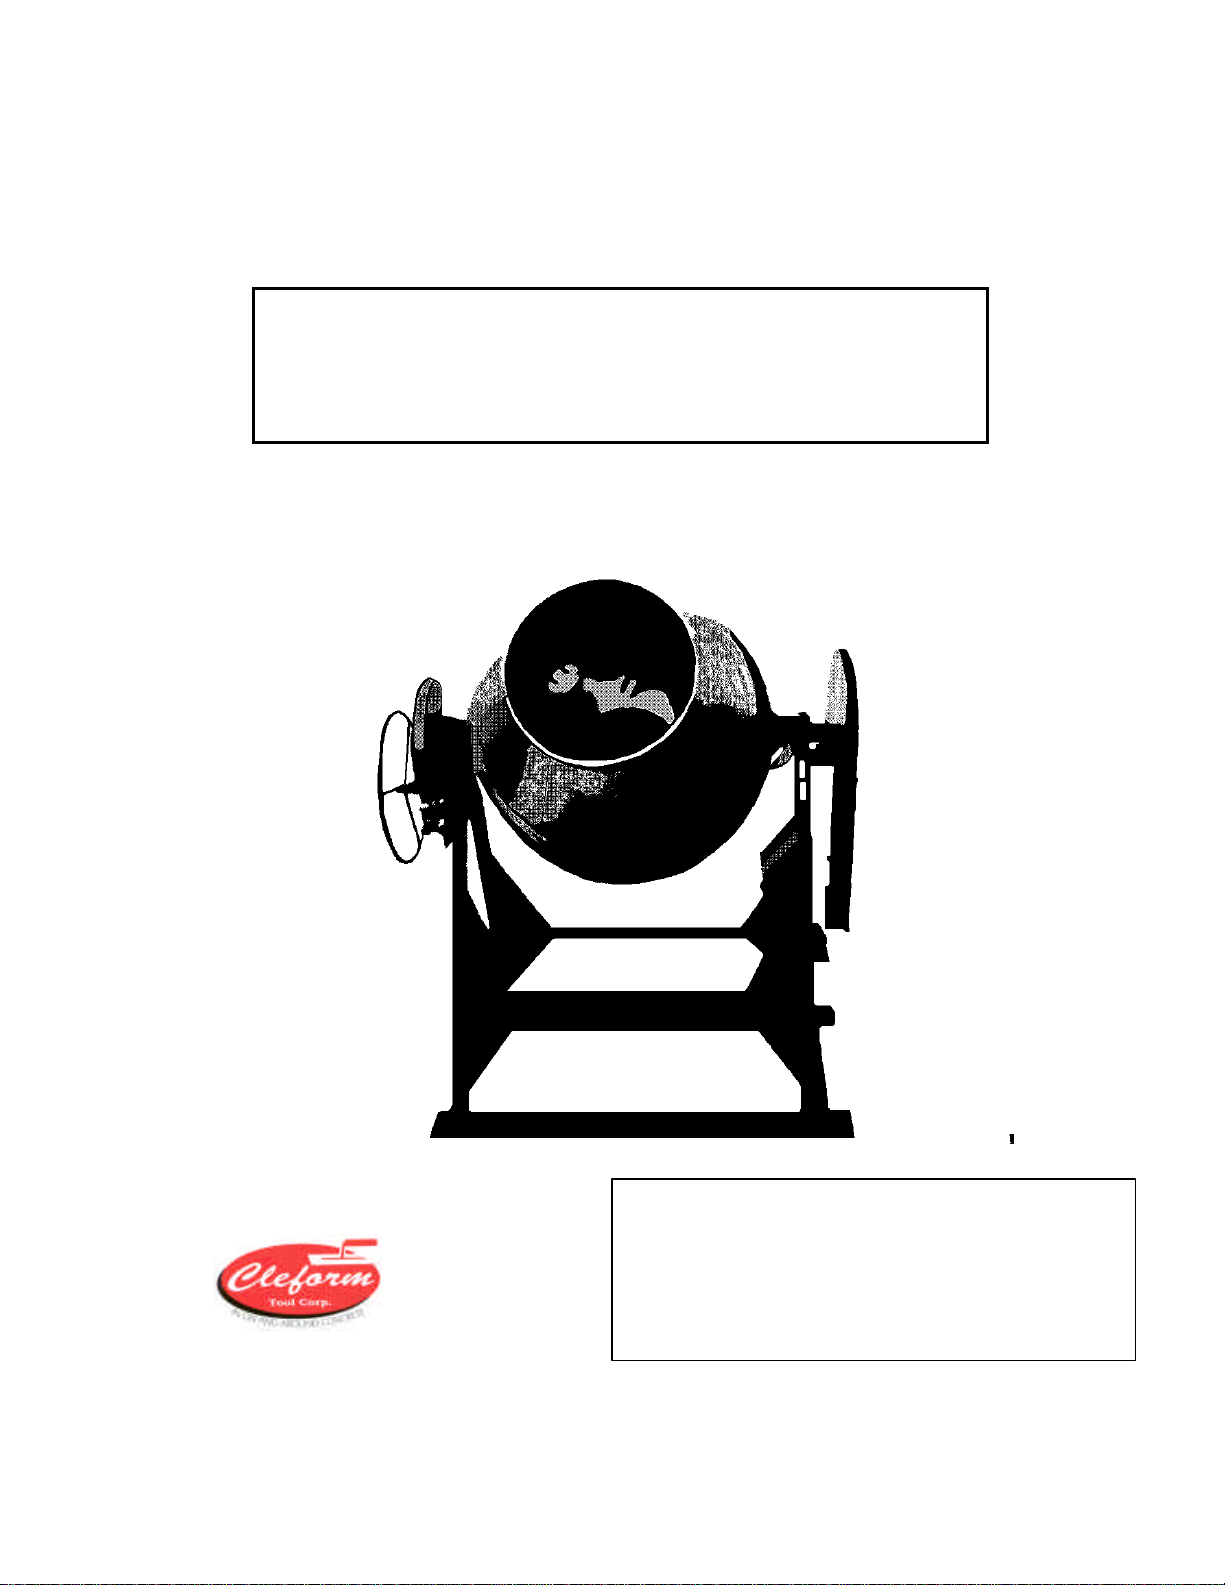
5 1/2 CU. FT.
CONCRETE MIXER
MODEL: 59027
OPERATOR’S GUIDE & PARTS MANUAL
GILSJJN MIXERS
BY
INTRODUCTION
4343 Easton Road · St. Joseph, MO 64503
816-233-4840 · 800-253-3676
Fax 816-233-4624 · 888-253-3676
E-Mail: cleform@ccp.com
Web Address: www.cleform.com
Page 2

1
This operator’s manual has been prepared to provide the information you need to
correctly operate and maintain your unit. Read it carefully and keep it for future
reference. Should you ever need repair parts or service, contact your authorized
parts and service dealer.
Be sure safety precautions are observed. Read and Follow all safety and operating
instructions in this Operator’s manual.
The replacement of any part on this product by other than the manufacturer’s authorized
replacement part may adversely affect the performance, durability or safety of this
product.
The manufacturer reserves the right to make changes on, or add improvements to its
product at any time without prior notice or obligation. The manufacturer also reserves
the right to decide, upon its discretion and at any time, to discontinue a product.
TABLE OF CONTENTS
1. Safety Precautions ………………………………….2
2. Operation
Drum Speed ……………………………………. 3
Getting Ready For Mixing ………………………3
Loading The Mixer …………………………….. 4
Unloading The Mixer …………………………... 4
Cleaning The Mixer ……………………………. 4
Extension Cords-Electric Motor ……………….. 4
3. Lubrication And Storage …………………………...5
4. Replacement Decals
Safety …………………………………………... 6
Standard ………………………………………... 6
5. Set Up & Assembly ………………………………...7
6. Concrete Mixer Parts ………………………………..8
Parts List ……………………………………….. 9
IMPORTANT: IF SAFETY OR STANDARD Decals are missing, illegible, or
damaged, they should be replaced. See “Replacement Decals” section
Page 3

2
1-SAFETY PRECAUTIONS
THE FOLLOWING PRECAUTIONS ARE SUGGESTED TO HELP
PREVENT ACCIDENTS. A CAREFUL OPERATOR IS THE BEST
OPERATOR. MOST ACCIDENTS CAN BE AVOIDED BY OBSERVING
CERTAIN PRECAUTIONS. READ AND TAKE THE FOLLOWING
PRECAUTIONS BEFORE OPERATING THIS EQUIPMENT TO HELP
PREVENT ACCIDENTS. EQUIPMENT SHOULD BE OPERATED ONLY BY
THOSE WHO ARE RESPONSIBLE AND INSTRUCTED TO DO SO.
§ Read all mixer and electric motor/engine instructions before operation.
§ Use a grounded, three wire plug-in for all mixers using an electric motor or an
electric starting engine.
§ Do not use mixer in standing water if powered by an electric motor or an electric
starting engine.
§ Do not over-fill the mixer. There should not be any liquid running out of the mixer
drum.
§ Know how to stop the motor/engine instantly.
§ Keep hands and feet away from all moving parts.
§ If you are unfamiliar with the mixer, test run the empty mixer prior to actual use.
§ Never charge or fill unit prior to starting, as the over-load initially encountered could
damage the motor/engine.
§ Stop motor/engine whenever you leave or clean the unit. Disconnect power cord on
electric motor.
§ Never operate mixer without guards being properly positioned and secure.
§ Avoid spilling gasoline. Never fill tank while the engine is running or while you are
smoking.
§ Open doors if engine is running in an enclosed area. Exhaust fumes are dangerous.
§ Store gasoline in safe container. Store the container in a cool, dry place. Do not
keep in the house or near heating appliances.
§ Never reach into drum while mixer is running.
§ Keep mixer in good operating condition. Loose or damaged parts are dangerous and
should be tightened or replaced before operating.
§ Keep bystanders, especially children, away from mixer while operating.
Page 4

3
2-OPERATION
1 Cu. Ft. = 0.028 m
3
Maximum-
size course
aggregate in.
1 1/2
3/8
1/2
3/411 1/2
Maximum-
size course
aggregate in.
3/8
1/2
3/4
1
DRUM SPEED
The mixer drum should revolve between 20 and 25 R.P.M.’s for best results in
mixing concrete. To obtain this speed using a 1725/1800 R.P.M. electric motor, use a
2” diameter “A” section V-pulley.
If using a 6 to 1 speed reduction 3 H.P. gasoline engine, use a 6 ¼” diameter “A”
section V-pulley.
GETTING READY FOR MIXING
Lay out forms for your concrete floor, patio, driveway, sidewalk, etc.
The quality of concrete is directly related to the quality of the cement paste. The
quality of the paste, in turn, is directly related to the amount of water mixed with the
cement. For a given amount of cement, as the amount of mixing water is reduced, the
strength of the paste increases, making the concrete stronger and more durable.
The proportions by weight given in Table 1 can be used as a starting point to make 1
cu. Ft. (0.028 m3) of strong, durable concrete. The proportions given in Table 2 are
volumetric; 1 bag of cement is equal to 1 cu. ft. (0.28 m3) and weighs 94 lbs.
(42.6 kg). The Canadian bag of cement has a net mass of 40 kg.
The proportions are only a guide and may need adjustments to give a workable mix
with locally available aggregates.
Table 1. Proportions by Weight to Make 1 Cu. Ft. of Concrete
Cement Sand aggregate Water Cement Sand aggregate Water
*If crushed stone is used, decrease coarse aggregate by 3 lbs and increase sand by 3 lbs.
Metric conversion: 1 lb = 0.121 kg 10 lbs = 4.54 kg
1 in. = 25mm
Table 2. Proportions by Volume*
Cement Sand aggregate Water Cement Sand aggregate Water
*The combined volume is approximately 2/3 of the sum of the original bulk volumes.
Air-entrained concrete Concrete without air
lb
29 53 46 10 29 59 46 11
27 46 55 10 27 53 55 11
25 42 65 10 25 47 65 10
24 39 70 9 24 45 70 10
23 38 75 9 23 43 75 9
Air-entrained concrete Concrete without air
lb lb lb lb lb lb lb lb
1 2 1/4 1 1/2 1/2 1 2 1/2 1 1/2 1/2
1 2 1/4 2 1/2 1 2 1/2 2 1/2
1 2 1/4 2 1/2 1/2 1 2 1/2 2 1/2 1/2
1 2 1/4 2 3/4 1/2 1 2 1/2 2 3/4 1/2
1 2 1/4 3 1/2 1 2 1/2 3 1/2
Course Course
lb lb lb lb lb lb lb
Course Course
Portland Cement Association 1980
Page 5

4
LOADING THE MIXER
Start the mixer. Refer to motor/engine instructions. After drum has started rotating, pour
about half of the water in the drum..
NOTE: The drum my leak slightly when first used. This will stop after a few batches.
Add aggregate (gravel) first then cement and last sand.
UNLOADING THE MIXER
Refer to Fig. 1
Allow the entire mixture to mix for one full minute. Do not stop mixer from rotating.
Hold the tilt handle and unlock the stop lever. Dump concrete to either side by tilting the tilt
handle in the direction required. Before reloading the mixer, slowly pour a pail of water
over the lip of the drum, permitting water to clean the inside of drum. When cleaned, dump
water. Now you are ready for your next batch.
CLEANING THE MIXER
After each run of concrete has been poured, do the following:
With the drum rotating, spray water into drum permitting the water to run down the inside
and outside of drum. Add one shovel full of coarse aggregate and permit this mixture to
scour the inside of drum for about two minutes.
This practice will help keep the drum clean, which is essential in obtaining the best mixing
result. Never permit concrete to harden on either the inside or outside of drum.
EXTENSION CORDS-ELECTRIC MOTOR
The following size extension cords should be used for this mixer: length of cord, up to 100 ft14 gauge wire; up to 200 ft-12 gauge wire; up to 300 ft – 10 gauge wire; up to 400 ft – 8
gauge wire.
Page 6

5
3-LUBRICATION & STORAGE
Each day before operating, lubricate at the following points:
Engine/Motor – Refer to engine/motor operating instructions for all maintenance and
lubrication instructions and requirements.
GREASE FITTINGS:
Refer to Fig. 2
Clean off grease fitting before greasing. Use pressure type grease gun. Grease lightly
with general purpose grease (2 to 3 pumps).
§ Drum Shaft Bearings (where used)
§ Drive shaft Bearings
§ Tilt Wheel Shaft Bearings (where used)
§ Brake Lever Shaft (where used)
OIL:
Refer to Fig. 2
Use SAE 30 engine oil.
§ Yoke Tilt Mechanism
STORAGE
For short term storage, clean the mixer and store in a dry place. If the mixer is not to
be used for an extended period of time, service mixer completely and store it in a dry
place.
1. Refer to motor/engine instructions for storage instructions.
2. Cover exposed metal surfaces with a thin coat of SAE 30 engine oil.
3. Lubricate per instructions under LUBRICATION & STORAGE section.
Page 7

6
4-REPLACEMENT DECALS
#217728: Decal, Safety Instructions
#5706: Decal, Gilson Name Plate
#38257: Decal, Drum Rotation
Page 8

7
5-SET-UP AND ASSEMBLY
This mixer is shipped partially disassembled and requires assembling.
1. Remove five ¼-20 x ½ hex hd. Cap screws, lock washers and hex nuts that secure
cover to the belt guard. Remove cover. (Save all hardware)
INSTALL MOTOR KIT PER INSTRUCTIONS
2. Replace the cover removed in step 1 and secure with hardware (saved). Tighten
securely.
3. Bolt the tilt wheel assembly to the tilt pinion. Tighten the set screw securely.
4. Although the mixer was lubricated at the factory, now is the perfect time to
become familiar with points requiring regular service. Refer to the
LUBRICATION AND STORAGE section.
5. All nuts and cap screws should be checked and tightened during the first two
hours of use. Periodic checks should be made thereafter.
Page 9

8
Page 10

9
Item # Part No. Description Qty
1 771-40257 Poly-liner 1
2 765-40296 Drum Assembly (incl. #3) 1
3 4299 Bearing Cup, Drum (incl with #2) 2
4 5748 Drum Hub Cover 1
5 5749 O-ring 1
6 5003 Drum Shaft 1
7 5042 Drum Shaft Spacer 2
8 5498 Ring Gear 1
9 70249 3/8-16 x 1 1/2 Hex Hd. Cap Screw 5
10 70703 3/8 Flat Washer ZP 7
11 70649 3/8 Lock Washer ZP 14
12 70553 3/8-16 Hex Nut ZP 19
13 4298 Bearing Cone, Drum 2
14 245950 Yoke Assembly (incl. #15 & #61) 1
15 1102 Grease Fitting (incl. with #14) 1
16 5008 Grease Seal 1
17 5009 Spacing Collar 1
18 6008 Drive Shaft 1
19 6007 Pinion Gear 1
20 71017 Roll Pin, 7/32 x 1 1/2 1
21 70343 1/2-13 x 1 1/2 Hex Hd. Cap Screw 3
22 5020 Drum Shaft Bearing 1
23 70655 1/2 Lock Washer ZP 2
24 70563 1/2-13 Hex Nut ZP 2
25 70073 1/2-13 x 1 Square Head Set Screw 1
26 245977 Yoke Lock Tube 2
27 245980 Pivot Tube 2
28 70272 3/8-16 x 3 1/4 Hex Hd. Cap Screw 2
29 5021 Take Up Collar 1
30 70151 5/16-18 x 1 Hex Hd. Cap Screw 4
31 70701 5/16 Flat Washer ZP 3
32 70646 5/16 Lock Washer ZP 2
33 70549 5/16-18 Hex Nut ZP 4
34 214907 Belt Guard Assembly 1
35 29209 Pulley 1
36 214858 Belt Guard Cover 1
37 70090 1/4-20 x 1/2 Hex Head Cap Screw 5
38 70643 1/4 Lock Washer ZP 5
39 70545 1/4-20 Hex Nut ZP 5
40 5537 Internal Tilt Gear 1
41 245991 Brake Band Assembly 1
42 70242 3/8-16 x 1 1/4 Hex Hd. Cap Screw 6
43 245992 Gear Cover 1
44 70512 3/8-24 x 3/8 Socket Head Set Screw 1
45 5536 Tilt Wheel Assembly 1
46 5535A Tilt Pinion Shaft 1
47 70982 Roll Pin, 1/4 x 1 1
48 5534 Tilt Pinion 1
49 5533 Tilt Shaft Bearing 1
50 760-40087 Brake Handle Assembly 1
51 233160 Grip 1
52 70969 Cotter Pin, 1/8 x 1 1/2 1
53 70456 3/8-16 x 1 3/4 Carriage Bolt 4
54 760-40032 Skid 2
55 245997 Frame 1
56 1031 Grease Fitting 1
57 217728 Decal, Safety Instructions 1
58 38257 Decal Rotation 1
59 5706 Gilson Name Plate 1
60 70226 3/8-16 x 3/4 Hex Hd. Cap Screw 2
61 1044 Bearing Cup, Drive (inc. with #14) 2
62 1140 Bearing Cone, Drive 2
63 5024P Take Up Collar, Drive Shaft 1
64 70498 5/16-18 x 5/16 Socket Hd Set Screw 2
Page 11

10
ONE-YEAR WARRANTY
This product is warranted to the original purchaser only, to be free of defects in
material and workmanship under normal use, for one year from purchase date.
Cleform Tool Corp. shall without charge for parts and labor, repair or replace such
parts which are found to be defective. All transportation charges for replacement
parts must be borne by the purchaser.
For warranty service, the product must be delivered, with proof of purchase date, to
the dealer of original purchase, or any factory authorized service dealer. The delivery
of the unit must be made no later than 30 days after the expiration of the warranty
period.
If difficulty is encountered in having warranty work performed, contact the factory
Service Department:
CLEFORM TOOL CORP.
4343 EASTON ROAD
ST. JOSEPH, MO 64503
800-253-3676 PHONE
888-253-3676 FAX
Exclusion from this warranty:
1. The following items are not covered under the CLEFORM TOOL CORP. One
year Warranty and are warranted by their respective manufacturer.
a) Engines, including starters, generators, alternators and gear reducers.
b) Enclosed gear transmissions.
(Note: A copy of the warranty and service contact information for the
above items is furnished with the individual product).
2. All consequential damages, including pickup and delivery of the unit,
communication, mileage charges and/or rental of a replacement unit during
repairs are not covered under this warranty, nor is any loss of income and/or other
loss resulting from the failure of the product to function due to a warranty defect.
3. This warranty will not apply when the product becomes inoperative due to
misuse, normal wear, neglect, improper maintenance, accident or freight damage;
has not been operated and maintained in accordance with the instructions
furnished in the Operator’s Manual; or has been altered or modified without
approval from the factory Service Department.
4. No parts or products are to be returned to the factory without prior written
approval from the factory.
ALL IMPLIED WARRANTIES, INCLUDING THOSE OF MERCHANTABILITY
AND FITNESS FOR A PARTICULAR PURPOSE, ARE LIMITED TO ONE YEAR
Page 12

11
FROM DATE OF PURCHASE BY THE ORIGINAL RETAIL CUSTOMER AND
HOW TO OBTAIN PARTS AND
HOW TO ORDER PARTS
TO THE EXTENT PERMITTED BY LAW ANY AND ALL IMPLIED
WARRANTIES ARE EXCLUDED AND DISCLAIMED AFTER THE
EXPIRATION OF SUCH PERIOD.
Some states do not allow limitations on how long an implied warranty lasts, or the
exclusion or limitations of incidental or consequential damages, so the above
limitations or exclusions may not apply to you.
This warranty gives you specific legal rights, and you may also have other rights,
which vary from state to state.
SERVICE INFORMATION
For parts and service information,contact either
your local dealer or the Cleform Tool Corp. factory:
When ordering parts be sure to indicate the
following information:
§
Name of each part
§ Complete part number
§ Quantity of each part
§
Model Name (Include all letters and numbers)
§
Serial Number (Include all letters and numbers)
Page 13

12
 Loading...