

Page 1

O W N E R ’ S M A N U A L
Page 2
1
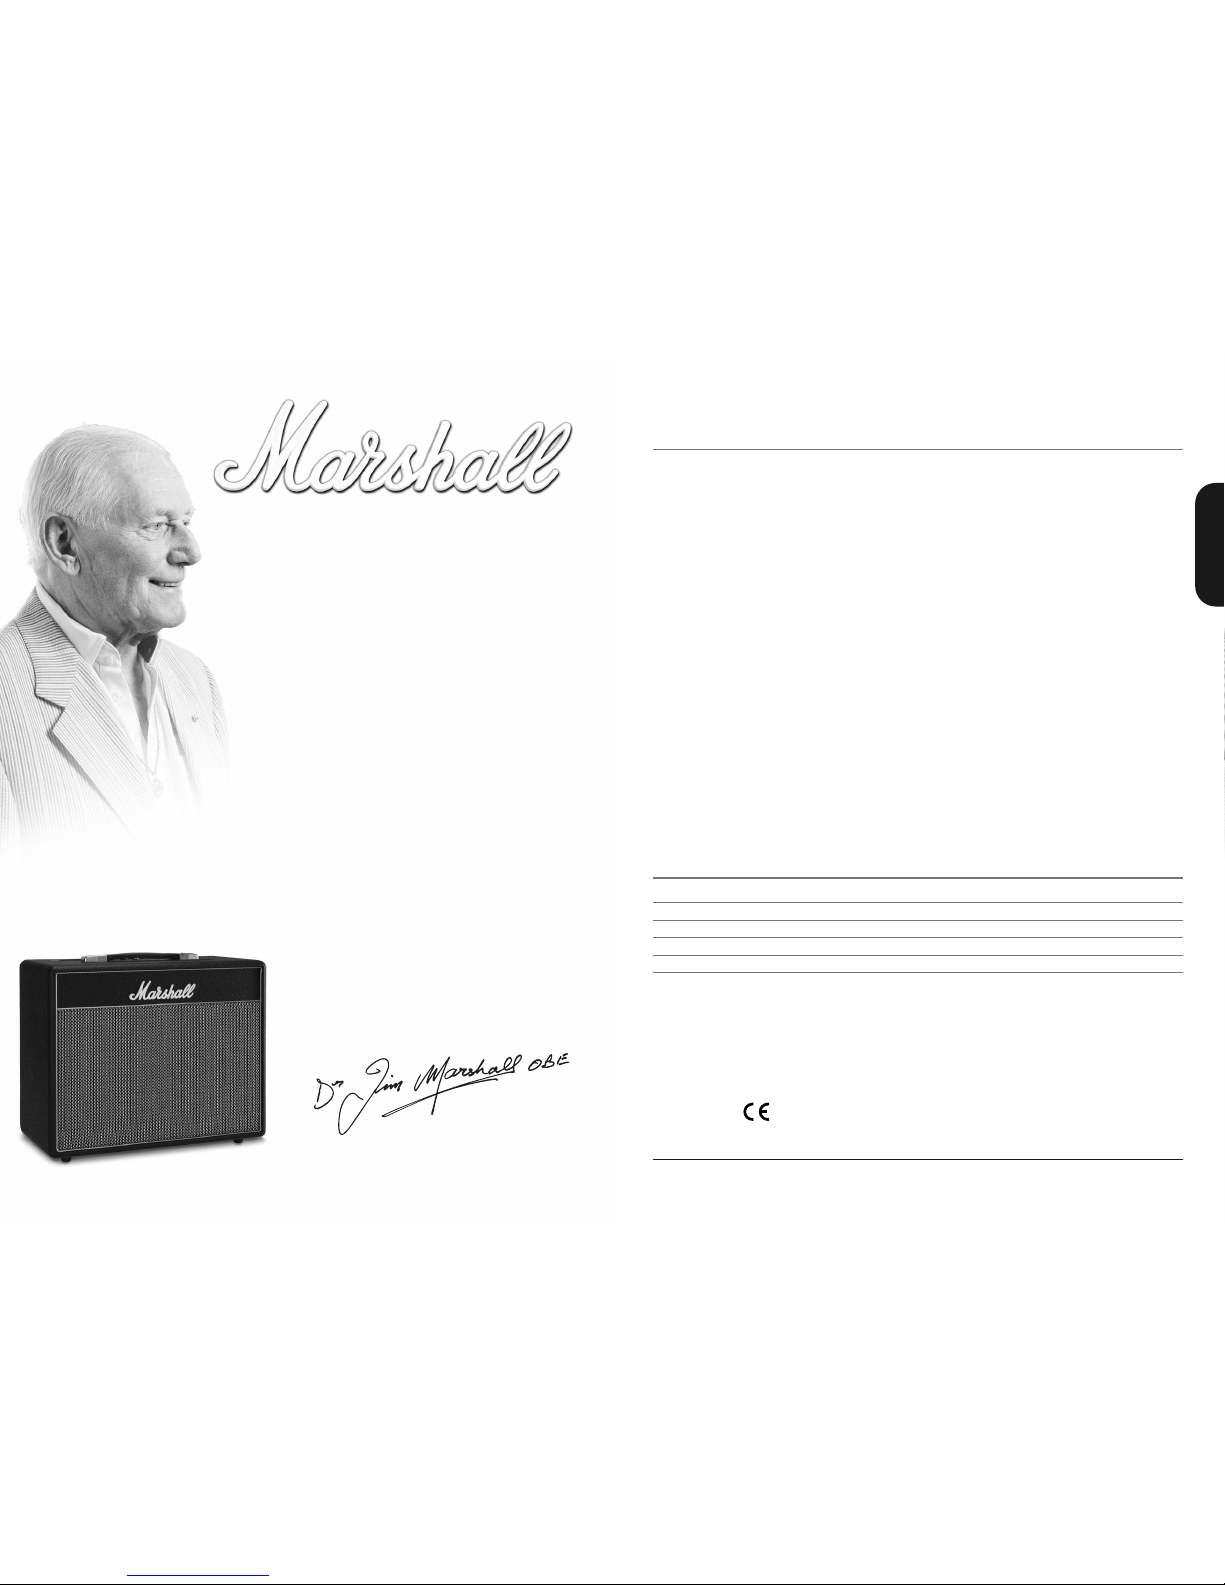
The Class5 is a 5 Watt, all-valve, class A
amplifier in 1 x 10" combo format.
This small combo amplifier is in response to a
very common request we have received over
the years which nearly always contains the
phrase - “can we have the Marshall stack
sound, but at a much lower volume please”, so
here it is, a ‘baby Plexi’ if you like!
Incorporating a very simple layout of Volume,
Treble, Middle and Bass, it is designed to
deliver those great cranked tones with
minimum fuss and environmental abuse, a
must for recording and ideal for rehearsals and
small gigs. A headphone output is also
included for private practice.
Two ECC83 (12AX7) double triode preamp
valves and a single EL84 pentode power amp
valve ensure that the signal path is pure class A
valve tone from beginning to end.
Class A topologies are known for their
generous second harmonic distortion
characteristic, whichis very pleasant to the ear
and results in some classic overdrive tonality.
Cranking the amp up to its full ‘deceivingly
respectable’ output will yield some red hot
Marshall roar, which can alternatively be driven
into a 16Ω 4 x 12" for some of that extra
bottom-end resonance familiar to nearly all
Marshall devotees!
The internal 10" speaker is the newly
developed Celestion G10F-15 which is the
perfect partner for this amplifier and
maximises the tonal spectrum admirably
considering the compact size of this little
brute!
ENGLISH
Overview
Follow all instructions and heed all warnings
KEEP THESE INSTRUCTIONS!
* EUROPE ONLY - Note: This equipment has been tested and found to comply with the requirements of the
EMC Directive (Environments E1,E2 and E3EN 55103-1/2) and the Low Voltage Directivein the E.U.
* EUROPE ONLY - Note: The Peak Inrush current for the Class5 is 8 amps.
From
Jim Marshall
I would personally like to congratulate you on your
purchase of the Marshall Class5 amplifier.
One of my golden rules has been, and always will be,
to listen to what guitarists want from their amplifiers.
When the company started receiving numerous
requests to produce an amplifier containing all the
harmonics, feel and tone of a classic Marshall stack,
but at a fraction of the size and volume, I set my
experienced R&D team the challenge.
In response, they have created the Class5, a single
channel, 5 Watt, all-valve combo brimming with
classic Marshall tone. I was amazed when I heard
what this small amp could do, it really does punch
way above its weight and contains everything from
bright cleans to classic crunch and fantastic lead solo
tones.
The high quality construction is something I’m
particularly proud of too. Every Class5 amplifier is
created from specially sourcedcomponents and
materials by our highly skilled and dedicated shop
floor staff in our factory in the heart of the UK.
Their attention to detail and unwavering standards
mean your new amplifier will truly stand the test of
time.
I would like to take this opportunity to wish you
every success with your new Marshall Class5 amp.
Yours Sincerely,
Dr Jim Marshall OBE
Power 5W
Pre-amp Valves 2 x ECC83
Power Amp Valves 1 x EL84
Speaker 1 x 10" 16Ω Celestion G10F-15
Dimensions W, H, D (mm) 495 x 415 x 230
Weight (kg) 12
Technical Specification
Page 3

3
1. Input Jack Socket
This is where you plug your guitar into the
amp. You must use a screened (shielded) guitar
cable. Never use an unscreened (unshielded)
speaker cable. The input to any guitar amplifier
is a very sensitivepart of the signal path and is
therefore susceptible to airborne radio
interference, hence the need for a screened
guitar cable. This screened cable should
preferably be of good quality. If you are in any
doubt regarding this, your Marshall dealer will
be more than happy to help and advise you.
2. Volume
This control sets theoverall output volumeof
the amplifier.
Tonal tip: It is practical to set this first to suit
the environment in which you are playing as
the position of the volume largely dictates the
optimum positions for the other controls.
3. Treble
This control determines the amount of high
frequency that is present and givesyour guitar
tone a defining edge as it is turned up.
4. Middle
This controls the mid-range of your sound.
Turning this up will make your guitar sound
fatter and fuller.
5. Bass
This controls the amount of low frequencies
(bottom end) in your tone.
6. Mains Indicator
This red indicator will light up whenever the
amp is plugged into the mains and the Power
Switch (7) is on.
Note: Please allow a minute or so for the amp
to ‘warm up’ after switching on. This is
perfectly normal with valves as they need to
come up to their ‘working temperature’.
7. Power Switch
This is the On/Off switch for the mains
electric power to the amplifier.
Note: Please ensure the amplifier is switched
off and unplugged from the mains electricity
supply whenever it is moved!
Front panel
1 2 3 4 5 6 7
1. Mains Input Socket with
incorporated Mains Fuse
Your amp is provided with a detachable mains
(power) lead, which is connected here. The
specific mains input voltage rating that your
amplifier has been built for is indicated on the
rear panel. Before connecting for the first time,
please ensure that your amplifier is compatible
with your electricity supply. If you have any
doubt, please get advice from a qualified
technician. Your Marshall dealer will help you
in this respect.
The correct value of mains fuse located in the
small drawer at the bottom of the mains
socket is specified on the rear panel of the
amplifier. The drawer contains a space for a
spare fuse.
NEVER attempt to bypass the fuse or fit one
of the incorrect value!
Note: It is wise to carry spare fuses at all
times.
2. Headphones Output Jack
This is the output used to feed a standard
commercial set of headphones.
The signal here is derived from the speaker
output with addedfiltering in order to include
the power amp and output transformer’s
contribution to the overall tone.
A 16Ω dummy load is connected across the
headphone output to maintain the correct
‘reflected’ impedance for the power amp.
3. Headphones/Extension Speaker
Selector switch
This switch selects the routing for the output
signal.
With the switch toward the ‘Extension
Speaker’ jack, only the internal speaker, or
extension speaker if used, will be active.
Nothing will appear at the ‘headphones’
output.
With the switch toward the ‘Headphones’ jack,
only the headphones jack will be active. The
internal speaker or extension speaker will be
muted.
4. Extension Speaker Output Jack 16Ω
This is the output used to feed an alternative
16Ω extension cabinet, a typical example being
a Marshall 4 x 12". When connecting the
extension cabinet, the combo’s internal speaker
is automatically disconnected.
ALWAYS ensure you use good quality speaker
(unshielded) cables. NEVER use guitar
(shielded) cables.
WARNING! Never use the amplifier without
a load (speaker cabinet/s) attached!
Always use a non-screened Marshall approved
speaker lead when connecting an extension
cabinet to these units.
Rear panel
1 2 3 4
ENGLISH
2
Page 4

Whilst the information contained herein is correct at the time of publication, due to our policy of constant improvement and development,
Marshall Amplification plc reserve the right to alter specifications without prior notice.
BOOK-00094-00 / 5 / 09
Denbigh Road, Bletchley, Milton Keynes MK11DQ, England
Tel: +44 (0)1908 375411 Fax: +44 (0)1908 376118
www.marshallamps.com
 Loading...