

Page 1
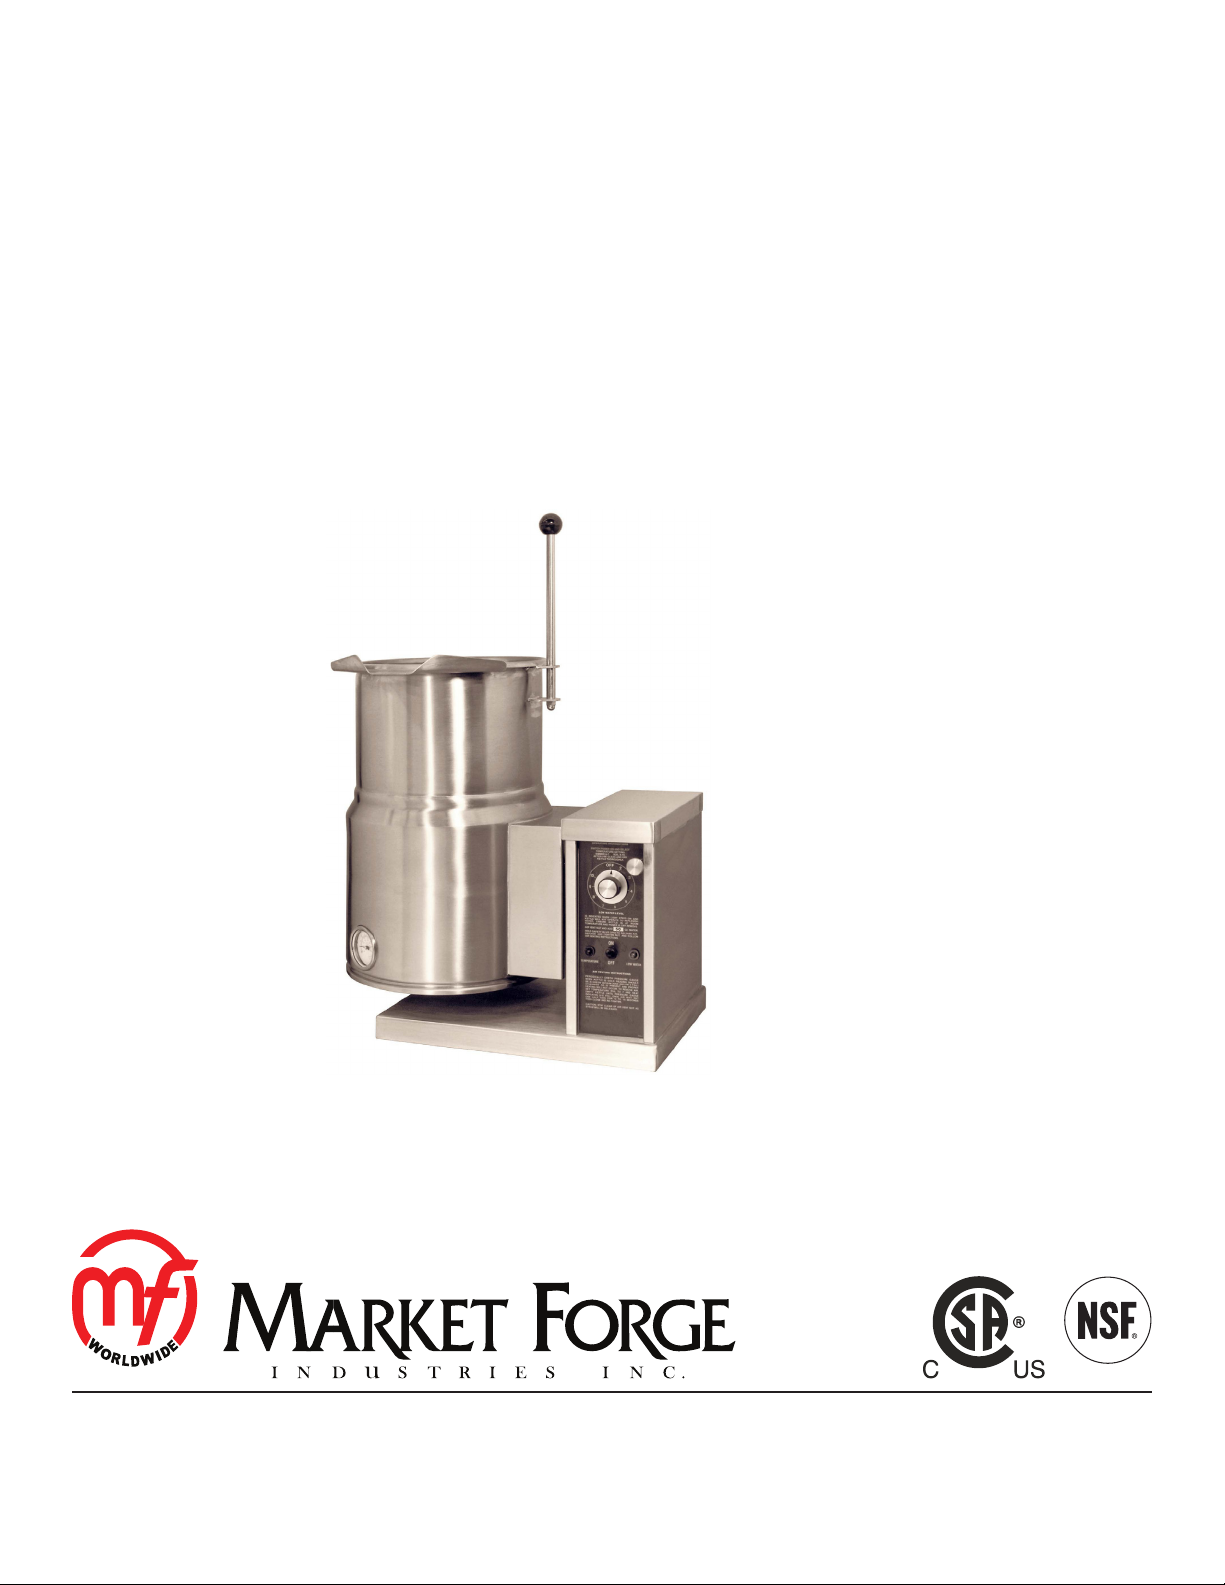
FT-CE SERIES
ELECTRIC COUNTERTOP TILTING KETTLES
INSTALLATION - OPERATION - MAINTENANCE
MODELS
FT-6CE
FT-10CE
FT-12CE
44 Lakeside Avenue, Burlington, Vermont 05401 USA
Telephone: (802) 658-6600 Fax: (802) 864-0183
www.mi.com PN 14-0350 Rev A (9/14)
© 2014 - Market Forge Industries Inc.
Page 2

Your Service Agency’s Address:
Model
Serial number
Oven installed by
Installation checked by
Page 3

IMPORTANT
TABLE OF CONTENTS
WARNING: Improper installation, adjustment, alternation,
service or maintenance can
cause property damage, injury or death. Read the installation, operation and maintenance instructions thoroughly
before installing or servicing
this equipment.
FOR YOUR SAFETY
Do not store or use gasoline or
other ammable vapors or liquids in the vicinity of this or any
other appliance.
The information contained in this
manual is important for the proper installation, use, and maintenance of this oven. Adherence
to these procedures and instructions will result in satisfactory
baking results and long, trouble free service. Please read
this manual carefully and retain
it for future reference.
INSTALLATION
Introduction .............................................................. 2
Service Connections ..................................................... 3
Installation Instructions ................................................... 4
OPERATION
Operating Instructions .................................................... 5
MAINTENANCE
Cleaning Instructions ..................................................... 6
ERRORS: Descriptive, typographic or pictorial errors are
subject to correction. Specications are subject to change
without notice.
Page 4

Introduction
DESCRIPTION:
Market Forge Models FT-6CE (6 gallon capacity), FT10CE (10 gallon capacity) and FT-12CE (12 gallon capacity) are electrically powered, self-contained, countertop, tilting Kettles. Each model has a jacket of double-wall
construction forming a sealed reservoir around the lower
2/3 of the kettle.
The reservoir is charged with water and anti-freeze so-
lution. Kettles are equipped with a removable electric
heating element and controls, including a low water cutoff
device for protection of the heating element. Both models are of identical construction, except for kettle size and
element heating capacity.
BASIC FUNCTIONING:
Self-contained kettles operate by generating steam in the
kettle reservoir. The sequence of operation is as follows:
1. Operator ips the power switch to the ON position
and sets the temperature control dial at the desired
setting from 1 to 10 (90°F to 300°F, 32°C to 149°C,
jacket temperature).
2. Control circuit is normally completed to the temperature controller if the following conditions exist:
SERVICE:
Required service both preventive and corrective is explained in operation section. Should repairs be required a
network of authorized agencies is available to assist with
prompt service. A current Directory of Authorized Service
Agencies is available on our website, www.mi.com
The model and serial numbers must be referenced when
corresponding with Market Forge. These numbers can be
found on the data plate located on the right side of the
control box.
a. Water level in kettle reservoir is adequate to pre-
vent circuit interruption by the low water cutoff
device. An activated cutoff is indicated by the
amber low water light turning on, and the heating
element shutting off.
b. Kettle is in vertical position with circuit completed
through the tilt interlock switch (Micro switch).
3. Thermostatic control contacts close to energize contactor coils.
4. Power is supplied to the elements through closed
power contactors.
5. As the temperature of water rises in the kettle reservoir increase in steam pressure is indicated on the
pressure gauge.
6. When the temperature of steam in the reservoir
reaches the setting shown on the temperature control dial the temperature controller opens to break the
contacts and shut off the heating element. ON/OFF
cycles will occur as required to maintain temperature
control. See operation section.
INSTALLATION
2
Page 5

ELECTRICAL CHARACTERISTICS
Service Connections
MODEL pH
FT-6CE
FT-10CE
FT-12CE
1 7.5 36.0 7.5 31.2 --- --- --- --- --- ---
3 7.5 20.8 7.5 18.0 7.5 9.0 7.5 11.4 7.5 10.4
1 12.0 57.7 12.0 50.0 12.0 14.4 12.0 18.2 12.0 16.7
3 12.0 33.3 12.0 28.8 12.0 14.5 12.0 31.5 12.0 28.9
208 VAC 240 VAC 480 VAC 220/380 VAC 240/415 VAC
kW AMP kW AMP kW AMP kW AMP kW AMP
DIMENSIONS
MODEL A B C D E G H J L P O
FT-6CE
FT-10CE
FT-12CE
G
12
[305]
15.75
[400]
16
[406]
ELECTRICAL
CONNECTION
14.5
[368]
15
[381]
17
[432]
EC 4 [100]
24.5
[692]
25.75
[654]
28
[711]
K
15.25
[387]
17.25
[438]
18
[458]
33.5
[851]
33
[838]
36.875
[937]
14.75
[374]
14.88
[377]
14.375
[365]
22
[559]
26
[660]
26
[660]
6.375
[162]
6.125
[156]
5.75
[146]
27.75
[705]
28
[711]
30
[762]
12.5
[317]
15
[381]
15
[381]
CAUTION:
When adding water to kettle, have water analyzed to make sure hardness is no greater than 2.0 grains and pH level is with in the range of
7.0-8.5. If water fails to meet these standards, add ionized or distilled
water with sodium. EQUIPMENT FAILURE CAUSED BY INADEQUATE
WATER QUALITY IS NOT COVERED UNDER WARRANTY
10
[254]
12.75
[324]
12.75
[324]
B
C
4X WELD NUTS
5/16-18 UNC
ELECTRICAL
H
A
E
14.5 [368]
D
DIMENSIONS ARE IN INCHES [MM]
POUR PATH
CONNECTION
O
L
EC
10 [254]
12.5 [317]
P
1.25 [32]
6.125 [156]
Figure 1
3
INSTALLATION
Page 6

Installation Instructions
1. Immediately after unpacking, check for possible shipping damage. If the kettle is found to be damaged,
save the packaging materials and contact the carrier
within 15 days of delivery.
2. The kettle must be installed in accordance with:
a. State and/or local codes.
b. In the USA, the National Electrical Code, ANSI/
NFPA-70 (latest edition). In Canada, the Canadian Electrical Code, Part 1, CSA Standard C22.1
(latest edition).
3. Position appliance on counter allowing sufcient rear
clearance from wall to tilt freely and completely without obstruction.
4. Mark four corner locations of appliance base.
5. Remove appliance from counter and locate position
of 4 holes as per “Figure 2”. Drill four 7/16” diameter
holes.
6. Apply a continuous bead of Silastic or other equivalent sealant along the complete perimeter edge of the
appliance base.
8. Wipe off excess sealant.
9. A control box with power supply equivalent to Electrical Rating of appliance should be located conveniently nearby.
WARNING
Electrical and grounding connections must
comply with the applicable portions of the
National Electrical Code and/or other local
electrical codes.
WARNING
Disconnect electrical power supply and place
a tag at the disconnect switch to indicate you
are on the circuit.
10. A waterproof electrical connection from power supply
to console housing must be provided.
11. Ground appliance to terminal provided inside console
housing.
12. Turn power ON and check for proper operation.
7. Use 5/16-18 Hex Cap Screws with suitable at wash-
ers to bolt down. Screw length must be 1-1/4 long
plus counter top thickness.
INSTALLATION
Figure 2
4
Page 7

Operating Instructions
1. Ensure that the external electrical shut-off to the kettle is on.
2. Check pressure gauge for correct cold kettle reading. Reading should be in the green vacuum zone. If
reading is not in the vacuum zone, follow VENTING
INSTRUCTION prior to using the kettle.
3. Place power switch in ON position.
4. Preheat the kettle by placing thermostat knob at maximum and wait until TEMPERATURE light goes off.
NOTE: Preheatingshouldnotbeusedwhencooking
milkandeggfoodproductswhichadhereto
hotcookingsurfaces.Thesefoodsshouldbe
placedintokettlebeforeheatingisbegun.
5. Add food to be cooked into the kettle.
6. Place thermostat knob at required temperature setting with a temperature range from roughly 165°F to
289°F (74° C to 143° C, jacket temperature.)
7. When cooking is nished set thermostat knob and
power switch to the OFF position.
8. Pour nished product from kettle using tilt handle. Be
careful to avoid splashing.
ITEM DESCRIPTION
1 Tilt Handle
2 Power Switch
3 Low Water Indicator Light
4 Temperature (Heat Indicator) Light
5 Temperature Control Thermostat
6 Vacuum / Pressure Gauge
THERMOSTAT SETTINGS
Setting
4 90 32
5 125 52
6 160 71
7 195 91
8 231 110
9 273 134
10 300 149
Approximate
°F
Temperature
(Water) °C
9. Add water to kettle for cleaning purposes.
10. Wash kettle thoroughly. See CLEANING procedure.
Figure 3
TILTING INSTRUCTIONS
Your kettle has the standard “Clean Lock” feature and
may not be tilted without disengaging the tilt knob located on the console at the top right. This feature locks the
kettle in the upright position and also allows the operator
to lock the kettle at 105 degrees for ease of cleaning. To
tilt the kettle the full distance, the tilt lock knob must be
disengaged from the cleaning position by pulling out the
tilt lock knob and tilting the kettle forward the full distance.
Follow these steps to tilt kettle:
1. Pull out the tilt knob near top right of console.
2. Using kettle tilt handle pull kettle forward to desired
angle of pour or until kettle locks at 105 degrees. The
tilt knob can be released after the kettle has been
tilted approximately 10°.
3. Kettle will lock in position at 105 degrees and may be
tilted further by pulling the tilt lock knob a second time
allowing the kettle to tilt the full distance.
4. To return the kettle to the upright position, pull out the
tilt lock knob and tilt the kettle upward until it locks
in the upright position. The kettle should not move in
either direction once in the upright position.
5
OPERATION
Page 8

Cleaning Instructions
The kettle interior and exterior should be thoroughly
washed after each use in preparation of a different food.
1. Add water and mild detergent to the kettle immediately after use.
2. Scrub kettle interior with nylon brush.
NOTE: Never scrape the inside of the kettle with
metaltools,steelscouringpads,orabrasive
cleaners.Scratcheswillresultwhichwillspoil
thekettle’sgeneralappearanceandmakeit
hardertocleanandmaintainasanitarycondition.
3. Loosen food which is stuck to kettle by allowing it to
soak at a low temperature setting.
4. Rinse with clear water and dry.
WARNING
Do not hose down appliance under any condition. Failure to comply will void warranty.
5. Wipe down exterior, rinse and dry.
WARNING
It is NOT RECOMMENDED to use cleaning
agents that are corrosive.
Use of cleaning agents that contain chloride, acids or
salts are corrosive and may cause pitting and corrosion
when used over a period of time; this will reduce the life
of the appliance.
Should pitting or corrosion occur this is not covered by
warranty.
Follow the recommended cleaning instructions. Use a
mild detergent, warm water and rinse thoroughly.
MAINTENANCE
6
 Loading...