

Page 1
MARKATOR
Manfred Borries GmbH
Bunsenstraße 15
D-71642 Ludwigsburg
Internet: http://www.markator.de
FlyMarker® PRO
Brief instruction
This brief version instruction manual does not replace the operating manual!
The original operating manual delivered with the FlyMarker® PRO has to be
read carefully, understood and followed.
1. Turning on FlyMarker® PRO
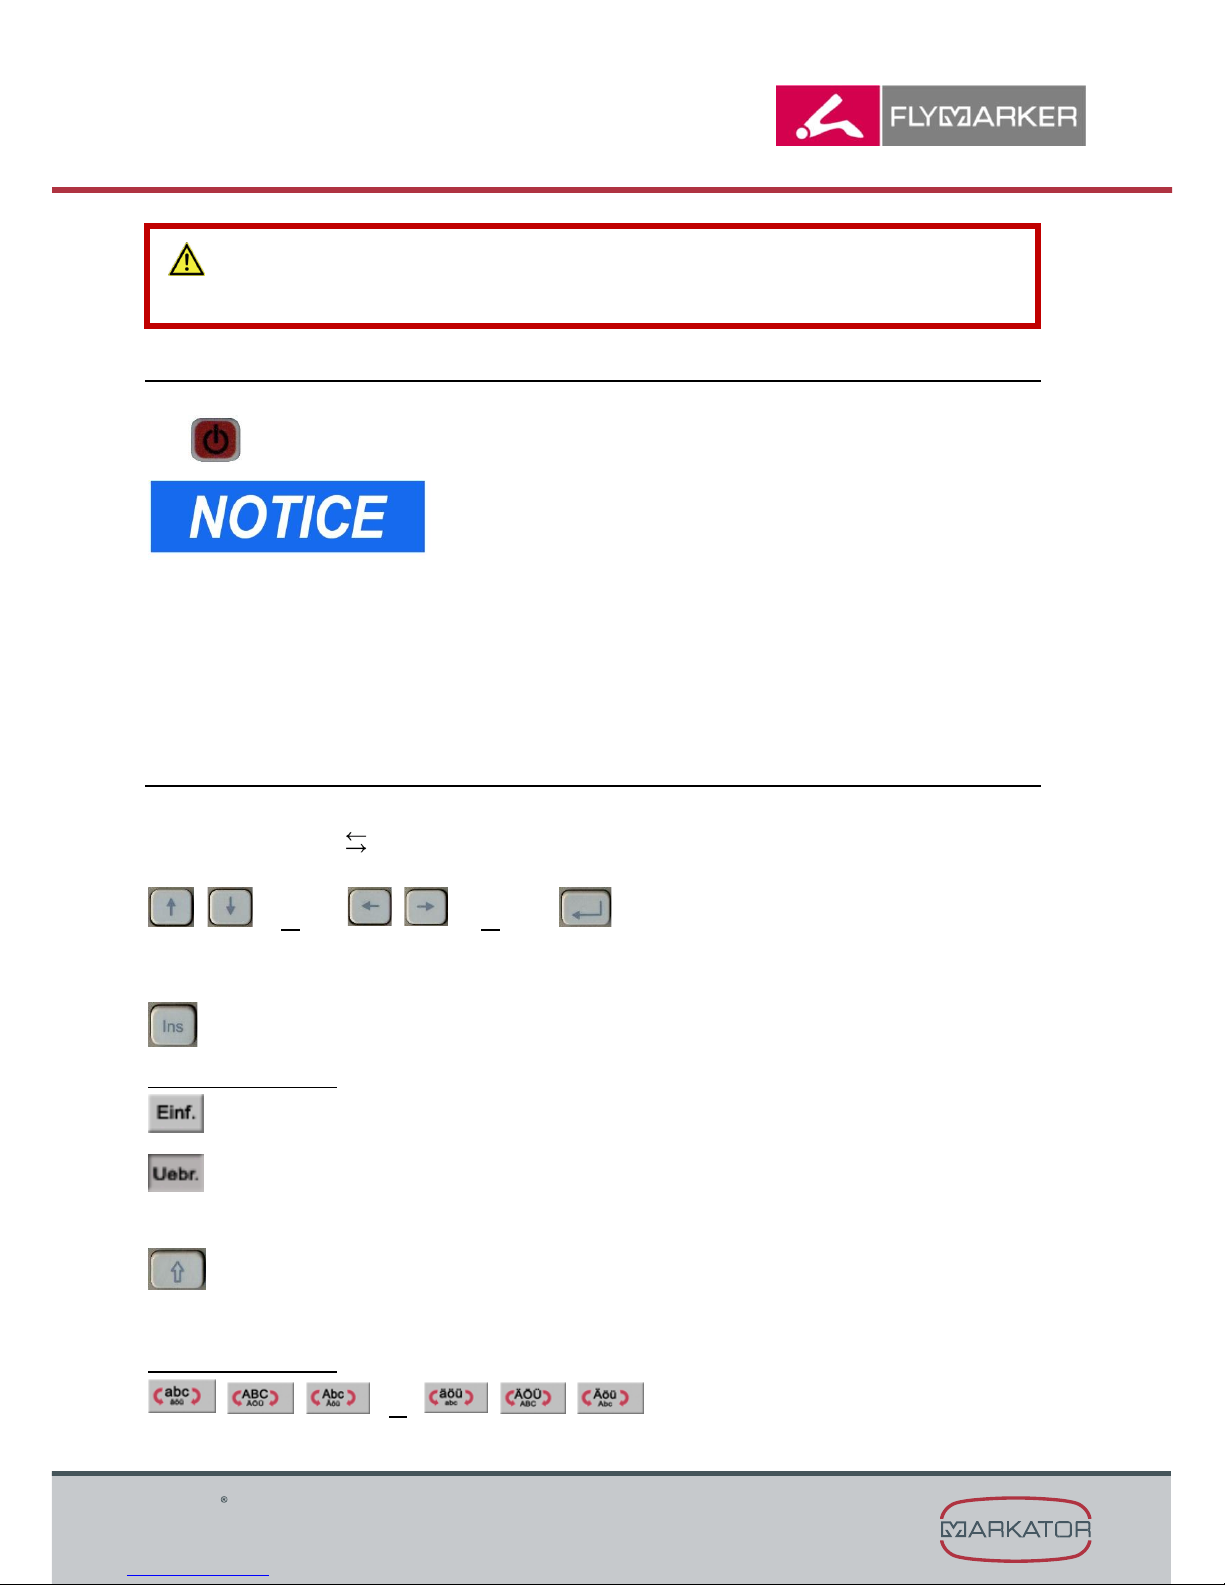
1. Turn FlyMarker® PRO on with the ON/OFF-button.
When it is turned on, FlyMarker® PRO performs a light,
harmless stroke and therefore should not be placed on a
workpiece when being turned on.
√ The display lights up and the control performs a self-test.
√ The start window appears.
√ Press the spacebar. After a short time the main menu window appears.
FlyMarker
PRO is in operator mode.
2. Enter marking data
Characters can be entered through the keypad.
Use the arrow keys ( ) to move the cursor to any place in the character sequence.
Use one of the arrow keys ( ↑↓ ) or the Enter key to switch between lines.
or or
Use the Insert key to select the writing mode. The selected writing mode is shown in the main
menu.
The possibilities are:
Insert mode
The new character is inserted to the left of the cursor.
Overwrite mode
The character below the cursor is overwritten by the new character.
Use the shift-key to switch between uppercase and lowercase letters.
The F1-key can be used to select the special character level.
The possibilities are:
or
Page 2
MARKATOR
Manfred Borries GmbH
Bunsenstraße 15
D-71642 Ludwigsburg
Internet: http://www.markator.de
FlyMarker® PRO
Brief instruction
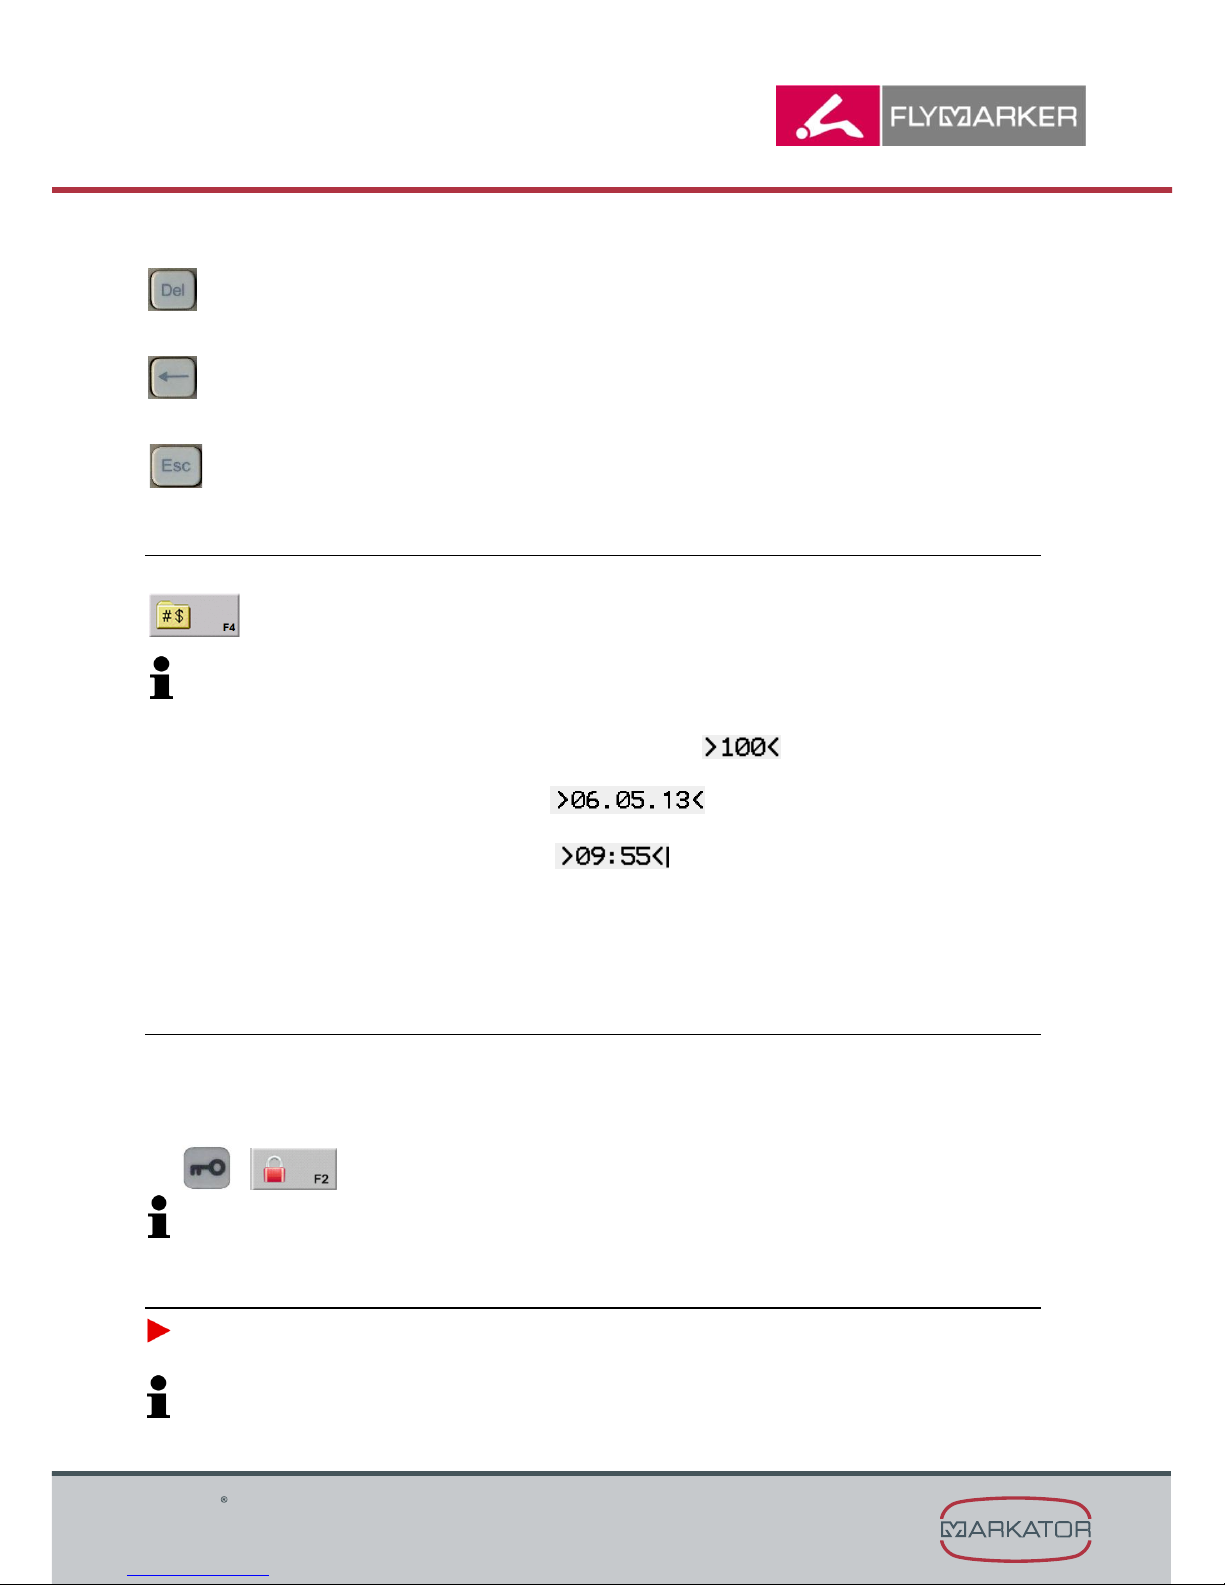
Use the Delete-key to delete the character below the cursor.
Use the Back delete-key to delete the sign on the left of the cursor.
Press the ESC-key to leave the menu.
3. Enter substitutes (Only possible after entering the password!)
With the F4-key the mode for choosing preset substitutes can be selected.
Substitutes start with the “>”-sign and end with the “<“-sign.
They only can be inserted or deleted completely (“> … <”).
Enter auto numbering
The number currently being used is displayed and marked.
Enter auto date
The current date is displayed and marked.
Enter auto time
The current time is displayed and marked.
Enter logo
The chosen logo is displayed and marked.
Press the ESC-key to leave the menu.
4. Locking / unlocking the keyboard
1. Press the key button.
√ The password dialog box appears.
2. F2 activates the keylock.
+
Do the same to unlock the keyboard.
5. Mark
FlyMarker® PRO must not be moved during the marking that follows.
Always avoid “air marking”!
Briefly press the trigger.
The trigger does not need to stay pressed until the end of marking.
Page 3
MARKATOR
Manfred Borries GmbH
Bunsenstraße 15
D-71642 Ludwigsburg
Internet: http://www.markator.de
FlyMarker® PRO
Brief instruction
6. Function keys main menu
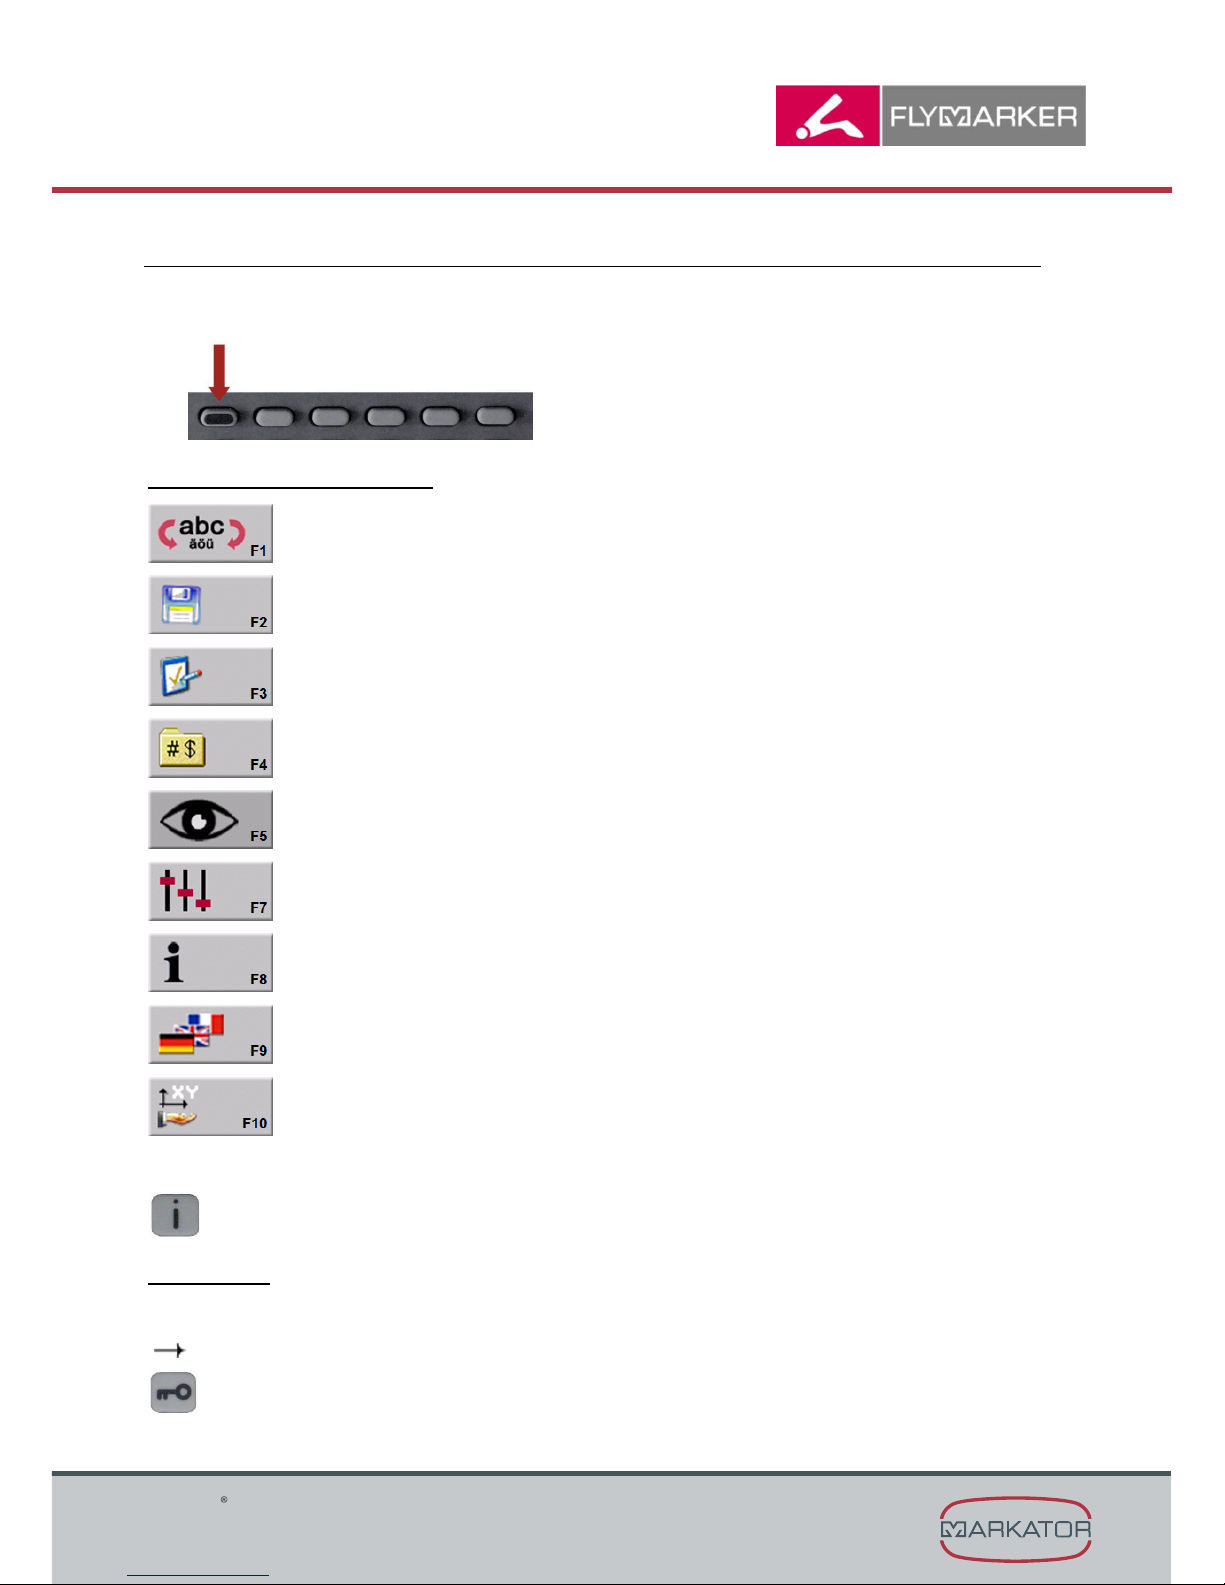
1. The main menu consists of two levels.
2. To change levels press the key shown below (arrow).
Description of function keys:
F1 = Shift key (standard characters ↔ special characters)
F2 = File manager
F3 = Parameter menu
F4 = Insert substitutes
F5 = Preview
F7 = Settings
F8 = Information
F9 = Language
F10 = Teach-in
When the i-key is pressed, the help window comes up (shows notes on the key functions).
Please note:
Using the user password, temporarily changes of the presetting can be done.
Permanent changes of the values can be done by using the master password only.
( Chapter „Entering passwords“ in the operating manual)
Page 4
MARKATOR
Manfred Borries GmbH
Bunsenstraße 15
D-71642 Ludwigsburg
Internet: http://www.markator.de
FlyMarker® PRO
Brief instruction
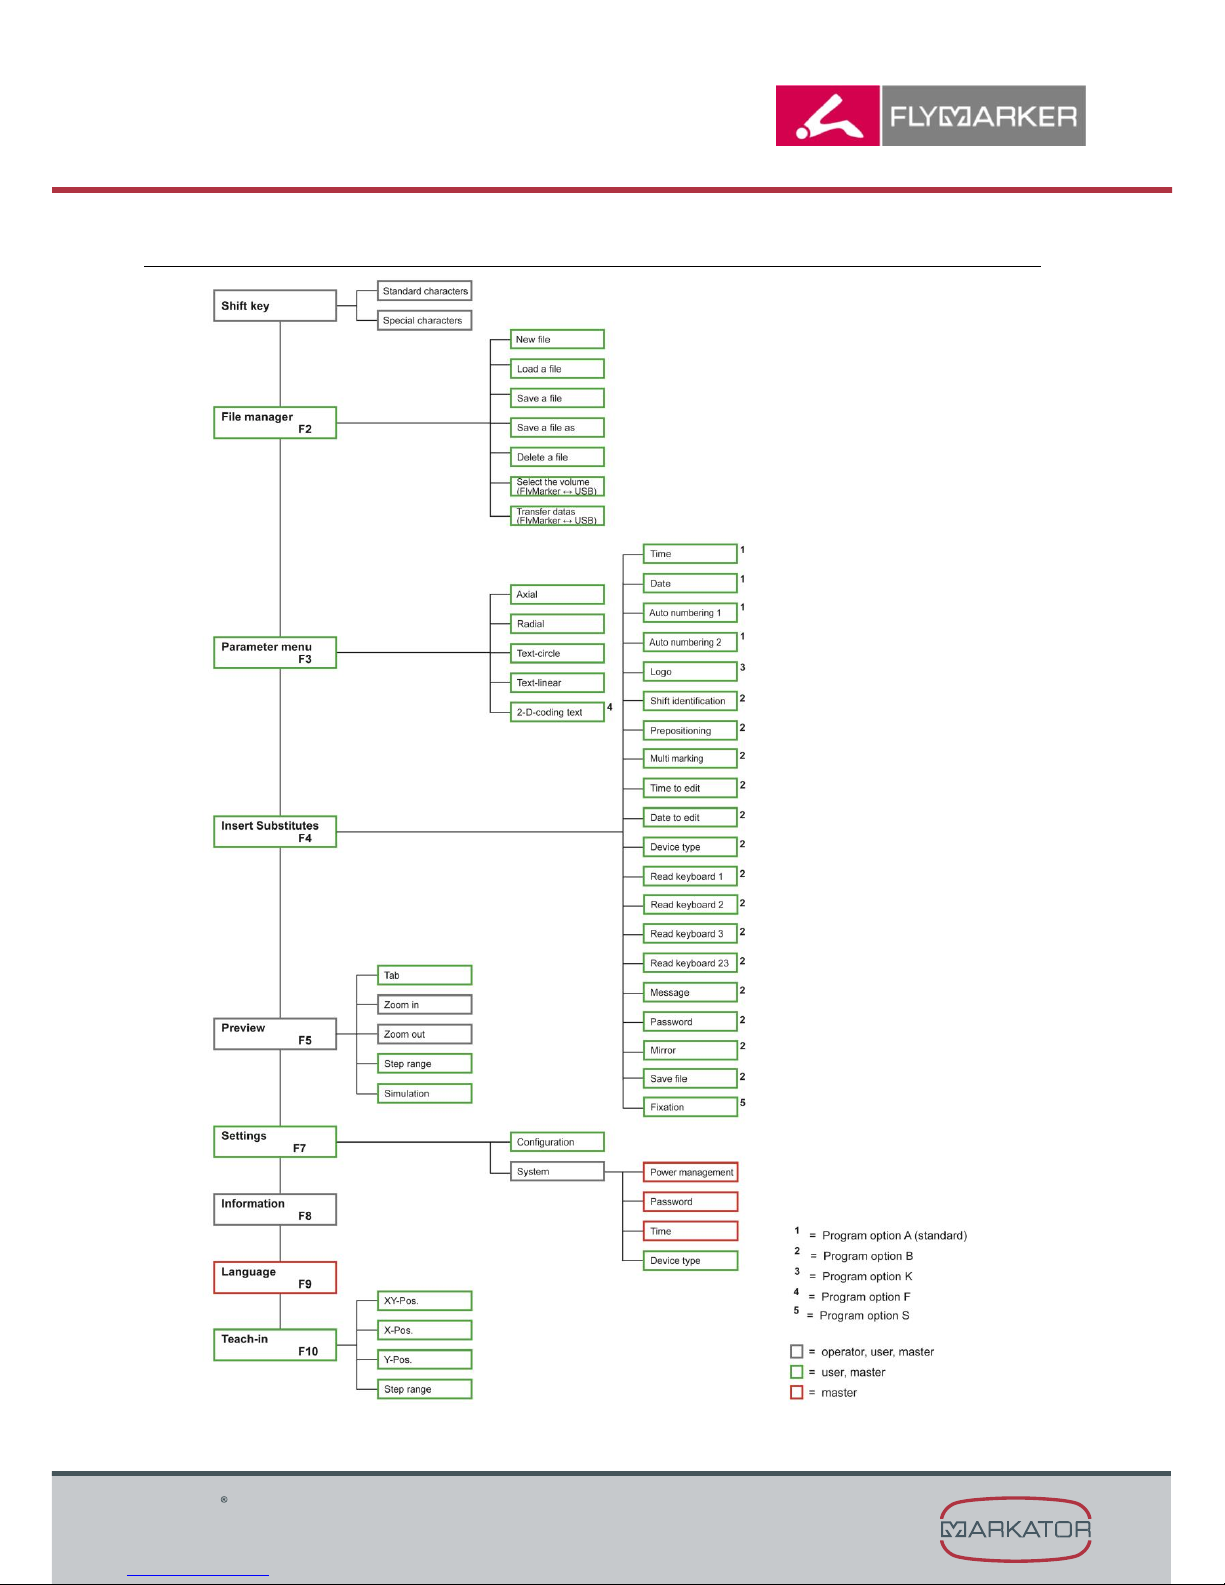
7. Menu structure
 Loading...