

Page 1
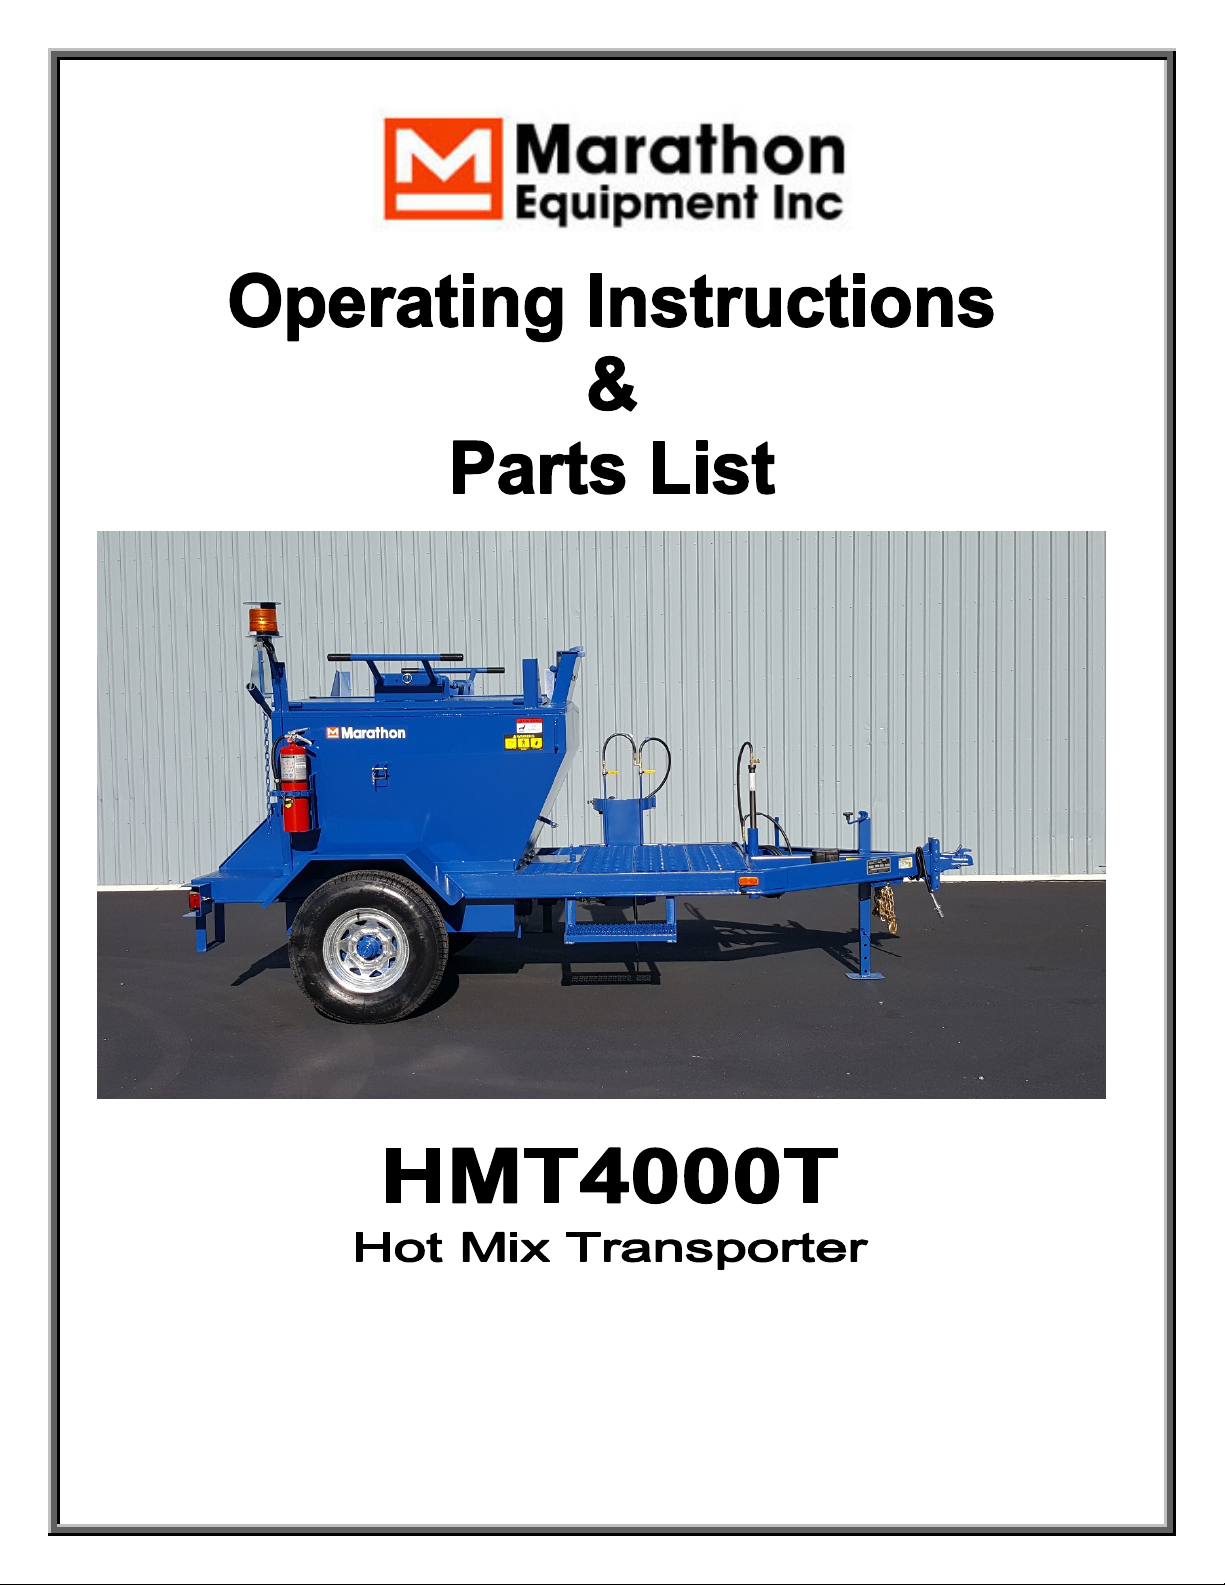
HMT4000T
shown w/optional equipment
Marathon Equipment Inc.
4390 Corporate Drive
Burlington, Ontario, L7L 5R3
www.marathonequipmentinc.com
Page 2

Table of Contents
Section 1: General Information
Equipment Registration Form
Contacting Marathon
General Equipment Safety and Precautions
Transporting Your Marathon Equipment
Trailer Wheel Torque
Trailer Wheel Repair or Replacement
Section 2: Operating Instructions
Introduction to the HMT
Filling the HMT with Asphalt Material
HMT Safety
Operating the HMT
Maintaining the HMT
Section 3: Burner and Automatic Temperature Controller
Instructions
Introduction
Installing the Propane Bottle
Lighting the Burner(s)
Shutting Down the Burner System
Burner Troubleshooting
Long Term Storage
Propane Schematic
Warranty Policy
Warranty Exclusions
Page 3

Section 1: General Information
Equipment Registration Form
Marathon Model:
Serial No./VIN:
Purchaser:
Date of Purchase:
Purchaser’s Address:
Distributor Name:
Distributor’s Address:
How to contact Marathon
By mail, our Customer Care Department can be contacted at:
Customer Care c/o
Marathon Equipment Inc.
4390 Corporate Drive
Burlington, Ontario L7L 5R3
Canada
By phone, fax or email, our Customer Care Department can be reached between 8am and 5pm
Eastern time:
Phone (905) 335-0000
Fax (905) 335-9990
Email info@marathonequipmentinc.com
If you are calling about a specific problem or concern about your machine, kindly include the model
number, serial number and any part number you may have available to better help us serve you.
Registration of your Marathon Equipment offers several benefits, including the ability to receive technical
bulletins, important safety or service information updates, and notifications or safety recall information
should there be a need to communicate directly with owners of our equipment.
Page 4
General Equipment Safety and Precautions
•
•
•
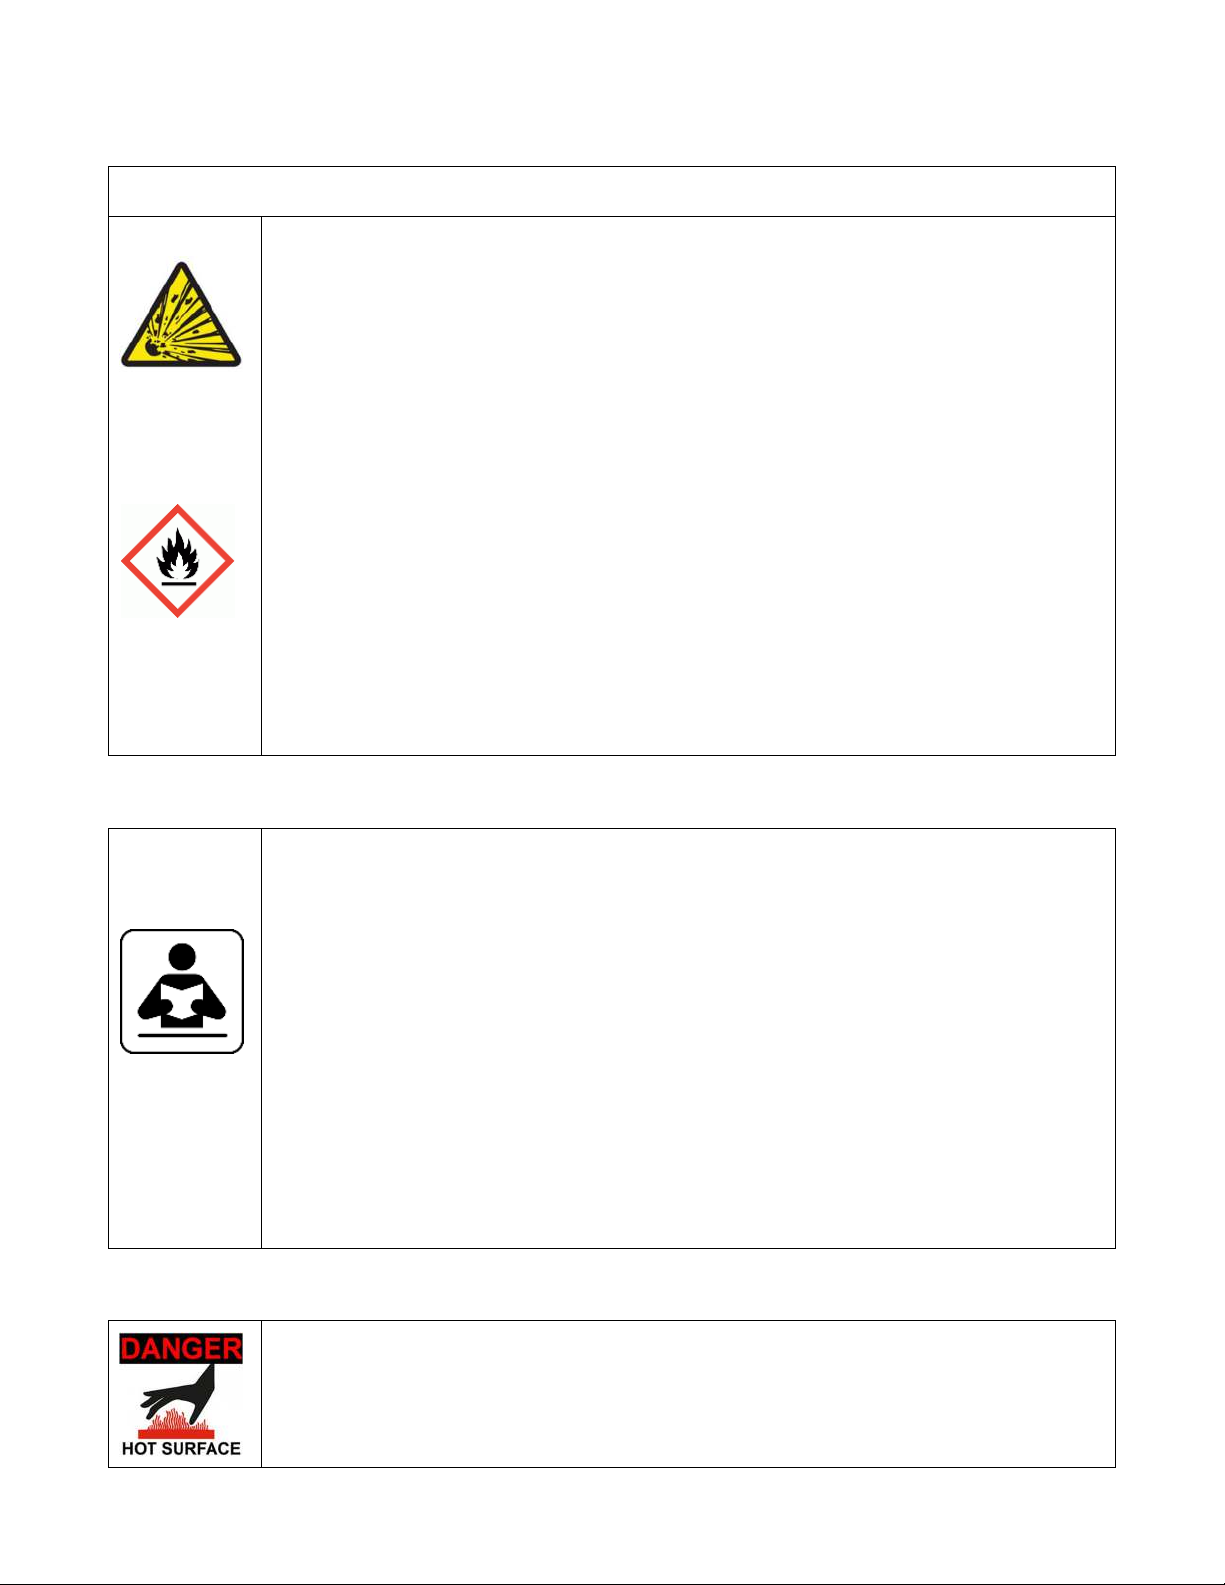
Flammable products like liquid and fumes from propane gas, gasoline and
combustible fuel in your surrounding work area can potentially ignite or explode.
To prevent from fire and explosion:
• Do not use equipment until you have read and fully understand the operation
of equipment.
• Training by fully qualified personal should be implemented prior to usage.
• Do not keep combustibles that are open around the equipment at all.
• Make sure you turn off all burners and fuel source before changing propane
bottle and/or filling fuel.
• If you smell propane gas, shut-off propane supply valve on tank and extinguish
all open flames. If the gas odor continues, stay away from equipment and call
the fire department immediately.
• Before lighting burner(s), make should you have read the proper lighting
instructions.
• Do not overheat material in vats, check with manufacturer of material for
optimum heating temperature.
• Keep your equipment free from debris, solvent, any rags and flammables.
• Make sure your equipment is suited with fire extinguisher(s).
MISUSE OF EQUIPMENT HAZARD
Never leave equipment unattended when machine is operating.
•
Misuse of equipment can cause serious injury or death.
• Keep children and animals away from equipment work area.
• Do not exceed the recommended temperature rating and working pressure of
equipment, failure to do so can cause serious injury or death.
• Check your equipment daily, repair or replace any worn or damaged prats
immediately with manufactures genuine replacement parts only.
• Make sure not to alter or modify the equipment. If equipment has to be modified
at all, please call Marathon Equipment directly or your local distributor for
approval.
• Do not overfill material beyond recommended capacity of equipment.
• Do not override or dismantle any safety devices on equipment.
• Do not operate any equipment while fatigued, under the influence of drugs or
alcohol.
BURN HAZARDS
Equipment surfaces and material in machine can become very hot when it at
reached its intended temperature, to avoid severe burns:
• Don’t not touch equipment and/or fluid.
• Wait for equipment to cool down prior to doing any service or repairs.
WARNINGS!
Page 5
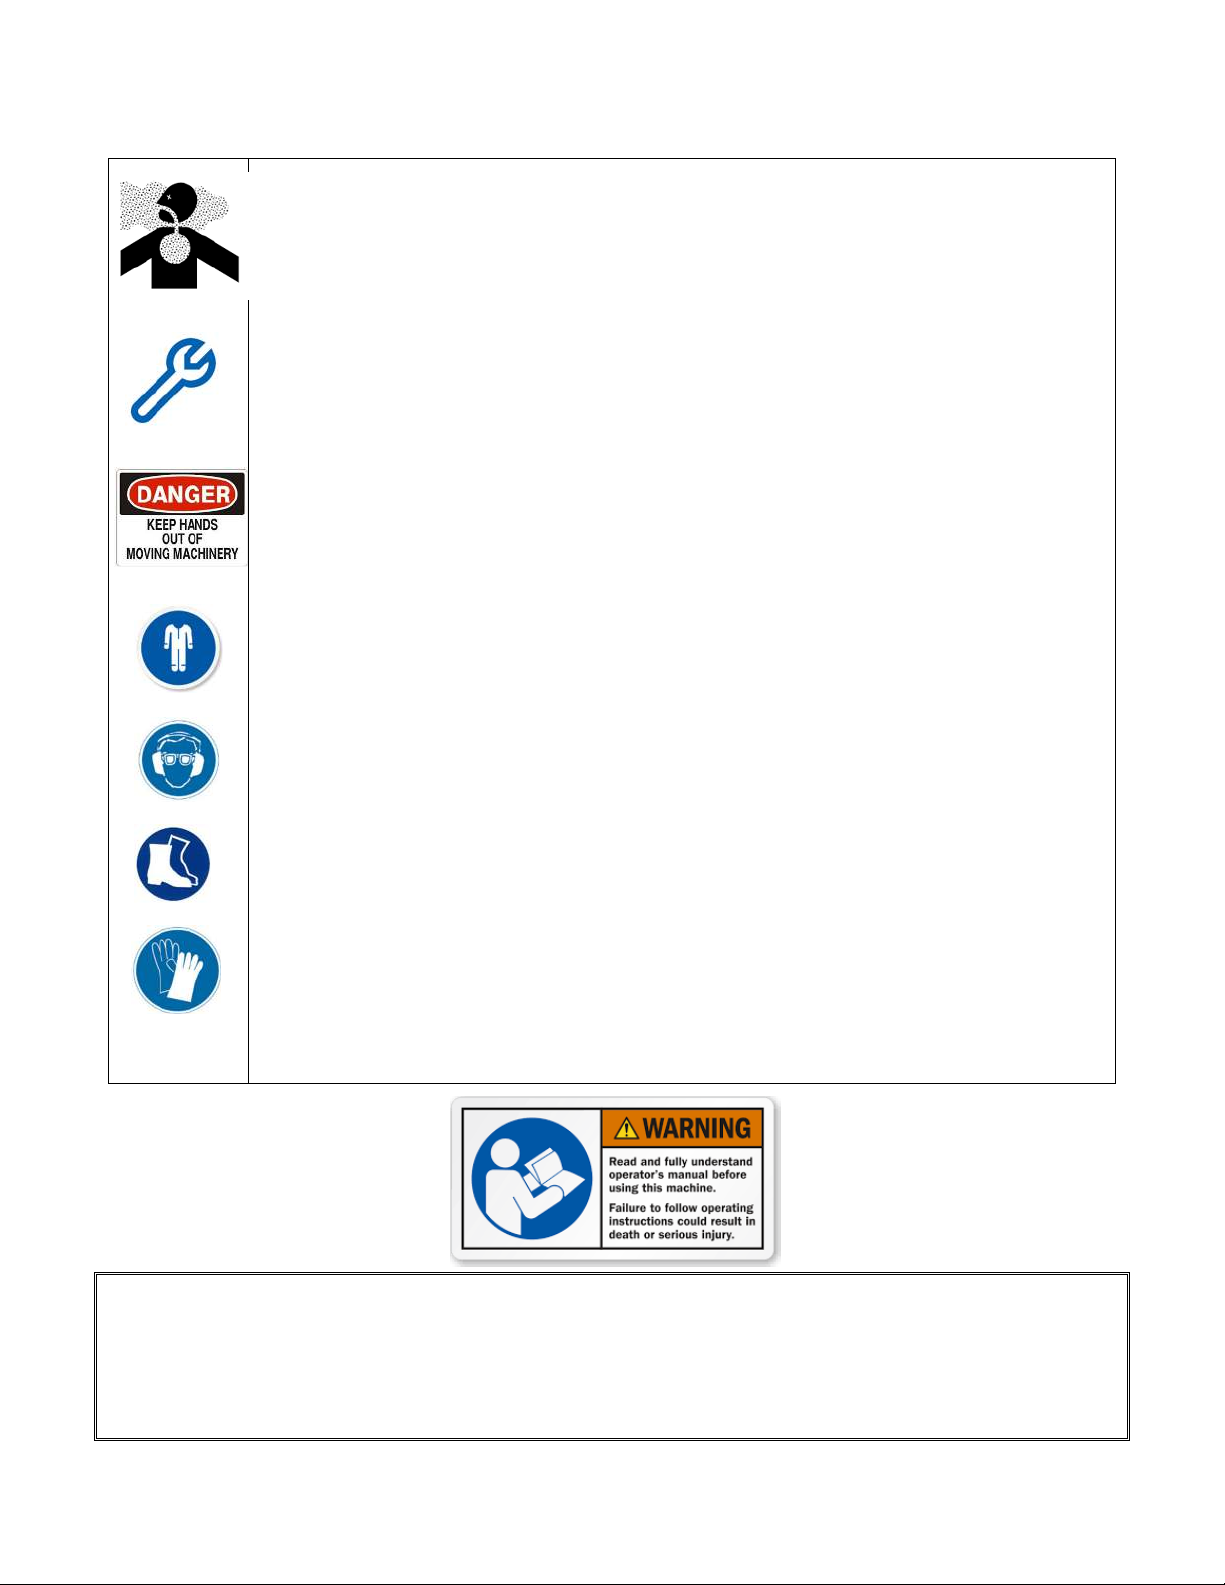
FUMES AND TOXIC FUMES HAZARDS
•
Heated material and exhaust fumes contain poisonous carbon monoxide, which
carbon monoxide is colorless and odorless. Inhaling any fumes from the
equipment can cause death; do not used equipment in confined or enclosed
areas. Always use equipment in the outdoors or highly ventilated area.
• Any of the hot material and fumes can cause serious injury or death. Be very
careful not to drop cold material into hot material vat, splashing may occur and
cause serious injury.
• Make sure you read the proper SDS forms on material before using in equipment
and follow all safety hazards.
• BEFORE OPERATING YOUR NEW MARATHON EQUIPMENT check all nuts
and bolts for tightness. Bolts and nuts are tightened before leaving the factory.
However, some loosening may occur during shipment.
• Read this Operator’s Manual thoroughly and make sure that you are familiar with
ALL of the general and machine specific safety precautions before use.
• Wear protective clothing and relevant protective equipment at all times when
using this equipment.
• Observe all warning signs or notices on the machine.
• Always keep hands, feet and clothing away from moving parts, heating units,
and heated material.
• Never operate equipment in a confined space or in a closed building.
• Never operate the equipment while under the influence of alcohol or any
substance that might impair your vision, judgment, or ability to control the
equipment.
• Always make sure that all fittings are tight and leak-free.
• Check all connections, hoses and valves before each use.
• If equipped, do not move, tow or otherwise transport your equipment with the
burners lit.
• Check for and remove any standing water before filling the material bin.
• Always call your distributor or Marathon directly for replacement parts. Other
parts installed but not approved by the manufacturer could pose a safety hazard
or void your warranty.
NOTICE
Operators and persons responsible for maintenance of the equipment should read and understand this
manual thoroughly before operating the machine. If there are questions or concerns about how to safely
operate this equipment, contact Marathon or your dealer for clarification before attempting to use this
machine. Marathon Equipment Inc. will not assume liability for any injury or damages caused by improper
use, inadequate training or improper or inadequate maintenance of this machine.
Page 6

Transporting Your Marathon Equipment
For trailer mounted equipment:
•
Ensure tires are inflated according to their specifications.
•
Ensure the hitch bolts are tight and check the wheel lug nuts DAILY. See Trailer Wheel Torque section
for further information.
•
Always use safety chains and fasten them in a criss-cross pattern.
•
Ensure the front of the machine is tilted down 3 degrees while in tow.
•
Check your speed and mirrors often.
•
Check all hose and electrical connections before each shift or before returning to work from breaks.
Ensure the pintle eye and hook, or ball and receiver, are properly connected to each other and to your
tow vehicle.
•
Do not exceed 60-mph/100 km when in tow.
•
If equipped, always fasten emergency breakaway kit wire/chain to the tow vehicle.
•
DO NOT travel at speeds higher than 12.5-mph/20 km when burners are lit.
For all other Equipment:
•
Ensure equipment is properly secured to trailer or truck.
•
Ensure accessories are properly secured to machine or transporting vehicle.
•
If equipped, with additional burners, i.e.: heated tack tank, do not exceed 12.5mph/20 km when burners
are lit.
Page 7

Trailer Wheel Torque
Wheel Size
1st
Stage
2nd
Stage
3rd
Stage
It is extremely important to apply and maintain proper wheel mounting torque on your trailer. Torque is a
measure of the amount of tightening force applied to a fastener. The correct use of a properly calibrated
torque wrench is the best method to assure the proper amount of torque is being applied.
CAUTION
Wheel nut or bolts must be applied and maintained at the proper torque levels to prevent loose wheels,
broken studs, and possible dangerous separation of wheels from your axle. Any of these failures may
result in property damage, injury or death.
If fasteners require replacement, be sure to use only fasteners matched to the cone angle of your
wheel. The proper procedure for attaching the wheels is as follows:
1. Start all bolts or nuts by hand to prevent cross threading.
2. Tighten bolts or nuts in the sequence pictured below for the bolt pattern that matches your
wheel.
3. Tightening of the fasteners should be done in stages. Following the recommended sequence,
tighten fasteners to torque per wheel torque chart provided.
15” 20 – 25ft/lb 50 – 60ft/lb
16” 20 – 25ft/lb 50 – 60ft/lb
4. Wheel nuts/bolts should be tightened to the specified torque before first road use and after each
wheel removal. Check and re torque after the first 10 miles, 25 miles, and again at 50 miles.
Check daily before use thereafter.
90 – 120ft/lb
90 – 120ft/lb
Trailer Wheel Repair or Replacement
CAUTION
Do not attempt to repair or modify a wheel. Even minor modifications can have a great effect on safety
and performance. Do not install a tube to correct a leak through the rim. If the rim is cracked, the air
pressure in the tube may cause the pieces of the rim to explode with great force and can cause serious
injury or death.
Marathon Equipment Inc. stocks rims and tires designed specifically for your equipment to meet your
replacement needs. Please contact your distributor or Marathon directly for more information.
Page 8

Section 2: Operating Instructions
Model
Capacities
HMT4000
- All models
4000 lb
2 tons
1.5 cu. Yard
HMT6000
- All
models
6000 lb
3 tons
2.2 cu. Yard
HMT6600
- All models
6600 lb
3.3 tons
2.5 cu. Yard
HMT8000
- All models
8000 lb
4 tons
5.3 cu. Yard
Introduction to the HMT
Marathon’s Hot Mix Transporters (HMT) are designed to help maintain the temperature of road asphalt
while transporting from the asphalt plant, while work is being performed at the job site, and in transit
between job sites. Models equipped with an oil jacket and over-night heaters may also help maintain
asphalt material temperature for extended periods while plugged in should the need arise to use hot mix
at times when the local asphalt plant may be closed. Any other use of this equipment will render void any
warranty or responsibility, expressed or implied, on the part of the manufacturer. If your model is equipped
with an auger discharge or dumping discharge system, please also read those sections of the manual to
ensure all operations are understood. There are some small differences unique to those two systems
that operators should know before using.
All operators and maintenance personnel that will work on or with this equipment should read this manual
completely and receive training in the safe use of this equipment. Misuse of this equipment may result in
damage, injury or death. Marathon Equipment Inc. provides this manual and relies on the purchaser to
make certain the safe operating procedures are understood by the person(s) who will be operating the
equipment. This equipment must only be operated by trained, experienced personnel.
Filling the HMT with Asphalt Material
To prepare to fill the Hot Mix Transporter (HMT) with material, ensure that:
• The automatic temperature controller (if equipped) and burner are off and the propane bottle valve is
closed.
• The rear-unloading door(s) is (are) closed.
• The chimney cap is closed.
• There is no standing water in the bottom of the material hopper.
Open the two top loading doors and lock them in the open position with the provided lynch pins if
equipped. The unit is now ready to be filled with asphalt material.
Do not overfill the HMT. This machine is designed to carry only a specified quantity of asphalt material
and overfilling may result in the carrying of an overweight and unsafe load. Refer to the maximum capacity
based on your HMT model number:
After filling, make sure to remove any asphalt material from the seating surfaces of the loading doors or
the hopper sides before closing the loading doors.
Page 9

NOTICE
Lower loading doors gently – do not drop or slam closed as this may cause damage to the door frames
and hinges.
Ensure all lids, doors, tools and handles are properly secured before transporting to the work site or
yard.
The HMT is now ready to be towed to the job site and put in operation. Review the topic Transporting
Your Marathon Equipment in Section 1 for detailed information on towing your HMT.
HMT Safety
•
Do not overheat the asphalt, as this will cause it to lose valuable oils and reduce its binding action. Refer
to the manufacturer’s specifications and frequently check temperature with the equipped thermometer,
or with a portable, long stem, dial thermometer calibrated between 55°F and 550°F (12°C and 290°C).
•
Highly combustible materials are involved in machine operations and extreme care should be taken at all
times. Do not leave burners or operating temperature controllers unattended.
•
Wear appropriate personal protective equipment including clothing, safety footwear, gloves and face
shielding as required to minimize the risk of personal injury or death when using this machine.
•
Do not heat hot mix transporter prior to adding material.
•
Do not heat hot mix transporter if standing water or solvents are visible in the material vat.
•
If HMT is oil jacketed, oil temperature should never exceed 500 degrees Fahrenheit.
•
Never tow or move the HMT while the burners are operating.
Operating the HMT
•
If equipped, turn on master battery cutoff switch. If equipped, start any engines on the HMT that have
charging systems for the batteries. If any systems are powered from tow vehicle, ensure trailer harness
is plugged in and tow vehicle is providing power.
•
Start the burner or if equipped, the automatic temperature controller system. See section 3 “Burners and
Automatic Temperature Controllers” for details on starting your burner system.
•
Refer to the asphalt manufacturer’s specifications for maintaining material temperature. All HMT models
are equipped with a long stem, dial type thermometer calibrated between 55°F and 550°F (12°C and
290°C) for checking material temperature in the hopper to ensure material remains within manufacturer’s
recommended range. If this HMT is oil jacketed, see the table of contents to find more information in the
section “Operating an Oil Jacketed HMT” as there are additional considerations when using a machine
of that design.
Page 10

•
When asphalt material reaches application temperature and operators are ready to apply, open the rear
door(s). If equipped with chains to secure doors, ensure each chain is secure using the supplied clasps
at the edge of the rear panel near the doors.
•
If an adequate quantity of asphalt does not fall on the heated shoveling platform on opening the door(s),
pull asphalt towards rear doors using a shovel, rake, or lute. Operators should never put any part of their
body inside the material chamber.
•
To close unloading doors, back shovel any excess material from the heated shoveling platform and under
the path of the doors into the material hopper, and close the door(s). If equipped, ensure each chain is
secure using the supplied clasps at the edge of the rear panel near the doors.
•
Before transporting to a new location at speeds exceeding 12.5mph/20km, turn off burner and/or
automatic temperature controller. See section 3 “Burners and Automatic Temperature Controllers” for
information and procedures for shutting down burners.
•
Turn off engines if equipped, and turn off the master battery cutoff switch.
•
If relocating to a new job site, once the machine is in place, repeat this section. If shutting down for the
end of a shift, ensure all power sources are disconnected, burners are off, fuel valves are closed and the
machine is stored safely away from flammable objects. It may take considerable time to cool.
•
If this machine is equipped with an overnight heater and heat is needed, plug into an extension cord rated
for 15 amps and the conditions where this HMT is stored. For oil jacketed models, see Oil Jacketed HMT
Operation later in this section. For all others, see section 4 “Optional Equipment” for further details.
Maintaining the HMT
•
At the end of each day empty each material chamber and clean it thoroughly. This will increase the life
of the kettle and prevent “coking” (hardening of material on the walls) which decreases efficiency. While
cold, apply a coating of release agent to prevent asphalt from sticking to the hopper.
•
Inspect burners and hoses for possible cracks, leaks and/or dirt that might be blocking the burner system.
Use light air pressure to clean hoses and burner orifice. Burners should be oiled and covered if stored
outdoors.
•
If equipped, charge HMT battery daily. Ensure master battery cutoff switch is turned off when storing the
unit unattended, or while under tow to prevent accidental burner ignition or tampering.
•
If equipped, ensure electronic igniters are kept clear of debris and clean. On electronic ignition models,
a mud flap is installed to reduce the buildup of road dirt and debris.
•
The HMT needs to be cleaned at regular intervals to maintain its efficiency. Cleaning of the HMT involves
scraping out the material vat and washing it down with a cleaning solvent to prevent or remove any coking
(buildup of materials on the walls and bottom of the vat). Reapply release agent when cleaning is
complete.
Never clean the painted surfaces of your hot mix transporter with a pressure washer. Damage to the
finish may occur. Damage from pressure washing voids paint warranty claims.
Page 11

Section 3: Burner and Automatic Temperature Controller
Instructions
Vapour or Liquid Stage Propane: Manual Light – With or Without
out-fire Protection
WARNING
Lighted burners must never be left unattended. Only trained, competent individuals should
operate burner system. Operators and maintenance personnel must read these instructions
thoroughly before operating or performing maintenance on this equipment. Marathon Equipment
Inc. will not accept responsibility for injury, death or property damage caused by incorrect
operation, abuse or improper maintenance of this equipment. If there are any questions about
these instructions, contact your distributor or Marathon Equipment directly.
Introduction
This equipment utilizes either a liquid or vapour stage propane burner(s) system and may include outfire protection valves. The burner system is designed for use with either the vapor withdrawal or liquid
withdrawal cylinder it was designed to use. The following instructions cover the correct and safe
operation of these systems.
General Burner Specifications
1. Type of Gas: Vapor Propane
Gas Supply Pressure: 5 - 25 psig.
Capacity: 80,000 to 410,000 Btu
2. Type of Gas: Liquid Propane
Gas Supply Pressure: 5 - 25 psig.
Capacity: 300,000 to 500,000 Btu
Installing the Propane Bottle
Marathon has provided one or more bottle holders on your unit for operators to mount a given sized
propane cylinder to the machine for transport and on job site operations. Typical bottle holders range in
size from those designed to hold 20lb through 40lb cylinders, and those made for 100lb cylinders.
Loosen or remove the clasp and strap to allow it to be wrapped around the new bottle. Using safe lifting
practices lift the bottle onto the holder and if equipped, ensure the base ring has engaged the bottom of
the mount. Pull the strap around the bottle and clasp it to hold the bottle firmly in the holder. Do not leave
the strap loose around the bottle. A loose strap may not support the bottle and it could fall in use or
transport.
Page 12

WARNING
Never mount a bottle size in a holder not designed to support and hold that bottle. Never mount or
transport bottles strapped to, or supported by any part of the machine other than the bottle holder. The
bottle may fall and rupture, which could cause property damage, injury or death.
For vapour propane equipment: your vapour propane regulator has been provided with a POL fitting that
will only attach correctly to a vapour stage propane bottle. Ensure the propane bottle valve is closed.
Begin to thread the POL fitting into the propane bottle valve until hand tight. Use a 7/8” wrench to tighten
this fitting snugly.
For liquid propane equipment: your liquid propane regulator has been provided with a fitting that will only
attach correctly to a liquid stage propane bottle. Ensure the propane bottle valve is closed. Begin to
thread the POL nut onto the threads of the propane bottle valve until hand tight. Use a 7/8” wrench to
tighten this fitting snugly.
Testing for leaks: Refer to your local propane or gas regulations for testing requirements in your area. In
the absence of testing standards and regulations, Marathon recommends the following test: the burner
firing valve is closed. With an approved leak detection fluid or soapy water, pour over or spray on the
connection between the POL and the tank valve. Open the tank valve ¼ turn and look for bubbles. If
none are seen, open the valve fully and continue to watch. If after 1 minute there are no bubbles, the
connection is leak free.
Propane has been treated with a chemical to give it a distinct smell. If you smell propane, even if there
are no bubbles, do not start operating this machine. Determine the source of the smell, as there are other
potential leak sources on the bottle or machine from the safety relief valve to the stem of the propane
valve knob and down to the gas solenoid and burner needle valve on the machine. Caution should always
be exercised when using propane.
Lighting the Burner(s)
•
Ensure the exhaust stack lid is open before lighting the burner.
•
Close the propane regulator completely.
•
Ensure the firing valve adjacent to the burner tube is closed
•
Open the propane cylinder valve.
•
Set the regulator at 10 PSI using the pressure gauge.
•
Open the firing valve slightly.
•
If equipped with an out-fire protection valve, press the silver or red button in firmly and hold.
•
Using a hand torch or torch ignitor (sparker), light the burner.
•
If equipped with an out-fire protection valve, a pilot like flame will appear. Continue to hold the button for
30-45 seconds to generate heat in the thermocouple, then release slowly.
•
Once the burner is lit, fully open the firing valve
•
If equipped with dual burners, repeat lighting sequence for second burner.
•
Adjust the propane pressure regulator until 25 PSI is reached.
Page 13

NOTE
On oil jacketed machines, there will be a delay between the oil bath reaching desired temperature and
the material reaching temperature.
WARNING
Do not overheat oil or material. All heated equipment is equipped with calibrated thermometers so
operators can verify temperature of oil and material.
Do not set the propane pressure regulator above 25 PSI.
Do not heat machine higher than recommended in operating instructions.
Do not heat oil jacketed machines above 550 degrees. Oil may flash causing property damage, personal
injury or death.
Do not connect liquid stage burners to vapour stage bottles and vice versa.
Do not open the firing valve completely when lighting the burner for the first time.
Do not transport or tow with the burner(s) lit
Do not operate the burner(s) if the material vat or oil jacket is empty.
Shutting Down the Burner System
•
Close the cylinder valve and allow the burner to self-extinguish.
•
Close the firing valve or valves for dual burner machines completely only after the flame has selfextinguished.
•
Close the exhaust chimney cap(s).
Burner Trouble Shooting
If operators find the burner keeps going out, loosen the set bolt(s) located under the leading edge of the
firing chamber and adjust the distance of the burner from the front edge of the burner ring. If the burner
is too far out from the unit, flame out could occur from wind gusts. It also heats the machine less efficiently.
If the burner is set too far into the burner ring, there may not be enough oxygen available for the burner
to stay lit. This may cause the burner not to light, or the operator may experience the flame going out
when adjusting the needle valve.
The orifice hole in the end of the burner may be clogged and may need cleaning. Wait for the burner to
cool. Remove the burner tube and disconnect it from the hose and try to blow air in reverse through the
orifice to remove any particles that might be clogging it.
If the machine is oil jacketed and appears to come up to temperature too slowly, it may be time to change
the oil. Heat transfer oils lose their ability to efficiently transfer heat over time. If the equipment has been
in use for some time and the operator notes that it is taking significantly longer than normal to come up
to temperature, first check the oil level. If the oil level is correct and other abnormal conditions are not
present (extremely cold weather, excessive coking of material on the vat walls, etc.), changing your oil
may correct the problem.
Page 14

Long Term Storage
Remove the burner by loosening the setscrews and removing the propane hose. Clean the burner using
light air pressure. If the burner is not going to be used for a period of time it is best to store it indoors.
Burners should be oiled and covered if stored outdoors.
Propane bottle holders are provided for the transportation of the LPG fuel. Check local regulations for
the use of this device and if relocation of the tanks is required, sufficient hose has been provided to allow
the relocation of the propane tanks prior to lighting the burner(s).
7
7 8
6
1
3
2
4
5
Page 15

HMT4000T Parts List
Part# Qty. Description
Trailer System:
06-1155HD 2 Axle Assembly 7000lb. Each
06-1110B 2
06-1111 2
06-1112 2
06-1090 1
06-1020 1 6-pin Plug, Trailer
06-1148 4 235-85R16, Tires, 8-Bolt, LOAD RANGE ‘D'
06-1114 As req’d Linch Pin, 7/16"
AEPO70801.00 As req’d Snap Lock Pin, 3/8" x 2-1/2"
08-4004 2 Light, Power , LED, Amber
08-4000 2 Toggle Switch
Trailer safety chain, Grade 70
Trailer safety hook with clips
Trailer safety chain midlink -
Drop Leg Jack, 7000lb. Capacity
– Item # 3
– Item # 3
– Item # 3
– Item # 2
Heating System-Main
06-1101 1 Pintle hook nose plate, 3/4" 3-position
06-1100 1
Pintle hook, 15 ton. drop forged, 4-bolt mount – Item # 1
06-1000 1 25' Trailer light wiring harness
06-1040 2 Amber side marker light
08-1020 – Item # 4
1 Vapour 410,000btu propane burner with stand & safety valve
08-1012 1 3/8" x 15' Propane hose, to burner
04-1051 1
08-0012 1
08-1014C 1
Propane bottle strap – Item # 5
Vapour propane regulator – Item # 6
Pressure gauge for propane, 0-60psi. – Item # 6
04-1090 1 1-1/2" Bronze ball valve for tack tank
26-0602 2 2-1/2" Cap for tack tank fill or water tank fill - if equipped
26-0581 1 4" Pipe plug for tack tank fill (at top of unit)
26-0601 1 3" Pipe plug for drain (not equipped with overnight heater)
01-1290B As req'd 2/0 Passing link chain for rear access doors
06-1031 2
Rear tail light assembly – Item # 7
06-1060 1 Rear three light bar
08-MT06-MS 1
6" Material thermometer, 50-550F, 1/4" – Item # 8
06-1095 2 Snap lock hitch pins for main lids
08-1000 1 Automatic temperature control w/manual ignite (opt)
06-1140 1 Amber Strobe Light (opt)
08-1009V 1 200,000 BTU Hand Held propane torch (opt)
Page 16

Propane Schematic
Page 17

WARRANTY POLICY
Manufactured by or for Marathon Equipment Inc.
Marathon Equipment Inc. warrants to each purchaser of new road maintenance equipment that the parts
manufactures by Marathon equipment Inc. and incorporated into the goods purchased are, at the time of
delivery to such purchaser, free from defects in material and workmanship if used, serviced and
maintained in accordance with the manufacturer’s recommendations and operating instructions.
Marathon Equipment Inc.’s obligation under this warranty is limited to repairing, or at its option, replacing
any part manufactured by Marathon Equipment Inc. following these specifications:
The product in question is returned, transportation prepaid to its factory or to an authorized service
facility.
Is found by the manufacturer to be defective.
Is found within one year from the date of sale to the original purchaser (see exclusions).
Components by other manufacturers shall carry their respective warranty conditions.
DISTRIBUTED PRODUCTS
(Manufactured by Companies other than Marathon Equipment Inc.)
To the extent permitted by law, any representative, warranty or conditions given, or made by Marathon’s
suppliers on any part, or parts, of their equipment and materials shall ensure to the benefit of the buyer.
This warranty excludes and is in substitution for any implied conditions and warranty’s arising under the
Sale of Goods Act or any other statue. Except as set forth above, Marathon Equipment Inc. shall have
no obligation or liability howsoever caused, whether said damages be special, consequential or
otherwise, or any other claims, whether in tort, contract or otherwise.
Page 18

WARRANTY EXCLUSIONS – NON REIMBURSABLE ITEMS:
No warranty whatsoever is made on any used, second-hand, altered or rebuilt equipment or parts. Such
equipment and parts are sold “As Is”.
1. Repairs required to correct failures caused by neglect, normal wear or abuse. Marathon covers
defective workmanship and materials only.
2. Parts and labour supplied by the user or any unauthorized repair facility unless a Repair
Authorization Number is given prior to effecting repairs.
3. Normal maintenance, adjustments including initial tightening of fittings, connections and fasteners
that may have been loosened during transportation.
4. Parts and accessories not installed or supplied by Marathon.
5. Consumable items such as hydraulic oil, filters and hoses.
6. Rental of another machine or other related equipment while equipment repairs are in progress.
7. Telephone, telegraph expenses and/or related communications expenses.
8. Replacement and accessory parts not supplied by Marathon and damages resulting from their
installation.
9. Loss of revenue resulting from the failure.
10. Loss or damage to personal property.
11. Transportation charges accrued during transportation of failed parts or equipment.
12. Excessive time expended in the diagnosis or repair of the equipment failure.
13. Damage in transit. These claims must be filed with the common carrier concerned.
14. Travel time to diagnose equipment problems and execute repair.
15. Complete assembly’s that have failed prematurely as a result of customer failure to address
warrantable condition, unless it is proven that such assembly cannot be placed in first class
condition by replacement of parts or unless previously authorized by factory.
16. Normal service work over and above the repair or replacement of defective parts.
17. Repairs made to the engine, under warranty, that is covered only by unauthorized Engine Dealers
and Distributors, designated by the engine manufacturer.
18. Heating systems, hydraulic components, material pump and hoses, applicator valves and electrical
components damaged or defective as a result of accident, alteration, abuse, improper use, normal
wear or other cause beyond Marathon’s control, or failures of these components that may occur 60
days after delivery.
19. Charges for warranty repairs in excess of Marathon’s standard warranty labour rate.
20. Damage to diesel engines and burner systems where recommended fuels have not been used.
21. Damage to engines caused by the use of biodiesel fuels shall not be covered under the engine
manufacturer’s warranty.
22. Damage to paint caused by use of pressure washer and / or cleaning chemicals.
23. Kohler engines are covered two years with Kohler’s warranty plan.
24. Diesel burners carry an eighteen month warranty directly through burner manufacturer.
 Loading...